
Trendy Crochet Penguin Amigurumi Pattern to Display
Waddle into fun with this Free crochet Penguin Amigurumi Pattern, making adorable, cuddly penguins that add charm and playful cheer to any space.
Penguins are fascinating creatures known for their charming waddles and striking black-and-white feathers, inspiring countless fans around the world. A free crochet penguin amigurumi turns soft yarn into a delightful miniature replica that captures this charm perfectly. Its rounded body, tiny wings, and cute orange beak bring a touch of wintery whimsy to shelves, desks, or nurseries.
Cozy Crochet Penguin Amigurumi Pattern for Kids

Beyond its visual appeal, this handmade creation makes a thoughtful gift for children, penguin enthusiasts, or anyone who appreciates small, cozy tokens of affection. Working on this amigurumi also provides a calming, stress-relieving activity, allowing focus and mindfulness with each stitch.

Amigurumi Penguin Crochet Pattern
Skill Level
Intermediate
This project involves basic crochet skills (single crochet, slip stitch, increase/decreases, color changes) with some additional shaping requirements.
Finished Size
Approximately 7–8 cm tall, depending on yarn thickness and hook size.
Gauge
Gauge is not critical for this project. However, ensure your stitches are tight enough so the fiberfill stuffing does not show through.
Materials
- Yarn:
- Color A (Main Color): For the penguin’s body and head (e.g., Black).
- Color B (Accent Color/White): For the penguin’s belly.
- Yellow or Gold Yarn: For the beak and feet.
- Hook Size:
- 2.5 mm crochet hook for the entire project.
- Safety Eyes: 6 mm eyes with backing.
- Stuffing: Fiberfill for filling the penguin.
- Extras:
- Yarn/Darning Needle for assembling parts.
- Scissors.
- Stitch markers (optional, helpful for keeping track of rounds).
Key Abbreviations (US Terminology)
- MR: Magic Ring
- ch: Chain
- sc: Single Crochet
- hdc: Half Double Crochet
- dc: Double Crochet
- tr c: Treble Crochet
- sl.st: Slip Stitch
- inc: Increase (2 sc in the same stitch)
- dec: Decrease (work 2 sc together as 1 stitch)
- ()*: Repeat instructions within parentheses the indicated number of times.
Step-by-Step Instructions
Body and Head
Start with Color A
Rounds 1–6: Increasing
- Round 1: Start with a MR, ch 1, and 6 sc into the ring. Close with a sl.st into the first sc. [6 sts]
- Round 2: Ch 1, 2 sc in each stitch (inc). Join with sl.st. [12 sts]
- Round 3: Ch 1, (1 sc, inc) 6 times*. Join with sl.st. [18 sts]
- Round 4: Ch 1, (1 sc, 1 sc, inc) 6 times*. Join with sl.st. [24 sts]
- Round 5: Ch 1, (1 sc, 1 sc, 1 sc, inc) 6 times*. Join with sl.st. [30 sts]
- Round 6: Ch 1, 1 sc in first 2 sts, 2 sc in next st (inc), (1 sc, 1 sc, 1 sc, 1 sc, inc) 5 times*, finish with 1 sc in last 2 sts. Join with sl.st. [36 sts]
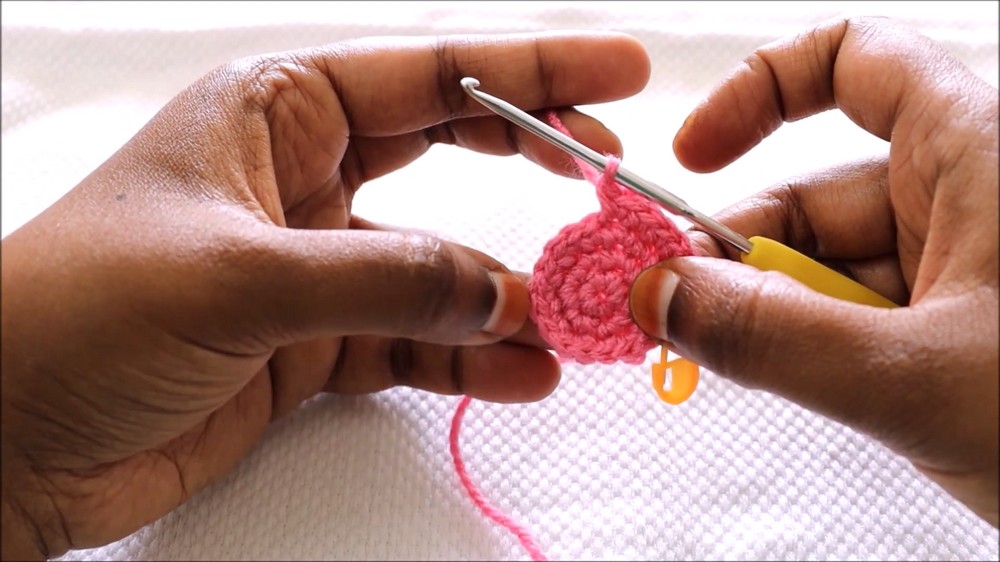


Rounds 7–18: Adding Colorwork for Belly
- Round 7: Ch 1, 1 sc in each stitch around with Color A. Join with sl.st. [36 sts]
- Round 8: Ch 1,
- 14 sc with Color A,
- 3 sc with Color B (start of belly),
- 3 sc with Color A,
- 3 sc with Color B,
- 13 sc with Color A. Join with sl.st. [36 sts]
- Round 9: Ch 1,
- 13 sc with Color A,
- 5 sc with Color B,
- 1 sc with Color A,
- 5 sc with Color B,
- 12 sc with Color A. Join with sl.st. [36 sts]
- Round 10–11: Ch 1,
- 12 sc with Color A,
- 13 sc with Color B,
- 11 sc with Color A. Join with sl.st. [36 sts].

Add the Beak
Between Rounds 10 and 11, embroider a triangular beak using yellow or gold yarn. Center the beak over the Color B belly.
Rounds 12–18: Gradual Decrease in Belly Section
- Round 12: Ch 1,
- (3 sc with Color A, 1 dec)* 3 times,
- 13 sc with Color B,
- (1 dec, 3 sc with Color A)* 2 times,
- 2 sc with Color A. Join with sl.st. [42 sts]
- Round 13–18: Continue decreasing the Color B section by working fewer increases each round and shifting back to Color A. Finalize with 42 sts in total.
Rounds 19–24: Tapering the Body
Switch exclusively to Color A.
- Round 19: Ch 1,
- 5 sc, 1 dec, (5 sc, 1 dec) 6 times. [36 sts]
- Round 20: Ch 1,
- 2 sc, 1 dec, (4 sc, 1 dec) 5 times, 2 sc. [30 sts]
- Round 21: Ch 1, (3 sc, 1 dec) 6 times*. [24 sts]
- Round 22: Ch 1, (2 sc, 1 dec) 6 times*. [18 sts]
- Stuff with fiberfill as you work.
- Round 23: Ch 1, (1 sc, 1 dec) 6 times*. [12 sts]
- Round 24: Ch 1, 6 dec. [6 sts]
Fasten off, leaving a short tail. Secure and weave in the ends.
Wings (Make 2)
- Foundation: Ch 5.
- Row 1:
- In the 2nd ch from hook, work 1 sc,
- Next: 1 hdc,
- Next: 1 dc,
- Last ch: 1 tr c.
Fasten off, leaving a long tail to sew the wings to the body.
Legs (Make 2)
- Round 1: With yellow or gold yarn, create a MR. Ch 1, 5 sc into the ring. [5 sts]
- Round 2: Ch 1, 2 sc in each st (inc). [10 sts]
Fasten off, leaving a long tail for sewing.

Special Techniques
- Magic Ring (MR): Ensures a tightly closed center for seamless amigurumi work.
- Color Changing: When switching colors, always complete the final yarn-over of the last stitch in the new color to create a clean transition.
Finishing and Assembly
- Attach Wings: Sew wings symmetrically to the sides of the body.
- Sew Legs: Attach the legs to the bottom of the penguin.
- Beak and Eyes: Embroider the triangular beak between Rounds 10 and 11, and secure safety eyes around the Color B section of the belly.
- Stuff Firmly: Ensure the body is adequately stuffed for a firm, round shape.
Conclusion
Congratulations on completing your Amigurumi Penguin! This adorable penguin is perfect as a gift or as a vibrant addition to your crochet collection. Experiment with yarn colors to create penguins with unique personalities!
Customization Ideas
- Add a scarf or hat to give your penguin a festive touch.
- Use glittery yarn for a sparkling winter look.
- Create a family of penguins in varying sizes by adjusting yarn thickness and hook size.
Important Notes
- Ensure safety eyes are securely fastened, especially if gifting to children.
- Always double-knot your yarn changes to prevent unraveling.
- Stuff evenly to maintain consistent shaping.