
AMIGURUMI BRIDE Free Crochet Pattern Like a Lovely Doll
Create a stunning keepsake with this Free Crochet Amigurumi Bride Pattern, offering easy instructions to make a beautiful bride doll for gifts or decor.
Celebrating special moments through crochet is such a rewarding experience, and this pattern perfectly captures that feeling. The free crochet amigurumi bride pattern offers a sweet and handcrafted way to bring the magic of a wedding day into a cuddly, miniature doll. It’s a wonderful project that combines sentiment and creativity, ideal for heartfelt gifts or charming décor.
Quick & Easy Free Crochet AMIGURUMI BRIDE Pattern
This amigurumi bride is a lovely figure with a soft, plush texture created through tightly stitched single crochet. The design features graceful details like a flowing veil, a delicate bouquet, and a classic bridal gown silhouette that wraps gently around the doll’s rounded body. Its style is whimsical and romantic, with a friendly face that adds personality and warmth. You can easily adjust the size by selecting different yarn weights or crochet hooks, and customization options abound from hair color and dress style to bouquet details, making each bride truly unique.
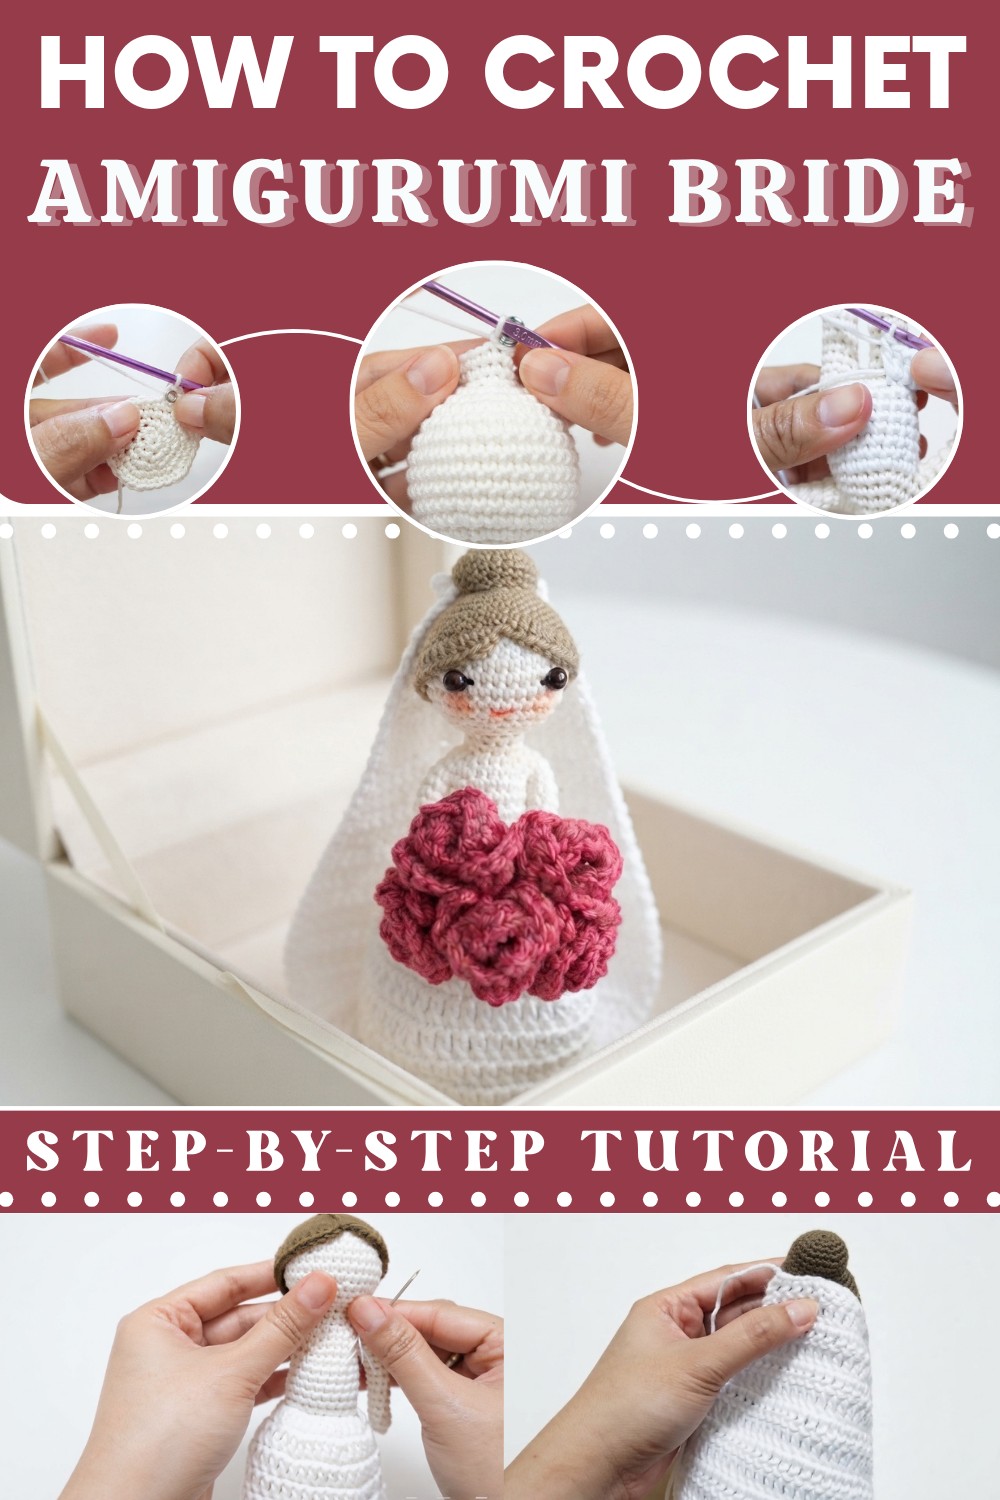
The doll is made mainly by working single crochet in continuous rounds, using simple shaping techniques to form the dress, veil, and tiny accessories. A handy tip is to keep your stitches snug to help the doll hold its shape and keep stuffing neatly inside. The inspiration behind this design comes from the timeless charm of weddings and the joy of celebrating new beginnings. Choosing smooth cotton or soft acrylic yarns enhances the stitch definition, giving the gown its delicate textures and the overall figure a polished look.
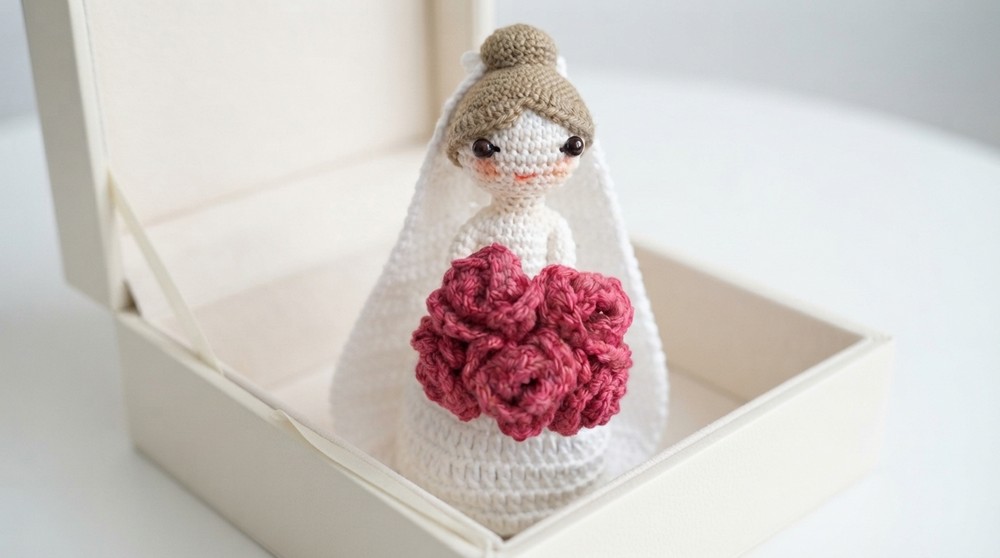
Whether you’re making a thoughtful gift for a bride-to-be, a treasured keepsake for a wedding day, or a sweet decoration for bridal showers, this free crochet amigurumi bride pattern invites you to bring your own creative touches. Maybe add a tiny pearl necklace, a personalized sash, or even a miniature bouquet in your favorite colors. All in all, it’s a heartfelt and delightful project sure to bring smiles and memories with every stitch.

Amigurumi Wedding Bride Doll Crochet Pattern
In this pattern, we will crochet a beautiful amigurumi wedding bride doll. The project is divided into two parts: the bride and the groom. This pattern focuses on making the bride doll with detailed instructions on each part using cotton or acrylic yarns.
Quick Overview of Pattern
- Crochet the head starting with a magic ring and increasing rounds using skin tone yarn.
- Shape the head by decreasing stitches with invisible decreases while stuffing.
- Crochet the neck continuing with single crochet rounds.
- Increase stitches to form the chest and body, changing yarn colors as needed.
- Partition arms and legs by placing stitch markers and adding stitches.
- Crochet legs and arms separately with pipe cleaners or stuffing for structure.
- Make skirt using double crochet, chains, and increases with white yarn.
- Construct veil with increasing and decreasing rows.
- Attach hair, face beads, and decorate veil with beads or glitter.
Notes
- Use stitch markers to track rounds, especially for partitions (arms and legs).
- Invisible decrease is applied for smooth shaping.
- Back loop crochet is used for texture on body rounds.
- Feel free to customize facial features and accessories like bouquet or veil decorations.
- Pipe cleaners add structure to limbs but are optional.
- Yarn colors changed thoughtfully for clothing and skin tone effects.
Skill Level
Intermediate—requires comfortable knowledge of:
- Magic ring (MR)
- Single crochet (sc), increase (inc), invisible decrease (dec)
- Working with stitch markers
- Crochet in the round without slip stitch
- Back loop only (BLO) stitches
- Double crochet (dc) and chain stitches
- Changing yarn color
- Simple sewing and assembly skills
Materials
- Yarns (cotton or acrylic):
- Skin tone (light iron)
- Brown
- White
- Red (for lips)
- Black yarn (for sewing eyes)
- Crochet hook 3 mm
- Black beads for eyes
- Silver beads for veil adornments
- Stitch marker (or safety pin)
- Toy stuffing
- Needle for sewing and assembly
- Sisal (optional for hair)
Measurements / Sizing
- Head circumference increases from 6 stitches (initial ring) to 36 stitches at widest point.
- Neck approx 3 rounds high at 12 stitches circumference.
- Body roughly 20 stitches circumference for 7 rounds.
- Legs 10 stitches each, 15 rounds length.
- Skirt fits comfortably around doll’s hips with several rounds of double crochet.
Gauge
- Gauge is flexible; tension should be consistent to maintain shape.
- Firm stitches help form denser amigurumi parts for stuffing.
Stitch Abbreviations
- MR = Magic Ring
- ch = chain
- sc = single crochet
- dc = double crochet
- inc = increase (2 sc in one stitch)
- dec = invisible decrease (front loops only, sc 2 stitches together)
- sl st = slip stitch
- BLO = back loop only
Special Stitches
- Magic Ring: Tight adjustable loop used to start crochet in rounds.
- Invisible Decrease: Insert hook front loops of two stitches, yarn over, pull through, completing decrease without a visible gap.
- Back Loop Only: Crochet stitches into back loop to create texture or flexibility.
The Crochet Pattern! (Simple Rounds)
Head
Round 1: MR, 6 sc in ring. (6)
Round 2: 2 sc in each stitch. (12)
Round 3: (1 sc, inc) x6. (18)
Round 4: (2 sc, inc) x6. (24)
Round 5: (3 sc, inc) x6. (30)

Round 6: (4 sc, inc) x6. (36)
Rounds 7-10: Sc in each stitch. (36)
Decreasing Head
Round 11: (4 sc, dec) x6. (30)
Round 12: (3 sc, dec) x6. (24)
Round 13: (2 sc, dec) x6. (18) — Add toy stuffing.
Round 14: (1 sc, dec) x6. (12)
Round 15-17: Sc in each stitch. (12) — Neck rounds.

Body Preparation & Increase
Round 18: (1 sc, inc) x6. (18)
Round 19: (2 sc, inc) x6. (24)
Round 20: (3 sc, inc) x6. (30)
Round 21: (4 sc, inc) x6. (36)
Arm Partition
- Identify stitch markers 4 stitches apart on body for arms (8 stitches total).
- Add 3 sc stitches to match sides for arms (remove marker during).
- Change yarn to white.
Body Rounds
Rounds 22-28: Sc around 20 sts total for 7 rounds. Place stitch marker at last stitch.
Round 29: BLO sc around (20 sts). Add toy stuffing.
Leg Partition
- Divide body stitches equally (10 stitches per leg).
- Crochet legs separately next.
Legs (Make 2)
Rounds 1-15: Sc in rounds (20 stitches).
- Add pipe cleaner or stuffing for structure.
Shoes (Make 2)
Round 1: MR, 6 sc.
Round 2: Increase rounds as for head.
Rounds 3-4: Sc. Fasten off.
Arms (Make 2)
Rounds 1-12: Sc in rounds (8 sts).
- Second yarn set for texture in back loops for 3 rounds.
- Add stuffing/pipe cleaner.
Skirt
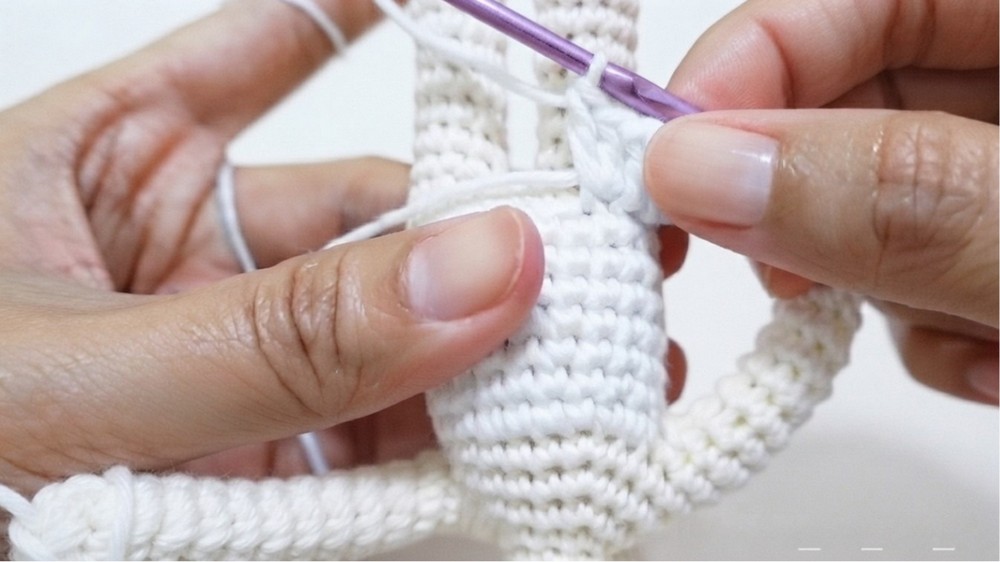
- Working on right side, front loops only, chain 2.
- Round 1: dc in same stitch, chain 2, 1 dc next stitch, inc (2 dc in same stitch), repeat.
- Round 2: Chain 2, dc, following increase pattern.
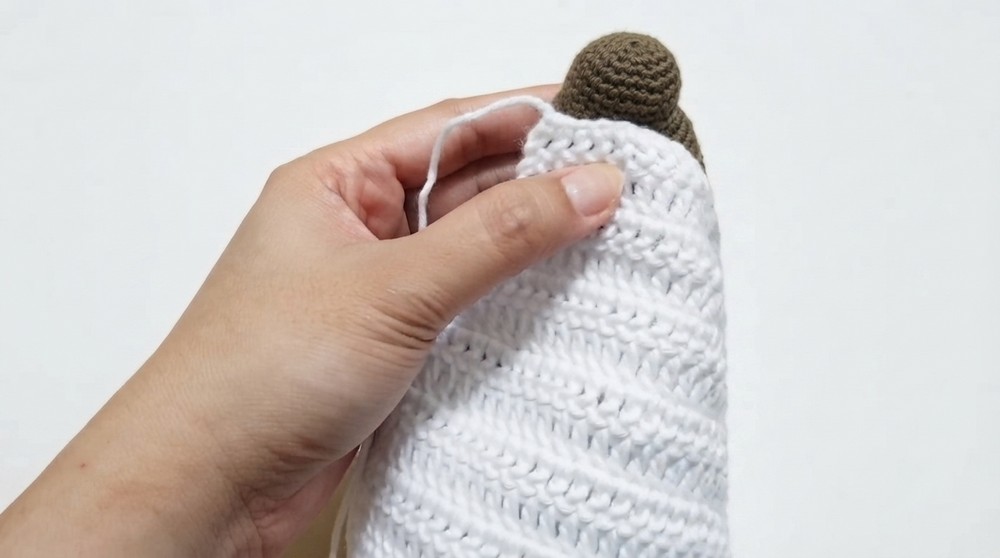
- Following rounds: dc all around (~5-6 rounds) to shape skirt.
Hair
- Crochet magic ring, 6 sc, increments for size.
- 5 rounds of sc, slip stitch, finish.
Veil
- Chain 9 + 3 chains.
- Row 1: dc in 4th chain from hook and across.
- Increase one dc on each side every row (as done in a cape pattern).
- Continue until desired veil size is reached.
- Decrease across same number of rows for shaping.

Assembly & Finished Size
- Sew hair onto doll’s head securely.
- Attach veil to hair with beads or glitter glue for decoration.
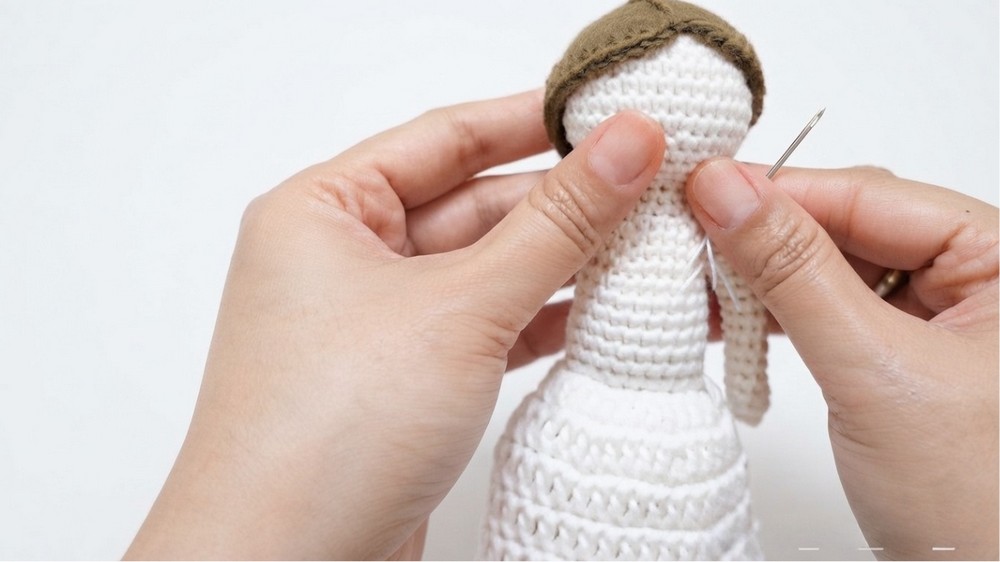
- Attach arms, legs, and shoes to body with yarn and needle.
- Embroider or attach beads for eyes and lips.
- Add toy stuffing as needed for fullness.
- Skirt fits around hips with flare created using dc rounds.
Conclusion
Thank you for following this detailed crochet wedding bride doll pattern! I hope you enjoy making this beautiful amigurumi bride.