
Easy Free Crochet Cupcake Bears Pattern Step-by-Step
Create adorable gifts with this Free Crochet Cupcake Bears Amigurumi Pattern to easily make charming bear-themed cupcake collectibles for any occasion.
There’s something really fun about mixing two cute things into one, and that’s exactly what this pattern does. The free crochet Cupcake Bears Amigurumi pattern brings together the sweet look of cupcakes and the charm of little bears. It’s a fun and simple project that’s great to make and even better to give as a gift. These little friends are perfect for brightening up any space or collection.
Cute & Free Crochet Cupcake Bears Amigurumi for Small Projects
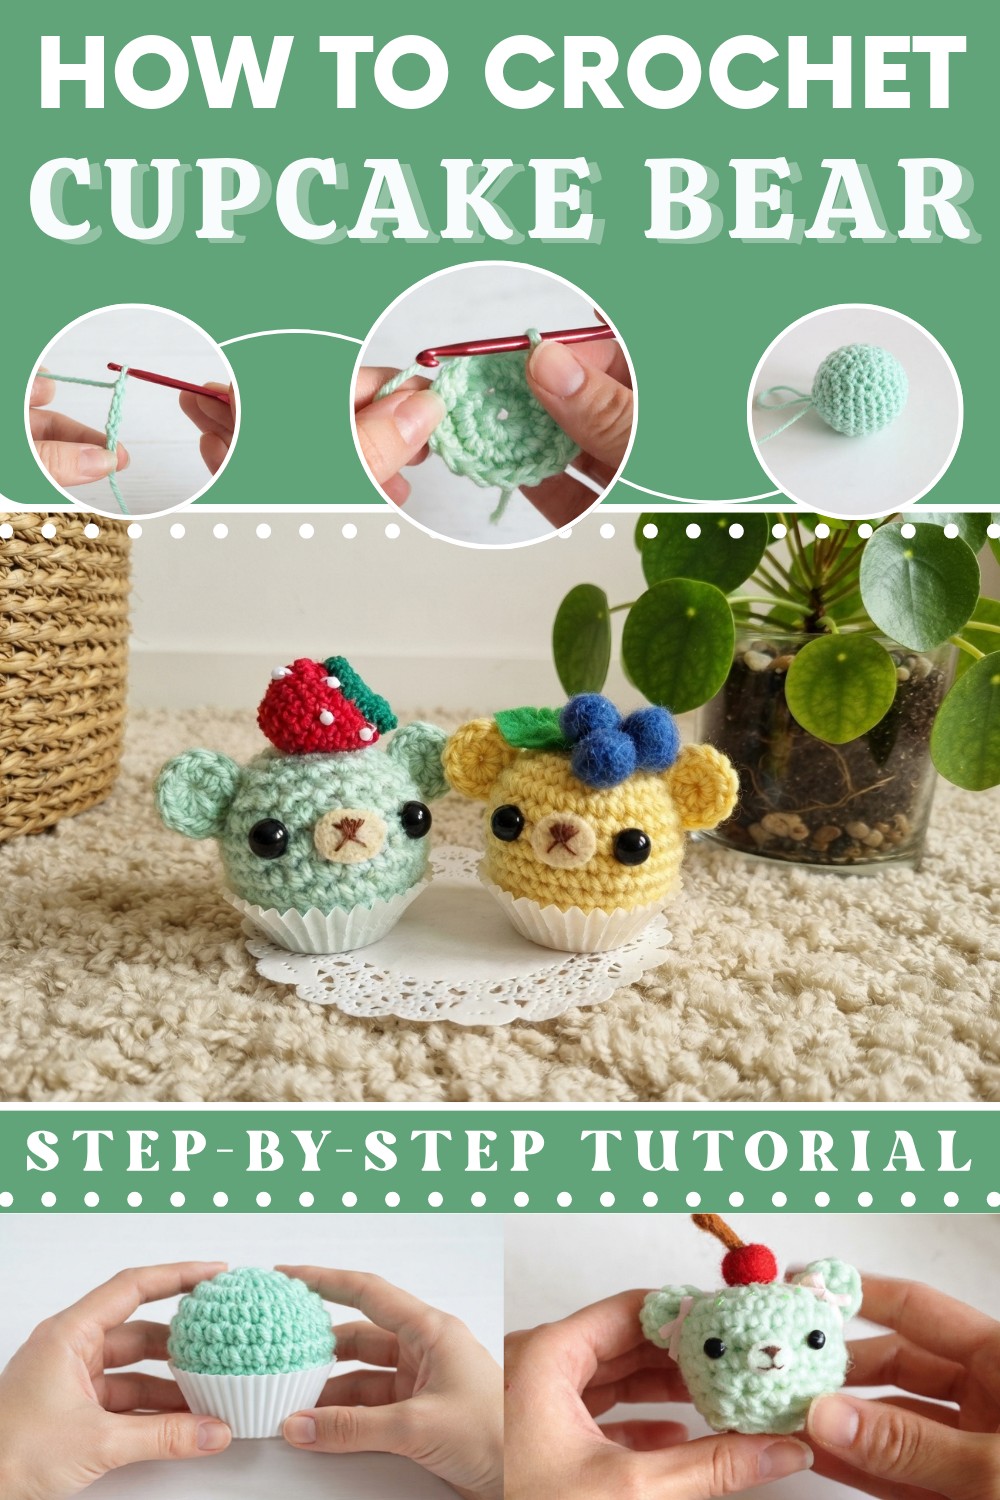
This project makes small, round bears sitting inside cupcake “skirts,” with soft “frosting” on top, just like real cupcakes. The texture feels soft and comfy because of the close stitches used, giving the bears a smooth and cuddly finish. They have round shapes and cute faces that give them lots of character. You can make them in different sizes by using thicker or thinner yarn and changing your hook size. Picking different colors is also easy, so you can make lots of different cupcake bears to match your own style.

To make this, you use simple stitches worked in circles, with easy shaping to make both the bear and cupcake parts. A good tip is to keep your stitches even so the bears come out neat and hold their shape well. The idea for this design came from wanting to make something cheerful and sweet that feels warm and friendly. Using soft yarn that holds together well helps make the bear cuddly but still shapely.
These cupcake bears are perfect gifts for birthdays, baby showers, or just to show you care. They’re also a great way to try out your own ideas like adding little bows or colorful “sprinkles.” Overall, this free crochet Cupcake Bears Amigurumi pattern is a happy, easy project that you’re sure to enjoy making.
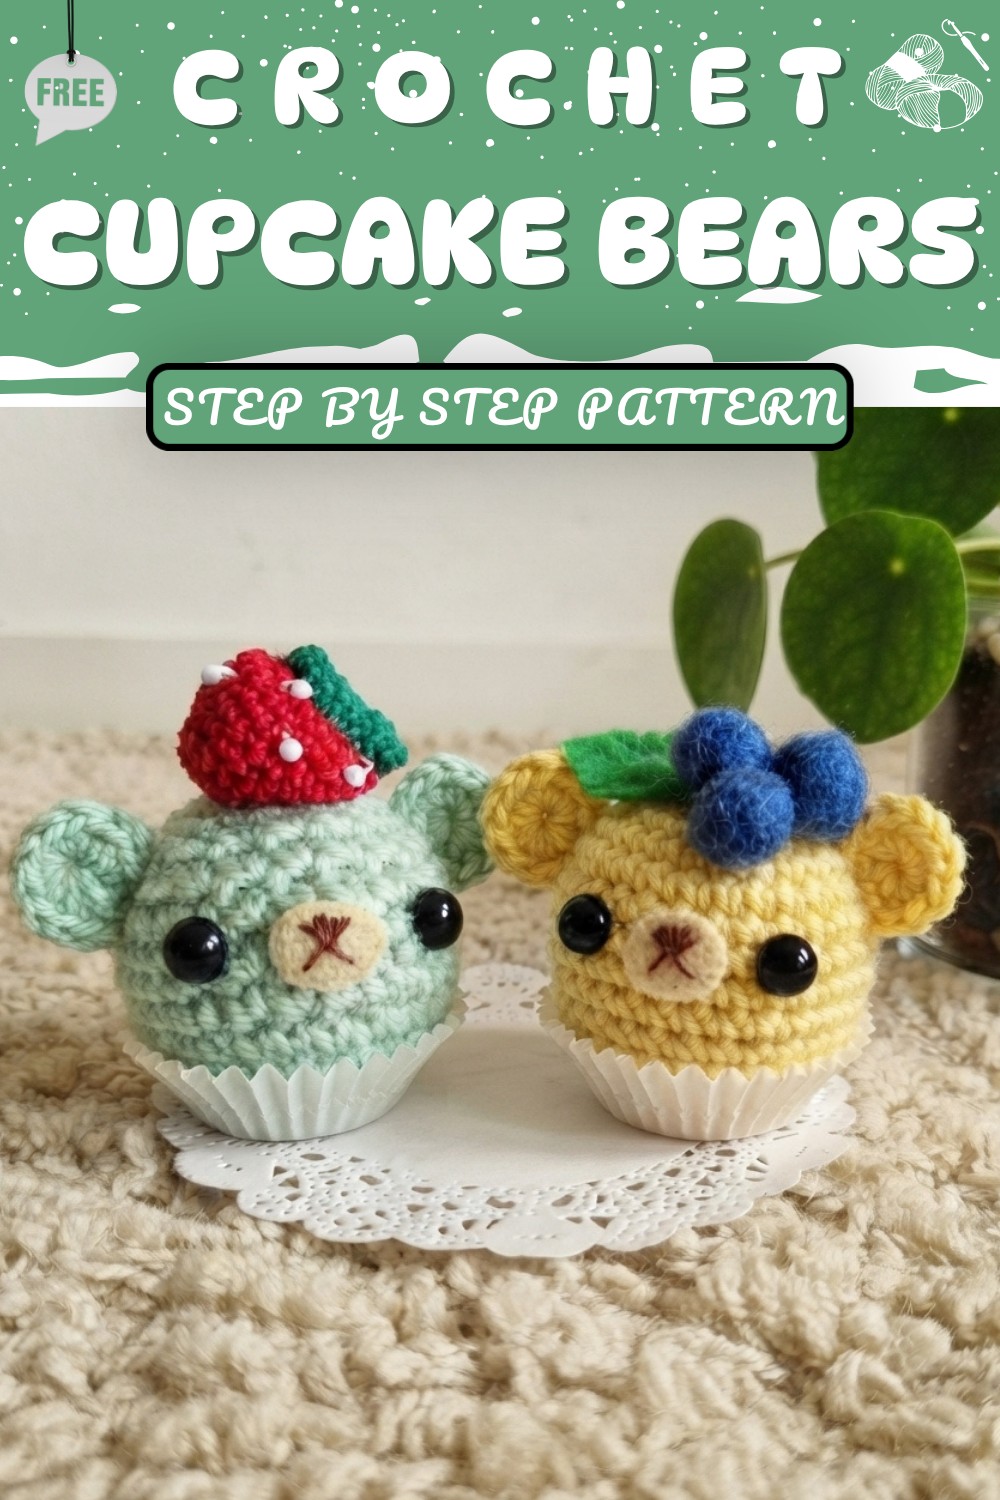
Crochet Cupcake Bear – Step by Step Pattern
Hi everyone! Today, Moo shares a fun and easy amigurumi project: the Crocheted Cupcake Bear. This adorable little bear features a cupcake-shaped body, sweet animal ears, and endless options for toppings and embellishments. Even if you are brand new to crocheting, you’ll find this pattern approachable and fun!
Quick Overview Of Pattern
- The bear’s cupcake “muffin” is crocheted in the round using basic stitches.
- Ears are small circles, shaped to curve and attached to the top of the head.
- Embellish the face with safety eyes or handmade felt features.
- Customize your bear with needle-felted cherries, bows, painted chocolate “drizzle,” blueberries, sequins, or fabric paint.
- All pieces are sewn or glued together for easy assembly.
Notes
- This pattern is worked in the round using continuous spirals; mark the first stitch of each round.
- Choose colors and embellishments to create your favorite flavor: vanilla, chocolate, strawberry, blueberry, and more.
- Safety eyes, animal eyes, and handmade features (felt, clay) can be used.
- Experiment with gluing or tying on ears as desired.
Skill Level
Beginner-Friendly
- Basic crochet knowledge is helpful but not mandatory—steps are repeated and explained.
Materials
- Yarn: Worsted weight cotton or acrylic in body and “frosting” colors of your choice
- Crochet hook: Standard size (e.g., 3.5–4.5 mm; pattern demonstrated with standard Walmart hook)
- Stuffing: Pillow or polyfill stuffing
- Tapestry/sewing needle (for joining, sewing face, felt)
- Scissors
- Cupcake liner (optional; for display)
- Safety eyes, small animal eyes, or black polymer clay (for eyes)
- Felt or embroidery thread: For mouth/nose
- Hot glue gun or fabric glue (for assembly)
- Sequins, fabric paint, bows, felt, felting wool (for toppings and face details)
Measurements / Sizing
- Finished bear is roughly 5–7 cm (2–2.75") in diameter
- Height (including ears and toppings): ~6–8 cm (2.5–3")
- Fits perfectly in a standard mini cupcake liner
Gauge
Not critical. Use a hook size that yields a dense, smooth fabric so stuffing does not show.
Stitch Abbreviations
- ch – chain
- sc – single crochet
- inc – increase (2 sc into same stitch)
- dec – decrease (sc2tog)
- sl st – slip stitch
- st – stitch
- rnd – round
Special Stitches
- Magic ring: Adjustable loop to start crocheting in the round.
- Invisible decrease: For neat shaping when closing.
- Surface embroidery: For nose/mouth, sew with embroidery thread or fine yarn.
Crochet Cupcake Bear – Numbered & Bulleted Rounds
Cupcake Bear Body (Head/Frosting Ball)
Foundation Ring:
-
- Make a slip knot.
- Ch 3 to create a small braid (~half an inch).
- Insert hook through the first ch to form a ring/circle (magic ring alternative).

Round 1:
- ● Work 8 single crochet (sc) into the ring.
- ● Join with a slip stitch (sl st) to the first sc.
(8 stitches)
Round 2:
- ● 2 sc in each stitch around.
(16 stitches)
Round 3:
- ● (1 sc in next st, 2 sc in next st) — repeat around.
(24 stitches)

Round 4:
- ● (2 sc in next 2 sts, 2 sc in next st) — repeat around.
(32 stitches)
Rounds 5–7:
- ● Sc in each stitch around (no increases).
(32 stitches each round) - ● Do several rounds to create a plump sphere.
Rounds 8–9: Shaping/Decrease
- ● (2 sc in next 2 sts, sc2tog decrease) — repeat around.
(24 stitches) - ● (1 sc in next st, sc2tog decrease) — repeat around.
(16 stitches) - ● (sc2tog decrease) — repeat around.
(8 stitches) - ● Stuff firmly before closing up fully.

Last round:
- ● Sc2tog decrease until completely shut, or use a tapestry needle to draw up leftover stitches and close.
- ● Weave in the end and tuck in any extra yarn.
Bear Ears (Make 2)
-
- Make a magic ring or small loop.
- Work 6–8 sc into the ring.
- Do NOT increase. Work just 1 round for a small flat circle.
- Pull tight to close, leaving a long tail for sewing.
- Fasten off.
- Shape into a cupped ear; leave tail for attaching.
Facial Features (Assembly)
-
- Position eyes: safety eyes, clay, or sewn felt.
- Create nose/mouth: oval felt piece, embroidered or drawn with fabric paint.
- Attach ears: sew or glue to top sides.
- Hide/tuck leftover yarn inside head.
Decorations (Optional & Customizable)
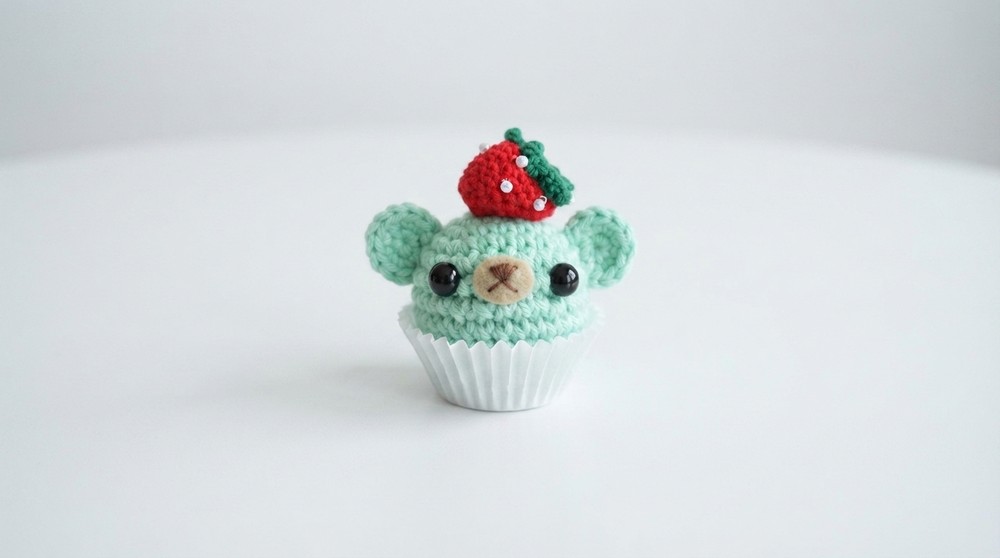
- ● Cherry: Needle-felt a small red ball, add a brown wool stem, glue to head.
- ● Drizzle: Use fabric paint to create chocolate drip, let dry 24 hours.
- ● Blueberries: Felt three blue mini spheres, glue them atop the head. Add felt leaves.
- ● Bows/Sprinkles: Sew or glue mini bows, sequins as desired.
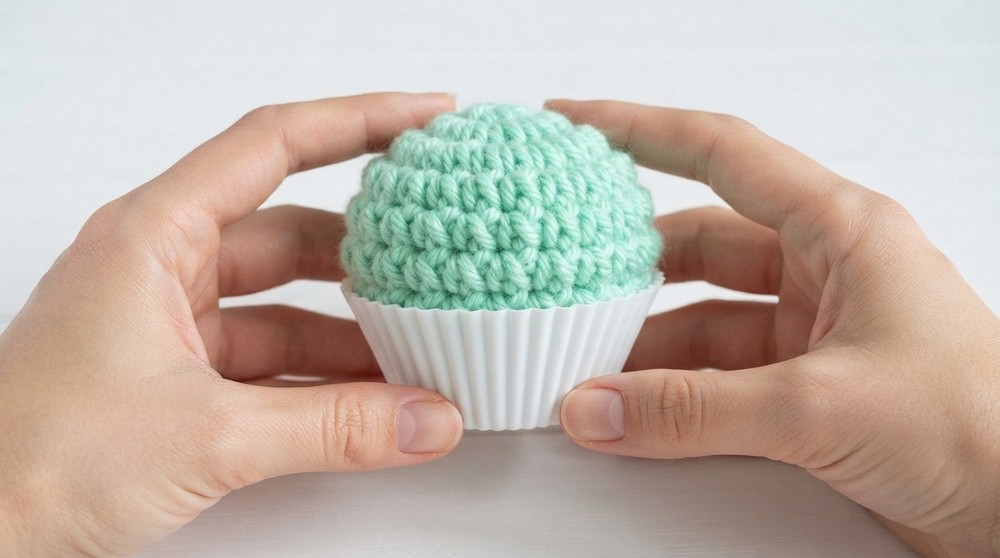
- ● Cupcake liner: Place finished bear in liner for display.

Assembly & Finished Size
- Cupcake bear will fit perfectly inside a mini cupcake wrapper.
- Ears can be tied on or glued for flexibility of style.
- Choose from several face and topping options for different cupcake "flavors".
- Bear is palm-sized, easy to customize, and adorable as a gift or keepsake.
Conclusion and Ending Words
Your Cupcake Bear is complete, congratulations! Crocheting can seem overwhelming at first, but with practice and patience, each project gets easier and more fun. Customize your cupcake bear with favorite colors, toppings, and expressions, and try making a whole bakery of sweet animals.