
Cute Crochet Bunny Rabbit in Skirt Free Pattern for Easter Vibes
Hop into a world of cuteness with this crochet bunny rabbit a skirt that's perfectly adorable, bursting with personality, and easy to stitch.
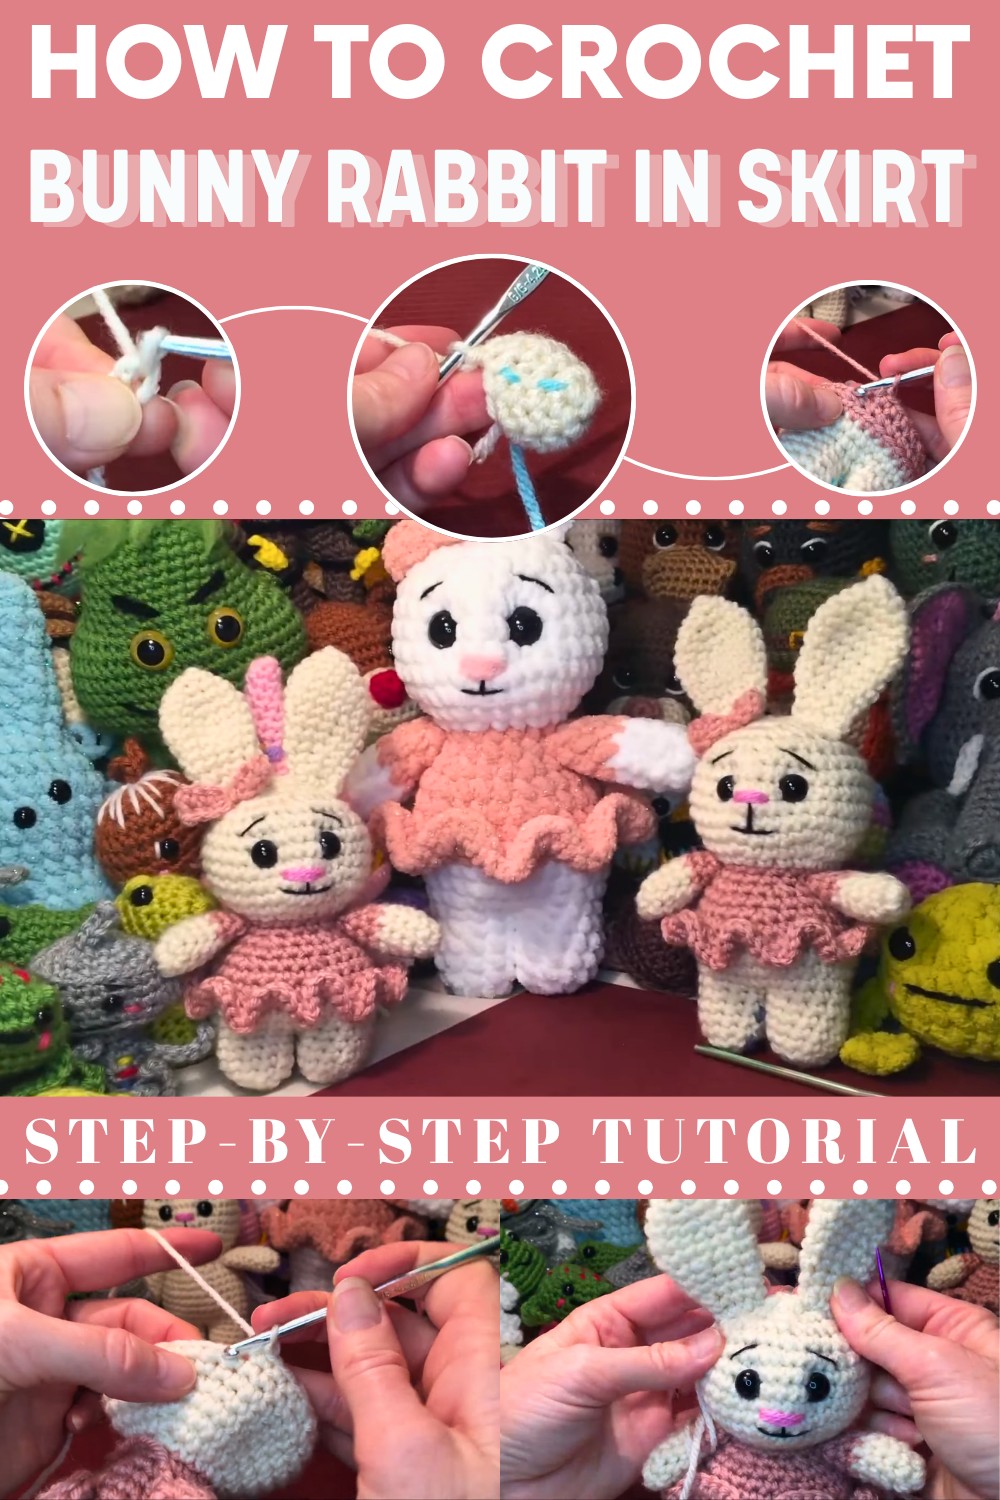
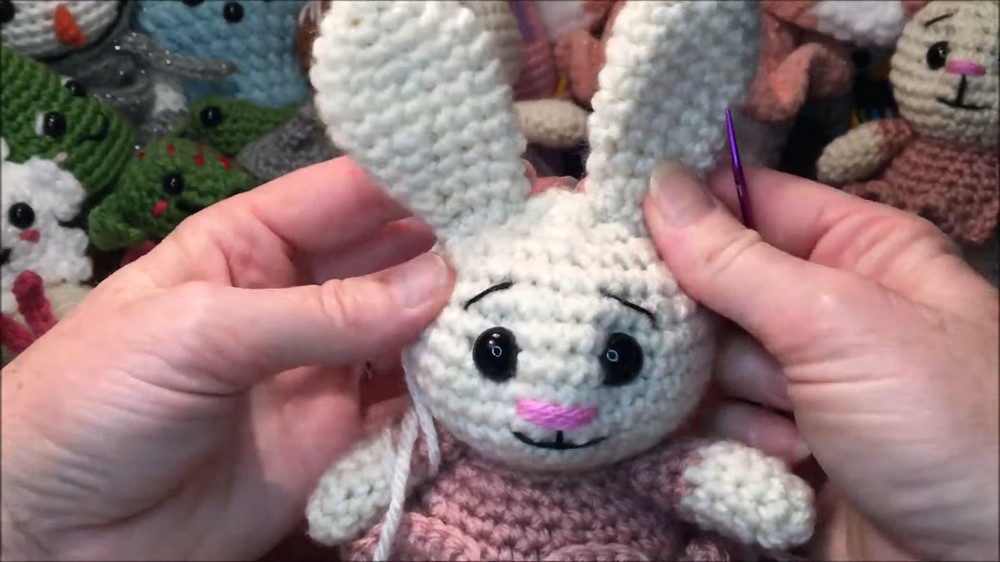
Who doesn’t adore a fluffy bunny sporting a stylish skirt? This fun and heartwarming crochet project is packed with charm, guaranteed to spread smiles wherever it hops. From floppy ears to a twirl-ready skirt, it overflows with delightful details. Perfect for kids, loved ones, or a sweet decorative touch, this bunny will quickly hop into your list of all-time favorites.
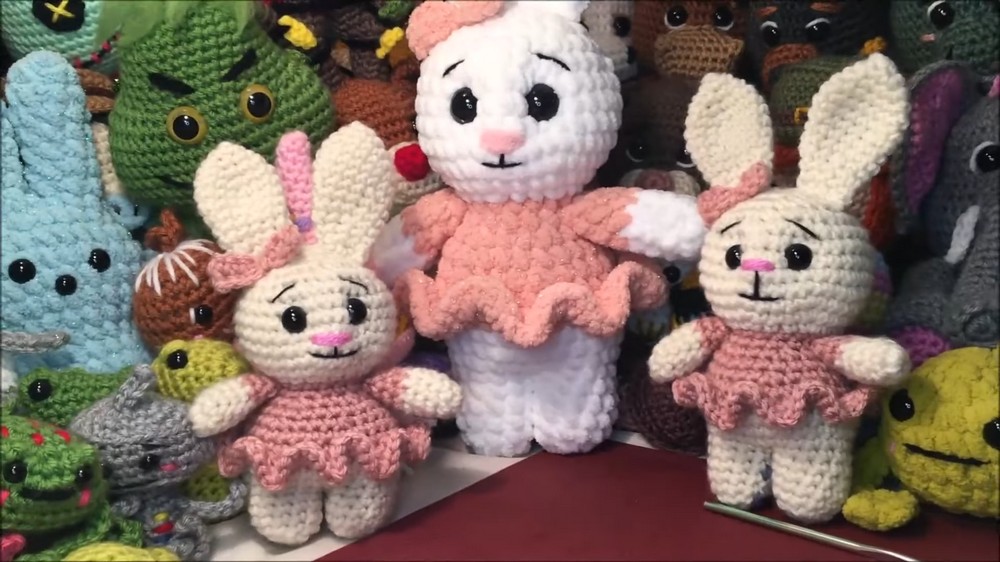
Cute Crochet Bunny Rabbit in Skirt Pattern for Home Decor
No need to stress about tricky assembly—the bunny is worked seamlessly from its legs to its head, which keeps things simple and enjoyable. Its design gives you endless opportunities to personalize. Choose soft pastels for a whimsical look, bold colors for a vibrant flair, or plush yarn for extra snuggle power. Optional features, like a bow or embroidery, make it even more unique to suit the personality you want to give it.
Materials List
Required Materials:
- Yarn:
- Main body color: Medium-weight (#4) yarn in your desired bunny color.
- Dress/skirt color: Contrasting medium-weight (#4) yarn.
- Accent colors: For nose, bow, and embroidery (optional).
- Hook: 4.25 mm – 5 mm crochet hook (adjust if using a different yarn).
- Safety Eyes: 12 mm (or larger, depending on desired appearance).
- Stuffing: Polyester fiberfill or alternative stuffing material.
- Stitch Markers: To keep track of rounds.
- Tapestry Needle: For sewing on the ears, bow, and weaving in ends.
- Scissors: For trimming yarn tails.
Optional Items:
- Pom-pom for tail.
- Embroidery thread for finer facial details.
- Pins for holding pieces in place while sewing.
Skill Level
Intermediate to Advanced. Requires experience with amigurumi techniques, color changes, working in continuous rounds, and assembly.
Key Abbreviations
- ch: Chain
- sc: Single Crochet
- inc: Single Crochet Increase (2 sc into one stitch).
- dec: Invisible Decrease (crochet two stitches together to reduce).
- sl st: Slip Stitch
- FO: Fasten Off
Special Notes
- This pattern is worked in continuous rounds unless stated otherwise.
- Use the invisible decrease technique to minimize gaps when decreasing.
- When working stitches into the skirt area, stitches are made in the back loops to leave front loops for later attachment.
- Instructions for the optional skirt start after the torso base; skip this section if you prefer a plain bunny.
Pattern Instructions
Part 1: Arms (Make 2)
Starting Instructions:
- Begin with a magic ring or your preferred method.
- Round 1: 6 sc into magic ring. Tighten loop. (6 sts)
- Round 2: 2 sc, 1 inc, repeat around. (8 sts)
- Round 3–5: Work 8 sc evenly.
Color Change (Dress Color):
- Pull up a loop on the 8th stitch of Row 5 but leave loops on hook.
- Cut old yarn. Tie new yarn securely, pull it through remaining loops.
- Round 6–8: Work 8 sc evenly in the new color.
Assembly and Finishing:
- Lightly stuff the arm, filling the hand area just enough to retain a soft, flexible appearance.
- Flatten the opening, work 3 sc through both layers. Tie off and leave a long tail for later attachment.
Part 2: Legs (Make 2)
Starting Instructions:
- Begin with a magic ring.
- Round 1: 6 sc into magic ring. (6 sts)
- Round 2: Work 6 inc (2 sc in each stitch). (12 sts)
- Round 3–6: Work 12 sc evenly.
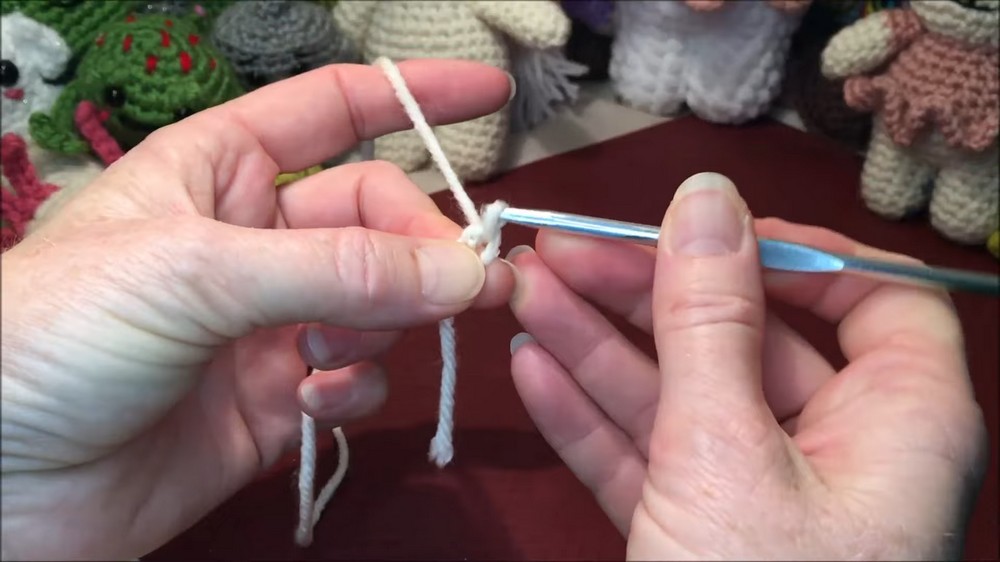

Finish: Slip stitch to fasten off, leaving a long tail for sewing later.
Part 3: Torso and Joining Legs
Joining the Legs:
- Hold both legs in position. Insert hook into the first stitch beneath the slip knot of Leg 1.
- Round 7: Work 12 sc around Leg 1, then 12 sc around Leg 2 to attach the legs. (24 sts total).
Body Shaping Increasing Rounds:
- Round 8: 3 sc, 1 inc, repeat around. (30 sts)
- Round 9–10: Work 30 sc evenly.
Optional Skirt — Back Loop Rounds:
- Round 11: Work 30 sc in the back loops only. This leaves front loops for attaching the skirt later.
- Round 12: Work 30 sc evenly (normal stitches, both loops).

Skip the following skirt instructions if not adding a dress.
Part 4: Skirt Attachment
Skirt Increasing:
- Attach skirt yarn to front loops of Round 11.
- Round 1: Work 30 inc (60 sts).
- Round 2: 1 sc, 1 inc, repeat around. (90 sts).
Finishing Skirt:
Slip stitch into the next stitch and tie off, leaving a long tail for weaving ends.
Part 5: Torso – Progression
- Resume main body color and continue:
- Round 13: 3 sc, 1 dec, repeat around. (24 sts)
- Round 14–16: Work 24 sc evenly.
- Round 17: Attach arms while crocheting; work 3 sc through arm and body. Repeat placement for both arms.
Part 6: Head
Head Increasing:
- Round 18: 2 sc, 1 inc, repeat around. (24 sts)
- Round 19: 3 sc, 1 inc, repeat around. (30 sts)
- Round 20: 4 sc, 1 inc, repeat around. (36 sts)
Head Shaping Rounds:
- Round 21–23: Work 36 sc evenly.
- Round 24–28: Gradually decrease as follows:
- Round 24: 4 sc, 1 dec, repeat around. (30 sts)
- Round 25: 3 sc, 1 dec, repeat around. (24 sts)
- Round 26: 2 sc, 1 dec, repeat around. (18 sts)
- Round 27: 1 sc, 1 dec, repeat around. (12 sts)
- Round 28: Work 6 dec. (6 sts)
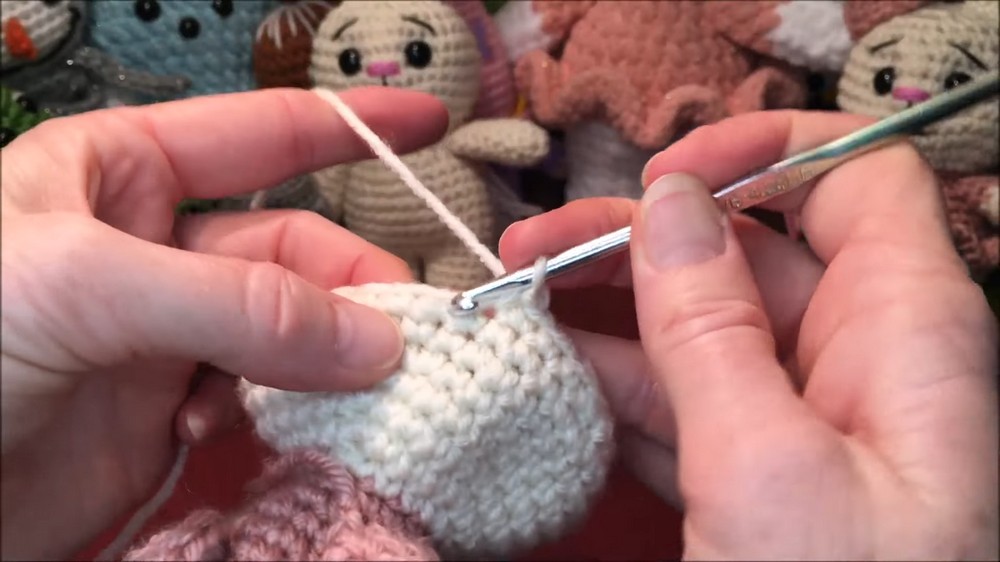
Closing the Head:
- Weave through the front loops of remaining stitches and pull tight to close seamlessly.
Part 7: Ears
Instructions:
- Round 1: Begin with 6 sc in a magic ring. (6 sts)
- Round 2: 1 sc, 1 inc, repeat. (9 sts)
- Round 3: 2 sc, 1 inc, repeat. (12 sts)
- Round 4: 3 sc, 1 inc, repeat. (15 sts)
- Round 5–7: Work 15 sc evenly.
- Closing: Flatten ear and work 2 dec across the top. Leave long tail for sewing.
Conclusion
Your bunny with a skirt is complete! This versatile design allows for customization with colors, accessories, or using plush yarn for a soft texture.
Pattern Corrections
- If stitch count is off, balance by adding or removing stitches carefully within the rows.
- When attaching features, align properly to achieve symmetry.
Tips
- Facial Details: Use embroidery thread or separate yarn strands to create finer details like eyebrows.
- Stuffing: Avoid overstuffing to maintain the intended proportions.
- Adaptations: Experiment with different sizes of yarn and hooks to adjust size.