
Free Crochet Bunny Plant Pot Pattern – Adorable Easter Decor
Add charm to your home with this Free Crochet Bunny Plant Pot Pattern, making it easy to create an adorable bunny pot for plants or thoughtful gifts.
If you love adding a bit of handmade charm to your home, this pattern is sure to catch your eye. The free crochet Bunny Plant Pot pattern is a delightful way to dress up your favorite plants with a cute, cozy cover that adds personality and warmth to any space. It’s a fun and simple project that combines functionality with adorable style.
Free Crochet Bunny Plant Pot Pattern – Unique Garden Decor
This project creates a soft and textured bunny-shaped cozy that slips right over a plant pot. The style is playful and sweet, featuring long floppy ears, a cute little tail, and stitched facial details that bring the bunny to life. The cozy fits snugly around pots of various sizes just adjust your yarn thickness or hook size to make it smaller or bigger, depending on your pots. You can also customize colors and facial expressions to match your décor or mood.

Made with basic crochet stitches worked mostly in rounds, this plant pot cozy is beginner-friendly but still exciting to make. One helpful tip is to use a slightly thicker yarn or cotton blend that holds its shape well and stands up to watering sessions without losing texture. The idea behind this design was to bring a little joy and personality to indoor gardening, turning simple pots into charming décor pieces that make people smile.
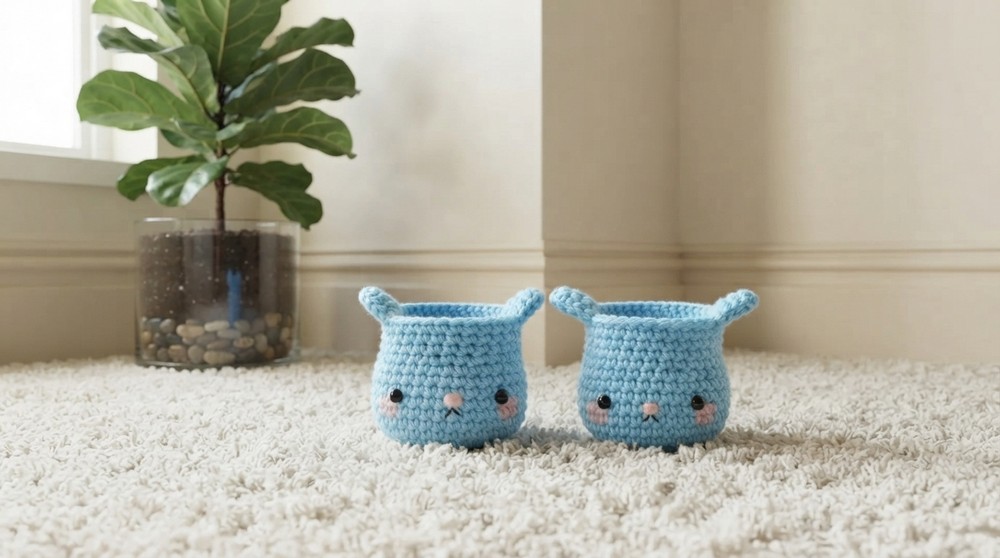
Perfect for housewarming gifts, spring decorations, or just to brighten up your own windowsill, this bunny plant pot cozy invites you to get creative. You could add tiny buttons, embroider different faces, or even make seasonal versions. Overall, the free crochet Bunny Plant Pot pattern is a cozy, cute, and practical way to add handmade love to your home and your plants will thank you for it.
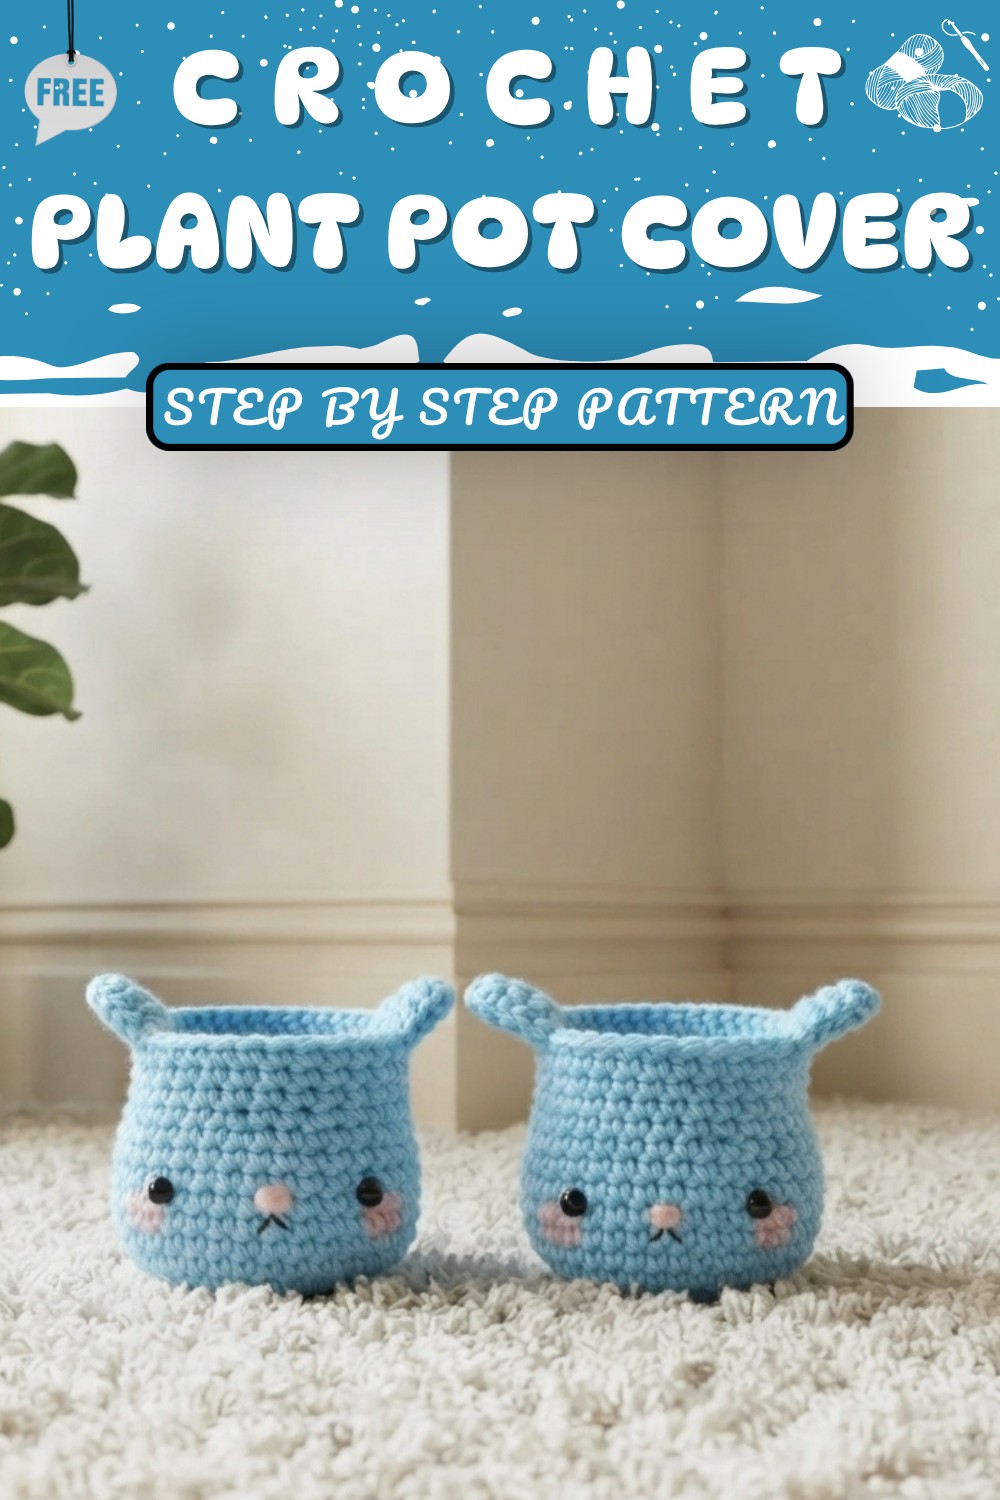
Crochet Bunny Plant Pot Cover – Step by Step Pattern
Welcome to today’s tutorial where you'll learn to crochet an adorable bunny plant pot cover! This easy project transforms your plant containers into whimsical bunny pots, perfect for room décor or gift-giving. The pattern teaches you how to crochet the base pot cover, build height, create curving sides for a snug fit, and add sweet bunny ears and facial features.
Quick Overview Of Pattern
- Crocheted in a spiral/round to form a snug cover for small plant pots.
- Uses basic single crochet increases to shape the base and sides.
- Creates bunny ears directly onto the rim.
- Simple hand-assembled felt and embroidery features for face.
- Customizable for various pot sizes.
- Perfect for faux plants, succulents, or real plant cuttings.
Notes
- The project is worked in rounds, joining each with a slip stitch for clean edges.
- Ears are crocheted directly onto chosen stitches along the rim; adjust ear placement for symmetry.
- For best results, measure your plant pot before beginning.
- Adjust the number of rounds and increases if your pot is slightly larger or smaller.
- Facial details can be customized; use felt, embroidery, or clay as desired.
- The fitted base allows your pot to remain sturdy, and stuffing within the cover ensures it maintains shape.
Skill Level
Beginner
- Basic stitches: magic ring, single crochet, increase, slip stitch.
- Simple sewing for assembly.
- Basic embroidery or glue for face details.
Materials
- Worsted weight yarn in bunny color (sky blue)
- Small amount pink felt (for nose)
- Black embroidery thread or thin yarn (for mouth)
- Crochet hook (3.5–4 mm suitable for worsted yarn)
- Scissors
- Sewing needle or tapestry needle
- Hot glue gun (optional, for assembly)
- Safety eyes or small black beads/clay for eyes
- Light blush/makeup (optional for cheeks)
- Polyfill stuffing (optional for shaping)
- Faux plant or real plant cutting
- Plant container (fits finished cover: ~6–8 cm diameter)
Measurements / Sizing
- Base diameter: ~6–8 cm across
- Pot height: ~6–8 cm high (excluding ears)
- Ear height: ~3–4 cm
Adjust rounds as needed to fit your specific container.
Gauge
Gauge is flexible; use a size hook that gives a tight fabric so cover holds shape (no loose gaps).
Stitch Abbreviations
- ch – chain
- sc – single crochet
- inc – increase (2 sc in one stitch)
- sl st – slip stitch
- st – stitch(es)
- mr – magic ring
Special Stitches
- Magic ring: Adjustable ring to begin crocheting in the round.
- Skip stitch (rim shaping): Instead of crocheting in every stitch, pull yarn through multiple loops to skip a stitch and shape side curvature.
The Crochet Pattern!
Pot Base
Round 1 – Base Circle
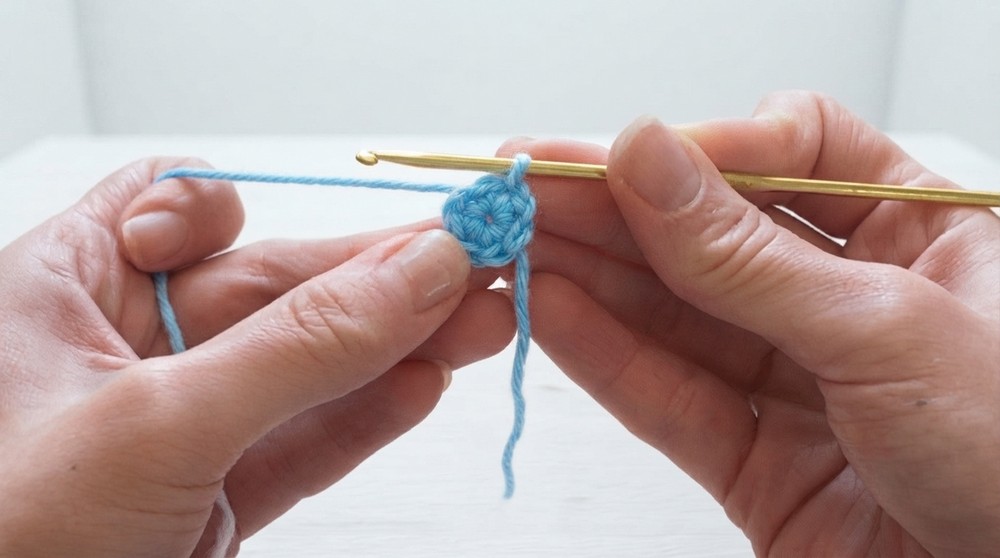
- Form a magic ring or adjustable loop.
- Crochet 6 sc into the ring.
- Pull ring tight, join with sl st in the first sc.
(6 stitches)
Round 2 – Increase Circle
- Ch 1.
- 2 sc in each stitch around.
- Join with sl st to first sc.
(12 stitches)
Round 3 – Increase Circle
- Ch 1.
- (1 sc in next st, 2 sc in next stitch); repeat all the way around.
- Join with sl st.
(18 stitches)
Round 4 – Increase Circle
- Ch 1.
- (1 sc in next 2 sts, 2 sc in next st); repeat around circle.
- Join with sl st.
(24 stitches)
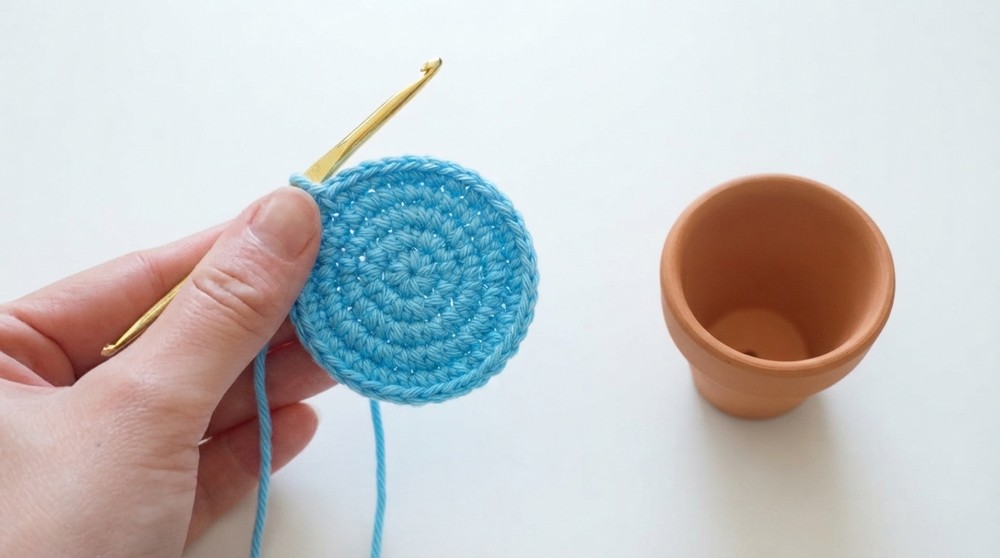
Rounds 5–8 – Build Height
- Ch 1.
- Sc in each stitch around.
(24 stitches per round) - Join with sl st at end of each round.
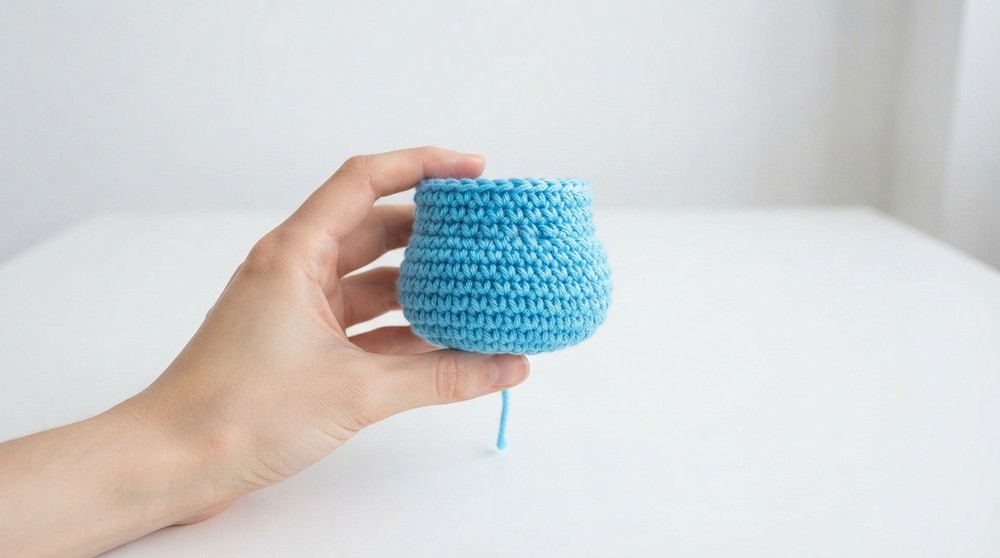
- Repeat for four rounds, forming straight sides for the pot.
Round 9 – Begin Curving
- Ch 1.
- (Sc in next 4 sts, skip 1 stitch by pulling yarn through 3 loops); repeat around.
- Join with sl st.
- This step starts shaping the rim, slightly curving in.
Round 10 – Continue Curving
- Repeat Round 9: (Sc 4, skip 1), or adjust as needed so cover fits snugly onto your container. Alter frequency of skipped stitches for tighter fit.
- Join with sl st.
Stuffing
- If desired, stuff the pot lightly with polyfill to help it maintain shape (especially if used as a standalone décor piece).
Bunny Ears (Make 2)
- Choose a stitch on the pot rim for starting the ear.
- Round 1 (Ear Base):
- Crochet 5–6 sc into the same stitch on the rim to form a small half-circle.
- Round 2 (Ear Expansion):
- Crochet one round around the ear edge, increasing evenly as needed for size.
- Fasten off, leave a tail for attaching.

Assembly & Face
- Attach ears: Sew ears onto rim using yarn tail or secure with hot glue for a firm hold. Make sure both ears stand upright and are symmetrically placed.
- Nose: Cut a small oval from pink felt and attach with glue to the center front.
- Eyes: Use glue to attach safety eyes, small black beads, or clay eyes just above the nose.
- Mouth: Embroider or glue the mouth below the nose using black thread or clay.
- Blush (optional): Apply light blush or pink makeup under the eyes for extra cuteness.
- Insert plant: Add faux plants or real cuttings to your finished cover and place onto your container.
Finished Size
- Base diameter: ~6–8 cm
- Height: ~6–8 cm (excluding ears)
- Ear height: ~3–4 cm
Conclusion and Ending Words
Your bunny plant pot cover is ready! With easy crocheting, simple assembly, and customizable face features, you’ve created a charming décor piece that brings joy to your space. Adjust sizing as needed, experiment with colors, and add your favorite plants for a unique, handmade look.