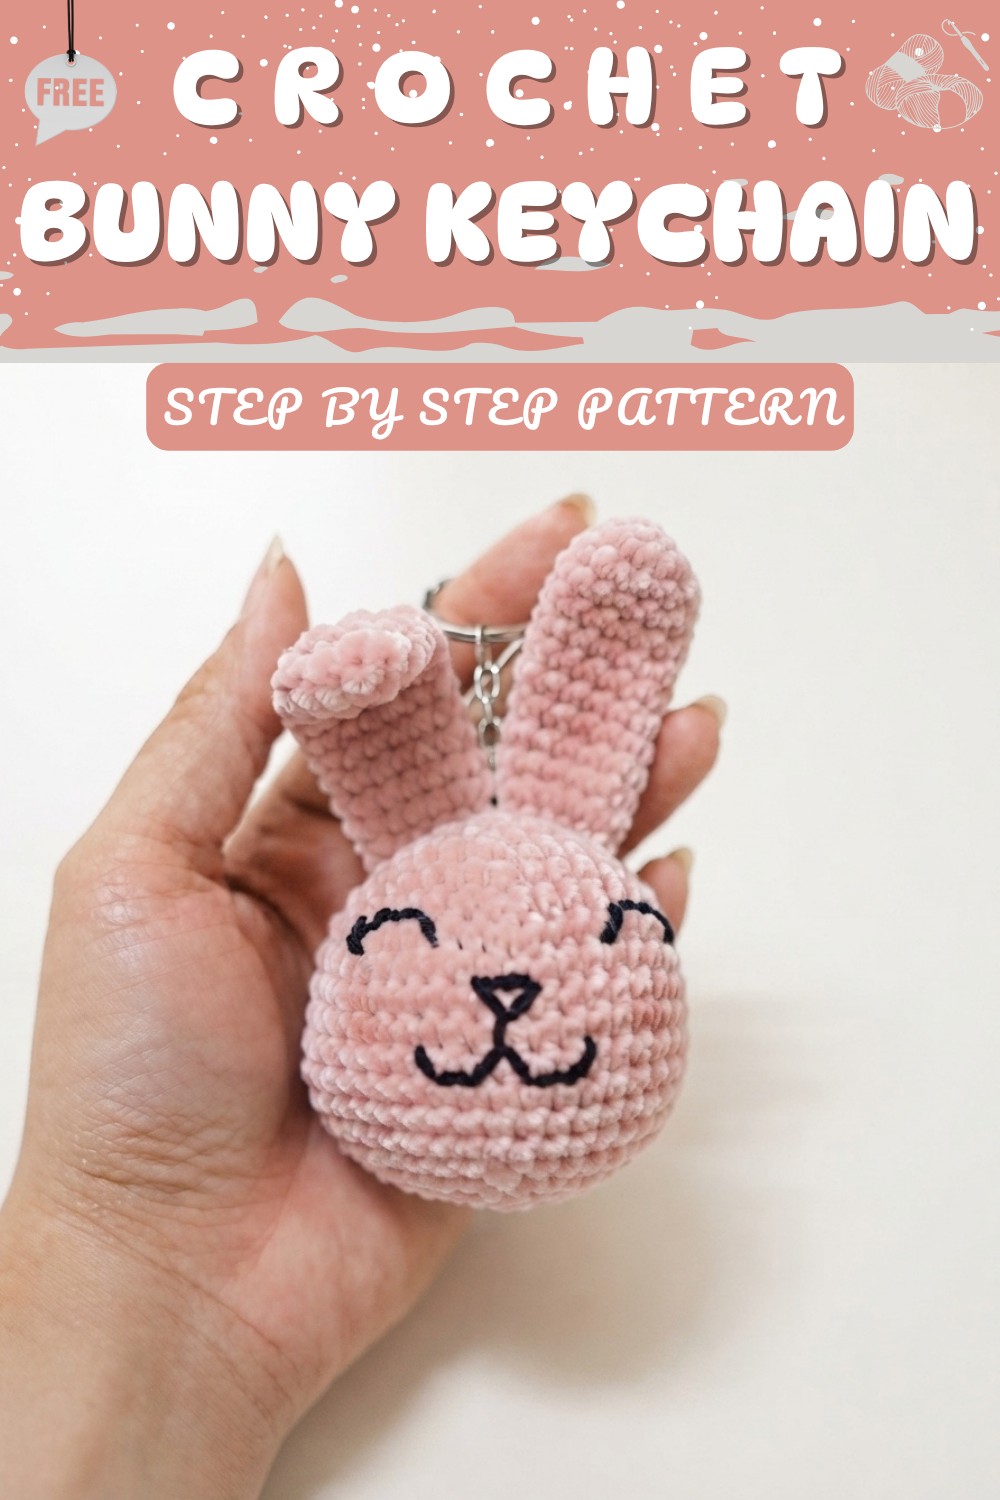
Adorable Free Crochet Bunny Keychain Pattern With Cute Deatils
Add a playful handmade touch with this Crochet Bunny Keychain Pattern to crochet a cute accessory for keys bags.
Looking for a cute crochet project that is quick to finish and fun to carry? This Crochet Bunny Keychain is a delightful choice for adding a handmade touch to your everyday essentials. With its tiny round body, long floppy ears, and sweet embroidered face, this project brings a timeless charm wherever it goes. Whether attached to keys, backpacks, handbags, or gift bags, it also makes a thoughtful handmade gift, party favor, or collectible for bunny lovers of all ages.
Easy Crochet Bunny Keychain Free Amigurumi Pattern
This Free Bunny Keychain Pattern is suitable for beginners with basic crochet skills as well as intermediate crocheters who enjoy small amigurumi projects. Its compact size makes it easy to carry, display, or gift. In addition, the finished bunny fits perfectly into Easter baskets, birthday presents, and fair collections. Because it works up quickly, you can complete several keychains in a short time and create memorable handmade gifts for family and friends.
Besides being fun to crochet, this adorable bunny keychain offers many practical uses. It can brighten your keys, decorate a backpack, personalize a handbag, or add a special touch to gift wrapping. Likewise, it makes a lovely party favor, classroom reward, or small keepsake for friends and family. Its lightweight size and timeless style make it easy to enjoy throughout the year, not just during special occasions.
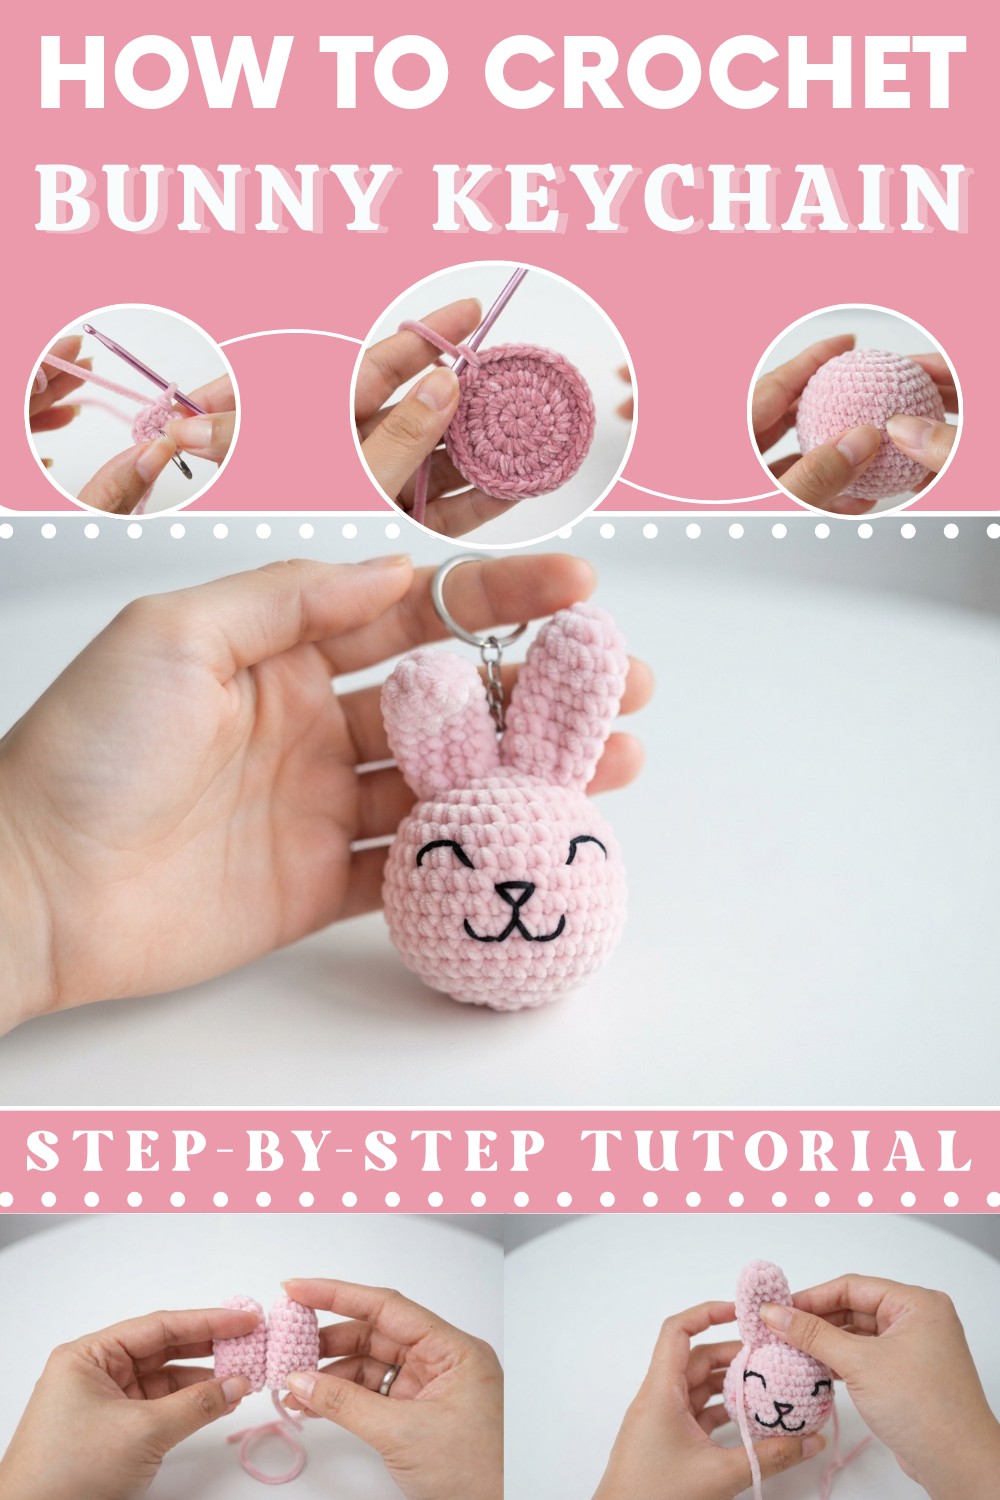
The Easy Crochet Bunny Keychain Free Amigurumi Pattern is also a great way to practice essential amigurumi crochet techniques, including the magic ring, single crochet, increases, decreases, slip stitches, simple shaping, and neat assembly. As your project comes together, you can improve stitch consistency and gain confidence with small crochet projects.
Whether you are searching for a Crochet Bunny Amigurumi, a Free Bunny Keychain Pattern, or a quick handmade gift idea, this charming design is sure to become a favorite. Continue to the full pattern for helpful tips and complete step-by-step guidance.
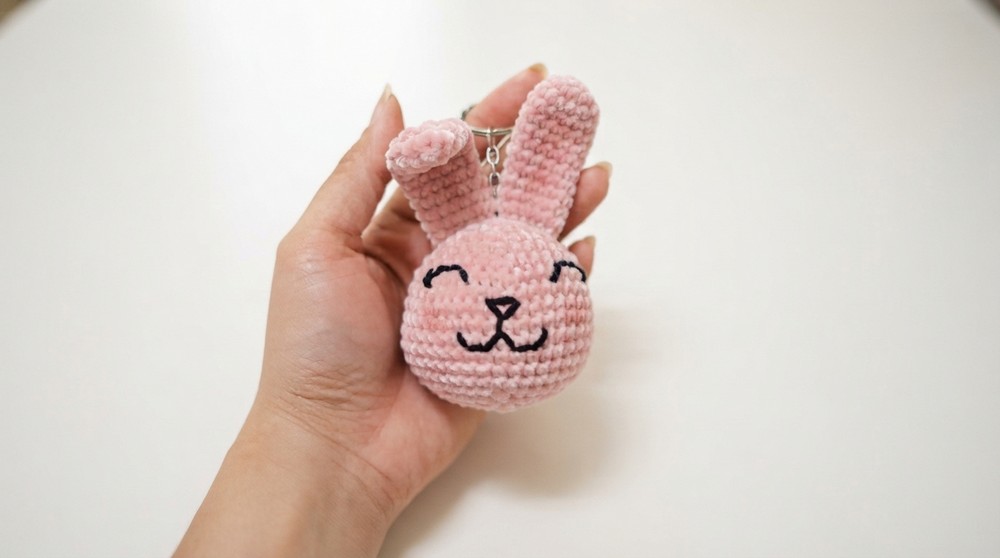
Crochet Bunny Keychain Pattern
This pattern guides you through making an adorable amigurumi bunny keychain using straightforward crochet techniques. Perfect for beginners and intermediate crocheters alike, it focuses on working in continuous rounds, increasing and decreasing stitches to shape the bunny’s round body and ears. Using single crochet stitches and invisible decreases ensures a smooth finish.
The bunny’s face is carefully embroidered to give it character and charm. Whether for personal use or as a thoughtful handmade gift, this charming keychain is a delightful project that combines creativity with practicality. Enjoy crafting this cute and functional accessory.
Notes
- The pattern is worked in continuous rounds (spiral); a stitch marker is essential to track the beginning of each round.
- No slip stitch at the end of rounds during body work.
- Use invisible decreases to avoid holes in shaping.
- Stuff firmly to maintain roundness while decreasing.
- Adjust size by changing yarn and hook size or extending rounds.
Skill Level
Intermediate beginner: Basic knowledge of crochet is required, including chain (ch), single crochet (sc), increase (inc), and decrease (dec) stitches. Ability to work with spiral rounds and invisible decreases is helpful.
Materials
- White cotton yarn (or acrylic yarn of any color)
- 3.5 mm crochet hook
- Toy stuffing (polyester fiberfill recommended)
- Black yarn or thread for embroidering the face
- Needle for embroidery and sewing pieces
- Safety pin or stitch marker
- Scissors
- Optional: blush on for cheeks
Measurements / Sizing
- Finished keychain size: approximately 7 cm (2.75 inches) tall (excluding ears) with the specified yarn and hook.
Gauge
- 18 sc x 22 rows = 4 inches (10 cm) using 3.5 mm hook and cotton yarn (not critical but useful for sizing).
Stitch Abbreviations
- ch = chain
- sc = single crochet
- inc = increase (2 sc in the same stitch)
- dec = invisible decrease (crochet two stitches together through front loops only)
- sl st = slip stitch
Special Stitches
Magic Ring (Magic Circle)
Make a loop, insert the hook, yarn over and pull a loop, chain 1, then work stitches inside the loop. Pull tail to close circle neatly.
Invisible Decrease
Insert hook through front loop of next stitch and then the following stitch, yarn over and pull through pulls both loops, then yarn over and pull through all loops on hook for a seamless decrease.
The Crochet Pattern
Body / Head
Round 1:
- Create a magic ring.
- Chain 1, make 6 sc into the ring.
- Pull tail tightly to close. (6 sc)
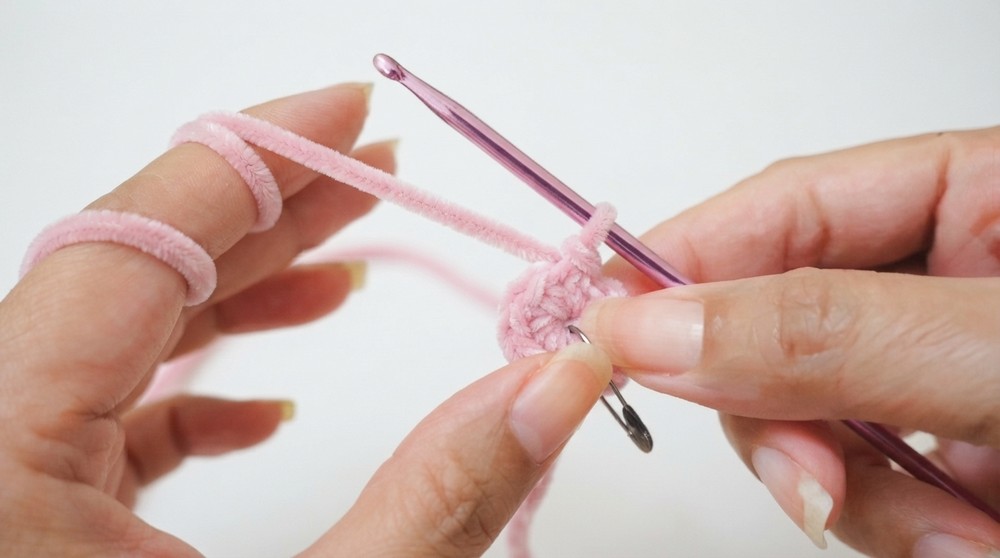
Round 2:
- Place stitch marker at last stitch.
- Inc in each stitch around (2 sc per stitch).
- Total: 12 sc
Round 3:
- 1 sc in first stitch, inc in next stitch; repeat around.
- Total: 18 sc
Round 4:
- 1 sc in each of next 2 stitches, inc in next stitch; repeat around.
- Total: 24 sc
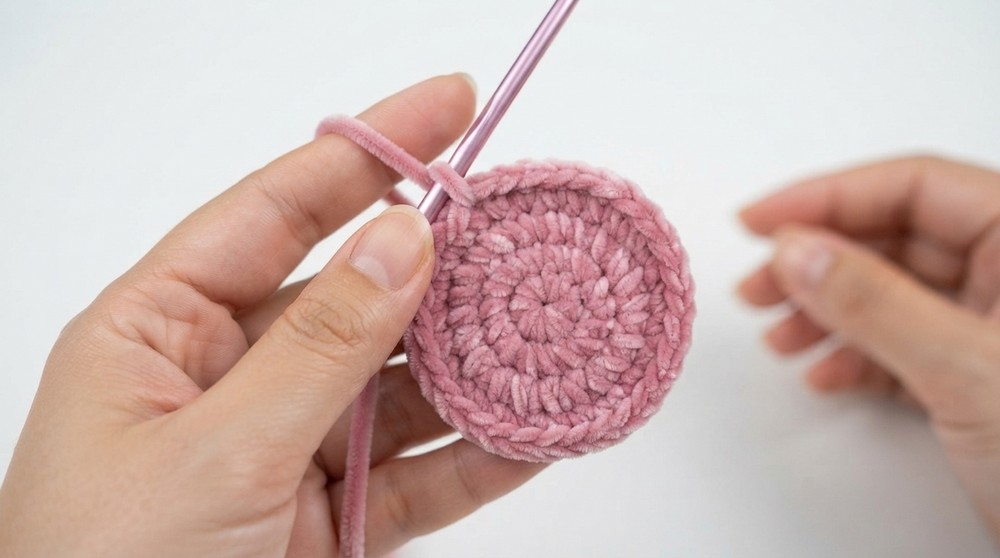
Round 5:
- 1 sc in each of next 3 stitches, inc in next stitch; repeat around.
- Total: 30 sc
Round 6:
- 1 sc in each of next 4 stitches, inc in next stitch; repeat around.
- Total: 36 sc
Round 7:
- 1 sc in each of next 5 stitches, inc in next stitch; repeat around.
- Total: 42 sc
You have completed increases.
Rounds 8 to 14:
- Sc evenly around (no inc or dec) for 7 rounds to maintain shape.
- Total stitches each round: 42 sc
Decreasing Rounds
Add toy stuffing firmly before starting decreases and as you progress to keep the shape.
Round 15:
- 1 sc in each of next 5 stitches, invisible dec over next 2 stitches; repeat around.
- Total: 36 sc
Round 16:
- 1 sc in each of next 4 stitches, invisible dec over next 2 stitches; repeat around.
- Total: 30 sc
Round 17:
- 1 sc in each of next 3 stitches, invisible dec over next 2 stitches; repeat around.
- Total: 24 sc
Round 18:
- 1 sc in each of next 2 stitches, invisible dec over next 2 stitches; repeat around.
- Total: 18 sc
Round 19:
- 1 sc in first stitch, invisible dec over next 2 stitches; repeat around.
- Total: 12 sc
Round 20:
- Invisible dec all around.
- Total: 6 sc
- Slip stitch in next stitch, chain 1, fasten off leaving a long tail.
- Use yarn needle to sew the hole closed by weaving in and out until closed.
- Insert needle into center and cut the extra yarn.
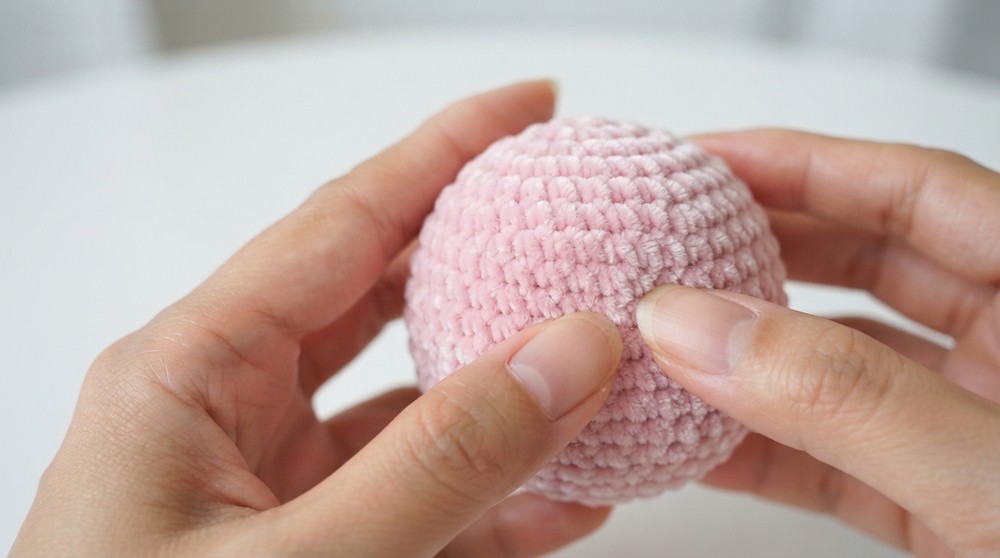
Face Embroidery
- Using black yarn or thread, embroider the eyes.
- The eyes are placed under the 1st and last increase stitches of the row after the increases (visible as bumps).
- Count 7 stitches from each side of the increase for even placement and embroider small round eyes.
Ears (Make 2)
Round 1:
- Magic ring, chain 1, 6 sc into the ring.
- Pull tail tight to close. (6 sc)
Round 2:
- Place stitch marker at last stitch.
- Inc in each stitch around (2 sc per stitch).
- Total: 12 sc
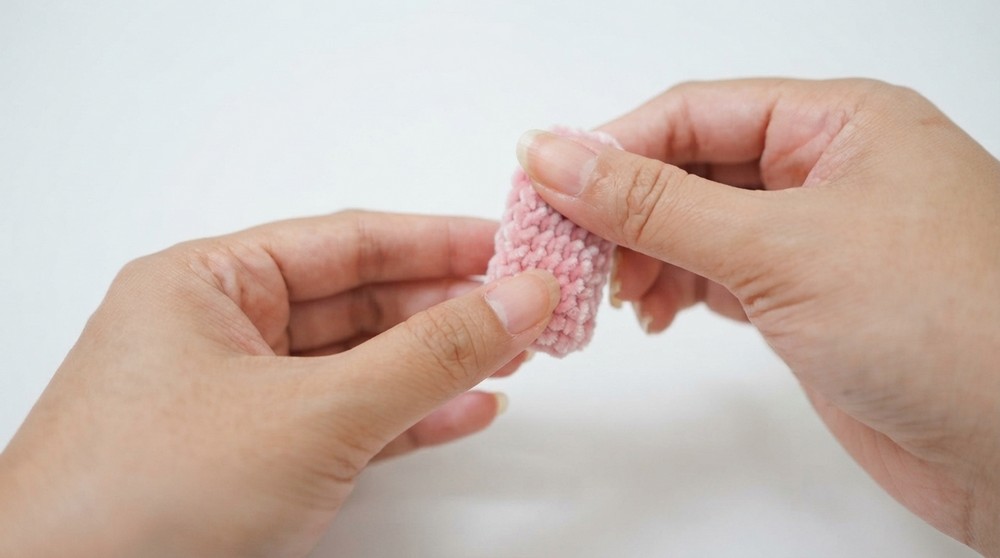
Rounds 3 to 12:
- Sc evenly around for 10 rounds
- Total stays 12 sc per round.
- Slip stitch in next stitch, chain 1, fasten off leaving tail for sewing.
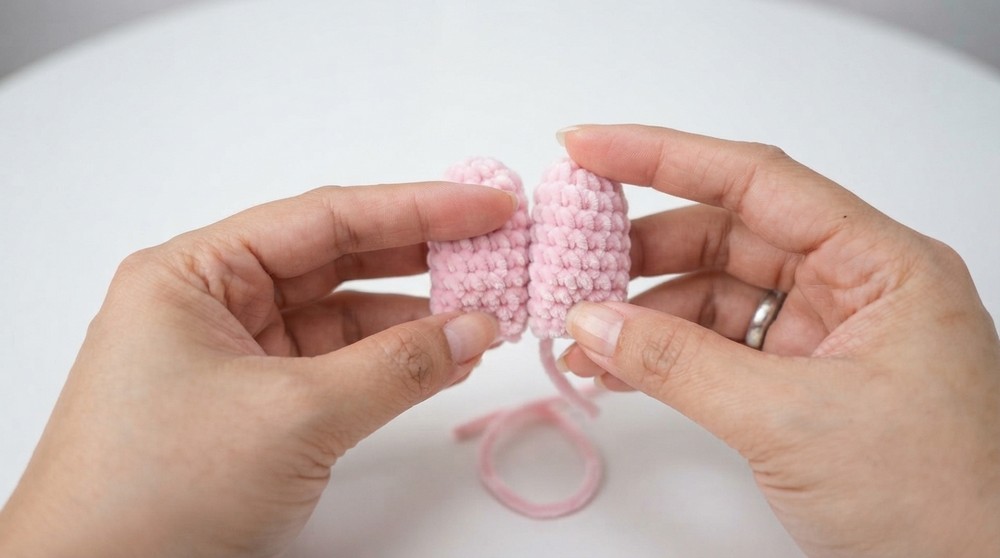
Assembly & Finished Size
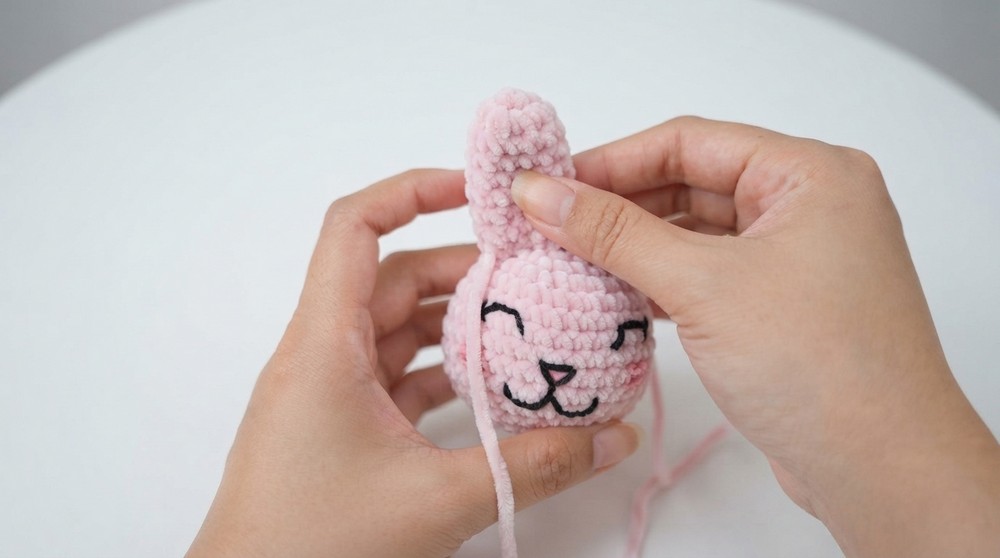
- Sew ears onto the upper sides of the bunny’s head securely.
- Attach a keyring to the top or to the ears as desired.
- Add optional blush on cheeks with a makeup brush for a cute finishing touch.
- Final bunny keychain measures approximately 7 cm tall (without ears) and 10 cm tall including ears.
Conclusion
This amigurumi bunny keychain is a delightful and simple project for crocheters seeking a cute accessory to gift or use daily. The pattern highlights fundamental amigurumi techniques such as working in spiral rounds, shaping via increases and decreases, and sewing parts neatly together. With careful stuffing and embroidery, the finished bunny showcases charming personality in a compact size. Make yours with your favorite yarn colors and enjoy gifting or personalizing your belongings. Happy hooking.
Quick Overview of Pattern
- Crochet the bunny head and body in continuous rounds using single crochet stitches
- Use increasing rounds to shape the ball-like body
- Single crochet rounds to maintain shape after increases
- Decreasing rounds to close the bunny’s form neatly
- Embroider facial features with black yarn
- Crochet and attach ears separately
- Assemble with stuffing for a firm and neat finish