
Adorable Winnie the Pooh Free Amigurumi Crochet Pattern
Create your favorite cuddly classic with this free crochet WINNIE THE POOH amigurumi pattern, perfect for gifting, decorating, or treasuring forever!
For anyone who loves cozy and nostalgic crochet projects, the free crochet WINNIE THE POOH AMIGURUMI pattern is a true gem. This adorable amigurumi brings the beloved bear to life with a soft, rounded shape and a cuddly texture that’s perfect for snuggling or displaying on a shelf. The design captures Pooh’s classic look—his friendly face, his tiny red shirt, and that unmistakable plumpness—making it instantly recognizable and irresistibly cute.
Crochet Winnie the Pooh Plush – Free Amigurumi Pattern
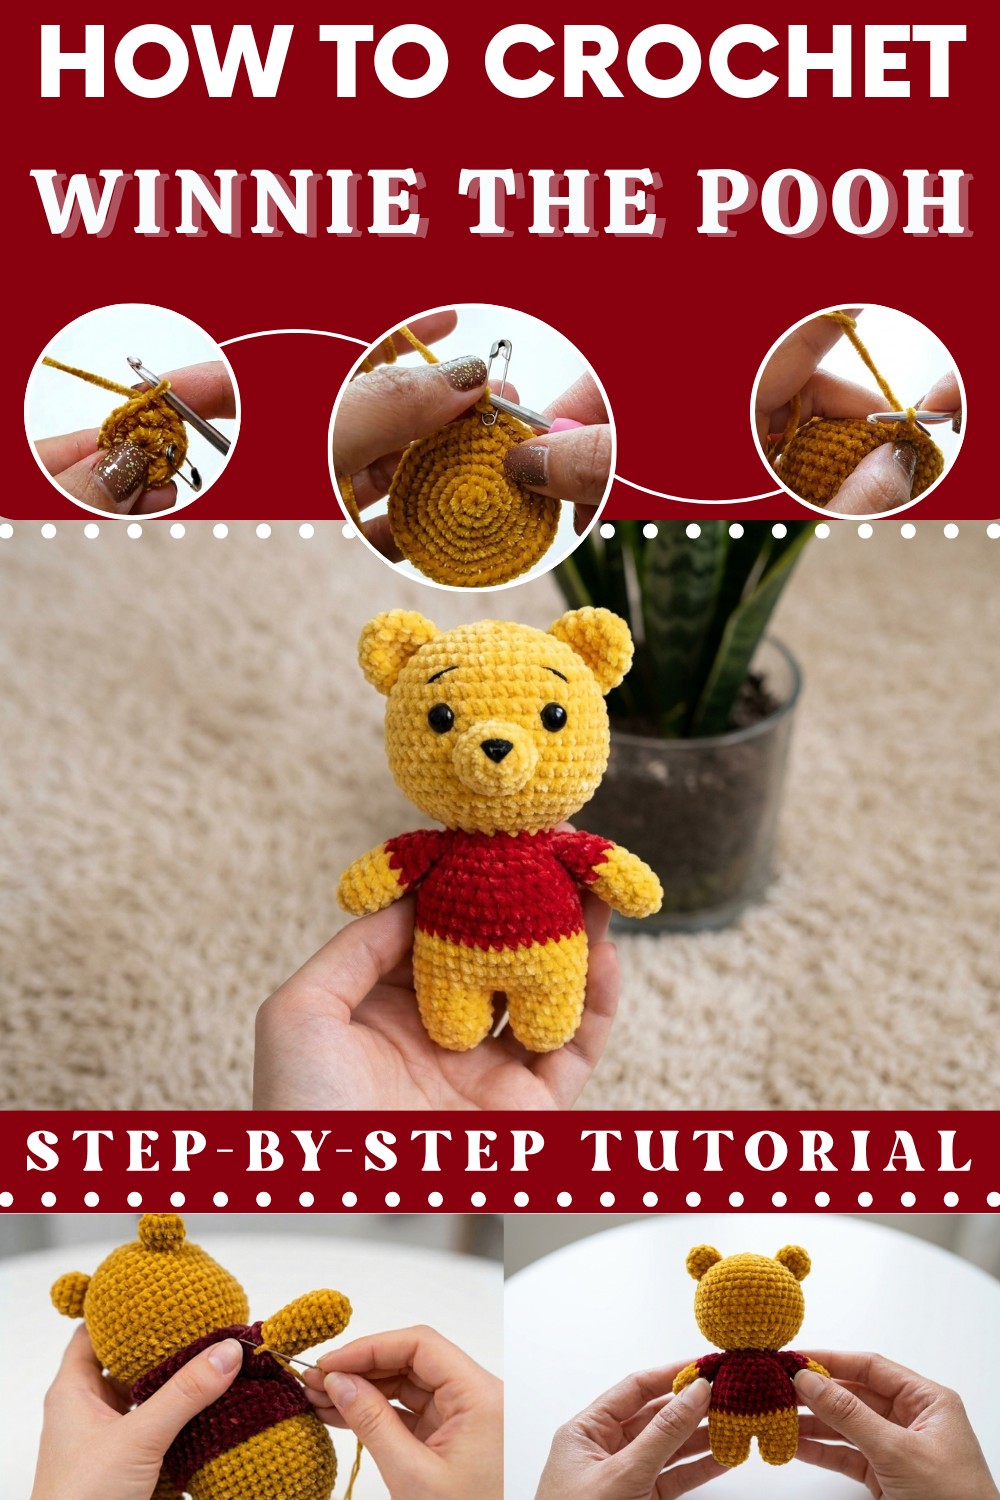
This pattern is great for crocheters with some basic amigurumi experience who want a rewarding project that’s not too complicated. It usually creates a doll about 7 to 9 inches tall, but adjusting the hook size or yarn weight can easily change the dimensions if you want a smaller or larger Pooh. The construction involves working mainly in continuous rounds with simple stitches, along with some color changes and embroidery to highlight Pooh’s facial features and shirt details. Using stitch markers and stuffing firmly during assembly helps keep the shape neat and durable.
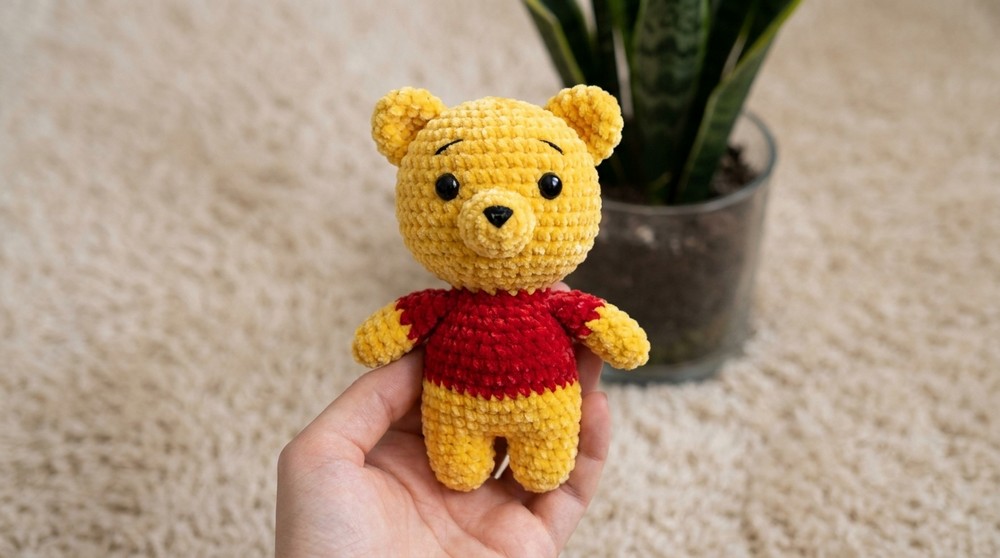
The heart of this design comes from a love for the innocence and warmth that Winnie the Pooh represents. I recommend using a soft, worsted weight acrylic or cotton blend because the smooth yarn nicely shows off tight stitches and holds up well to handling. These amigurumis make sweet gifts for baby showers, birthdays, or holiday surprises and they’re wonderful for adding your own touch, whether it’s a tiny honey pot accessory or embroidered expressions. It’s a joyful project that invites creativity and lots of smiles.
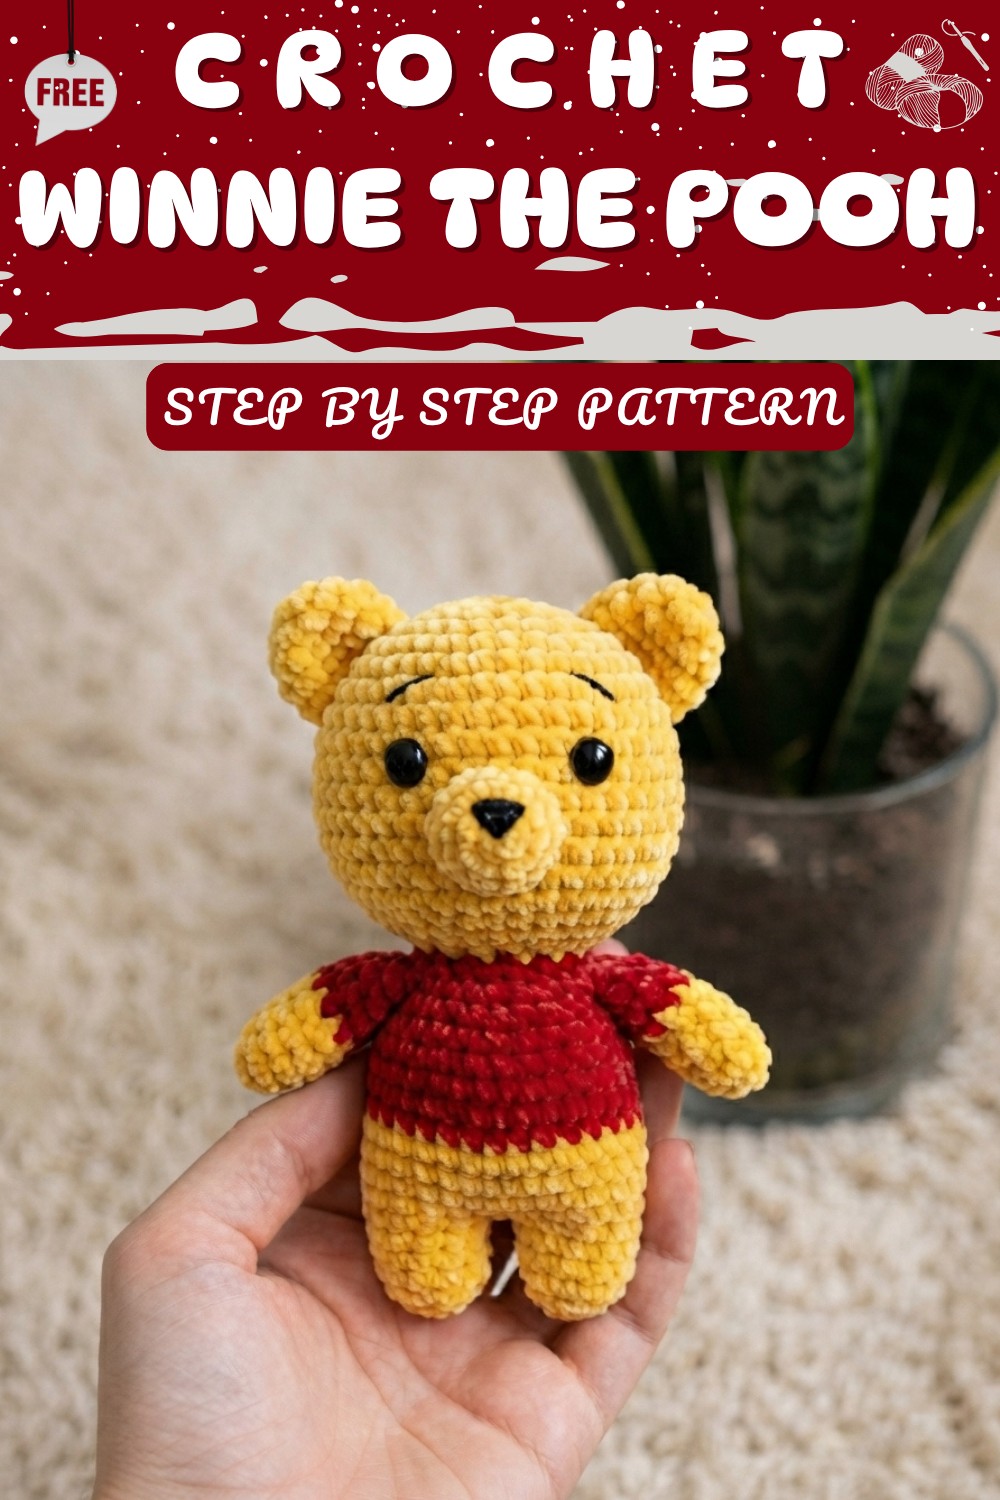
Amigurumi Winnie the Pooh Crochet Pattern
Create your own cuddly, classic amigurumi Winnie the Pooh with this beginner-friendly crochet pattern! This design uses simple increases, decreases, and single crochet, worked in continuous rounds. The main body is seamlessly shaped, and joined details like ears, limbs, and nose are made separately and sewn on. The instructions are written in a clear, easy-to-follow format—perfect for new and experienced amigurumi makers.
Materials
- Yellow cotton or acrylic yarn (main color)
- Red cotton or acrylic yarn (shirt)
- Black yarn/thread (nose, embroidery)
- 3.0 mm crochet hook
- Small amount of toy stuffing (polyfill)
- Tapestry needle
- Scissors
- Stitch marker or safety pin
- 2 Small black safety eyes (or black yarn to embroider eyes)
Measurements / Sizing
- Finished height: approx. 14–16 cm (5.5–6.5 inches) when using recommended materials.
- Sturdiness and height can vary depending on yarn and tension.
Gauge
- Gauge is not critical for this amigurumi, but for reference:
10 sc x 10 rows = 4 cm x 4 cm
Stitch Abbreviations
- sc = single crochet
- inc = increase (2 sc in one stitch)
- dec = invisible decrease (see below)
- MR = magic ring (adjustable ring)
- sl st = slip stitch
- ch = chain
- FO = fasten off
Special Stitches
- Invisible Decrease (dec): Insert hook into front loops only of next two stitches. Yarn over and pull through both loops (2 loops on hook), yarn over and pull through both loops on hook.
Pattern Notes
- Work the entire pattern using continuous spirals (do not join rounds with a slip stitch unless indicated). Use a stitch marker to easily identify the start of each round.
- Change colors as described, pulling through the new color on the final pull-through of the last stitch of the previous color.
- Adjust the size by altering your hook or yarn thickness.
- Stuff each piece as you go, especially before closing each section.
- For all increases, work 2 single crochets in same stitch.
- All decreases are invisible unless noted otherwise.
- The nose, ears, and arms are sewn on last.
Skill Level
Beginner to Adventurous Beginner
Knowledge of single crochet, increase, and invisible decrease, working in the round.
The Crochet Pattern
Head & Body (Worked as one piece)
Start with yellow yarn and 3 mm hook.
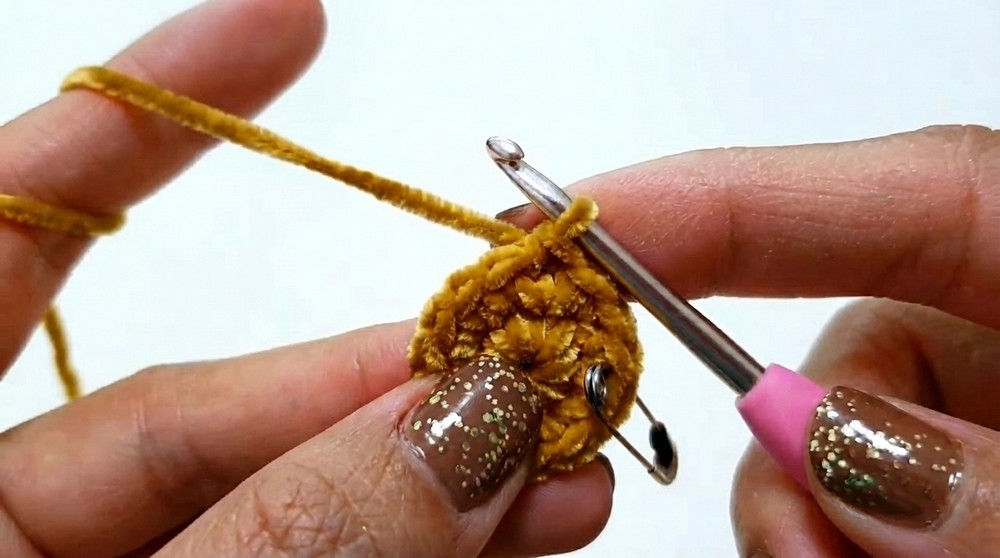
- Make a magic ring (MR), ch 1. Work 6 sc into MR. (6)
- Place marker in last st. Increase (2 sc in each stitch around)—12 sc.
- (Sc in next, inc) around—18 sc.
- (Sc in next 2, inc) around—24 sc.
- (Sc in next 3, inc) around—30 sc.
- (Sc in next 4, inc) around—36 sc.
- (Sc in next 5, inc) around—42 sc.
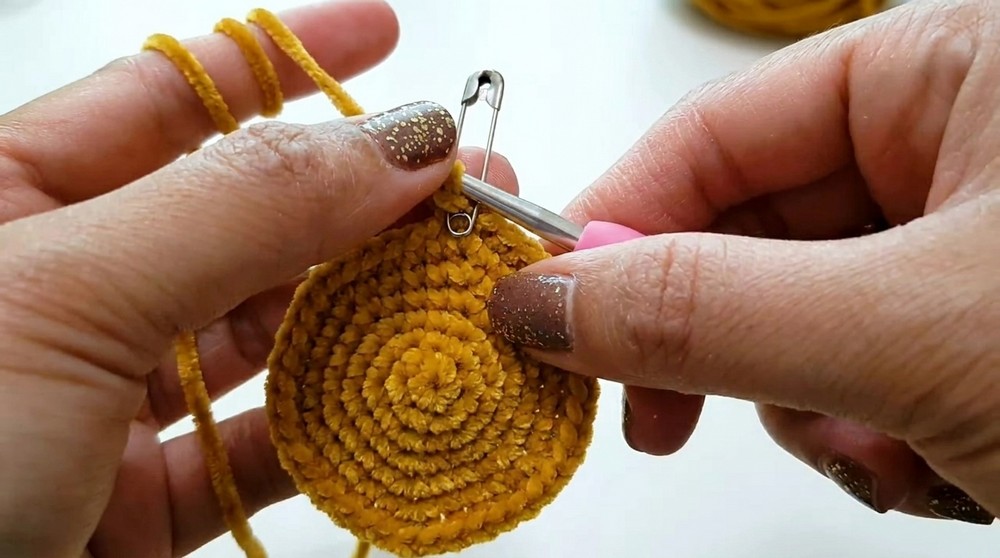
Continue even rounds:
8–14. Sc in each st around—42 sc each round (7 rounds).
Decrease Section:
15. (Sc in next 5, dec) around—36 sc.
- (Sc in next 4, dec) around—30 sc.
- (Sc in next 3, dec) around—24 sc.
- (Sc in next 2, dec) around—18 sc.
- Stuff the head well.
- Sc in each st around—18 sc.
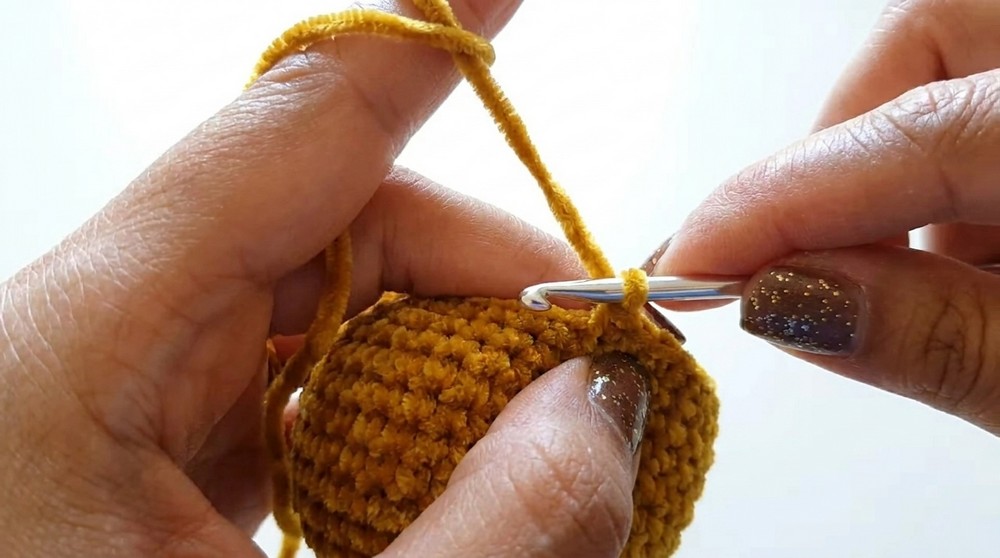
Change to red yarn for shirt:
20. Sc in each st around—18 sc. (Switch to red yarn in the last stitch of the previous round.)
- (Sc in next 2, inc) around—24 sc.
- (Sc in next 3, inc) around—30 sc.
- (Sc in next 4, inc) around—36 sc.
- (Sc in next 5, inc) around—42 sc.
- (Sc in next 6, inc) around—48 sc.
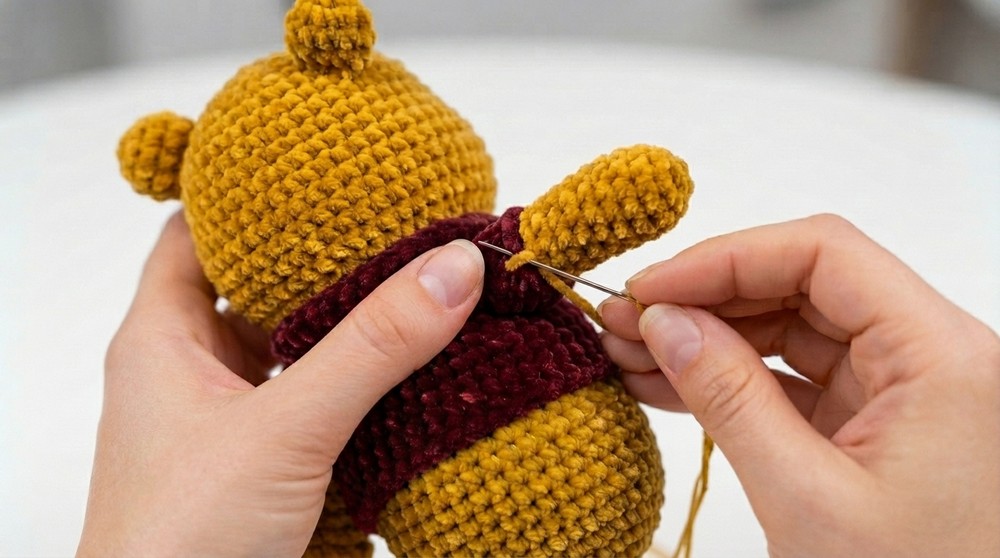
Arm Partitioning:
- Fold piece in half sideways. Place stitch markers to divide for arms:
- From first marked increase, count and mark 10 stitches for first arm, skip 14 stitches (for body front), then mark next 10 stitches for second arm.
- You should have 2 sets of 10 stitches marked out for arms, 28 stitches for the torso in the center.
Torso:
26–30. Sc in 28 torso stitches; work 5 rounds even. (28 sc each round)
- Continue to stuff as you go.
Change to yellow yarn for bottom:
31–32. Sc in each st around—28 sc per round; cut and secure red yarn.
- Stuff well after these rounds.
Legs (Make 2)
Each leg is started in the last round of the torso—split evenly.
- Join yellow yarn in one leg partition, ensuring 14 sc for each leg.
- Sc in each st around for 5 rounds (14 sc each round).
- Stuff legs firmly as you go.
- To close: sew the opening using the back loop only method. Insert needle in and out of back loops around the opening, pull tight, and fasten off.
Repeat for the second leg.
Arms (Make 2)
- With yellow yarn, attach to marked armhole, ch 1 (not counted).
- Sc in each of the 10 arm stitches around (first round).
- Sc in each st for a total of 5 rounds.
- Stuff lightly (or insert a little wire/scrap yarn for structure).
- Sew the opening closed using the back loop only, as for the legs.
- FO, leave a long tail for sewing.
Make two arms total.
Ears (Make 2)
- With yellow yarn and 3 mm hook, make MR, ch 1.
- Sc 6 into MR. (6)
- Inc in each stitch around—12 sc.
4–6. Sc in each st around—12 sc per round (3 rounds). - FO, leaving a long tail for sewing.
Make two ears. Flatten before sewing on.
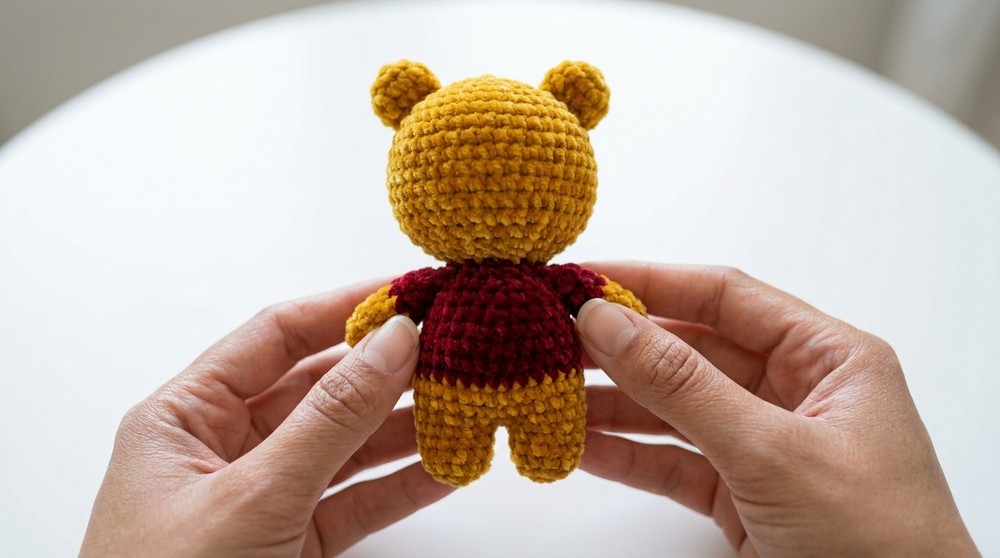
Nose
- With yellow yarn, MR, ch 1.
- Sc 6 into MR. Pull ring tight. (6)
- Inc in each stitch around—12 sc.
4–5. Sc in each st around—12 sc per round (2 rounds). - FO, leaving long tail.
Use black yarn/thread to embroider a small triangle on the nose piece for Pooh’s nose. Sew the nose to center of the face.
Assembly & Finished Size
- Sew the ears to the head, slightly angled and aligned with eyes.
- Sew the nose onto the lower portion of the face. Embroider Pooh's nose (triangle) and a small vertical line beneath.
- Attach the arms at fixed arm partitions on the side of the body.
- Insert and secure safety eyes (or embroider eyes) above the nose, evenly spaced.
- Stuff and sew on legs (if not already done).
- Weave in all ends securely and trim.
- Final size: approx. 14–16 cm (5.5–6.5 inches).
Quick Overview for Beginners
- Make a magic ring and increase rounds for the head.
- Work straight for the face, then decrease to shape the chin.
- Change to red yarn for the shirt section.
- Increase, then mark and create arm/leg partitions.
- Work torso even, change to yellow for Pooh’s bottom.
- Crochet legs and arms separately onto body.
- Make and sew on ears, nose; embroider nose details.
- Sew on arms, stuff as you go, and close openings neatly.
- Attach safety eyes and finish with any facial details.