
Cuddly Free Crochet Winnie The Pooh Pattern for Disney Fans
Snuggle up to a silly old bear using this Free Crochet Winnie The Pooh Pattern, a unique and fun project that fits right on any cozy nursery shelf.
A nostalgic warmth fills the room as golden-hued yarn transforms into a beloved childhood icon, capturing the essence of friendship. By following a Crochet Winnie The Pooh Pattern, you create a soulful masterpiece that breathes life into soft fibers, resulting in an elegant nursery accent. This artisanal approach allows for a level of character that mass-produced toys cannot replicate, offering a unique, tactile connection to a timeless story.
Squishy Free Crochet Winnie The Pooh Plush Pattern for Cozy Cuddles
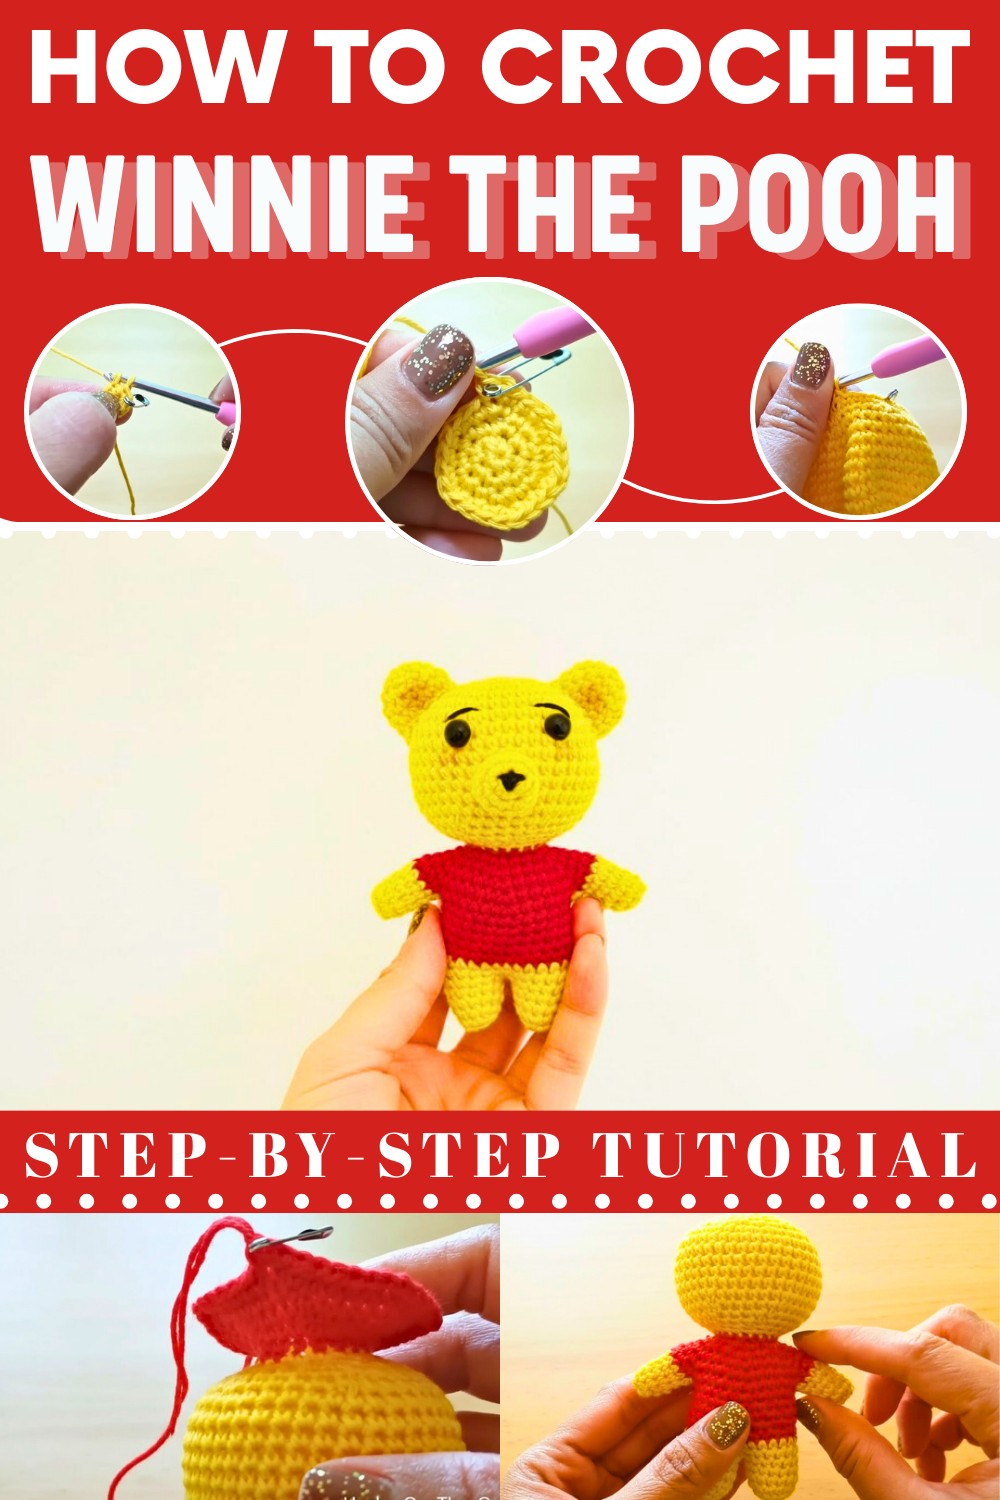
The benefits of this treasure include a durable, eco-friendly alternative to synthetic plushies. Its versatile design can be scaled from a tiny keychain to a large, huggable friend, making it perfect for gifting. The meditative crocheting process provides tranquility, while the sturdy construction ensures years of affection.

Visually, the finished work radiates a classic aesthetic with its signature honey-colored body and crimson sweater, hallmarks of a Crochet Winnie The Pooh Pattern. This blend of sophisticated whimsy and heartfelt craftsmanship makes it a symbol of enduring grace.
How to Crochet Amigurumi Winnie the Pooh
Materials Needed
To start this project, gather the following materials:
- Yellow and red yarn (cotton or acrylic)
- Crochet hook (3mm)
- Toy stuffing (for filling)
- Safety eyes (to add to the face)
- Black thread (for details like the nose)
- Scissors
- Needle (for sewing)
- Safety pin (to use as a stitch marker)
Step-by-Step Details
1. Starting the Head
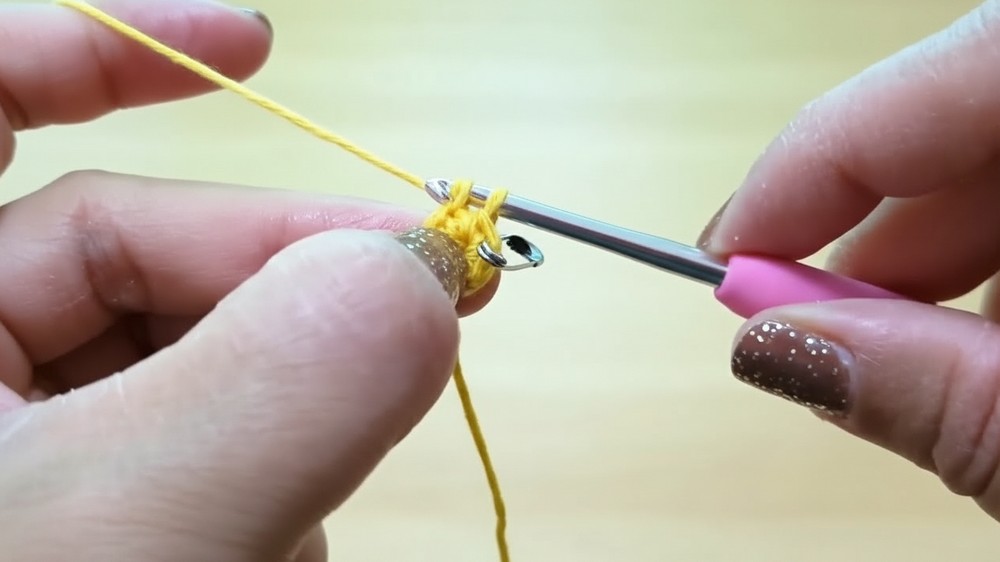
- Use yellow yarn and create a magic ring.
- Round 1: Crochet 6 single crochets inside the magic ring and pull the tail tightly to close the loop.
- Insert a stitch marker in the last stitch to help track the beginning of each round.
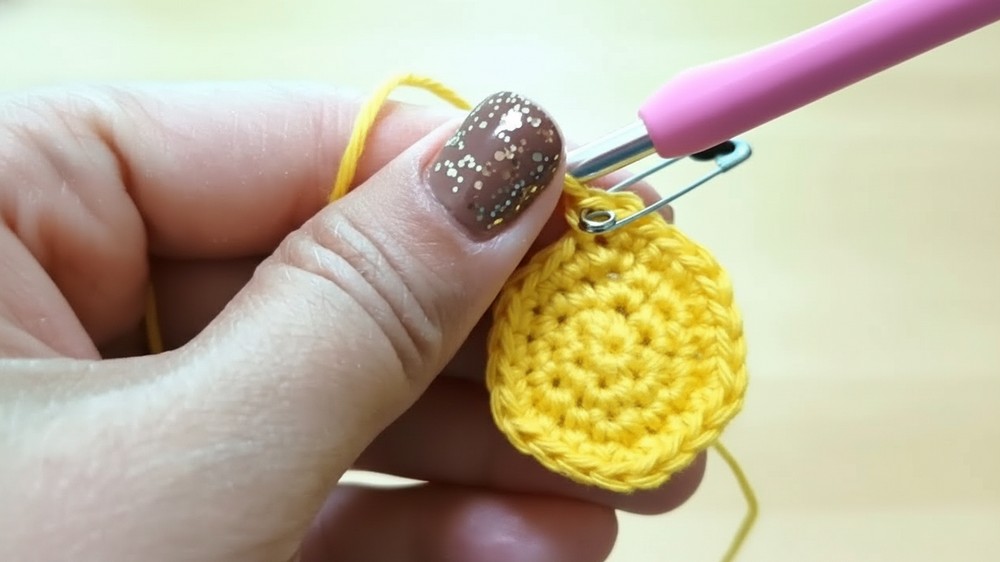
- Round 2: Work 2 single crochets in each stitch (12 stitches at the end).
- Round 3: Alternate between 1 single crochet in one stitch and 2 single crochets in the next stitch until the end (18 stitches).
- Continue increasing with the pattern:
- Round 4: 1 SC in the next 2 stitches, increase in the 3rd stitch (24 stitches at the end).
- Round 5: 1 SC in the next 3 stitches, increase in the 4th stitch (30 stitches).
- Round 6: 1 SC in the next 4 stitches, increase in the 5th stitch (36 stitches).
- Round 7: 1 SC in the next 5 stitches, increase in the 6th stitch (42 stitches).
- Round 8–14: Work 7 rounds of single crochet only (42 stitches each round).
2. Decreasing for the Head
- Begin the decreasing process as follows:
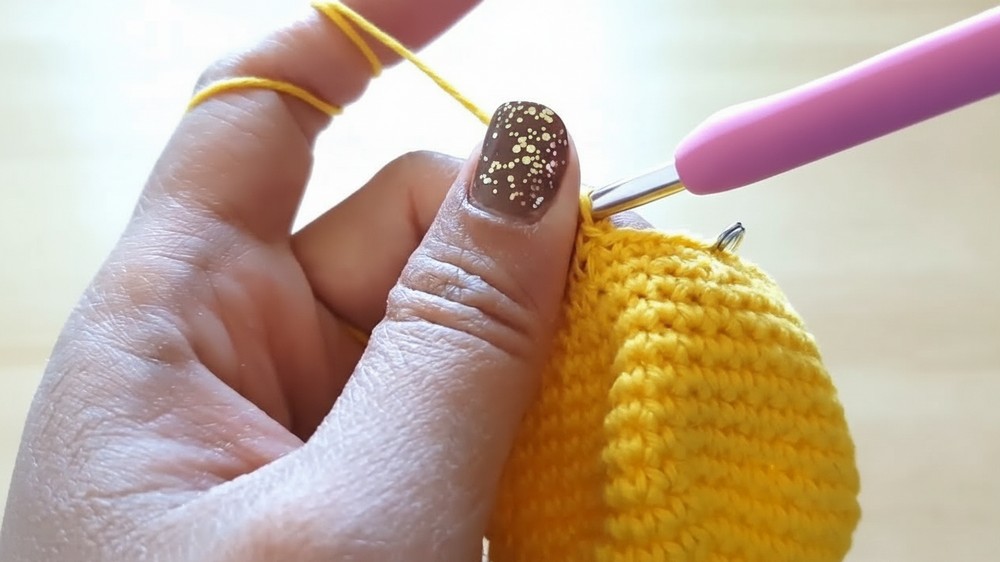
- Round 15: 1 SC in the next 5 stitches, then work an invisible decrease in the next 2 stitches (36 stitches).
- Round 16: 1 SC in the next 4 stitches, then an invisible decrease (30 stitches).
- Round 17: 1 SC in the next 3 stitches, then decrease (24 stitches).
- Round 18: 1 SC in the next 2 stitches, then decrease (18 stitches).
- Stuff the head with toy stuffing for structure.
- Round 19: Work single crochet evenly (18 stitches), then change yarn to red yarn for the shirt.
3. Creating the Body
- Round 20: Using red yarn, work a single crochet evenly (18 stitches).
- Trim the yellow yarn off and continue these rounds with red:
- Round 21: 1 SC in the next 2 stitches, then increase (24 stitches).
- Round 22: 1 SC in the next 3 stitches, then increase (30 stitches).
- Round 23: 1 SC in the next 4 stitches, then increase (36 stitches).
- Round 24: 1 SC in the next 5 stitches, then increase (42 stitches).
- Round 25: 1 SC in the next 6 stitches, then increase (48 stitches).
- Fold the red body, evenly mark and partition 10 stitches on each side for the arms using stitch markers. Continue with 5 rounds of single crochet (28 stitches per round).
- Switch back to yellow yarn, create 2 rounds of single crochet, then stuff the body with toy stuffing.
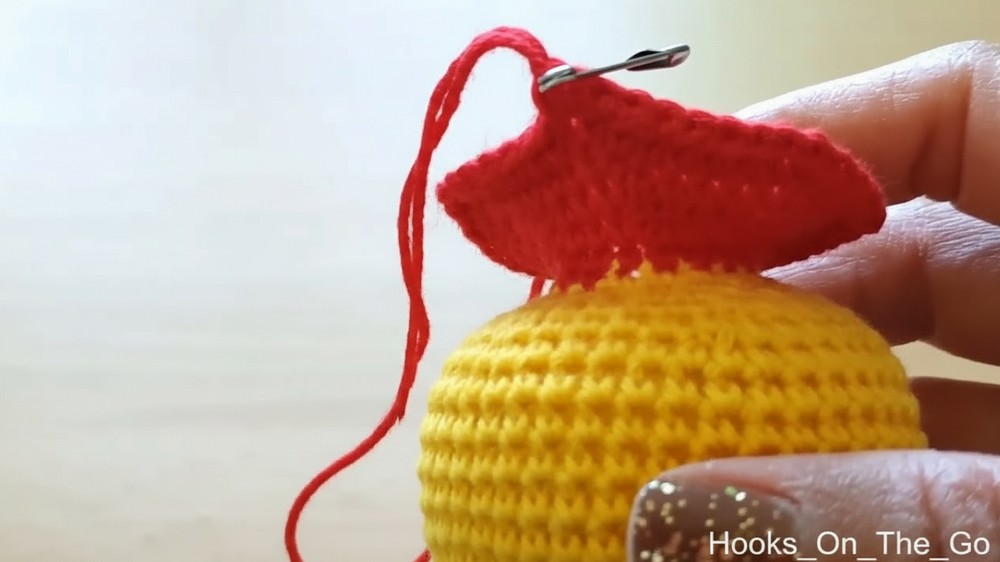
4. Creating the Legs
- Divide the remaining 28 stitches into 14 stitches for each leg.
- Attach the yellow yarn to one side and make 5 rounds of single crochet for each leg.
- Add stuffing, sew the legs closed by working in the back loop only, and finish by weaving in the ends.

5. Making the Arms
- Attach yellow yarn at one of the arm partitions created earlier.
- Work 5 rounds of single crochet for the arms (10 stitches per round).
- Stuff the arms lightly as you go and close the hole using the back loop only technique, just like the legs.

6. Making the Ears
- Use yellow yarn to create 2 ears using the following steps:
- Round 1: Make a magic ring with 6 single crochets.
- Round 2: Work an increase in every stitch (12 stitches).
- Round 3-5: Work single crochet evenly.
- Chain 1, fasten off, and create a second ear. Sew both ears onto the head.
7. Creating the Nose
- For the nose:
- Round 1: Make a magic ring and 6 single crochets inside it.
- Round 2: Increase in every stitch (12 stitches).
- Round 3–4: Work single crochet evenly.
- Finish the nose and stitch black thread in a triangle shape for the face. Sew the nose onto the head.
8. Adding the Features
Attach safety eyes and sew the ears, arms, and nose to finalize Winnie the Pooh’s features. Stuff the character, secure any loose threads, and finish with tidy stitches.
Special Features
- Lovable Character Design: The amigurumi Winnie the Pooh has a classic and lovable design recognizable by kids and adults alike.
- Customizable Colors and Size: You can adjust the yarn color or size depending on your preferences.
- Beginner-Friendly: The pattern includes basic crochet techniques like magic rings, increases, and decreases—ideal for beginners.
Level of Difficulty
This project is rated as beginner to intermediate. The step-by-step structure and simple stitches make it beginner-friendly, but techniques like invisible decreases and sewing require intermediate skills.
Tutor's Suggestions
- Use cotton yarn for a neater, firmer finish. Acrylic yarn is softer and works well too.
- Always place a stitch marker in the last stitch of each round to avoid losing track of your round count.
- When stitching small details, sew securely to ensure durability, especially for toys meant for children.
- Stuff all parts of the amigurumi evenly and firmly for a polished shape.
Uses
- Collectible Item: Keep Winnie the Pooh as a fun addition to your crochet collection.
- Gift: It’s a thoughtful handmade gift for birthdays, holidays, or baby showers.
- Decor: Use it as a charming display piece for nurseries, desks, or shelves.
Tip
Always count your stitches at the end of each round to ensure accuracy. A small misstep early on can affect the shape and proportions of your amigurumi later.
Conclusion
This amigurumi Winnie the Pooh pattern is an enjoyable project that combines creativity with skill. With easy-to-follow steps, it’s a rewarding experience to see the beloved Pooh come to life. Whether you’re a beginner or a seasoned crocheter, this project offers a delightful way to improve your skills and create something truly special.