
Charming Crochet Tulip Plushie with Floral Elegance
Soft charm blossoms with Crochet Tulip Plushie Pattern, a floral-inspired creation that blends cuteness, coziness, and endless joy.
Tulips have long been admired as symbols of love, renewal, and the gentle beauty of spring, often brightening homes and celebrations with their vibrant charm. A tulip plushie captures that same sense of joy in a soft, lasting form, bringing both warmth and elegance into everyday life. This delightful piece goes beyond seasonal décor it can serve as a thoughtful gift, a cozy accent for a child’s room, or a comforting keepsake that never fades.
Whimsical Crochet Tulip Plushie for Spring Vibes
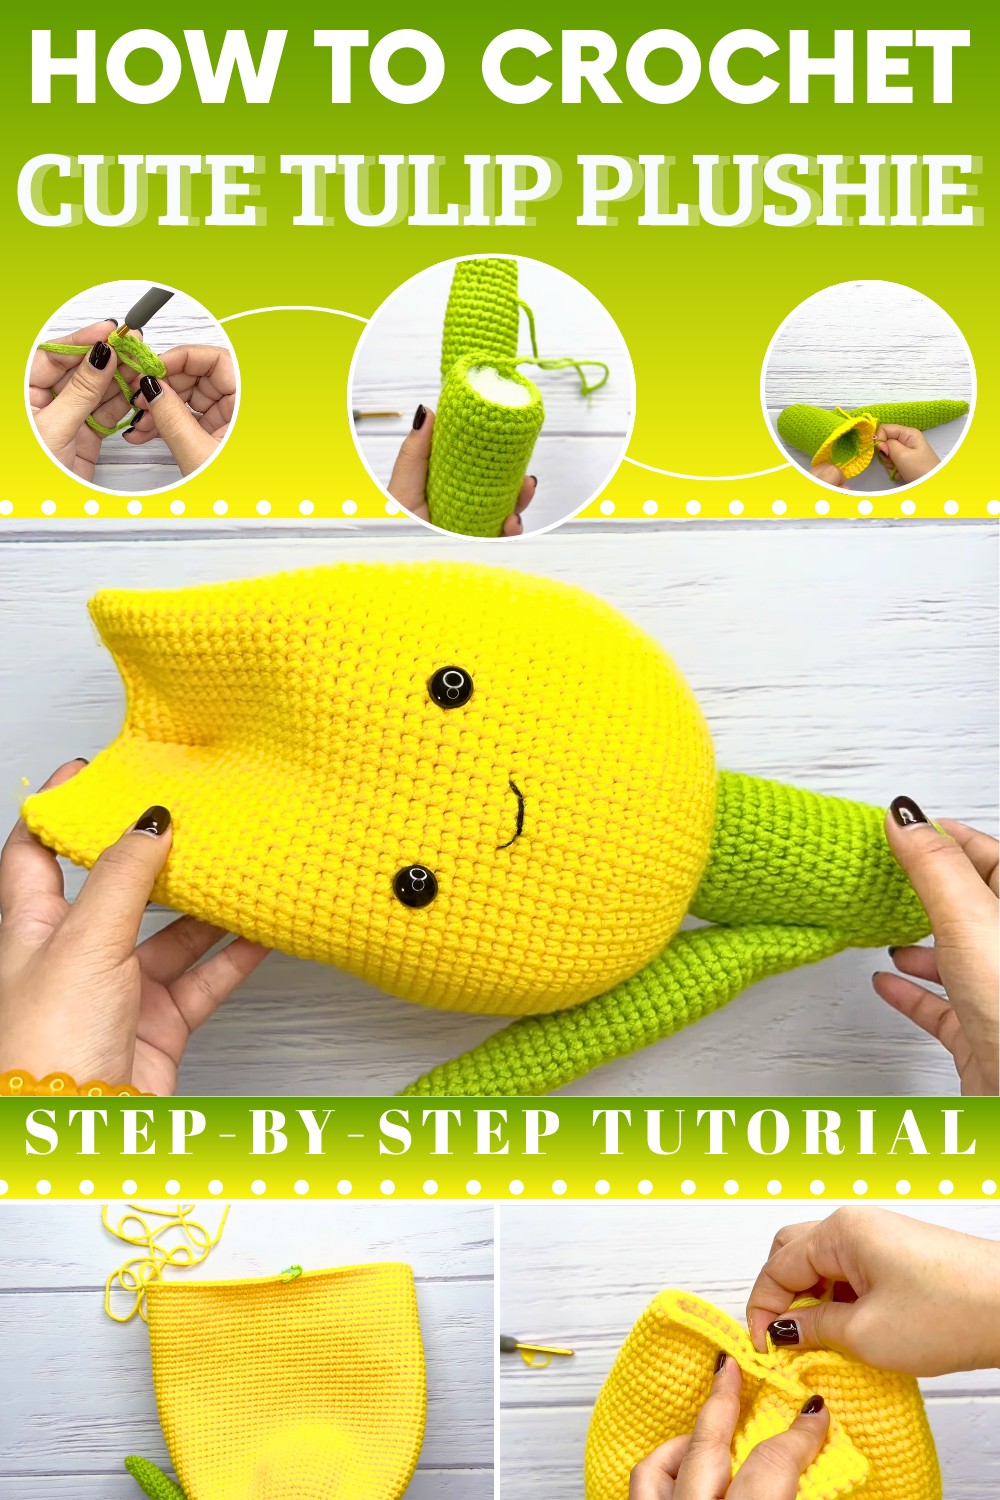
Each petal is shaped with careful detail, offering a lifelike softness that mimics the natural curve of real tulips while maintaining a whimsical charm. The stem and leaves add structure, allowing the plushie to stand beautifully on its own or be gathered into a cheerful bouquet. The tactile quality makes it especially appealing as a gentle toy or as a soothing decorative item, offering comfort and visual appeal in equal measure.
Adaptable in color and size, this tulip plushie can reflect the freshness of spring pastels or the bold richness of summer tones, making it versatile for personal preference or special occasions. Its durability ensures it remains a treasured piece for years, offering a graceful way to keep the timeless beauty of tulips close at hand throughout every season.
Materials
- Yellow yarn for the flower (or preferred color).
- Crochet hook.
- Stitch markers.
- Tapestry needle for assembling.
- Stuffing material for the plushie.
- Safety eyes and black yarn for the mouth (optional).

Part 1: Beginning the Crochet Tulip (Rounds 1–7)
Steps to Cast On and Prepare
- Slip Knot and Standing Single Crochet:
- Start with a slip knot on the hook and create a standing single crochet into the desired stitch.
- The tutor emphasizes working on the front loops only to achieve the desired shaping of the flower petals.
- Round 1:
- Single crochet into each of the next three stitches. Perform an increase (two single crochets into the same stitch) on the fourth stitch.
- Repeat this pattern around to complete one round and end with 30 stitches.
- Round 2:
- Single crochet into the first two stitches. Increase in the next stitch.
- Continue with one single crochet in the next four stitches, then increase. Repeat this sequence. End the round with 36 stitches.
- Rounds 3–7:
- Gradually increase the number of single crochet stitches between each increase per round:
- Round 3: Single crochet into five stitches, then increase (42 stitches).
- Round 4: Single crochet into six stitches, then increase (48 stitches).
- Round 5: Single crochet into seven stitches, then increase (54 stitches).
- Round 6: Single crochet into eight stitches, then increase (60 stitches).
- Round 7: Work one single crochet into each stitch around, with no increases.
- Gradually increase the number of single crochet stitches between each increase per round:
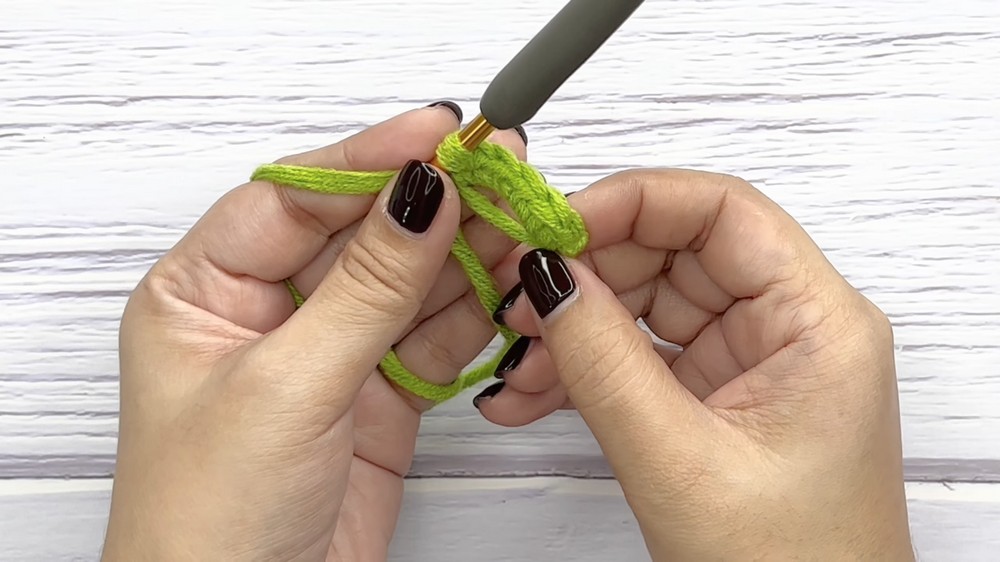

The tutor addresses securing loose yarn tails through weaving and emphasizes the importance of carefully tying knots to avoid unraveling. Additionally, the leaf can optionally be sewn onto the body at this stage to maintain shape as the flower expands.
Part 2: Adding Height and Finishing the Flower (Rounds 8–47)
Steps to Continue
- Rounds 8–15:
- Round 8: Single crochet into nine stitches, then increase (66 stitches).
- Round 9: Crochet one single stitch into each, with no increases.
- Round 10: Single crochet into five stitches and then increase; repeat the pattern. Finish with five remaining stitches at the end (72 stitches).
- Round 11: Crochet one single stitch into each stitch (72 stitches).
- Rounds 16–47:
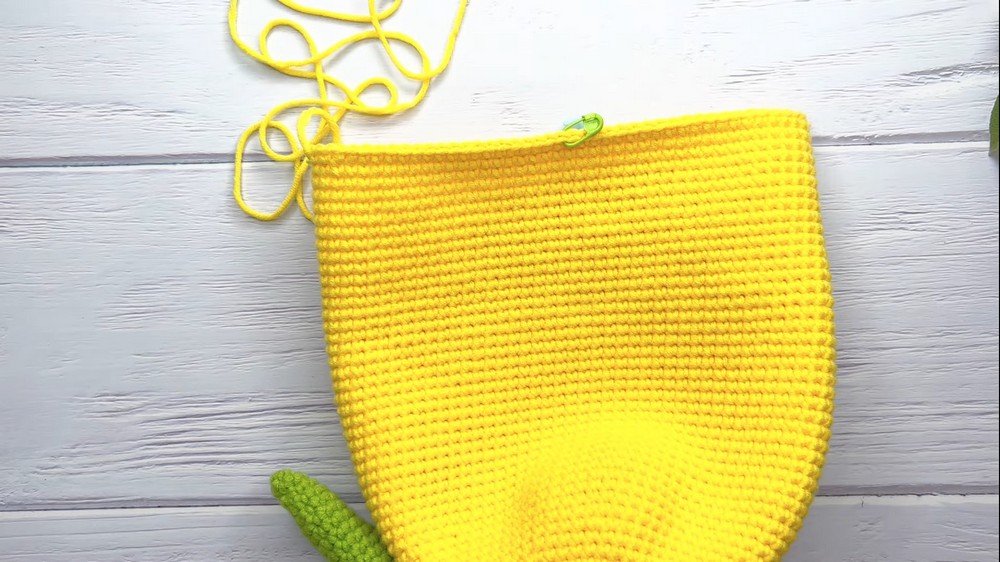
- Continue with one single crochet stitch into each stitch to add vertical height to the flower.
- The tutor reminds viewers to periodically add stuffing to ensure the plushie maintains its soft shape.

Adding the Face
The face of the plushie is optional:
- Attach 14-millimeter safety eyes midway through the flower (between rows 23–24), spaced 10 stitches apart.
- Create a small embroidered mouth using black yarn (lace weight, double-stranded).
- Secure facial elements with knots carefully tied on the back of the plushie.
Closing the Flower
- Stuffing: Finish adding stuffing inside the flower carefully. Ensure even distribution.
- Sewing the Corners:
- Use markers to identify four corner sections for closing. Sew each section together with running stitches.
- Return to the center after each seam to secure the plushie's round shape.

Special Features
- Customizable Design: Choose your yarn colors and face details, or omit facial features entirely for a minimalist plushie.
- Versatility: Use it as décor, a toy, or a heartfelt handmade gift.
- Compact Design: Lightweight, durable, and easy to manage.
Difficulty Level
This project is intermediate-level, requiring familiarity with single crochet, increases, working in rounds, and assembling parts. Beginners might find the details challenging, particularly the sewing and shaping techniques.
Tutor’s Suggestions
- Patience is key: The flower involves repetitive steps that can become tedious without focus.
- Weaving in loose ends: Secure threads at each stage to avoid unraveling later.
- Stuffing gradually: Adding stuffing incrementally prevents lumps while maintaining softness.
- Be mindful of details: When adding a face, carefully measure and count stitches to get symmetrical placement.
Final Tip
Be cautious when working with long yarn tails during sewing to prevent tangling and unraveling. Leaving an excessively short tail can complicate the task, whereas overly long tails should be managed with patience.
Conclusion
This tulip plushie crochet project is a beautiful way to showcase creativity and love for handmade gifts. With dedication to each step, intermediate skills, and attention to detail, the result is a delightful plushie that is perfect for various uses. Whether displayed in your home or given as a personalized gift, this project offers rewarding satisfaction through every stitch.