
Free Crochet Pumpkin Basket Pattern to Elevate Autumn Décor
Celebrate autumn with a Free Crochet Pumpkin Basket Pattern, perfect for adding cozy charm and functionality to your seasonal décor.
As the leaves turn and autumn sets in, there’s an undeniable charm in surrounding yourself with seasonal treasures that inspire comfort and warmth. A crochet pumpkin basket is an elegant way to bring the spirit of fall indoors, offering both beauty and functionality. With soft yarn mimicking the rich hues of the season, this basket carries a timeless charm that complements any space, from cozy tables to festive shelves. Its unique shape makes it an ideal holder for items like candy, small trinkets, or even yarn rolls, serving as both a centerpiece and a practical accessory for everyday use.
Free Crochet Pumpkin Basket Pattern You’ll Love
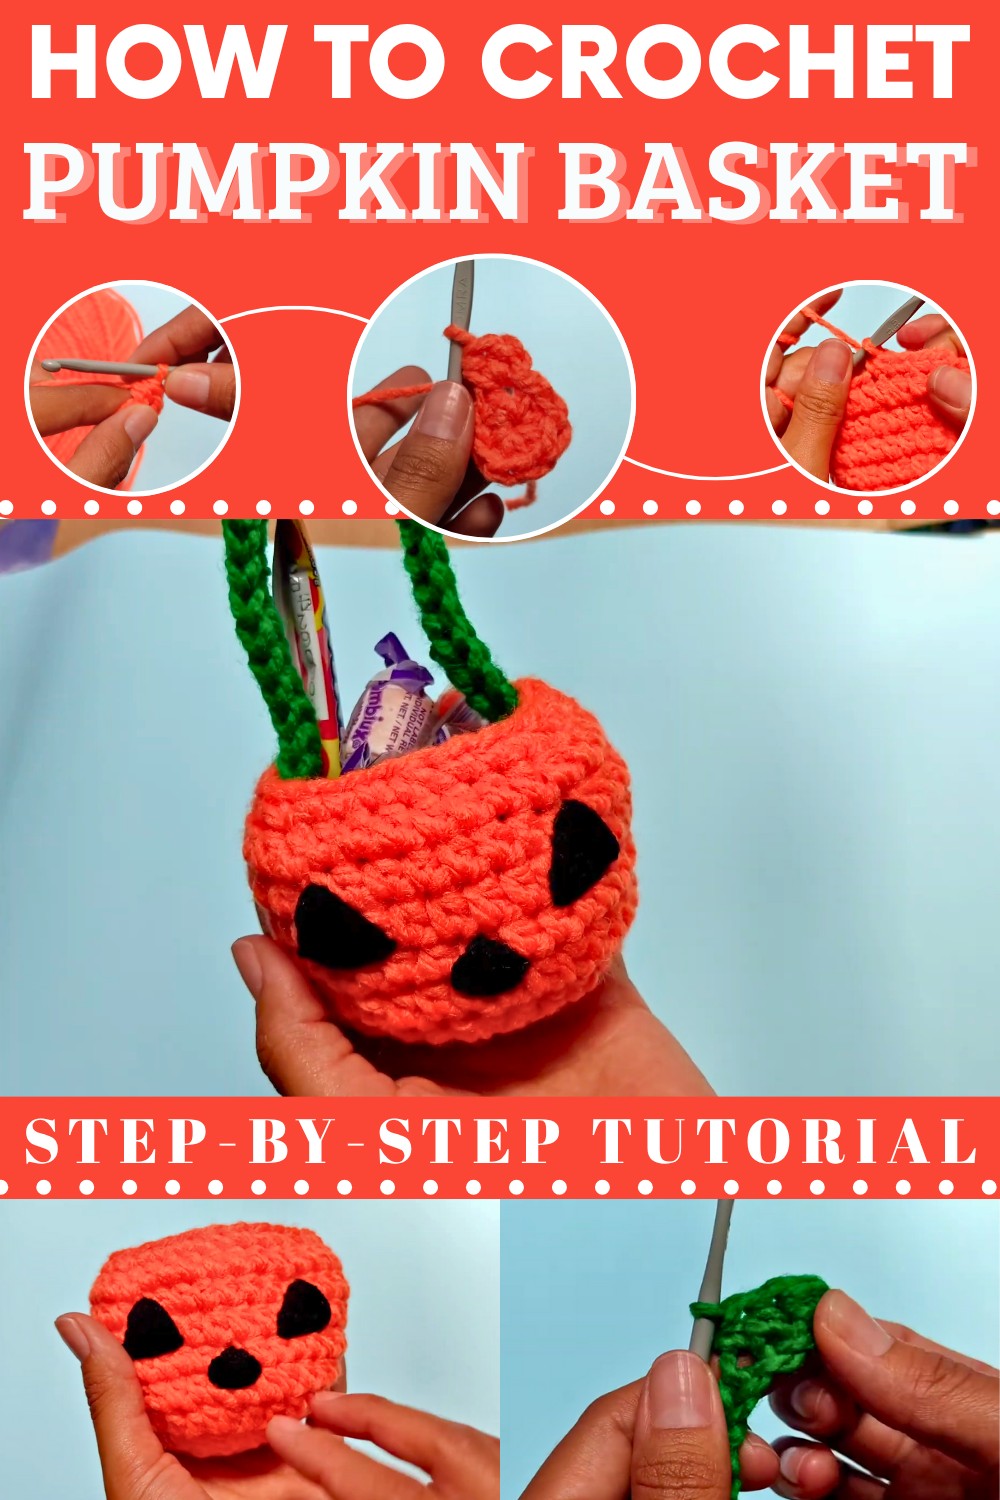
This masterpiece is not only visually captivating but also incredibly durable, promising long-lasting enjoyment throughout the season and beyond. With its ability to enhance festive gatherings or provide a personal touch during holidays like Halloween and Thanksgiving, the crochet pumpkin basket effortlessly shines as a thoughtful addition to your seasonal décor.
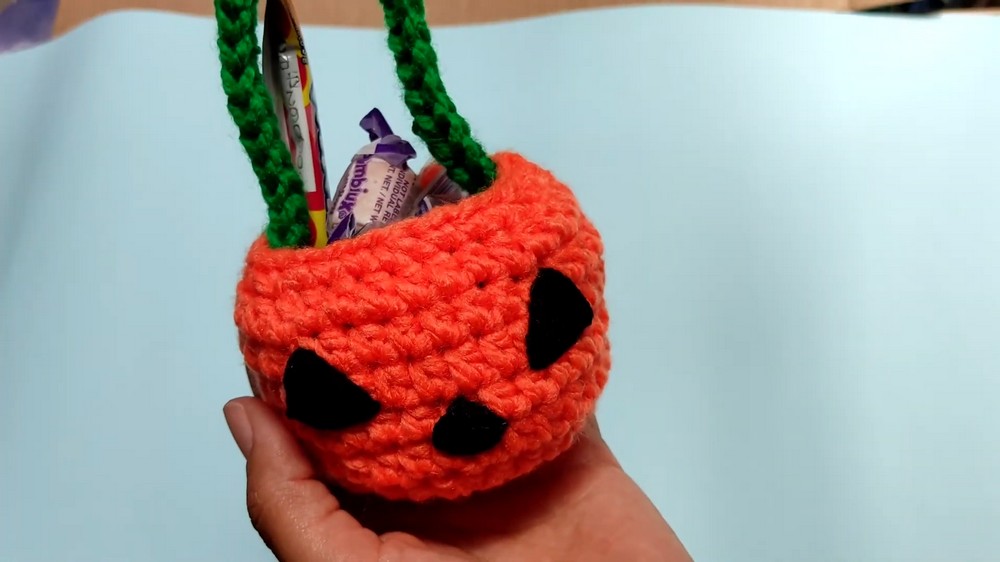
Whether it’s a gift or part of your autumn setup, this charming basket is certain to add warmth and character wherever it’s placed. Its understated elegance and timeless appeal make it a perfect companion for the cozy days of fall.
Crochet Pumpkin Basket Pattern
Materials List
- Yarn:
- Orange, thick yarn (e.g., chunky or aran weight, suitable for hats)
- Green yarn (for handle)
- Black yarn or embroidery floss (for face details, slightly thinner if possible)
- Hook: 4.5 mm crochet hook (adjust size depending on yarn thickness)
- Tapestry needle
- Scissors
- Fiberfill/stuffing
Key Abbreviations
| Abbreviation | Meaning |
|---|---|
| MR | Magic ring |
| ch | chain |
| sl st | slip stitch |
| hdc | half double crochet |
| sc | single crochet |
| dec | decrease (sc2tog) |
| st(s) | stitch(es) |
| FO | fasten off |
Special Notes
- Pattern is written in US crochet terminology.
- Work in joined rounds.
- For a larger zucchini, increase more in Rounds 2–4.
- Embroider or crochet face details as desired.
Pattern Instructions
Body of Zucchini/Pumpkin
With orange yarn and 4.5 mm hook:
Round 1:
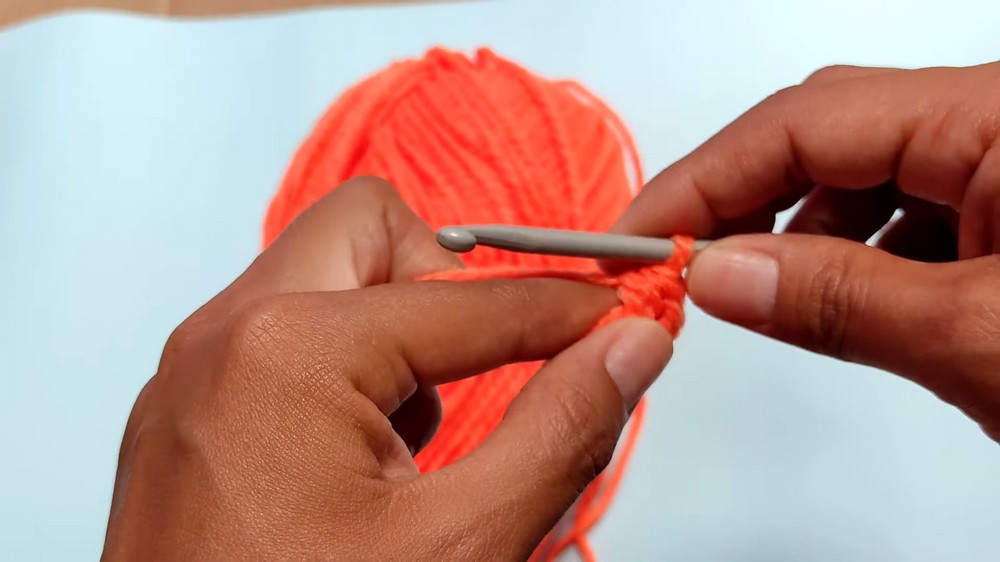
Make a magic ring.
Work 8 hdc into MR, pull tight, sl st to first hdc. (8 sts)
Round 2:
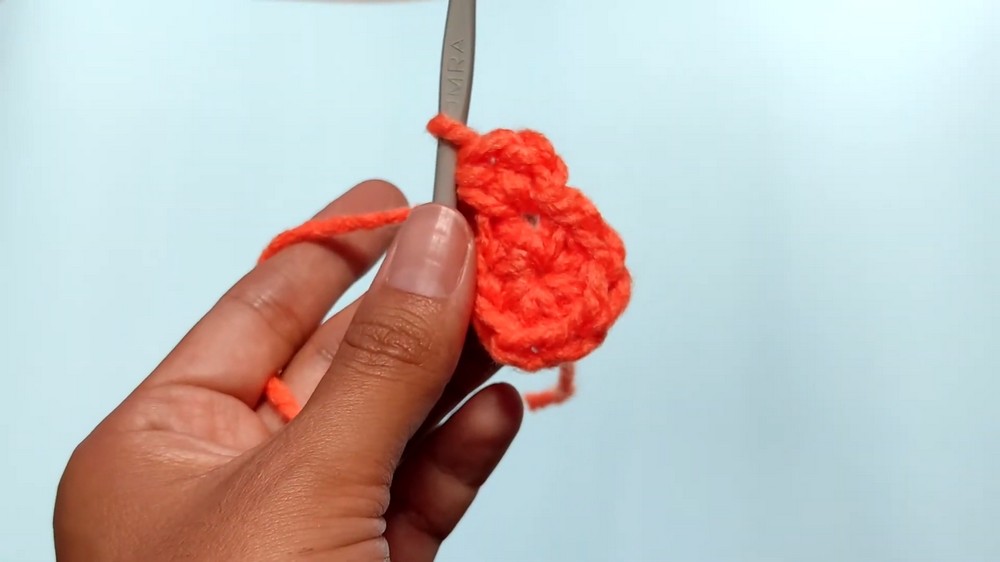
Ch 1, 2 hdc in each st around.
Sl st to first hdc. (16 sts)
Round 3:
Ch 1, (1 hdc in next st, 2 hdc in next st) around.
Sl st to first hdc. (24 sts)
Round 4:
Ch 1, (2 hdc in next st, 1 hdc in next 2 sts) around.
Sl st to first hdc. (32 sts)
Rounds 5-9:
Ch 1, hdc in each st around.
Sl st to first hdc.
(Repeat for 5 rounds; this builds the height of the zucchini.)
Decrease Row (Shape Top & Bottom)
Round 10:
Ch 1, (sc in next 3 sts, sc2tog/dec in next 2 sts) around.
Sl st to first sc.
(End with just three sc if not exact multiple, then join.)
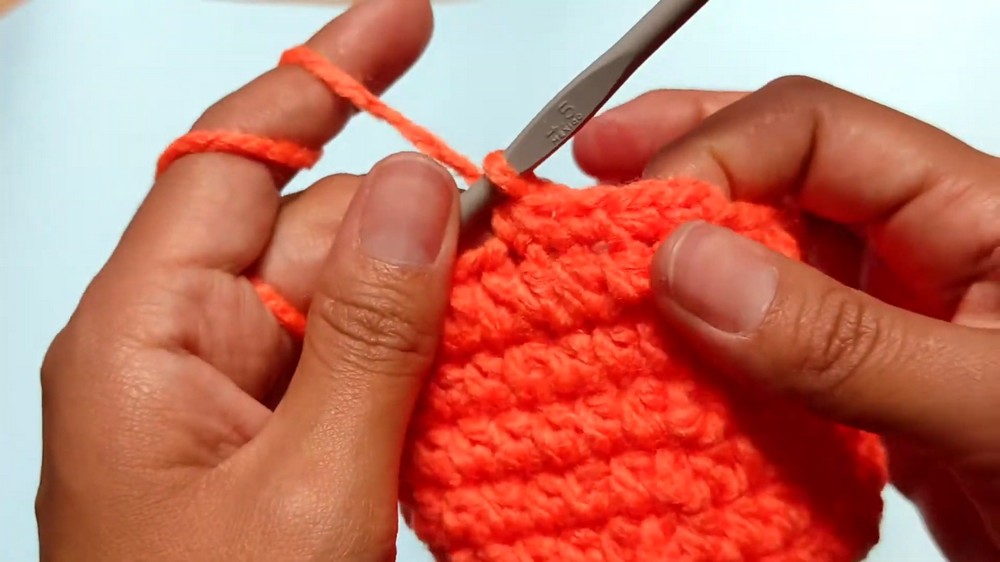
Fasten Off & Close
- Ch 1, cut yarn leaving a long tail.
- Use a tapestry needle to weave end through remaining stitches to close the hole.
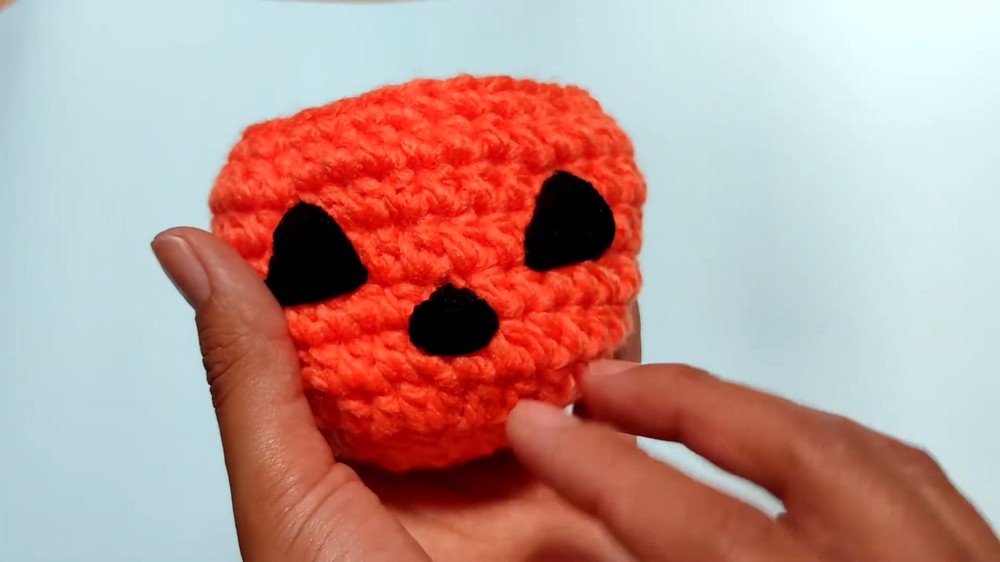
Face Details
With black yarn/embroidery floss and tapestry needle:
- On two rounds near the top (above decrease round), embroider two triangle eyes.
- Use a long strand, outline triangles, and fill them in with horizontal stitches.
- For a smaller triangle (nose), use same technique, centered below the eyes.
Alternatively, cut felt and glue on, or use safety eyes for a different look.
Handle/Stalk
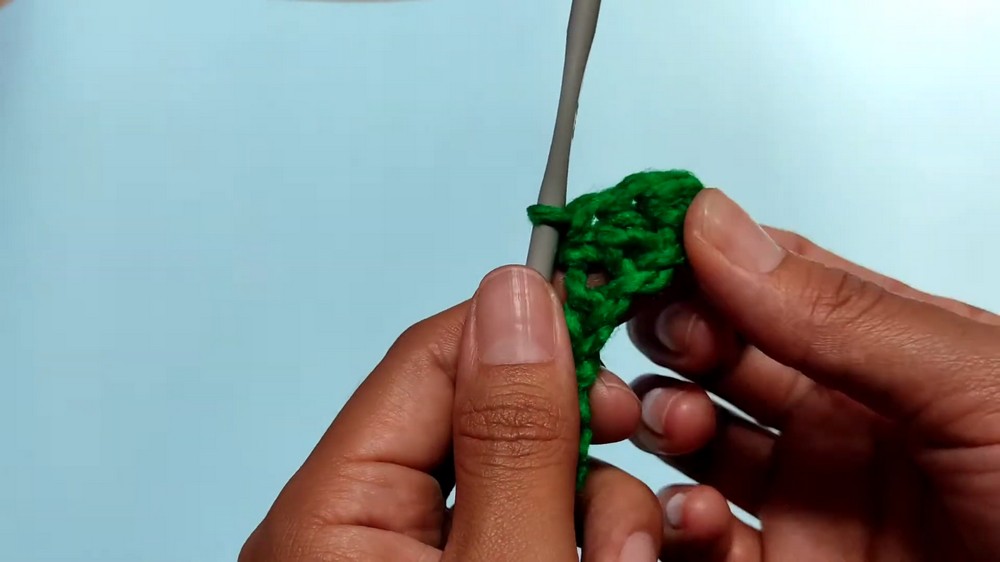
With green yarn:
- Make a slip knot, ch 30 (to desired length).
- Starting in 2nd ch from hook, hdc in each ch across.
- Ch 1, cut yarn, leaving ends for sewing.
Assembly:
- Using each end, sew the handle/stalk securely to each side or top of the zucchini, making sure stitches are only visible on the inside.
Conclusion
Your cute amigurumi zucchini is finished! Use it as a hanging decor, bag charm, or soft toy. Adjust color and details to make pumpkins or other vegetables. Increase more rounds for larger zucchini.
Pattern Correction & Tips
- Adjust size: Add more rounds with increases for a bigger zucchini.
- Face details: Use thread, felt, or glue as you prefer; avoid thread if it's too fiddly, opt for fabric glue instead.
- Handle thickness: Make handle with two strands of yarn or add extra chains for added thickness.
- Invisible closing: When joining the handle and closing ends, sew through inner loops to prevent visible stitches on the outside.