
Free Crochet CARROT AMIGURUMI Pattern to Brighten Your Day
Create a fun and quirky veggie toy with this free crochet CARROT AMIGURUMI pattern that guides you step by step for adorable gifts and playful decor items.
Making small, adorable crochet toys is such a joyful way to spend time, and this little carrot project is no exception! When I first tried it, I was amazed at how quickly and easily it came together. This free crochet CARROT AMIGURUMI pattern creates a charming stuffed veggie that brings a fresh and fun vibe to any space. Plus, with just a few tweaks, like changing the colors or leaf shapes, you can turn it into other cute garden friends like radishes or pumpkins.
Free Crochet CARROT AMIGURUMI Pattern for a Cute Toy

The carrot stands out with its bright orange body and vibrant green leafy top, giving it a lively and cheerful look. Its smooth texture comes from tight, neat stitches, while the shape tapers naturally just like a real carrot. The leafy details on top add a playful touch that really makes this piece special. Its small size makes it perfect to display on a shelf, use as a keychain, or even add to a child’s toy collection for imaginative play.
This project is perfect for beginners and those comfortable with basic crochet skills. The main stitch is the single crochet, worked in continuous rounds, making it easy to shape the carrot’s form without breaks. If you’re just starting with amigurumi, this is a fantastic way to practice creating a round shape and changing yarn colors smoothly. Remember to keep your stitches tight to keep the stuffing from showing through.

Whether you want a sweet handmade gift, a cute decoration for your kitchen, or a fun collectible for your crochet garden, this carrot amigurumi fits the bill. It’s simple, quick, and offers plenty of room for personalization. If you’re looking for a lighthearted crochet project that adds a splash of color and charm, this carrot is sure to brighten your day.
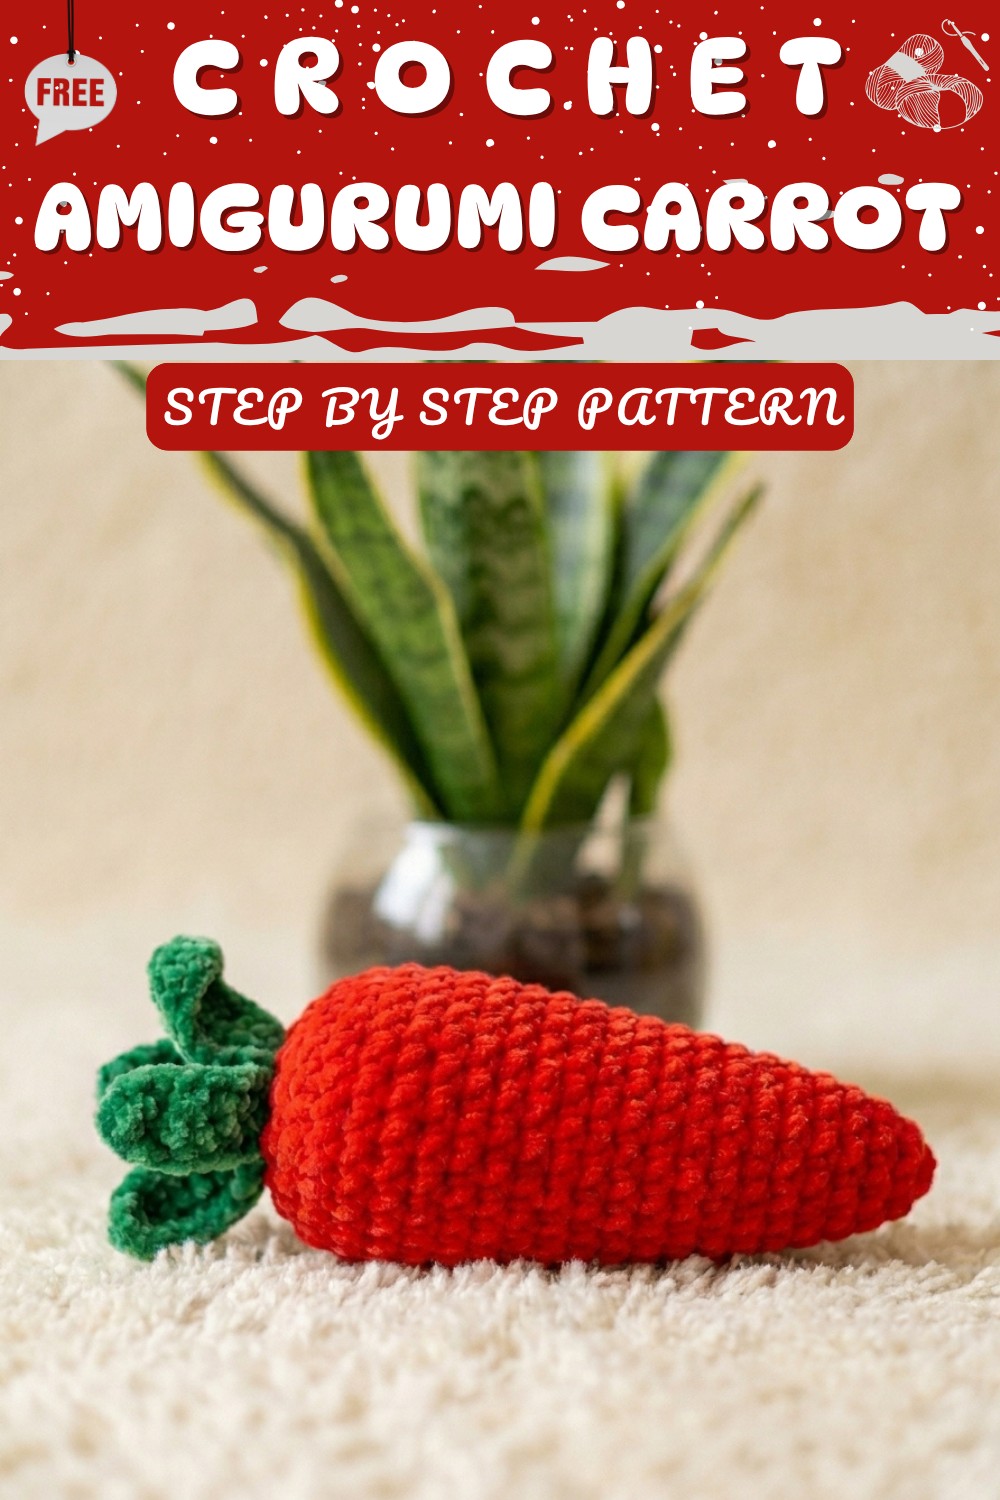
Amigurumi Carrot – Step-by-Step Crochet Pattern
This adorable amigurumi carrot is a quick and satisfying project, perfect as a play food for children, a photo prop, or a fun addition to your Easter or springtime amigurumi sets. This seamless carrot is worked in the round with easy increases, basic shaping, and optional top embellishments for a lifelike appeal. Make a bunch for your market stall, or pair it with your favorite bunny!
Pattern Notes
- The carrot is worked from the tapered tip upward in a continuous spiral; do not join or turn at the end of each round.
- Always use a stitch marker or pin to mark your last stitch of each round.
- Stuff firmly as you go, especially before closing the last rounds.
- All increases are made by working 2 sc into one stitch.
- All decreases in this pattern are invisible decreases (unless otherwise specified).
- The carrot top (leaves) is simply made after closing the carrot and attached with a yarn needle.
- Embellish with embroidery thread or fine yarn for more detail if desired.
Skill Level
Beginner
This pattern is appropriate for new amigurumi makers. You’ll use the magic ring, single crochet, increases, invisible decreases, and basic sewing with a yarn needle.
Materials
- Red acrylic (or cotton) yarn for carrot
- Green acrylic (or cotton) yarn for leaves/top
- 3.5 mm crochet hook
- Toy stuffing (fiberfill)
- Yarn needle / tapestry needle
- Scissors
- Stitch marker or safety pin
Measurements / Sizing
- Finished carrot is approx. 11–13 cm (4–5 in) long when using DK or worsted yarn and a 3.5 mm hook.
- Diameter at widest: approx. 3–4 cm (1–1.5 in).
Gauge
- Gauge is not critical, but ensure stitches are tight enough to prevent stuffing from showing through.
Stitch Abbreviations
- sc = single crochet
- inc = increase (2 sc in one st)
- dec = decrease (invisible decrease)
- MR = magic ring (adjustable ring)
- ch = chain
- sl st = slip stitch
- FO = fasten off
Special Stitches
Invisible Decrease:
Insert hook into the front loops of the next two stitches, yarn over, pull up a loop, yarn over, pull through both loops on hook.
The Crochet Pattern
Carrot Body
With orange yarn and 3.5 mm hook:
- Make a magic ring. Ch 1 (does not count as st).
- Round 1: 6 sc in MR (6)
- Round 2: Sc in each st around (6)
- Round 3: (Inc in each st around) (12)

Shape body:
5–14. Sc in each st around for 10 rounds (12 sts/round; Rounds 4–13 and round 14).
- Place the marker at the end of each round.
- Tip: This gives a long, slender carrot. Add more rounds here for a longer carrot.

Stuffing
- Fill the carrot firmly with toy stuffing after completing Round 14, shaping as you go.

Carrot Closing & Leaves
Change to green yarn at the start of next round (stem):
- Round 15: (Dec in FLO) around (this means: dec in front loop of each st around)—you'll have 6 single crochet (6).
- Alternatively, use a standard dec if you prefer.
- Stuff well before closing completely.
- Finish off: Ch 1, FO. Thread the yarn needle, and neatly close the hole by weaving through front loops of remaining 6 sts and pulling tight.
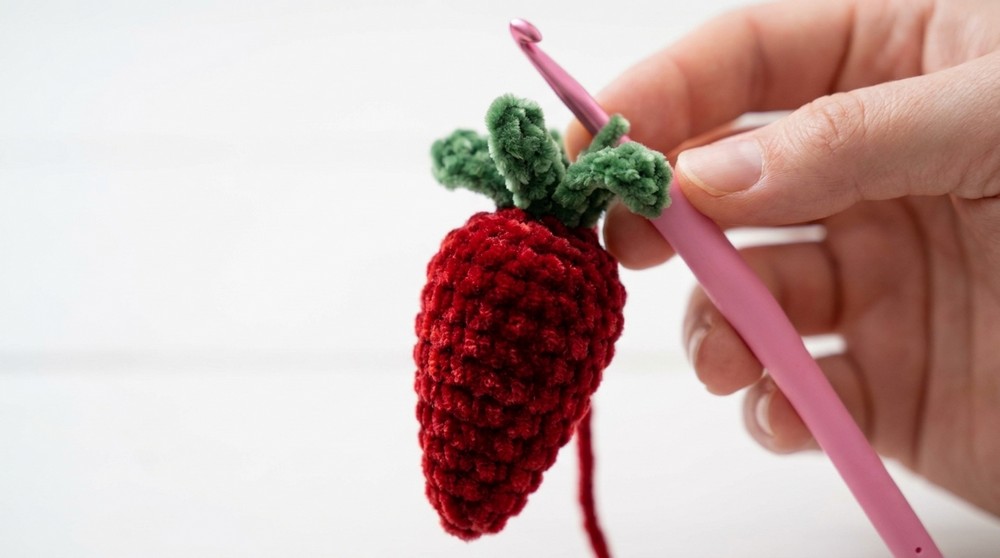
Carrot Top
Making the carrot "leaves":
- With green yarn, cut 1–2 lengths (approx. 12–14 cm each).
- Split each into two or three thinner strands if desired for a finer top.
- Using your crochet hook or needle, pull the looped center of each strand through the top of your carrot, above the closing seam.
- Pull ends through the loop (latch knot), tighten.
- Trim to desired height and fluff slightly.

Optional: Add extra strands, or use a yarn needle to secure a few more in various places for a fuller and more playful top.
Assembly & Finished Size
- Stuff carrot firmly before the final decrease and closing.
- Using a yarn needle, draw the yarn end through the front (outermost) loop of each remaining stitch. Pull tight to close.
- Attach green strands as described above; knot securely.
- Pull all loose ends inside the carrot and trim.
- Your carrot measures about 11–13 cm (4–5 in) long.
Quick Overview for Beginners
- Make a magic ring, work 6 sc into ring.
- Increase to 12 sc by doubling each st in round 3.
- Single crochet in each st for 10 more rounds to shape the body.
- Stuff carrot firmly with toy stuffing.
- Switch to green, decrease all the way around in front loops only.
- Fasten off by threading through last loops; knot securely.
- Add green yarn strands at the top for the leaves.
- Hide/trim all ends for a neat finish.
This amigurumi carrot is a cheerful and engaging project for beginners and works up quickly. Make several for a garden set or as fun gifts!