
Simple Crochet Elmo Amigurumi Pattern That's a Doll & Plushie
Bring the magic of childhood to life with this Free Crochet Elmo Amigurumi Pattern that's a lovable character that’s perfect for gifting, decorating, or collecting.
There’s something truly heartwarming about crocheting beloved characters from childhood, and recently, I tried a fun pattern that brought that joy to life. The Free Crochet ELMO Amigurumi Pattern is a delightful project that lets you create a small, cuddly version of the famous red monster from Sesame Street. What I love most is how, with just a few simple tweaks, you can adapt the pattern to make related characters or even customize Elmo’s expression for extra personality.
Crochet Elmo Amigurumi Pattern with Free Guide
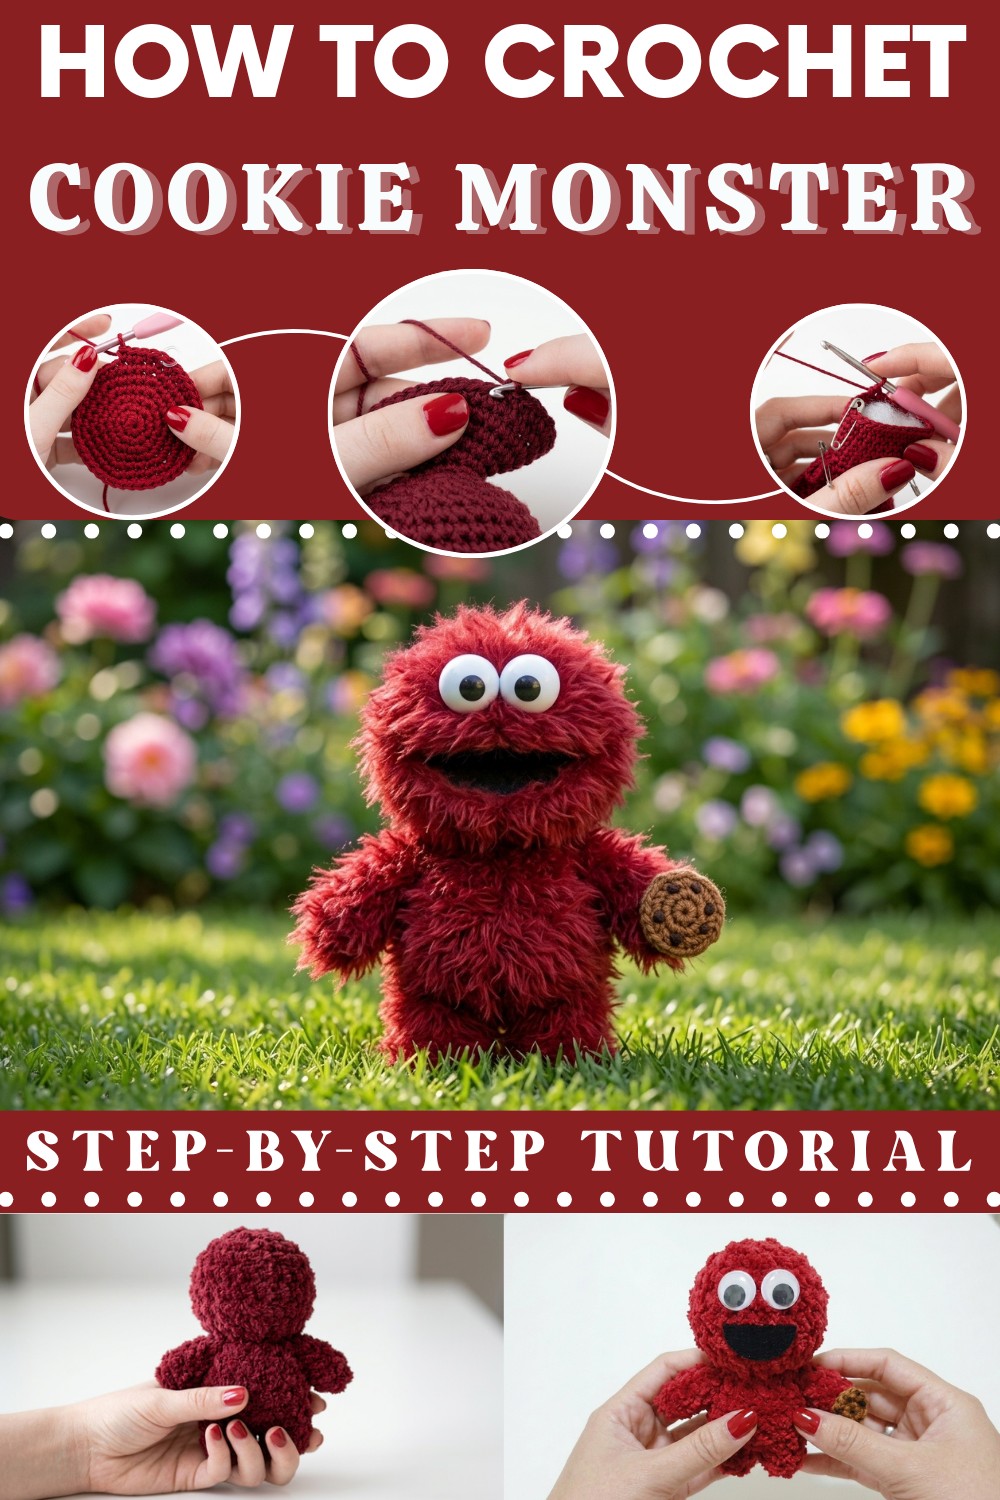
This amigurumi ELMO is not only adorable but also full of charm. It has a soft, plush texture thanks to the tight, consistent stitches typical of amigurumi work, making it perfect for hugging or displaying. The shape is compact and well-rounded, capturing Elmo’s signature big eyes, orange nose, and wide smile in an instantly recognizable style. The standout features like Elmo’s fluffy red “fur” and those big, friendly eyes really bring the character to life, making this project a true crowd-pleaser.
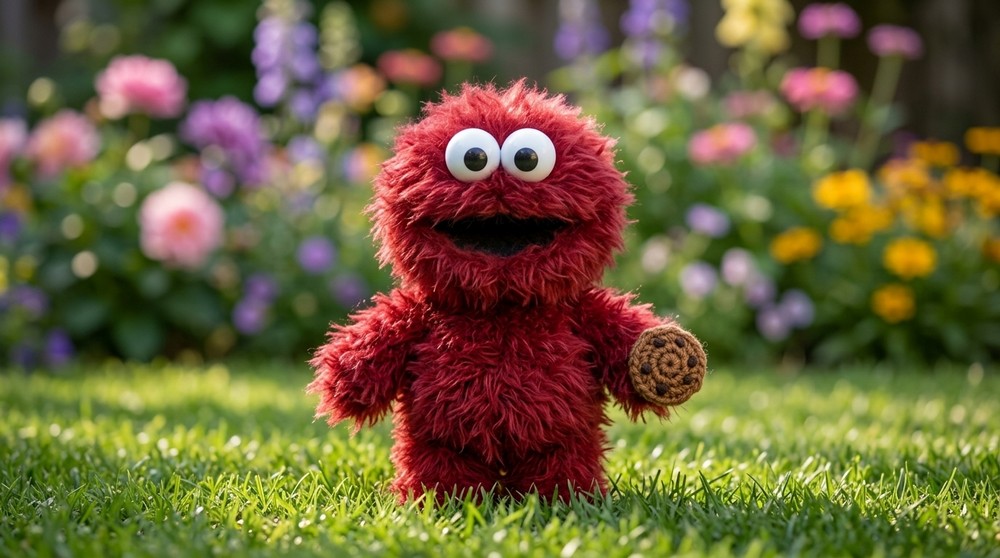
Designed for crocheters with a basic to intermediate skill level, this pattern relies mainly on single crochet stitches worked in the round, which is great if you’re comfortable with amigurumi basics but still want a rewarding challenge. The consistent stitching helps maintain the shape and gives a smooth finish.
This little ELMO amigurumi makes a perfect gift for kids, Sesame Street fans, or anyone who loves handmade collectibles. It’s charming as a room decoration, a playful toy, or even a handmade keepsake. If you enjoy crafting cute characters and want a satisfying project that combines creativity with nostalgia, this pattern is definitely worth your time — it’s both fun and fulfilling.
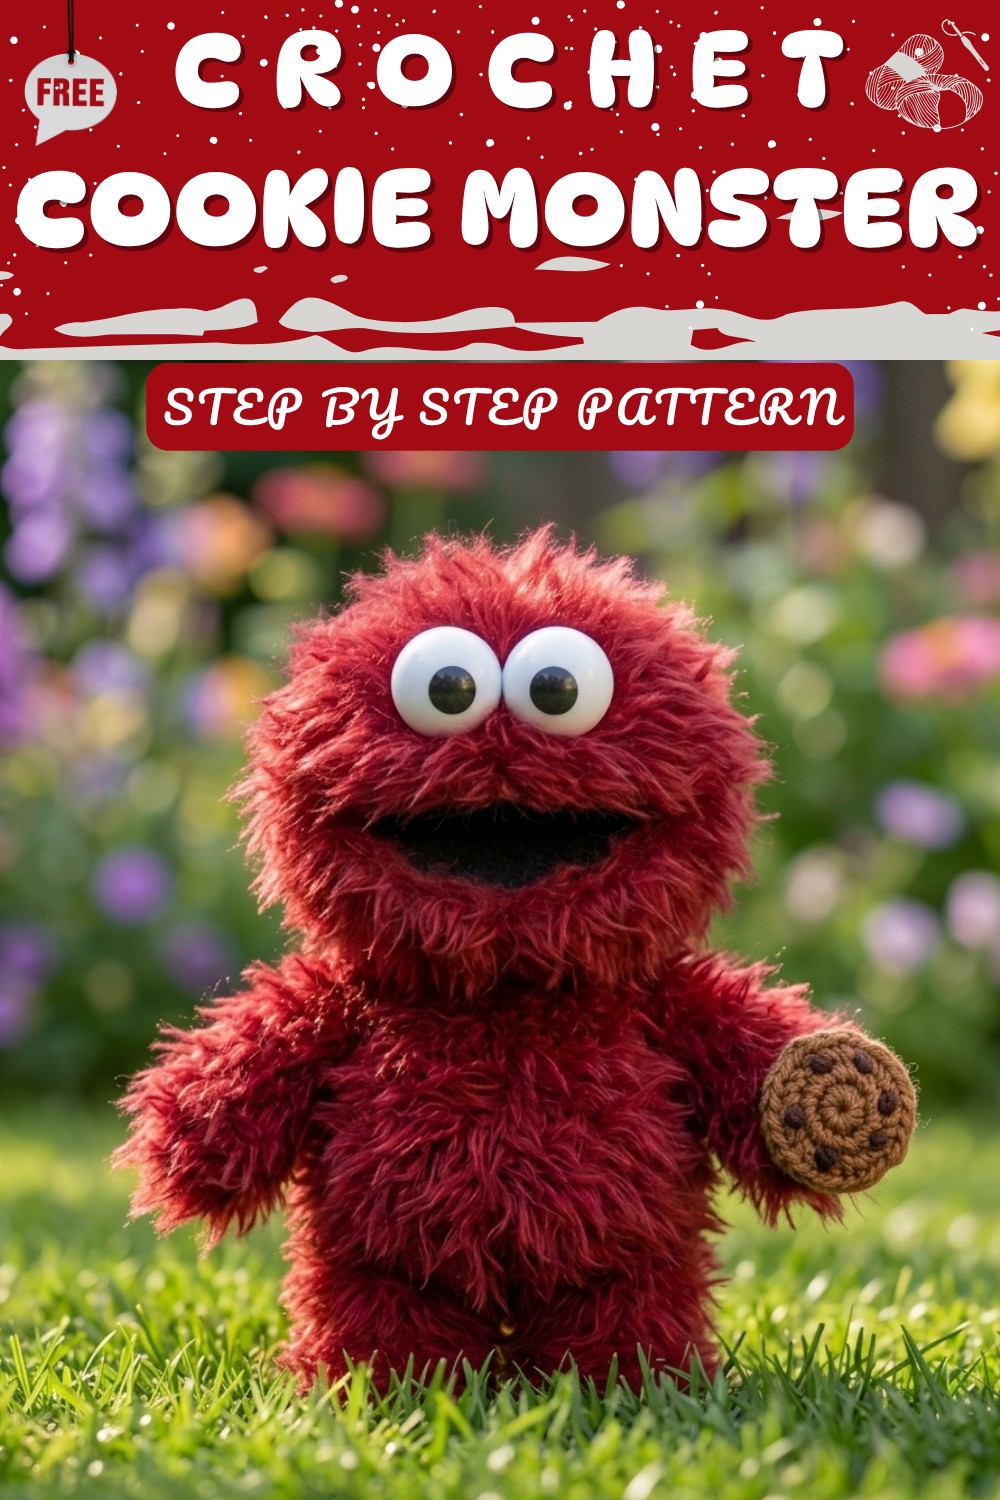
Amigurumi Cookie Monster Pattern
Summary
Bring Sesame Street’s beloved Cookie Monster to life in amigurumi form! This fun and charming pattern works up seamlessly for a squishy toy, desk mascot, or bag charm. The body is crocheted in one piece with minimal sewing, while the fluffy blue texture can be created using either optional novelty yarn or glued-on strands for extra monster fuzz. Cookie Monster’s signature googly eyes and mouth are made using pom-poms and felt, and the iconic cookie is constructed from a small crocheted circle. This beginner-friendly pattern guides you step-by-step to a cuddly creation.
Pattern Notes
- Work in continuous rounds (spiral) with a stitch marker; do not join unless directed.
- Stuff as you crochet to maintain shape.
- Limbs are crocheted directly onto body partitions—no difficult assembly!
- Optional “hair” can be added with novelty yarn or glue.
- Eyes, mouth, and cookie are attached with craft glue or stitched for durability.
Skill Level
Beginner
Master basic amigurumi skills including magic ring, increases, decreases, working in the round, basic assembly, simple color changes, and glue/embroidery for facial features.
Materials
- Yarn: DK or worsted weight cotton/acrylic in:
- Red (body, limbs)
- Brown (cookie)
- Optional: dark red fuzzy yarn for “hair”
- Hook: 3 mm crochet hook
- Toy stuffing: polyester fiberfill
- Safety pin/stitch marker
- Tapestry needle
- Craft pom-poms: 2 white (eyes)
- Small craft eyes (2) or black beads
- Black felt (mouth)
- Scissors
- Glue (fabric/craft or hot glue)
- Keyring (optional, for bag charm)
Measurements / Sizing
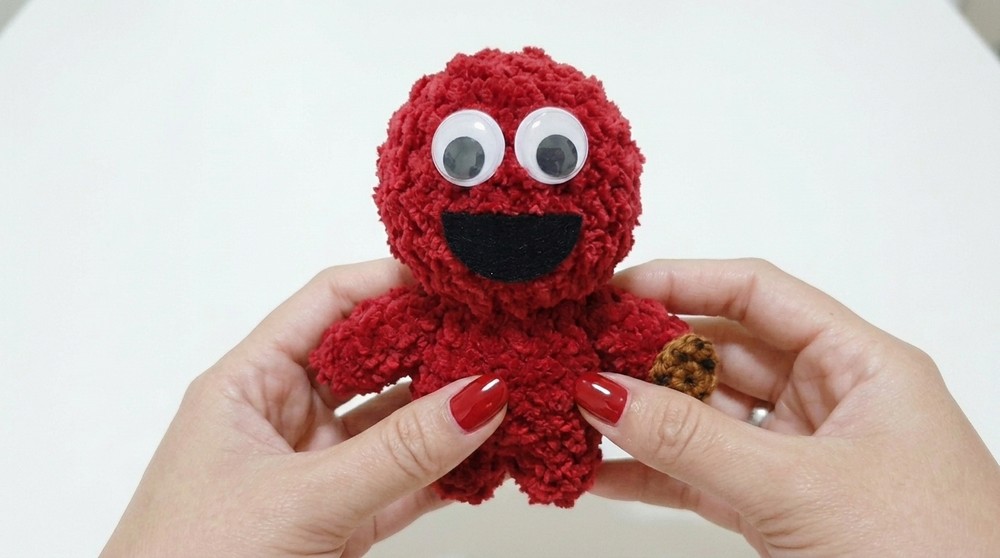
- Finished Cookie Monster: approx. 13–16 cm (5–6.5") from head to feet with DK yarn and 3 mm hook.
- Cookie: approx. 3 cm in diameter.
Gauge
- Gauge is not critical: tight enough so stuffing doesn’t show.
- Approx. 8 rounds of single crochet in spiral = 5 cm diameter (un-stuffed).
Stitch Abbreviations
| Abbreviation | Meaning |
|---|---|
| MR | Magic ring |
| sc | Single crochet |
| inc | Increase (2 sc in one stitch) |
| dec | Decrease (single crochet 2 together) |
| sl st | Slip stitch |
| st(s) | Stitch(es) |
| FO | Fasten off |
Special Stitches
- Invisible Decrease: Insert hook in front loops of next two stitches, yarn over, pull through both loops, yarn over, pull through remaining loops.
- Magic Ring: Create a loop, crochet stitches into the ring, then tighten.
The Crochet Pattern
1. Body/Head (Worked in One Piece)
Start with red yarn and 3 mm hook:
Round 1: MR, 6 sc inside ring. (6)
Round 2: inc in each st around. (12)
Round 3: [sc, inc] around. (18)
Round 4: [2 sc, inc] around. (24)
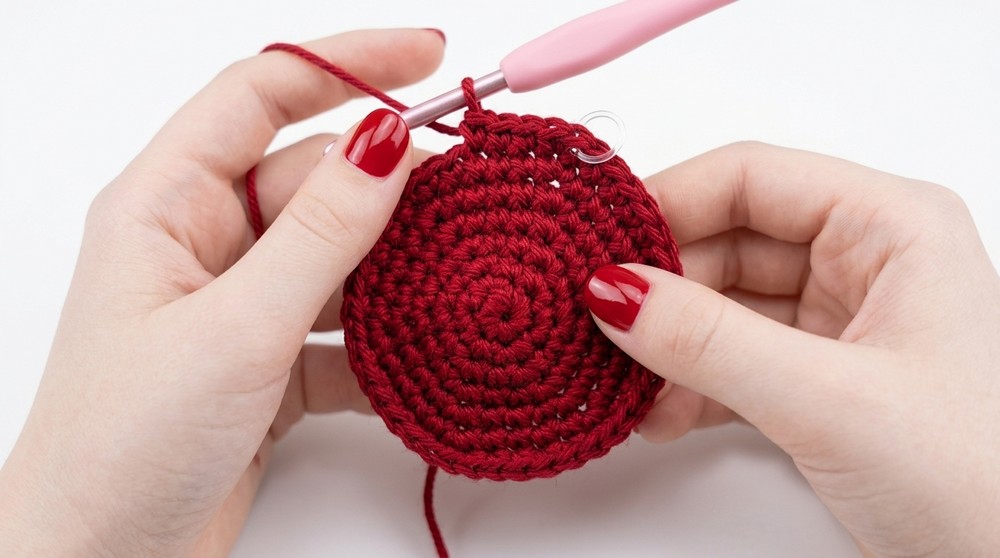
Round 5: [3 sc, inc] around. (30)
Round 6: [4 sc, inc] around. (36)
Round 7: [5 sc, inc] around. (42)
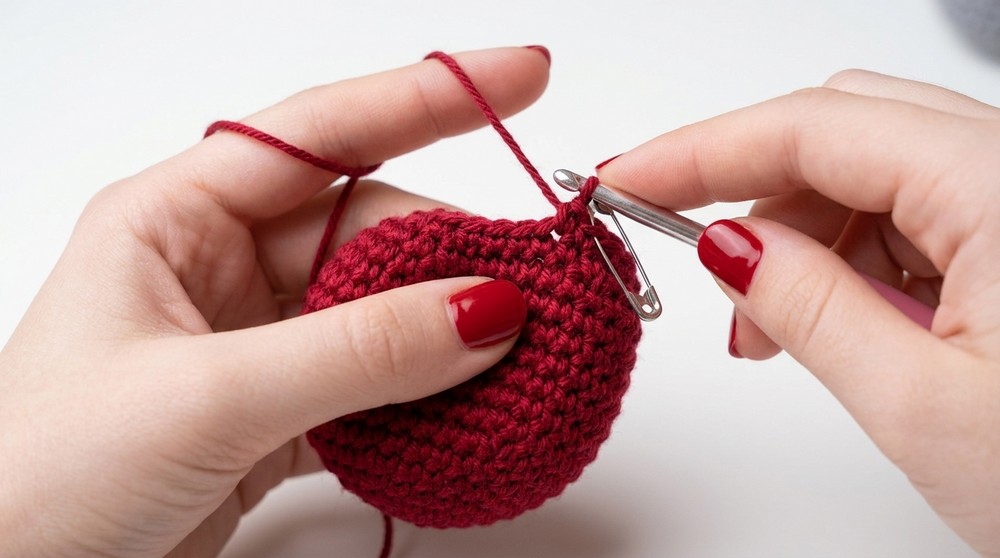
Rounds 8–14: sc in each st around. (42)
Work even for 7 rounds for a rounded head and body.
2. Shaping Body (Decreasing)
Round 15: [5 sc, dec] around. (36)
Round 16: [4 sc, dec] around. (30)
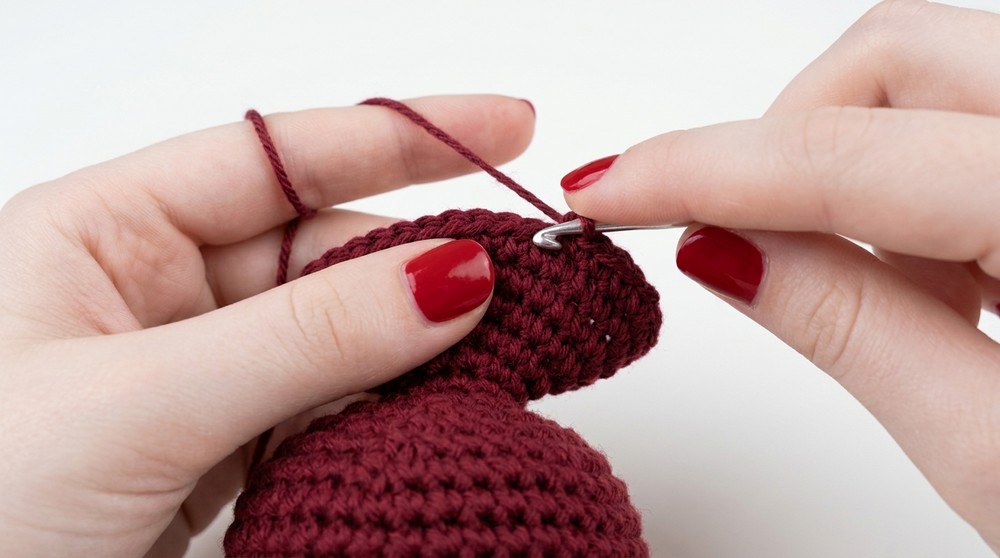
Round 17: [3 sc, dec] around. (24)
Start adding stuffing as you work to maintain shape.
Round 18: [2 sc, dec] around. (18)
Add more toy stuffing before opening gets too small.
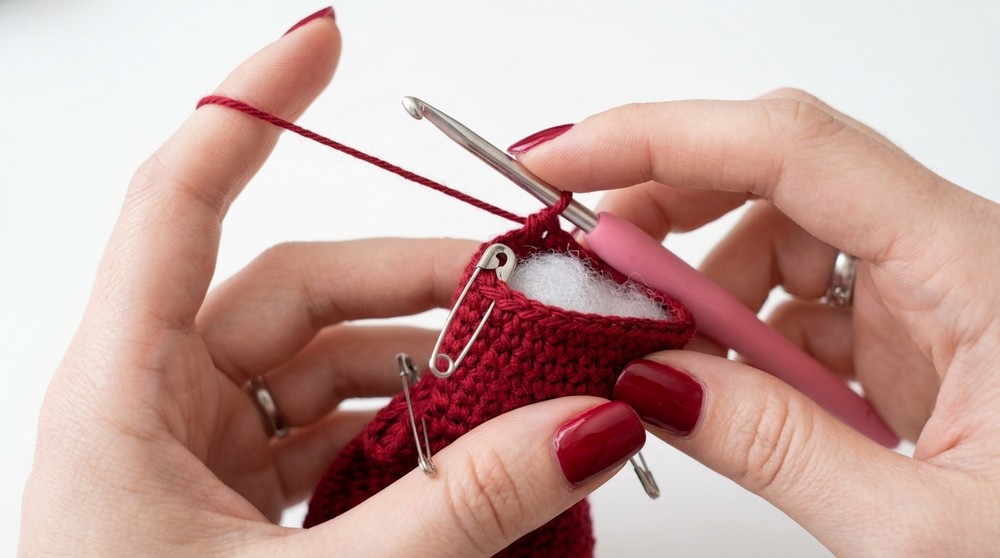
Rounds 19–20: sc in each st around. (18)
3. Lower Body—Increasing (for Hips/Legs Partition)
Round 21: [2 sc, inc] around. (24)
Round 22: [3 sc, inc] around. (30)
Round 23: [4 sc, inc] around. (36)
Round 24: [5 sc, inc] around. (42)
Round 25: [6 sc, inc] around. (48)
4. Arm Partitions
- Hold body flat, identify increases for each side’s arm opening.
- Mark first increase, count 10 stitches for each arm partition and mark ends.
- Repeat for second arm.
5. Torso
Rounds 26–32: sc in remaining 28 stitches around. (28)
- Work 7 rounds for lower body/trunk.
- Stuff firmly as you go.
6. Legs (Make 2, worked directly from partitions)
- Divide remaining stitches into two groups (14 each).
- For each leg:
- Attach blue yarn to opening.
- Rounds 1–5: sc in each st around (14)
- Add stuffing as you work.
- After round 5: sl st, FO, sew hole closed through back loops only, and thread end through body to hide.
7. Arms (Make 2, worked directly from partitions)
- Use each 10-st arm opening.
- Attach blue yarn at opening.
- Rounds 1–7: sc in each st around (10)
- Add stuffing or pipe cleaner as you go.
- After round 7: sl st, FO, sew hole closed.
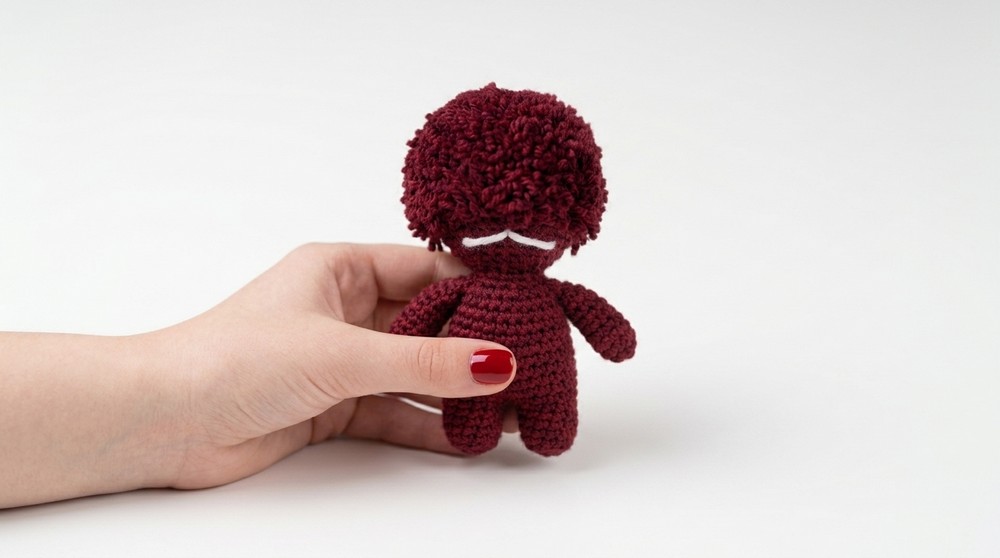
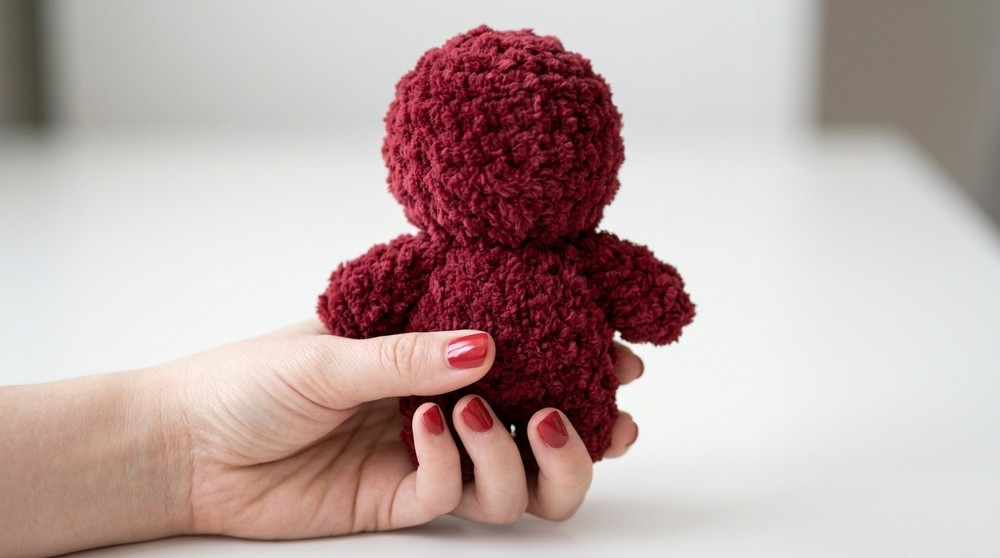
8. Optional: Add “Hair” Texture
- Use novelty fuzzy yarn or cut strands of dark blue yarn.
- Either sew strands onto body in a running stitch, or glue them for fluffier texture.
- Cover head and body as desired; skip for classic look.
9. Cookie
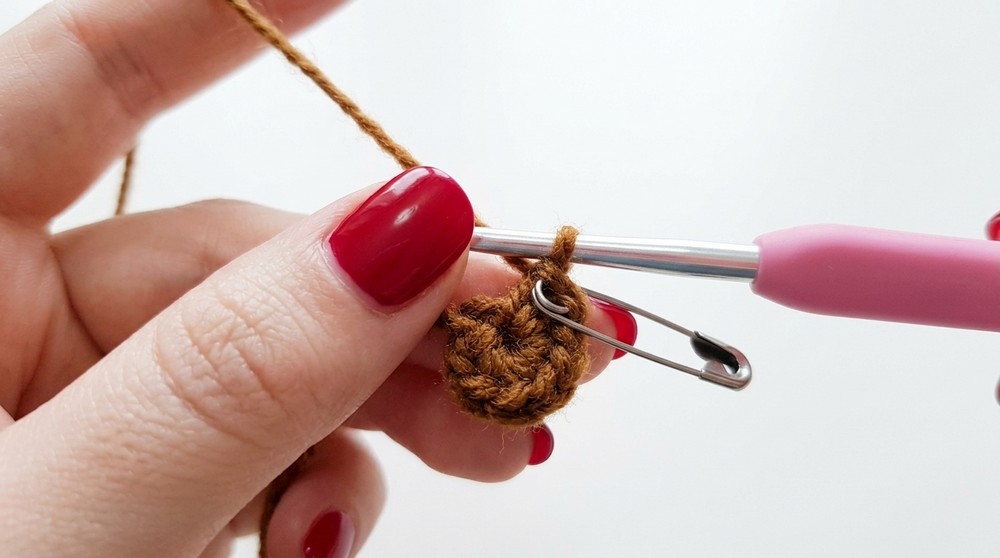
With brown yarn:
- MR, 6 sc inside ring. (6)
- Round 2: inc in each st around (12)
- FO and weave tail.
- Attach to Cookie Monster’s hand with glue or sew in place.
10. Finishing Features
- Use craft glue/hot glue for attaching:
- Eyes: White pom-poms at top center of head (Cookie Monster’s signature googly eyes).
- Pupils: Attach small black craft eyes or beads to pom-poms.
- Mouth: Cut black felt into a crescent; glue securely below eyes and nose.
- Attach keyring at head if making a bag charm.
Assembly & Finished Size
- Arms and legs are worked directly from marked partitions; sew holes closed after stuffing.
- Optional fuzzy yarn/hair is attached by sewing or glue.
- Cookie is sewn or glued to the hand.
- Eyes (pom-poms, craft eyes) and mouth (felt) are glued to the head.
- Final size: 13–16 cm high, with a 3 cm cookie.
Quick Overview for Beginners
- Crochet a large ball as body/head, using increases, then decreases.
- Partition body for arms and legs, crochet on directly.
- Stuff continuously for soft shaping.
- Add fluffy yarn or glue for extra monster texture (optional).
- Make a brown cookie circle and attach to hand.
- Glue pom-poms and felt for Cookie Monster’s face.
- Attach a keyring at the head if desired.
Tips for Success
- Use a stitch marker for the first stitch of each round.
- Stuff firmly for best shape; add extra stuffing before limbs are closed.
- Safety eyes can substitute craft eyes, but glue or embroider for small children.
- Optional “hair” can be made with fuzzy yarn for true Cookie Monster effect.
- Cookie can be customized by adding small chocolate chips with black embroidery.
- For durability, sew features rather than glue, except pom-poms.