
Free Crochet Amigurumi Nurse Pattern for Healthcare Heroes
Bring a thoughtful gift to life with the Free Crochet AMIGURUMI NURSE Pattern, ideal for making an adorable nurse plushie and enhancing your crochet skills.
If you’re looking for a heartfelt and creative project, the free crochet AMIGURUMI NURSE pattern offers a delightful way to make a charming miniature nurse doll. This small amigurumi figure has a soft, smooth texture created by tight, even stitches that give it a neat and polished appearance. The design features a simple yet adorable shape, with standout elements like the crisp nurse’s cap and medical cross, making it instantly recognizable and full of character.
Free Crochet Amigurumi Nurse Pattern for Keychains
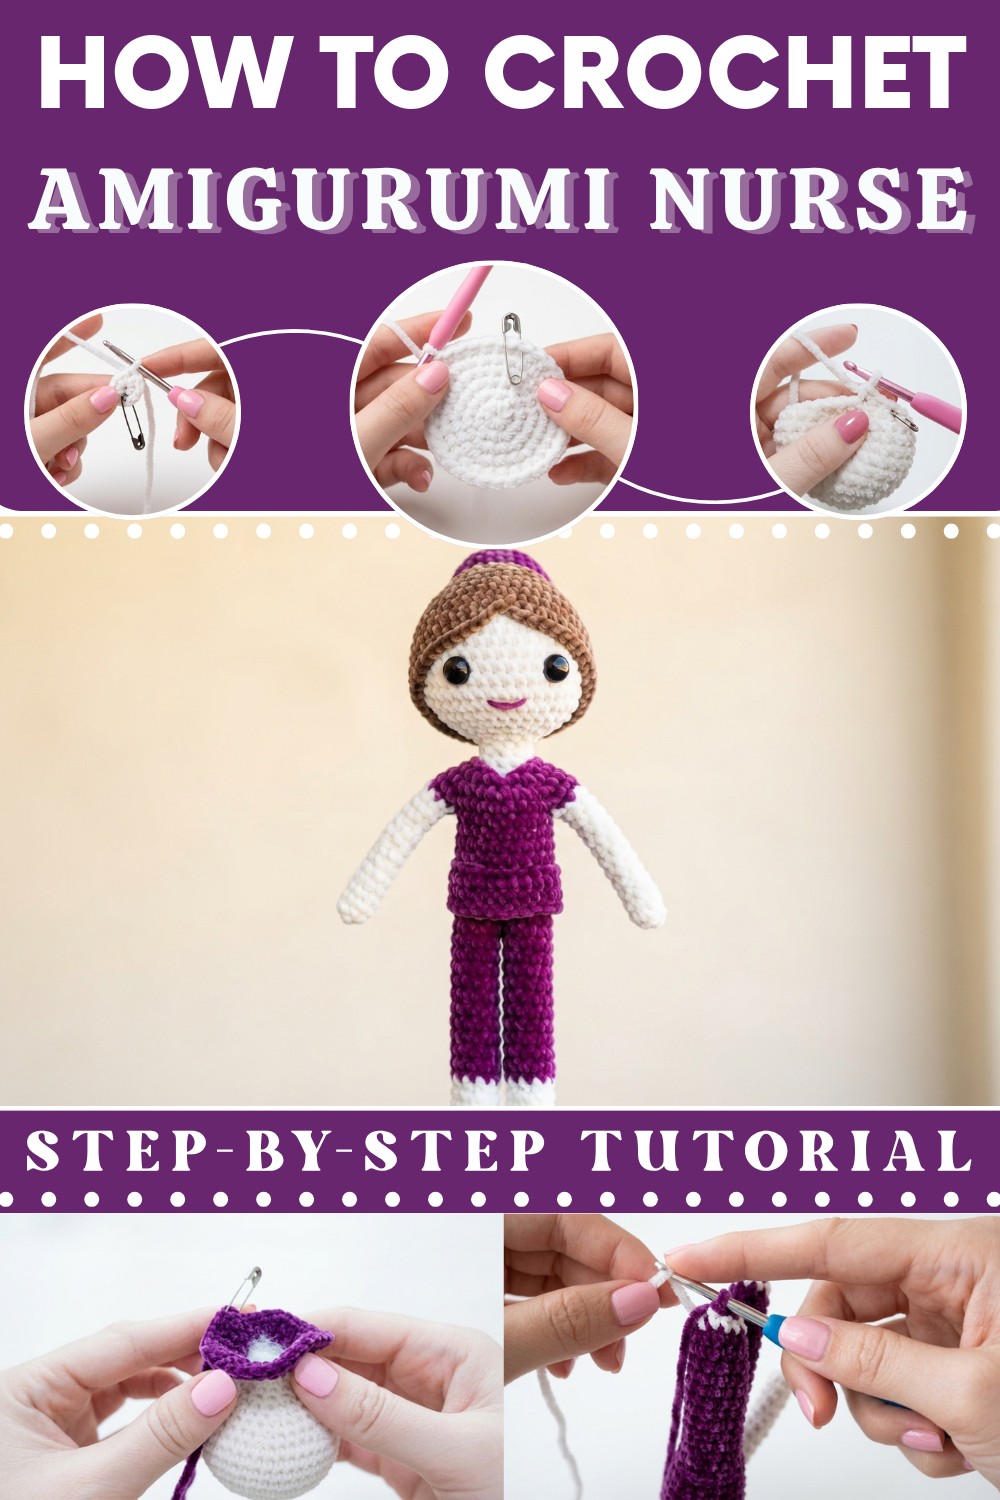
This pattern is perfect for crocheters who have some experience with amigurumi and want to create a meaningful, quick-to-finish project. Sizes can be easily adjusted by using different yarn weights or hook sizes, so you could create a tiny keychain nurse or a larger decorative doll. The construction mainly involves working in continuous rounds for the body and head, with separate pieces for the arms, legs, and accessories sewn on at the end. Using cotton or cotton-blend yarn is a great tip because it shows off the stitch details beautifully, while also being durable enough for a keepsake.
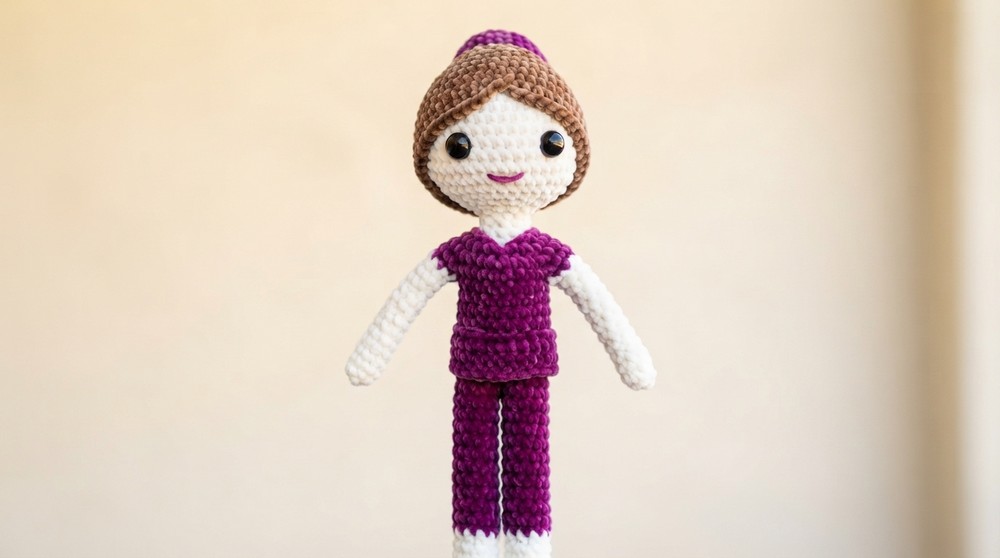
The nurse design was inspired by the incredible dedication of healthcare workers, making it a thoughtful gift for nurses or anyone in the medical field. It’s a wonderful project to customize with different hair colors, uniforms, or accessories, encouraging creativity and personal touches. Whether it’s for a birthday or just to show appreciation, this pattern blends heartfelt sentiment with playful crochet fun.
Amigurumi Nurse or Doctor Doll Crochet Pattern
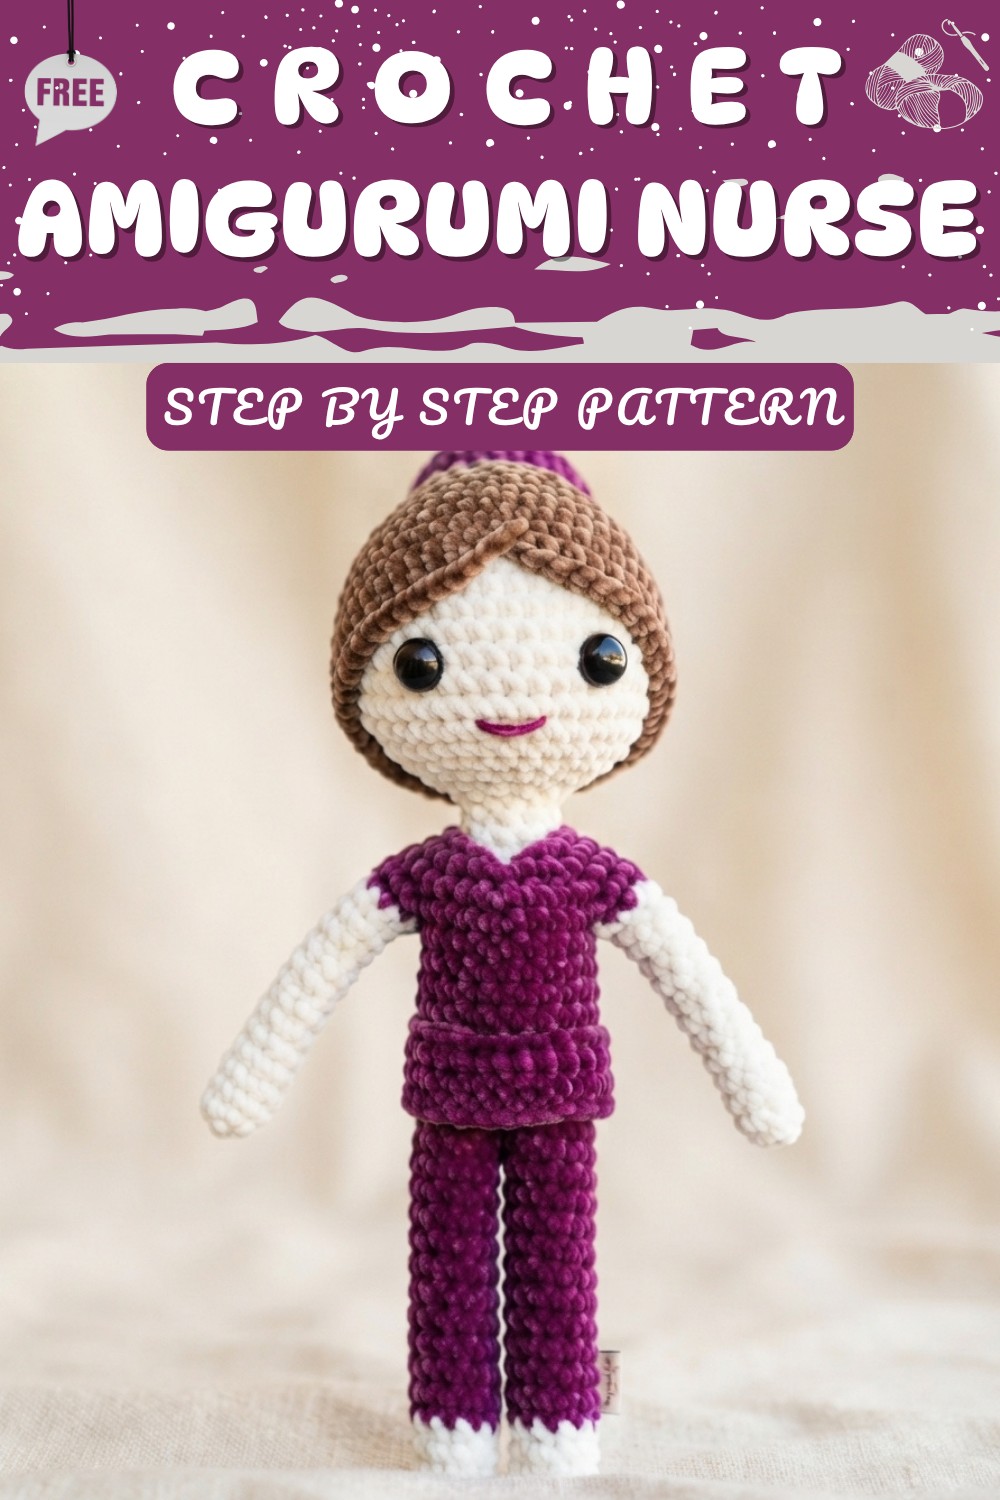
Welcome to this step-by-step pattern for making your very own amigurumi nurse or doctor doll. With this approachable crochet guide, you can create a sweet, soft medical doll that is perfect as a gift, decoration, or comforting companion for healthcare heroes. Follow along, and you’ll have a professional-looking figure dressed in scrubs (or a doctor's coat if desired), ready for imaginative play or display.
Quick Overview Of Pattern
This amigurumi pattern takes you through crocheting the doll's head, body, arms, legs, shoes, and signature medical scrubs, with practical instructions for partitioning the stitches for arms and legs. Optional hair bun and details such as a secret “scrub-pocket” add realism and fun. The majority of the doll is worked in spirals using single crochet, increased and decreased to create rounded shapes and limbs.
Notes
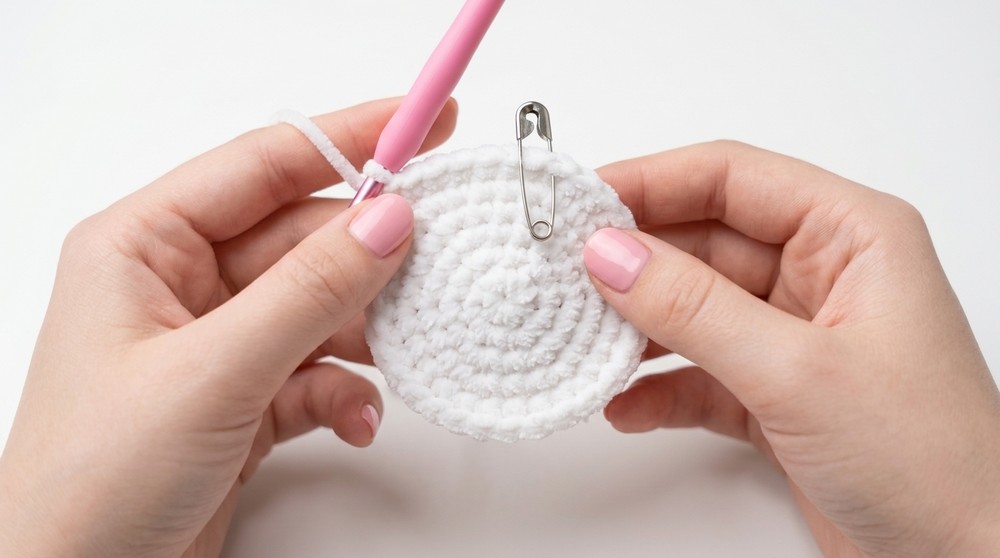
- The pattern is worked in continuous rounds using a stitch marker to keep track of rounds.
- Optional: Insert pipe cleaners or wire in legs/arms for poseability, or simply stuff with fiberfill for a child-friendly result.
- Safety eyes are used, but embroidery or felt eyes would work for younger children.
- The doll's distinctive elements (clothing and accessories) can be customized to reflect your favorite healthcare professional.
Skill Level
Easy to Intermediate
You should feel comfortable with single crochet in the round, increasing and decreasing, color changing, basic shaping, and simple assembly.
Materials
- Yarn (Cotton or Acrylic DK/Light Worsted):
- Skin tone (for head, arms, and small parts)
- White (for shoes, hat, and optional lab coat)
- Purple (for scrubs)
- Brown (for hair; optional bun)
- 3.0 mm crochet hook
- Small safety eyes
- Stitch marker (or safety pin)
- Toy stuffing (fiberfill)
- Yarn needle
- Scissors
- Optional: Pipe cleaners or wire for limbs
Measurements / Sizing
- Approximate size: 18-20 cm (7–8") in height when made with DK/light worsted yarn and 3.0mm hook.
- Slight variations in size will occur depending on your gauge and materials.
Gauge
Gauge is not essential for amigurumi but aim for tight, even stitches to avoid stuffing showing through.
Reference gauge: 7 rounds sc in spiral = approx. 4cm (1.5") in diameter.
Stitch Abbreviations
| Abbreviation | Meaning |
|---|---|
| MR | Magic Ring |
| sc | Single crochet |
| inc | Increase (2 sc in one stitch) |
| dec or inv dec | Decrease (sc 2 together—use invisible decrease if desired) |
| ch | Chain |
| BLO | Back loop only |
| FLO | Front loop only |
| sl st | Slip stitch |
| st(s) | Stitch(es) |
| F/O | Fasten off |
Special Stitches
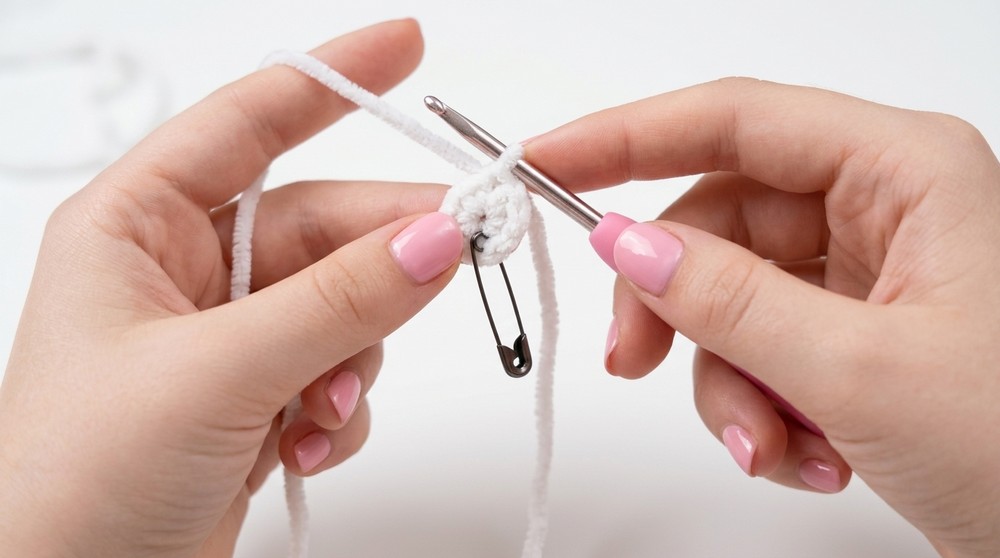
Magic Ring (MR): Make a loop, insert hook, pull up a loop, sc required number into ring, then pull tail to close.
Invisible Decrease (inv dec): Insert hook into front loop of next 2 stitches, yarn over, pull through 2 front loops, yarn over and pull through both loops on hook (1 sc completed over 2 stitches).
The Crochet Pattern
Head
Skin tone yarn, 3.0 mm hook:
- Round 1: MR, ch 1, 6 sc in ring. (6)
- Round 2: Inc in each st around. (12)
- Round 3: (Sc 1, inc) around. (18)
- Round 4: (Sc 2, inc) around. (24)
- Round 5: (Sc 3, inc) around. (30)
- Round 6: (Sc 4, inc) around. (36)
- Round 7: (Sc 5, inc) around. (42)
- Rounds 8–12: Sc in each st (5 rounds, 42 st per round).
- Round 13: (Sc 5, inv dec) around. (36)
- Round 14: (Sc 4, inv dec) around. (30)
- Round 15: (Sc 3, inv dec) around. (24)
- Round 16: (Sc 2, inv dec) around. (18)
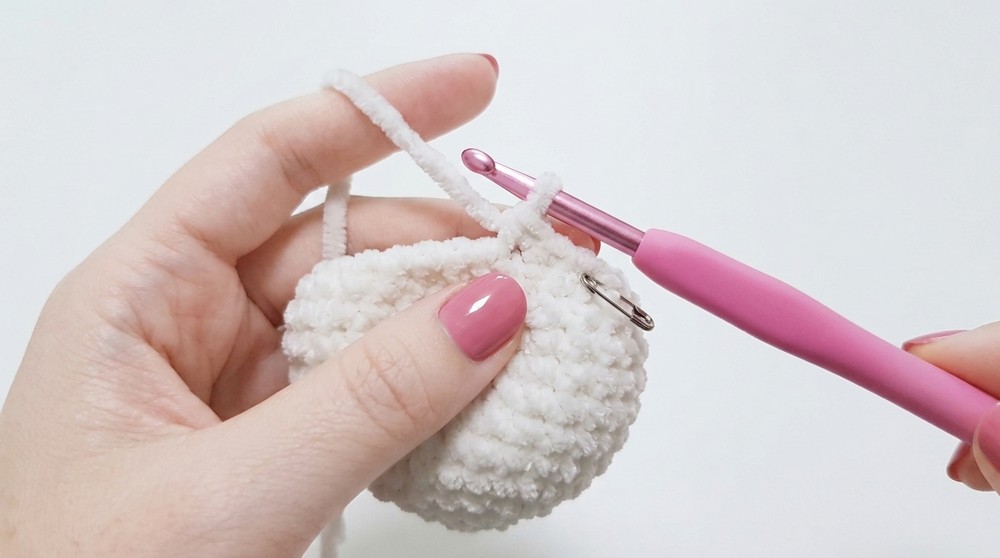
- Begin stuffing the head.
- Round 17: (Sc 1, inv dec) around. (12)
- Add more stuffing.
Neck
- Rounds 18–20: Sc in each st (3 rounds, 12 st per round).
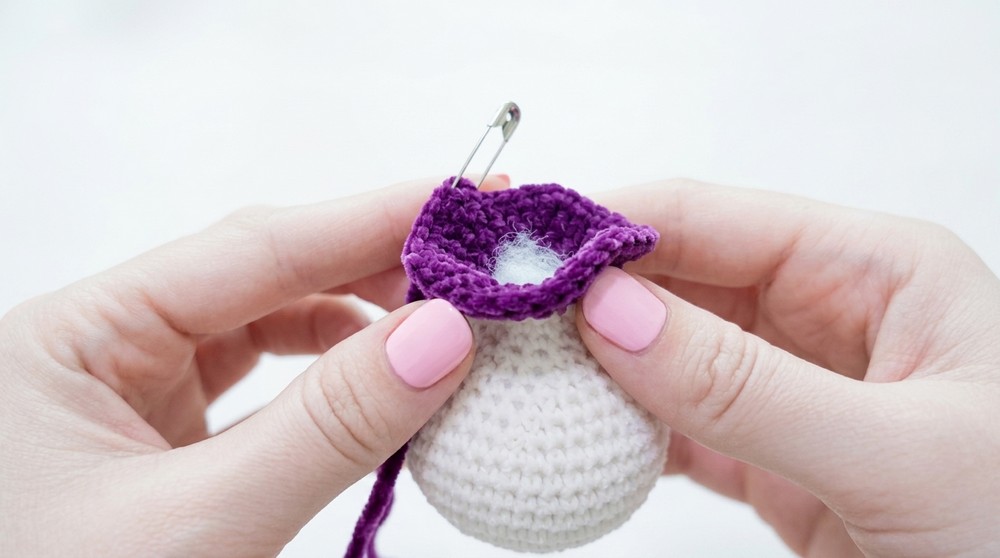
- Change to Purple yarn (scrub top) in last pull-through of last sc. Break skin tone yarn and continue.
Body — Upper Torso
- Round 21: (Sc 1, inc) around. (18)
- Round 22: (Sc 2, inc) around. (24)
- Round 23: (Sc 3, inc) around. (30)
- Round 24: (Sc 4, inc) around. (36)
- Continue stuffing neck and body.
- Next: Partition for arms by folding work flat. Count out 8 stitches each side for arms, leaving 20 sc for the body section.
Body — Main Section
- Rounds 25–29: Sc in each st around (5 rounds, 20 sc per round).
- Round 30: BLO, sc in each st around (20). Begin to stuff body firmly.
Legs
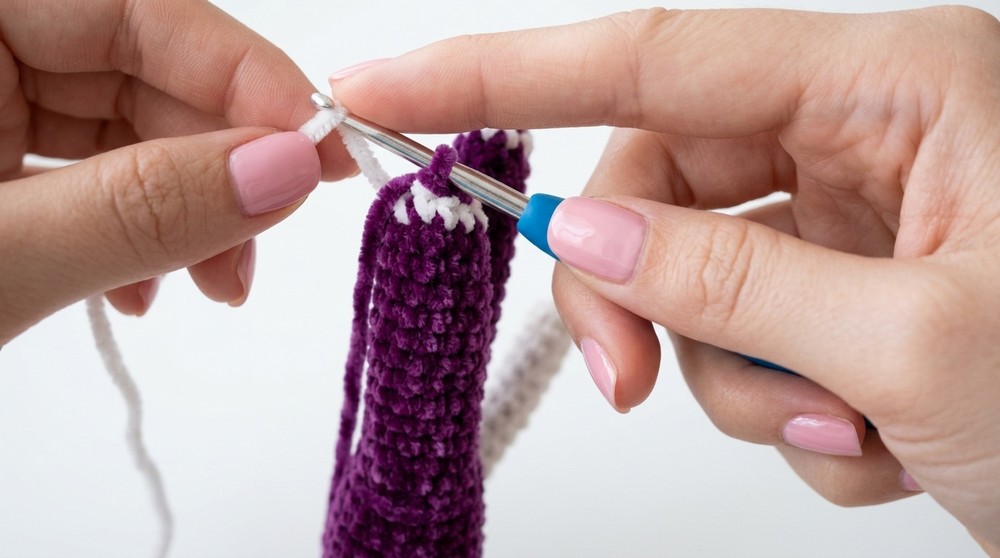
- Divide for legs: 10 sts each leg.
- Each leg:
- Rounds 1–15: Sc in each st (15 rounds, 10 st per round, both loops).
- Change to white yarn (shoes) in last sc of rnd 15, cut blue yarn.
- Rounds 16–18: Sc in each st with white (3 rounds, 10 st).
- F/O, leave tail for sewing.
- Stuff leg and foot. For a neat finish, insert needle through back loops of last round and pull to close hole.
- Repeat for second leg.
Arms (Make 2)
- Join skin tone yarn into first st of arm opening.
- Round 1: Sc in each st around (8).
- Rounds 2: Sc in each st (8 st).
- Rounds 3: Sc in each st (8 st).
- Rounds 4: Sc in each st (8 st).
- Rounds 5: Sc in each st (8 st).
- Rounds 6: Sc in each st (8 st).
- Rounds 7: Sc in each st (8 st).
- Rounds 8: Sc in each st (8 st).
- Rounds 9: Sc in each st (8 st).
- Rounds 10: Sc in each st (8 st).
- Rounds 11: Sc in each st (8 st).
- Insert pipe cleaner/stuffing, close opening using needle as for legs.
Hem & Scrub Pocket (Optional)
With Purple yarn, working in FLO of round 30:
- Join yarn, ch 1 (not counted), sc in same and each FLO around (20).
- Rounds 2–3: Sc in each st around working both loops (20).
- Rounds 3: Sc in each st around working both loops (20)
- F/O, weave in ends.
- Add small straight stitches on scrub top for optional pocket detail.
Hair (Cap and Bun)
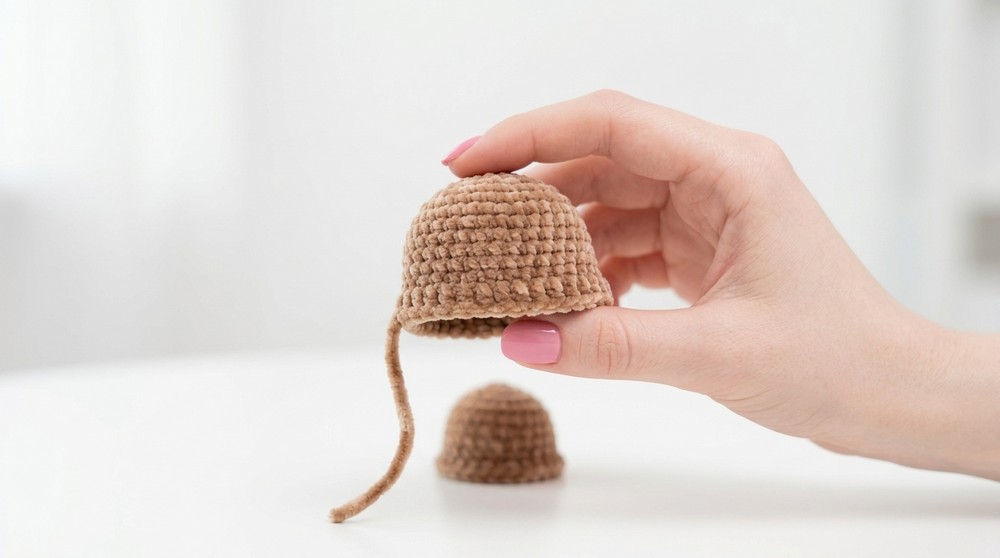
Cap (Brown):
- Repeat head pattern rounds 1–7, then sc around for 9 rounds for a cap shape.
- Finish with 1 round sl st + 1 dc in each st around, except last stitch (sl st only), F/O.
Bun:
- MR, 6 sc, then inc to 12, then 18, then 5 rounds sc or until desired size, F/O, stuff slightly, sew to cap.
Assembly & Finished Size
- Attach safety eyes or embroider on face; stitch mouth.
- Sew hair cap (and bun, if desired) to top of head.
- Attach arms and legs securely.
- Add “scrub top” edge and optional pocket detail.
- For a doctor, use more white for the clothing.
- Weave in all ends.
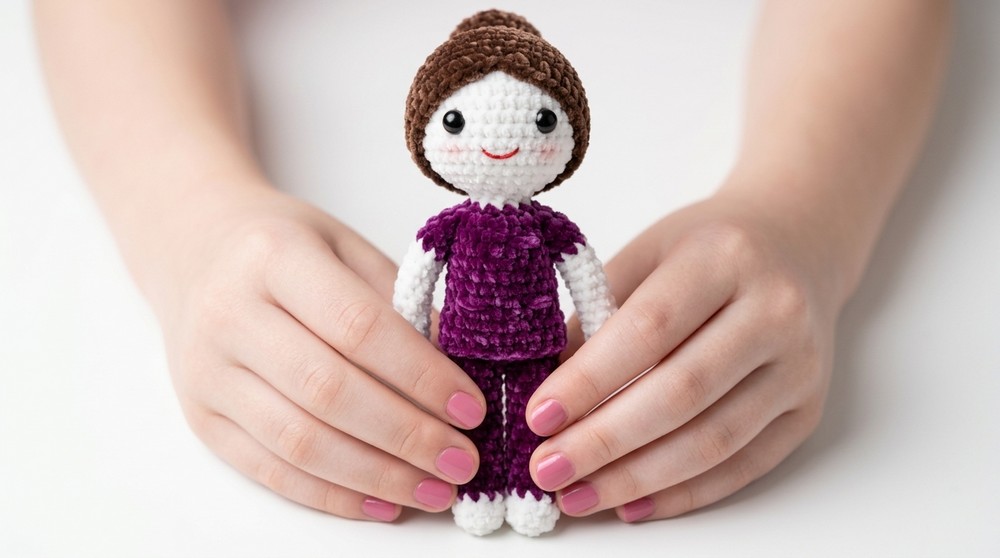
Finished size: Approx. 18–20 cm tall.
Conclusion & Ending Words
Your adorable amigurumi nurse or doctor is complete! This wholesome, huggable doll brings a heartfelt thank you to our heroes in healthcare or offers hours of joyful, imaginative play. Change the scrub colors or add unique touches for a personalized touch. If you enjoyed this pattern, please consider sharing your creation. Thank you for following along—happy hooking, and keep crocheting with pride!