Tiny Crochet No-Sew Bee Pattern Perfect for Keychains
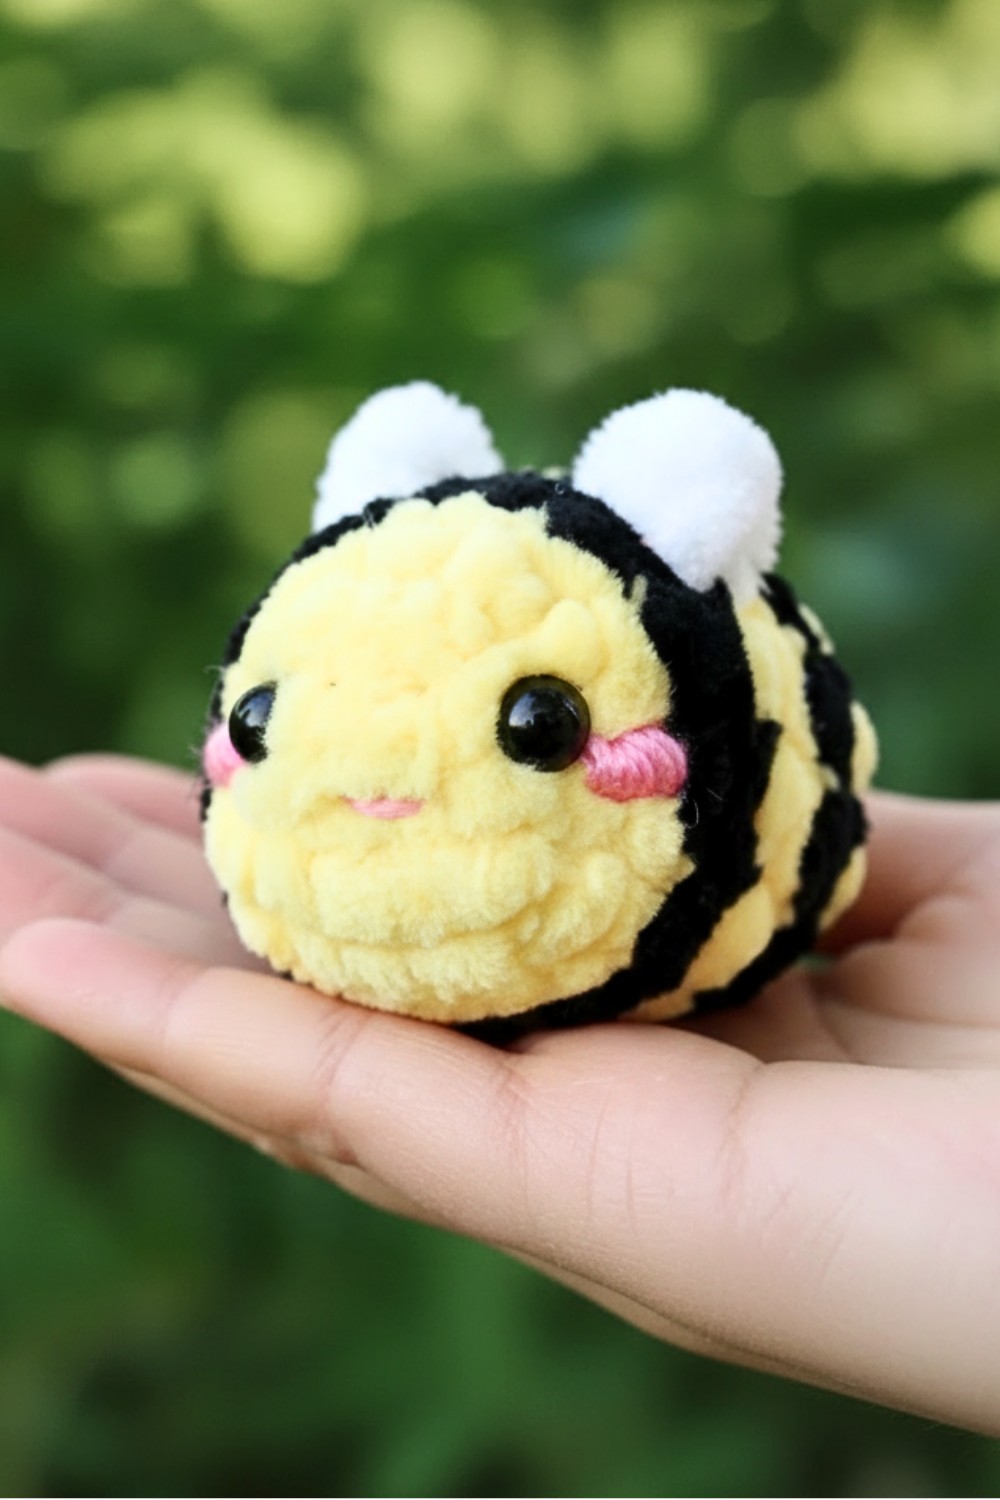
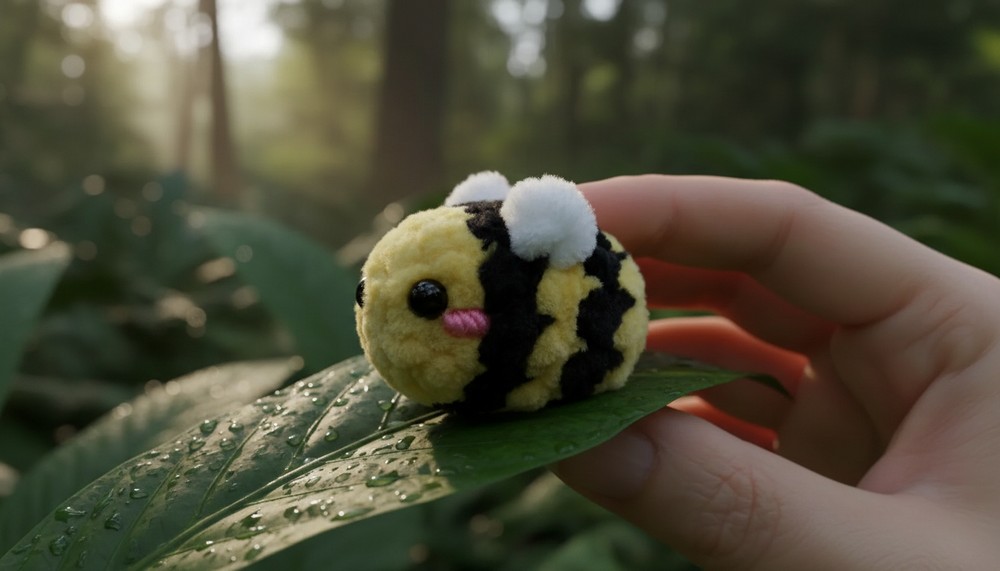
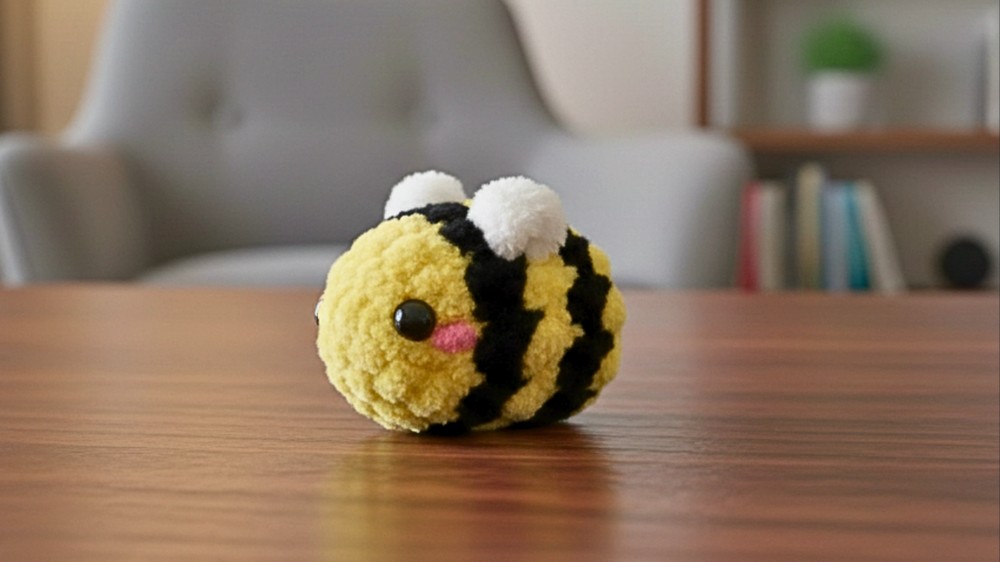
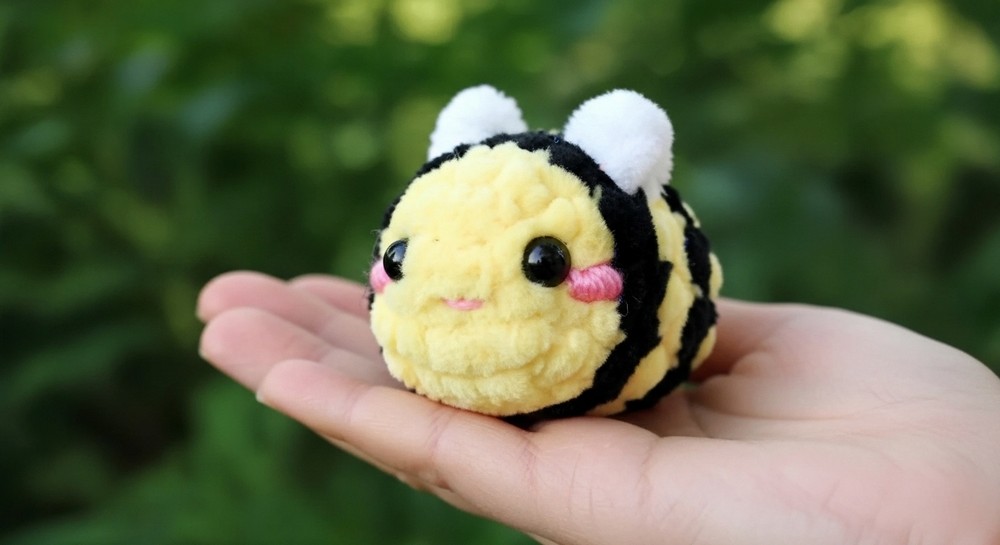
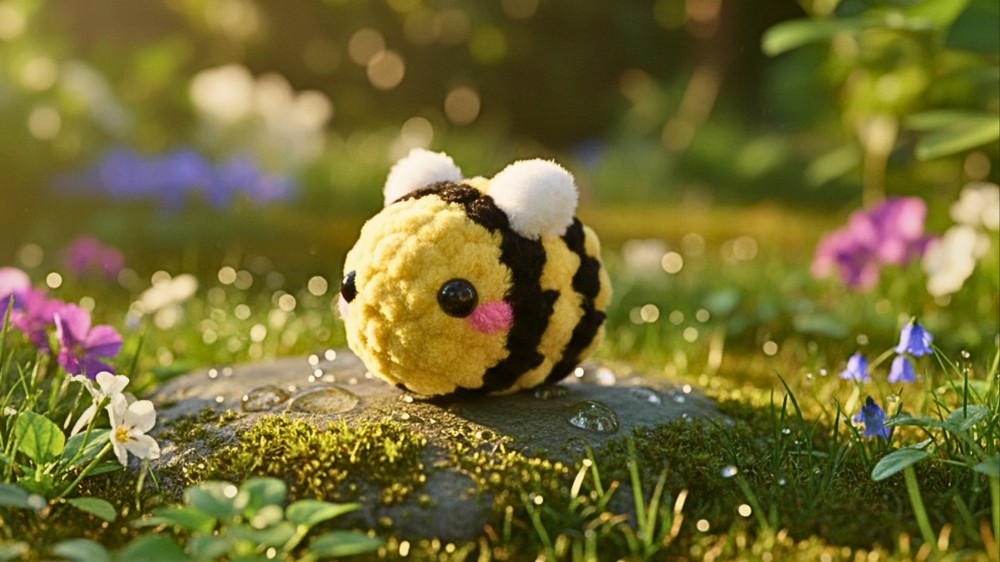
Soft stripes of yellow and black come together to make an adorable little bee with shiny eyes and gentle wings. With a crochet no-sew bee pattern, anyone can create this friendly creature by simply following along with their hands, no reading or sewing skills needed. This happy bee shines as a playful toy, a cute bag charm, or a sweet home decoration, bringing smiles wherever it goes.
Its round body and attached wings give it a special, cozy feel that is both fun and comforting to hold. The colors make it eye-catching, while its simple face gives it a cheerful look loved by everyone. The most important feature that makes the crochet no-sew bee pattern unique is that the wings and body are made all in one piece, so you never have to worry about stitching small parts together—just enjoy easy, step-by-step crocheting for a perfect, huggable bee.
Buzz into fun with this Crochet No Sew Bee Pattern perfect for quick toys or sweet accessories that bring cheerful charm to any collection.
No-Sew Crochet Bee Pattern
Materials
- Yarn: Super bulky (Category 6) in yellow, black and white
- Recommended: Premier Yarns Parfait Chunky in Sunshine (yellow), Black, and White
- Optional (for cheeks): Worsted weight yarn in pink
- Recommended: Paintbox Yarns Simply Aran in Bubblegum Pink
- Hook: 4.5mm crochet hook (or size appropriate for your yarn)
- Eyes: 6mm safety eyes
- Stuffing: Polyester fiberfill
- Tools: Stitch marker, yarn needle, scissors
Abbreviations (US Terms)
| Abbreviation | Meaning |
|---|---|
| BLO | back loop only |
| ch | chain |
| inc | increase (2 sc in same st) |
| invdec | invisible decrease |
| sc | single crochet |
| sl st | slip stitch |
| st(s) | stitch(es) |
Special Stitches & Techniques
Wing (worked while crocheting the body)
- With yellow yarn on the hook, insert your hook under the back loop of the next stitch.
- Place white yarn over the hook and draw through the back loop only.
- Ch 4 with white yarn.
- Yarn over with yellow yarn and pull through both loops on the hook.
- Continue following the pattern as written.
Tip: Yarn is changed within the stitch for seamless, no-sew wings.
Customization Ideas
- Color Variations: Try using pastel or variegated yarn for a whimsical bee.
- Face Details: Embroider a smile, add eyebrows, or use different colored safety eyes.
- Cheeks: Add 4-wrap knots in pink yarn just below the eyes for a cute touch.
- Keychain: Install a keyring to make your bee portable.
- Size: Use different yarn weights and hook sizes for bees in various sizes.
Special Notes
- Work in a continuous spiral—do not join rounds.
- Mark the first stitch of each round using a removable stitch marker.
- Make color changes in the last yarn over of the previous stitch.
- Do not cut the yarn when switching colors; carry it along and pick up as needed.
- Back Loop Only (BLO): Round 4, 5, and 6 (with wings) use BLO for a defined color band.
- Start stuffing once you have completed Round 7, and continue to stuff as you close.
- Insert safety eyes between Rounds 2 and 3, about 4 stitches apart.
Pattern Instructions
Bee (Start with Yellow)
- R1: Ch 2, 6 sc in 2nd ch from hook (6)
- R2: [inc] x6 (12)
- R3: [sc] x12 (12)
(Change to black in the last st) - R4: [BLO sc] x12 (12)
(Change to yellow in the last st) - R5: [BLO sc] x4, wing, [BLO sc] x2, wing, [BLO sc] x4 (12)
(Change to black in the last st) - R6: [BLO sc] x12 (12)
(Change to yellow in the last st)- Insert safety eyes between R2 and R3, 4 sts apart. Place the first eye 1 st below the wing, the second accordingly.
- R7: [BLO sc] x12 (12)
- Begin stuffing here and as you continue.
- R8: [invdec] x6 (6)
- Finish: Cut yarn, leaving a tail. Thread the tail through front loops of final round, pull closed, and weave in end.
Optional Cheeks:
- With pink worsted weight yarn, make a small knot (4-wrap French knot) or embroider under and to the side of each eye.
Pattern Corrections
- Ensure all color changes occur in the LAST yarn over of the previous stitch for clean transitions.
- Wings: The special wing technique is incorporated in R5 only, not as a separate crochet piece or applique.
Tips
- Keep your stitches tight to prevent stuffing from showing through. Adjust the hook size if your chosen yarn is thinner or thicker.
- If new to amigurumi, practice the invisible decrease and color change techniques separately before starting the bee.
- For best results, do not overstuff to avoid distorting the bee’s shape.
Conclusion
You have created a charming, no-sew crochet bee that’s compact and adorable, perfect for gifting, displaying, or accessorizing. With its clever built-in wings and seamless construction, this project is an excellent way to hone your amigurumi and colorwork skills.