
Crochet Amigurumi Mermaid Free Pattern you’ll want to try
Make a magical mermaid with the Free Crochet AMIGURUMI MERMAID Pattern that’s perfect for creating a unique plushie while improving your crochet skills effortlessly.
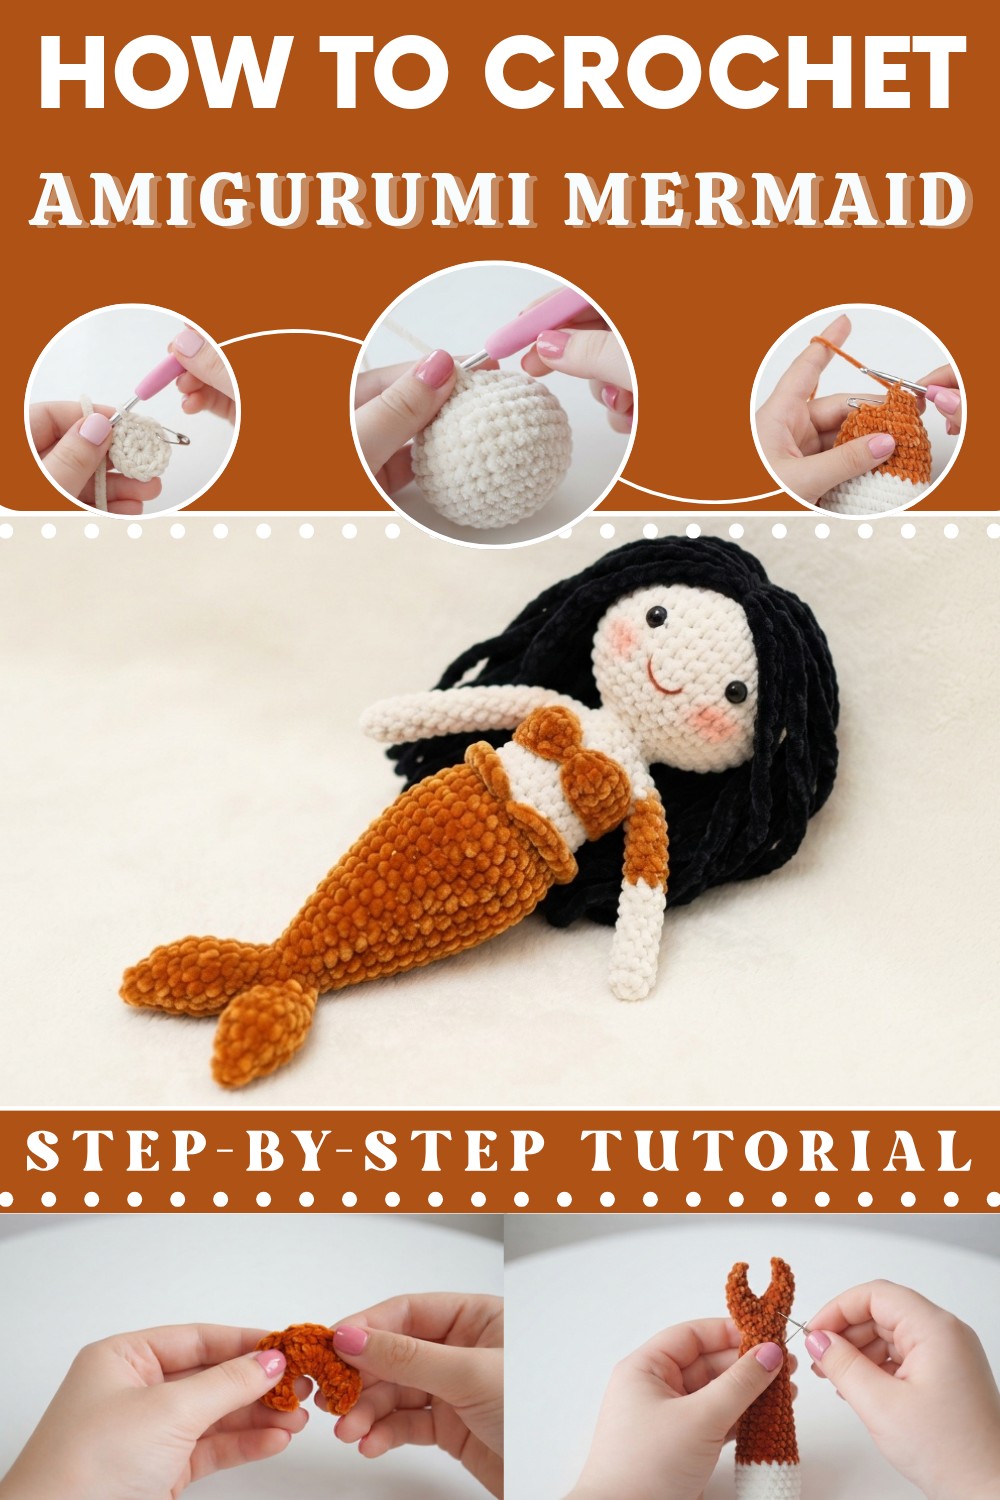
There’s something truly magical about creating sea-themed crochet projects, and recently I had so much fun making a cute little doll using a free crochet AMIGURUMI MERMAID pattern. This delightful amigurumi is a small, soft toy shaped like a mermaid, perfect for anyone who enjoys whimsical, handmade projects. Whether you’re crocheting for yourself or as a gift, this pattern guides you through making a charming mermaid full of personality.
Free Crochet Amigurumi Mermaid Pattern anyone can enjoy
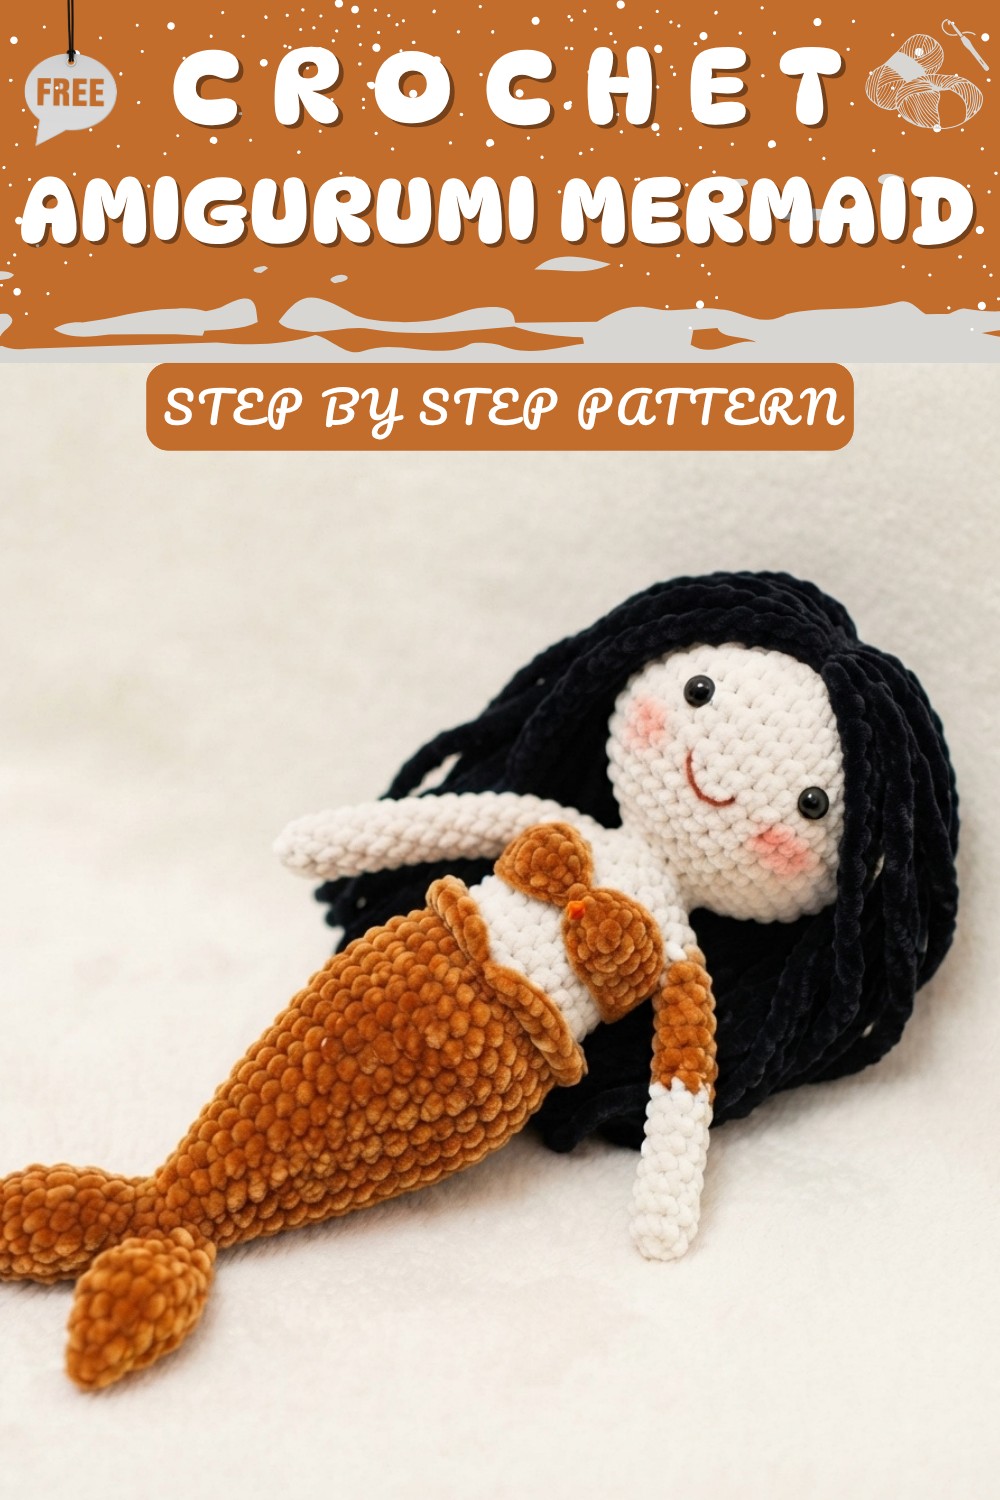
The mermaid’s doll design is both simple and eye-catching. She features a smooth and neat stitch texture that feels soft yet holds her shape nicely. Her body is rounded and cuddly, while her tail has a lovely flare with gentle scallop edges that imitate real mermaid fins. The style is playful and sweet, with standout details like flowing hair and a colorful tail that make this little doll truly special. She’s great as a toy, a decorative piece, or part of your growing collection of amigurumi friends.
Best suited for those with beginner to intermediate crochet skills, this project mainly uses single crochet stitches, creating a firm and tidy fabric. The shaping of the tail and head is straightforward, and you’ll get hands-on practice with assembly once all the parts are crocheted—making it a fun way to build your confidence with small details.
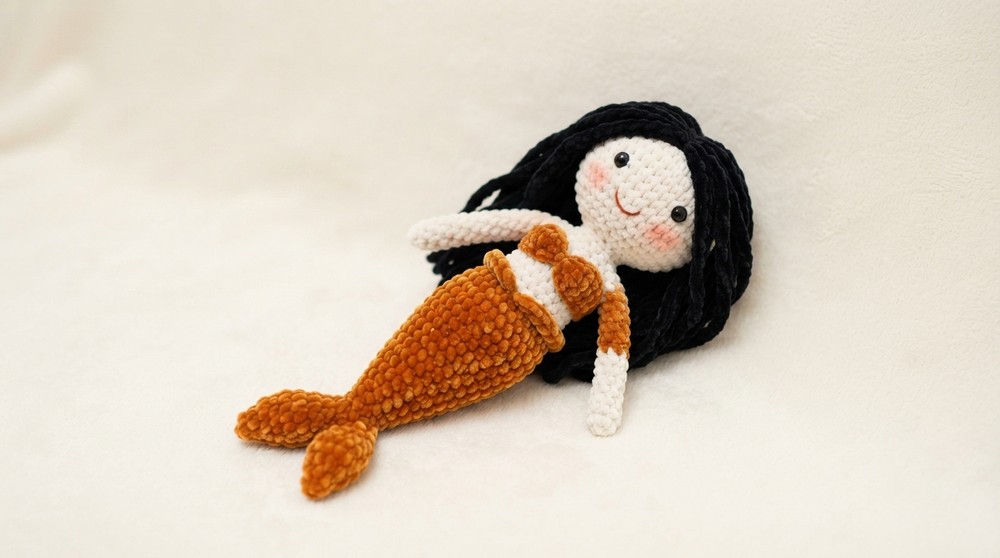
This handmade mermaid makes a lovely present for children, mermaid fans, or anyone who appreciates cute, creative work. She’s also charming as a home decoration or collectible item. If you’re looking for a sweet, manageable project that sparks your imagination, this free crochet AMIGURUMI MERMAID pattern is a wonderful choice to jump into.
Amigurumi Mermaid: A Step-by-Step Crochet Pattern
Welcome to this comprehensive guide for creating your very own amigurumi mermaid. There is something truly magical about bringing a soft, huggable character to life through the rhythmic motion of a crochet hook. This project is a delightful journey that combines basic stitches with thoughtful construction techniques to produce a whimsical doll, perfect for nursery decor, thoughtful handmade gifts, or as a charming addition to your personal collection.
Quick Overview Of Pattern
This amigurumi mermaid is constructed in a continuous spiral, which helps prevent visible seams—a key feature in professional-looking amigurumi. You will start by working the head, moving seamlessly into the neck and body, and incorporating a color change to distinguish the tail. The project also includes separate instructions for the tail fin and arms, which are crocheted separately and then attached. We will utilize fundamental stitches such as the single crochet, as well as essential amigurumi techniques like the magic ring and the invisible decrease.
Notes
-
Continuous Rounds: This pattern is worked in a continuous spiral unless otherwise specified. Use a stitch marker to track the beginning of each round to avoid losing your place.
-
Stitch Counts: Stitch counts are provided at the end of each round in parentheses to help you verify your progress.
-
Tension: Maintain a consistent tension throughout the project. Since this is an amigurumi, you want your stitches to be tight to prevent the toy stuffing from showing through the gaps.
-
Color Changes: When changing colors, pull the new color through during the final pull-through of the last stitch of the previous round to ensure a clean transition.
-
Stuffing: Add your stuffing as you work, particularly for the head and neck, to ensure a firm shape before the opening becomes too small.
Skill Level
Intermediate. This pattern assumes a basic knowledge of crochet, specifically working in the round. Familiarity with the "invisible decrease" technique is highly recommended for a professional finish.
Materials
-
Yarn: Cotton yarn in three colors: Skin tone (for head/arms), a primary color for the body, and a secondary color for the tail fin. You may also use acrylic yarn if you prefer a different texture.
-
Crochet Hook: 3.0mm hook.
-
Stuffing: High-quality toy stuffing (polyester fiberfill).
-
Safety Eyes: Suitable for dolls.
-
Notions: Stitch markers, yarn needle, scissors, and optionally, pipe cleaners for arm stability.
Measurements / Sizing
The finished mermaid will stand approximately [varies by tension] inches tall. The size depends largely on your yarn choice and personal tension. Using a 3.0mm hook with standard DK or sport-weight cotton yarn will result in a huggable, palm-sized doll.
Gauge
Gauge is not critical for this amigurumi project, but it is important to maintain tight stitches so that the fiberfill stuffing does not peek through the gaps between stitches.
Stitch Abbreviations
-
Ch: Chain
-
Sc: Single Crochet
-
Inc: Increase (2 single crochets in the same stitch)
-
Dec: Decrease (Invisible decrease preferred: insert hook into front loops of the next two stitches, yarn over, pull through, yarn over, pull through both loops)
-
St(s): Stitch(es)
Special Stitches
-
Invisible Decrease (Dec): This is the gold standard for amigurumi. Unlike a standard single crochet decrease, which can create a visible bump or hole, the invisible decrease mimics the appearance of a standard single crochet stitch, creating a smooth surface. To perform this, insert your hook into the front loop only of the first stitch, then immediately insert it into the front loop only of the second stitch. Yarn over and pull through two loops, then yarn over and pull through the remaining two loops.
The Crochet Pattern!
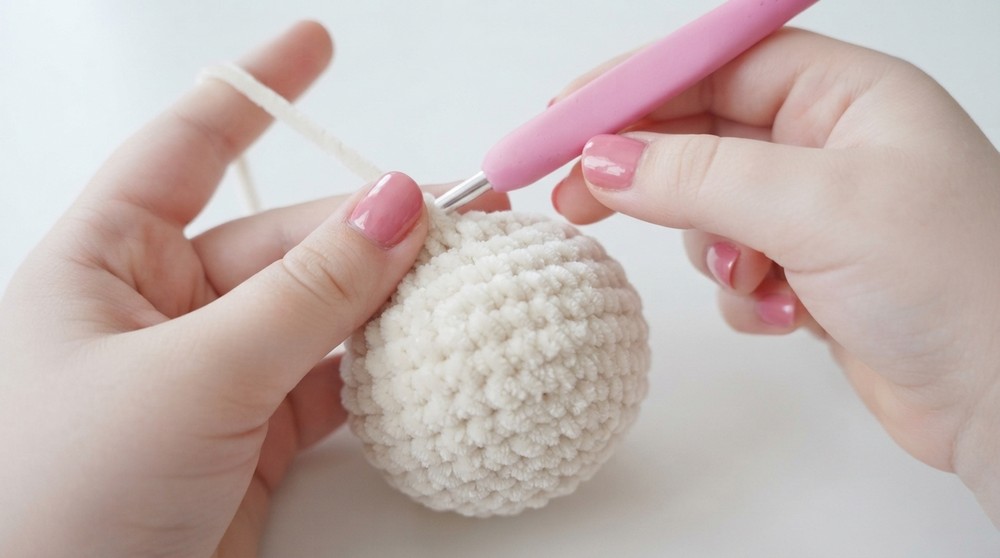
Part 1: The Head and Body
We will start by creating the head, working from the top down.
-
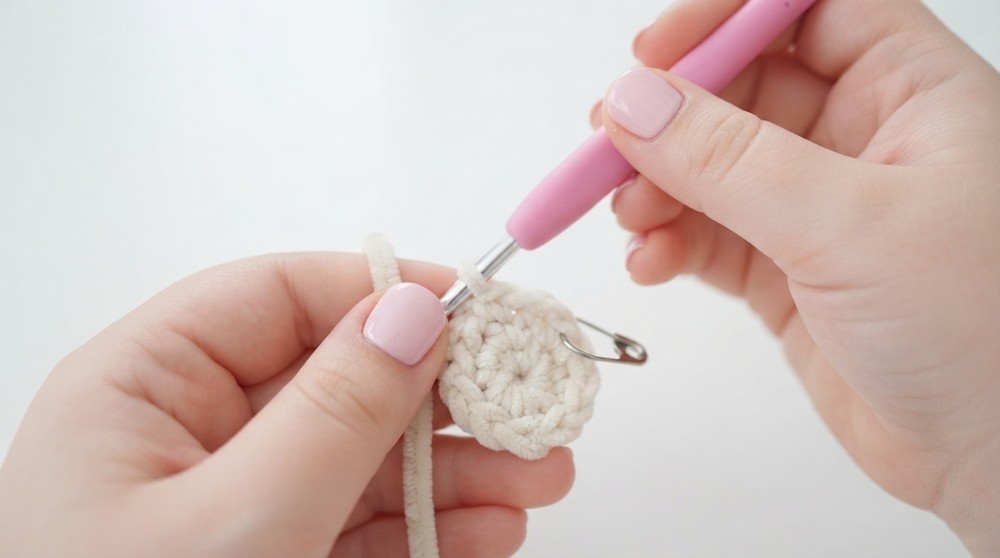
Round 1: Start with a magic ring. Work 6 sc into the ring. Tighten the ring to close. (6 sts)
-
Round 2: Inc in each stitch around. (12 sts)
-
Round 3: 1 sc, inc repeat 6 times. (18 sts)
-
Round 4: 1 sc in the next 2 sts, inc repeat 6 times. (24 sts)
-
Round 5: 1 sc in the next 3 sts, inc repeat 6 times. (30 sts)
-
Round 6: 1 sc in the next 4 sts, inc repeat 6 times. (36 sts)
-
Round 7: 1 sc in the next 5 sts, inc repeat 6 times. (42 sts)
-
Rounds 8–12: 1 sc in each stitch around for 5 rounds. (42 sts)
-
Round 13: 1 sc in the next 5 sts, dec repeat 6 times. (36 sts)
-
Round 14: 1 sc in the next 4 sts, dec repeat 6 times. (30 sts)
-
Round 15: 1 sc in the next 3 sts, dec repeat 6 times. (24 sts). Insert safety eyes now and start adding stuffing.
-
Round 16: 1 sc in the next 2 sts, dec repeat 6 times. (18 sts)
-
Round 17: 1 sc in the next 1 st, dec repeat 6 times. (12 sts)
-
Rounds 18–20: 1 sc in each stitch around for 3 rounds (this forms the neck). (12 sts)
-
Round 21: 1 sc, inc repeat 6 times. (18 sts)
-
Round 22: 1 sc in the next 2 sts, inc repeat 6 times. (24 sts)
-
Round 23: 1 sc in the next 3 sts, inc repeat 6 times. (30 sts)
-
Round 24: 1 sc in the next 4 sts, inc repeat 6 times. (36 sts)
-
Arm Partition: Fold the work flat. Count 8 stitches on each side and place stitch markers. Work 1 sc in the next 20 stitches (this creates the base for the body).
-
Rounds 25–29: 1 sc in each stitch around for 5 rounds. (20 sts)
-
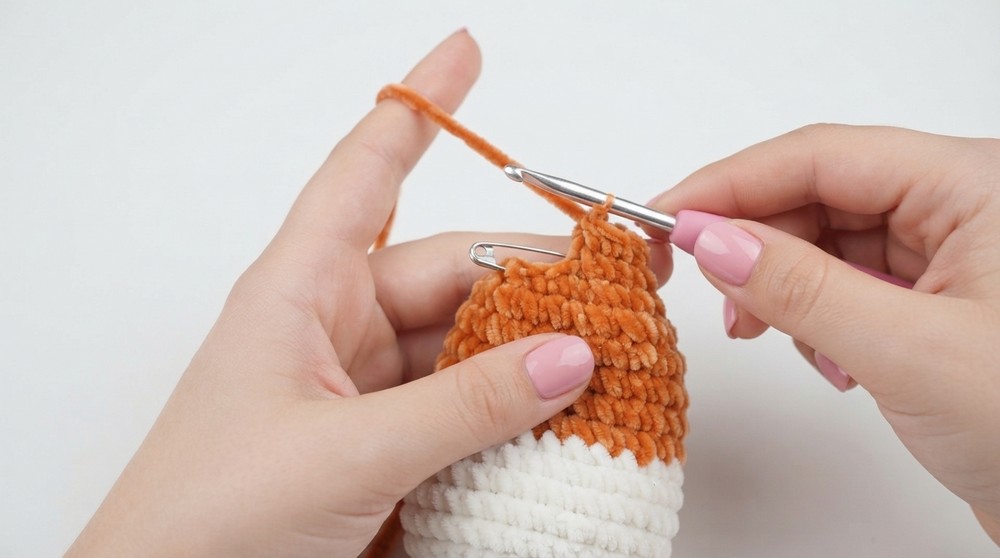
Round 30 (Color Change): Switch to your secondary color (e.g., yellow) in the final pull-through of the last stitch. Work 1 sc in each stitch around. (20 sts)
-
Round 31–32: 1 sc in each stitch around. (20 sts)
-
Round 33: Dec, 8 sc repeat 2 times. (18 sts)
-
Round 34: 1 sc in each stitch around. (18 sts)
-
Round 35: Dec, 7 sc repeat 2 times. (16 sts)
-
Round 36: 1 sc in each stitch around. (16 sts)
-
Round 37: Dec, 6 sc repeat 2 times. (14 sts)
-
Round 38: 1 sc in each stitch around. (14 sts)
-
Round 39: Dec, 5 sc repeat 2 times. (12 sts)
-
Rounds 40–46: 1 sc in each stitch around for 7 rounds. (12 sts)
-
Closing: Stuff firmly. Work 1 sc through both loops of the opposing stitches to close the opening. Fasten off.
Part 2: The Tail Fin
-
Row 1: Ch 5. Sc in the 2nd ch from hook and next 3 chs. (4 sts)
-
Row 2: Turn. 1 sc in the next 3 sts, inc in the last st. (5 sts)
-
Row 3: Turn. Inc in the first st, 1 sc in the next 4 sts. (6 sts)
-
Row 4: Turn. 1 sc in the next 5 sts, inc in the last st. (7 sts)
-
Row 5: Turn. Inc in the first st, 1 sc in the next 6 sts. (8 sts)
-
Row 6: Turn. 1 sc in the next 7 sts, inc in the last st. (9 sts)
-
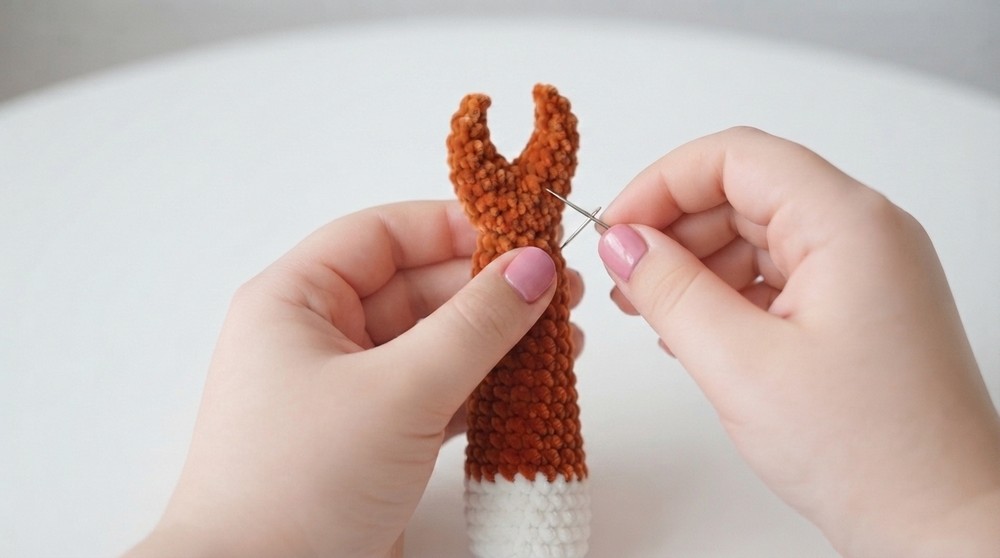
Finish: Ch 1, fasten off. Repeat for the second side of the fin, joining the yarn in the foundation chain to work the same pattern.
Part 3: The Arms
-
Round 1: Using skin tone yarn, join in the designated stitch. Ch 1, 1 sc in the same stitch and next 7 sts. (8 sts)
-
Rounds 2–12: 1 sc in each stitch around for 12 rounds. (8 sts)
-
Finish: Stuff lightly (optionally insert a pipe cleaner for posing). Flatten the opening and sew the arm to the body. Repeat for the second arm.
Top is optional if you want so, you can crochet it.
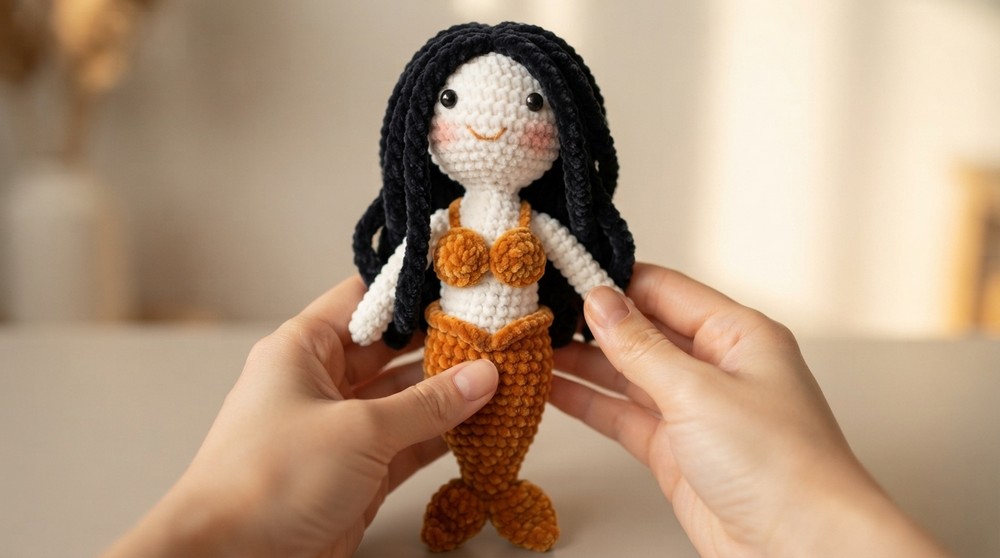
Assembly & Finished Size
To assemble your mermaid, position the fin at the base of the tail. Use your yarn needle to sew the fin securely using the tail end of your yarn. Attach the arms to the sides of the body, just below the neck line. For facial features, you can embroider a small mouth or add hair using your preferred method—whether it is individual yarn strands knotted on or a crocheted hair cap. Ensure all loose ends are woven in securely to protect your work from unravelling during play or display.
Conclusion and Ending Words
You have successfully navigated the complexities of this amigurumi mermaid project! It is a wonderful feeling to see a pile of yarn transform into a charming character through simple, repetitive stitches. Whether this is your first attempt at an amigurumi doll or your hundredth, remember that every stitch is a step toward mastery. Crochet provides a unique outlet for creativity, allowing you to build structures from nothing but string and imagination. Please share your finished mermaid with the community, and keep hooking.