
Mini Crochet Santa Claus Amigurumi Free Pattern And Tutorial For Christmas
Bring a classic Christmas character to life with this Crochet Santa Claus Amigurumi a lovely choice for handmade gifts and seasonal fun.
The holiday season becomes even more special with cute decorations like Santa . This Crochet Santa Claus Amigurumi adds a touch of warmth and holiday cheer to any space. The video tutorial from Crochê e amigurumi guides you through making this delightful figure.
Free Crochet Santa Claus Amigurumi Pattern For Christmas Gifts
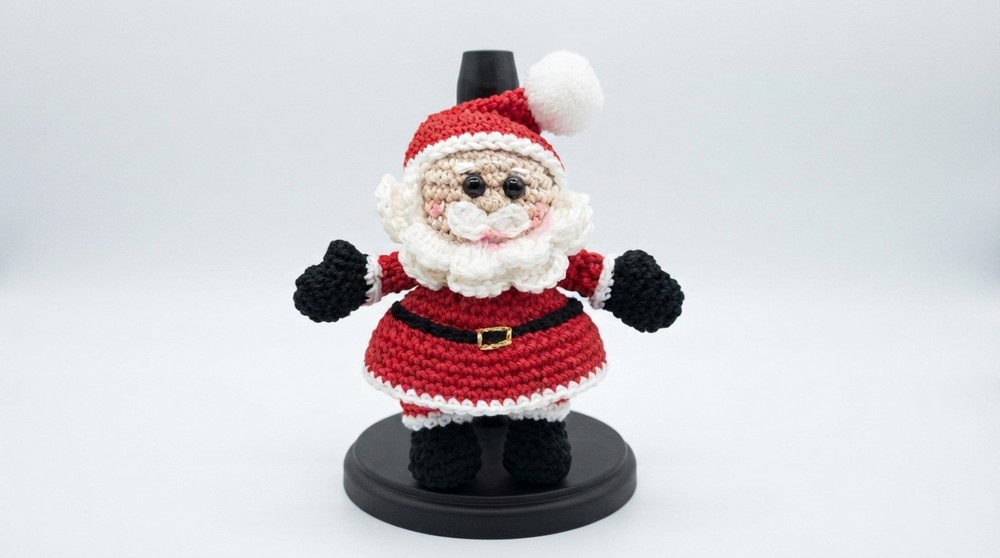
Featuring a bright red coat, a fluffy white beard, and a friendly smile, this Santa brings a classic, joyful look that fits nicely on mantels, shelves, or even as a festive ornament.
What makes this amigurumi so appealing is its simple style combined with a lot of character. Its compact size means it’s great not only for decorating your own home but also as a meaningful gift for friends or family during the festive season. The soft texture and vibrant colors give it a cozy feel that helps bring out the spirit of Christmas.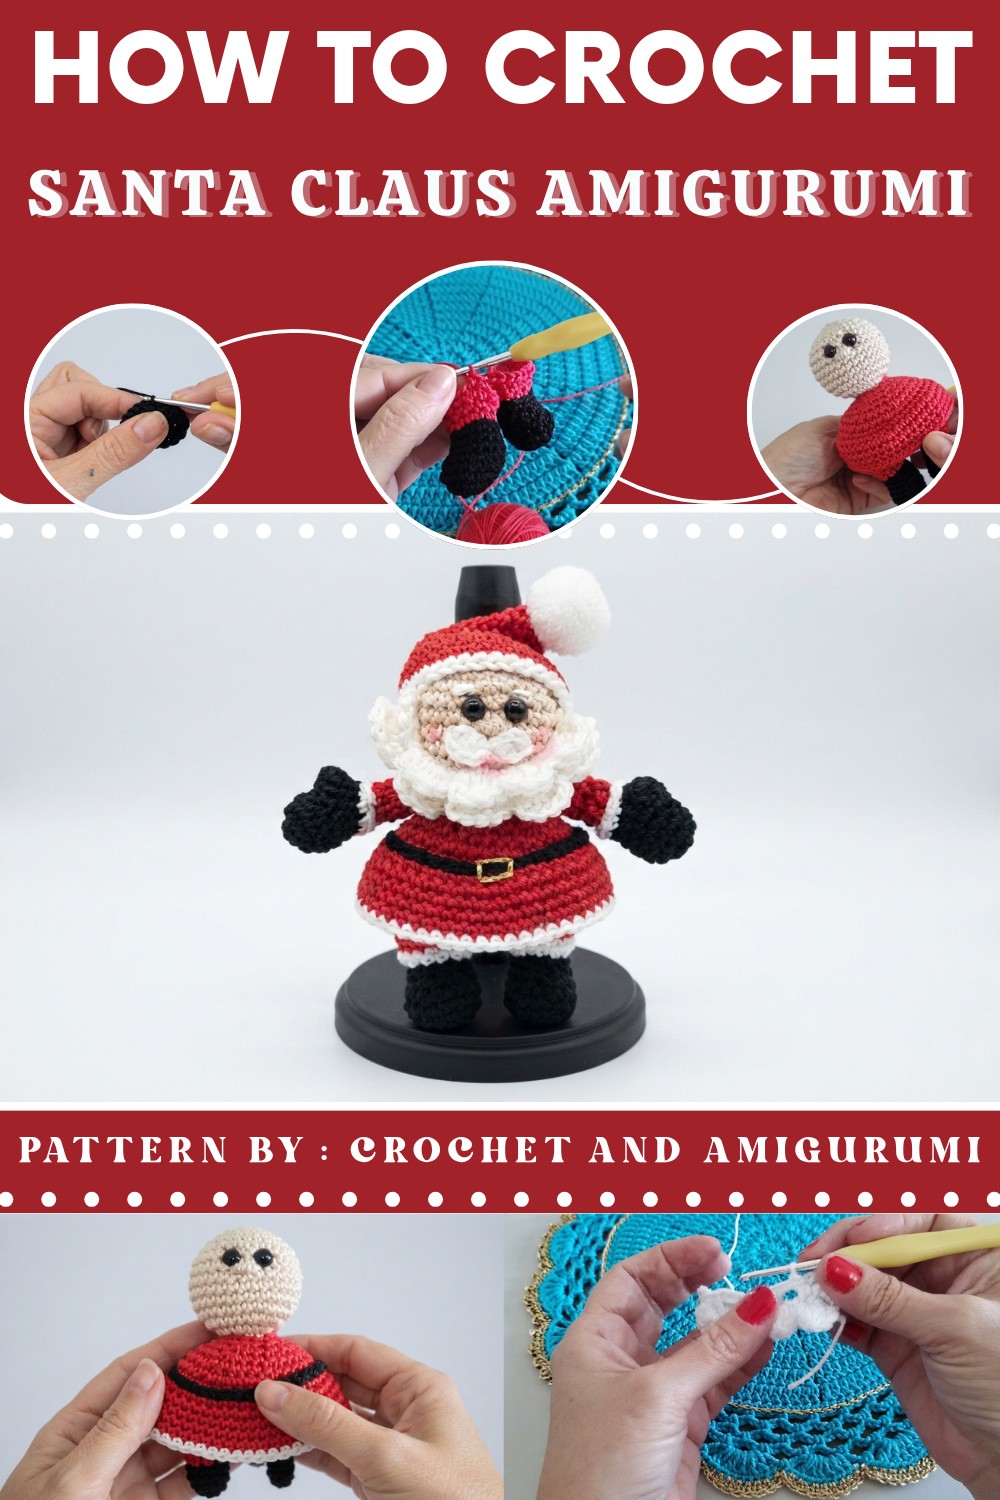
This project suits crocheters who want something manageable yet rewarding. It’s a lovely way to add a handmade accent without too much complexity.
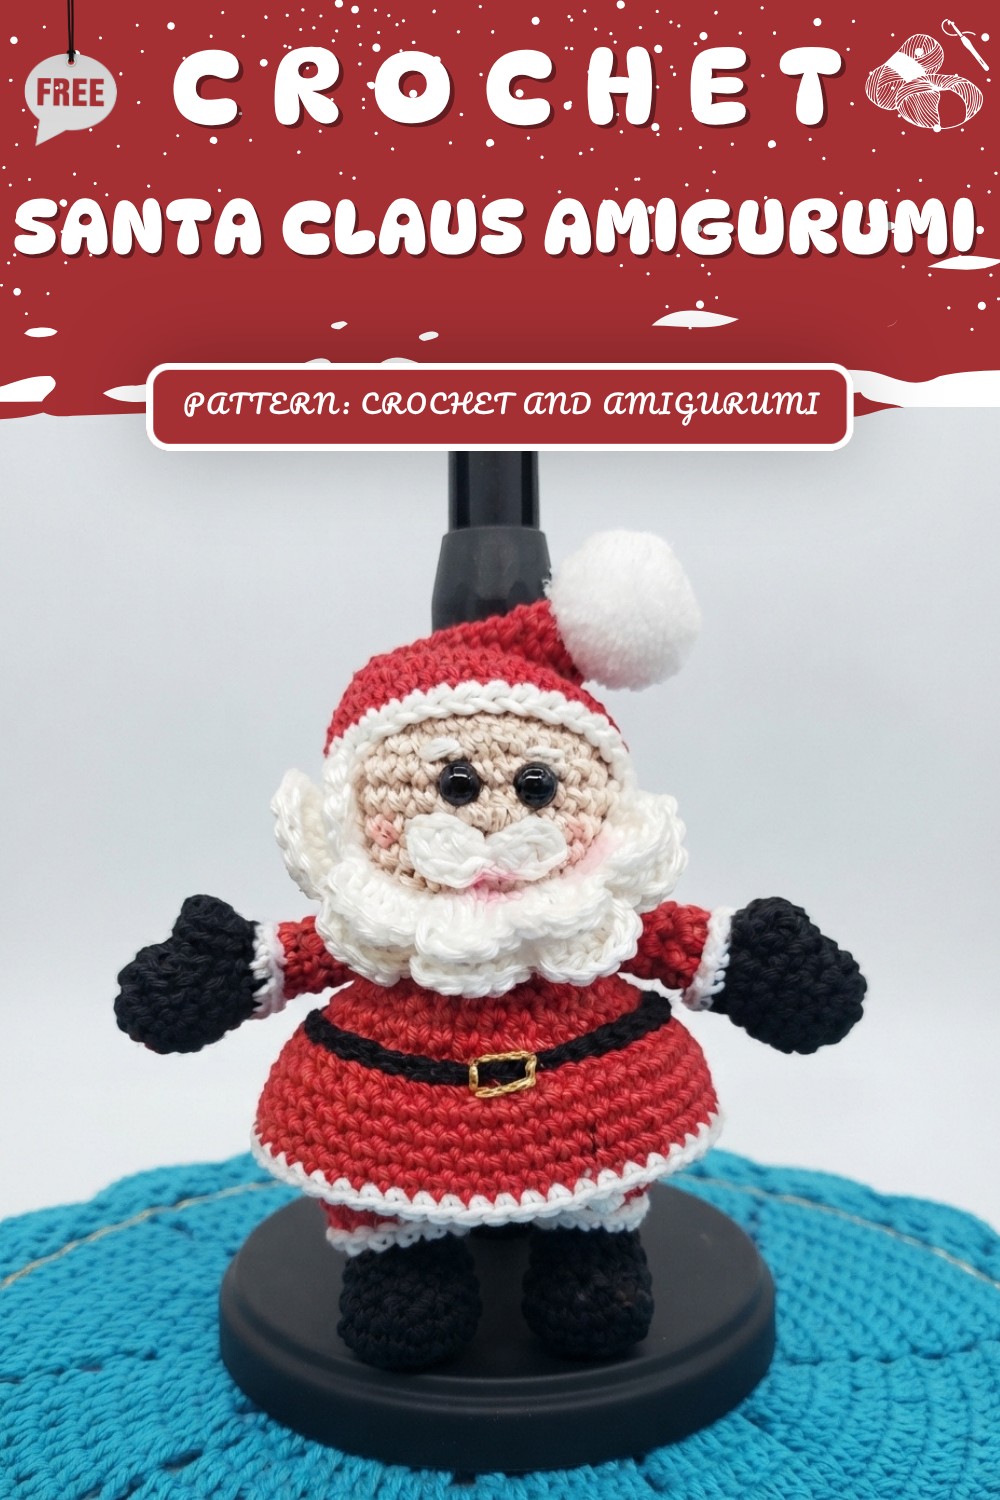
Whether you want to brighten your holiday décor or find a sweet, personal gift, the Crochet Santa Claus Amigurumi is a fantastic choice. For anyone curious about this charming project, head over to Crochê e amigurumi to find the free pattern and start on your own festive crocheted Santa.
Crocheted Santa Claus Amigurumi Pattern
This detailed Santa Claus amigurumi pattern features all the classic holiday touches, from his bright suit and boots to his friendly face, beard, and signature hat. Designed to be both festive and approachable, this pattern results in a charming crochet Santa, perfect for seasonal home décor or as a thoughtful handmade gift. Each step of the pattern is presented in a clear and organized way, guiding crafters through the creation and assembly of Santa’s outfit, accessories, and finishing details.
Pattern Basic Points
- Amigurumi is worked in continuous spirals unless otherwise noted. Place a stitch marker at the start of each round.
- Color changes are clearly indicated throughout the pattern; change colors at the last pull-through of the previous stitch.
- Some rounds require working in back loops only (BLO) to add texture.
- All parts are crocheted separately, stuffed, and then sewn together for final assembly.
- Embellishments and facial details are added after stuffing and assembly.
Special Notes
- Maintain even tension for best results; tight stitches prevent stuffing from showing.
- Stuff as you work, being careful not to overstuff and distort the shape.
- Small details (such as the belt buckle or mustache) may be glued in place if preferred.
- Adjust color choices as desired to personalize your Santa.
- Use chopsticks or the back of a pencil to help with stuffing small parts.
Skill Level
Beginner-friendly: suitable for crafters with basic knowledge of crochet techniques such as the magic ring, single crochet, increasing, and decreasing.
Materials
- Yarn: DK or light worsted weight in red, white, black, skin tone/cream, and yellow.
- Example: Chantilly 7583 for skin, White 8001, plus standard red and black shades.
- Crochet hook: 2.5mm–3.0mm, or size suitable for yarn to create firm stitches.
- Toy stuffing (polyfill)
- 8mm safety eyes
- Stitch marker
- Fabric glue (optional)
- Scissors
- Tapestry needle (for sewing parts and embroidering details)
- Vagonite needle (optional for detail work)
- Small piece of yellow yarn (for belt buckle)
- Pom-pom (ready-made or handmade) for hat tip
- Safety pin (to mark rounds or placement)
Measurements / Sizing
Finished Santa Claus is approximately 12 cm (4.7 inches) tall.
Gauge
Gauge is not critical, but your stitches should be tight enough so that stuffing does not poke through. For reference: 24 single crochet stitches x 28 rows = 10x10 cm square.
Stitch Abbreviations
- MR: Magic ring
- sc: single crochet
- inc: increase (2 sc in the same stitch)
- dec: decrease (single crochet two stitches together)
- sl st: slip stitch
- ch: chain
- hdc: half double crochet
- dc: double crochet
- BLO: back loop only
Special Stitches
- Invisible decrease: Insert hook through front loops of next 2 stitches, yarn over and pull through, complete as single crochet.
- Double crochet cluster (for thumb): Yarn over, insert hook in stitch, yarn over, draw loop through, yarn over, draw through two loops, repeat four times in same stitch, yarn over, pull through all 5 loops.
Santa Claus Pattern
Legs & Boots (Make 2)
Round 1: In MR, 6 sc. (6)
Round 2: 2 sc in each stitch around. (12)
Round 3: 1 sc, inc, repeat around. (18)
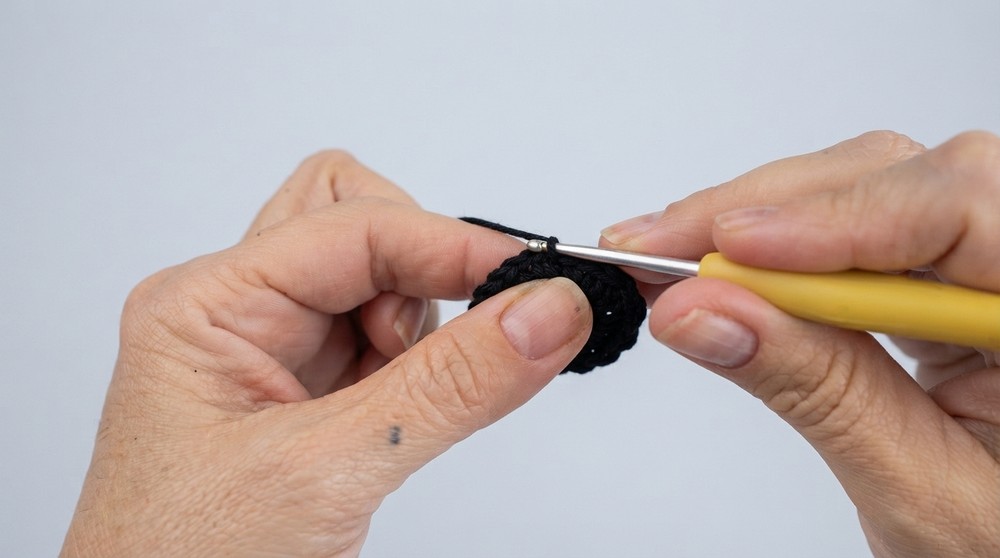
Rounds 4–5: 1 sc in each stitch. (18)
Round 6: 2 sc, dec four times, then 8 sc. (14)
Round 7: 2 sc, 2 dec, 8 sc. (12)
Round 8: 1 sc in each stitch. (12)
Change to Red, work in BLO:
Rounds 9–10: 1 sc in each stitch. (12)
Round 11: 1 sc, inc six times. (18)
Round 12: 1 sc in each stitch. (18)
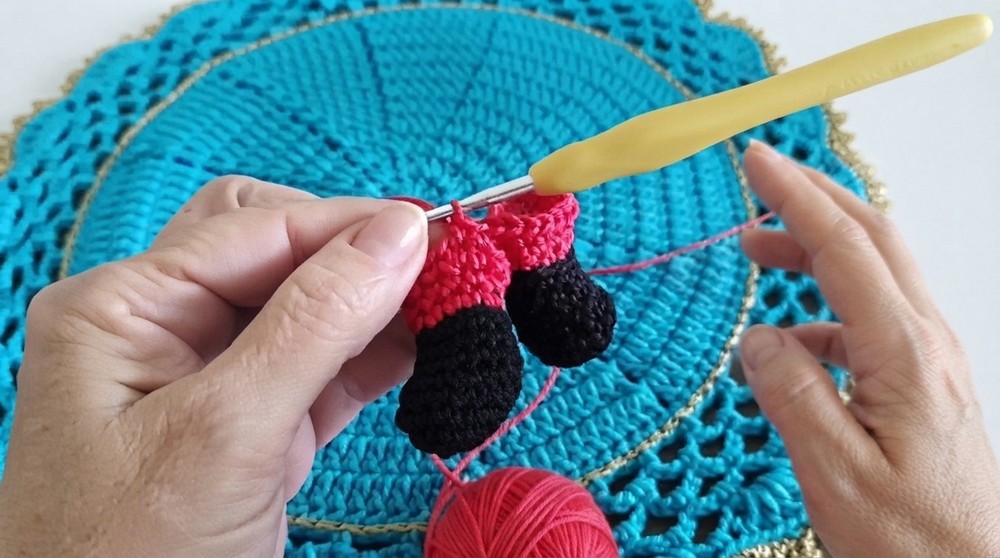
Finish the first leg and cut yarn. Do not cut for the second leg; continue to join legs for the body.
Body
Round 1: Join both legs, 18 sc around each, total 36 sc.
Round 2: 5 sc, inc six times. (42)
Rounds 3–6: 1 sc in each stitch. (42)
Round 7 (BLO): 1 sc in each stitch (fur band foundation). (42)
Round 8: 5 sc, dec six times. (36)
Round 9: 4 sc, dec six times. (30)
Round 10: 3 sc, dec six times. (24)
Round 11: 2 sc, dec six times. (18)
Round 12: 1 sc, dec six times. (12)
Stuff body firmly as you progress.
Head
Round 1: Attach skin tone yarn, BLO, 12 sc around opening. (12)
Round 2: 2 sc in each stitch. (24)
Round 3: 3 sc, inc six times. (30)
Rounds 4–9: 1 sc in each stitch. (30)
Round 10: 3 sc, dec six times. (24)
Round 11: 2 sc, dec six times. (18)
Insert safety eyes between Rounds 7 and 8; stuff head firmly.
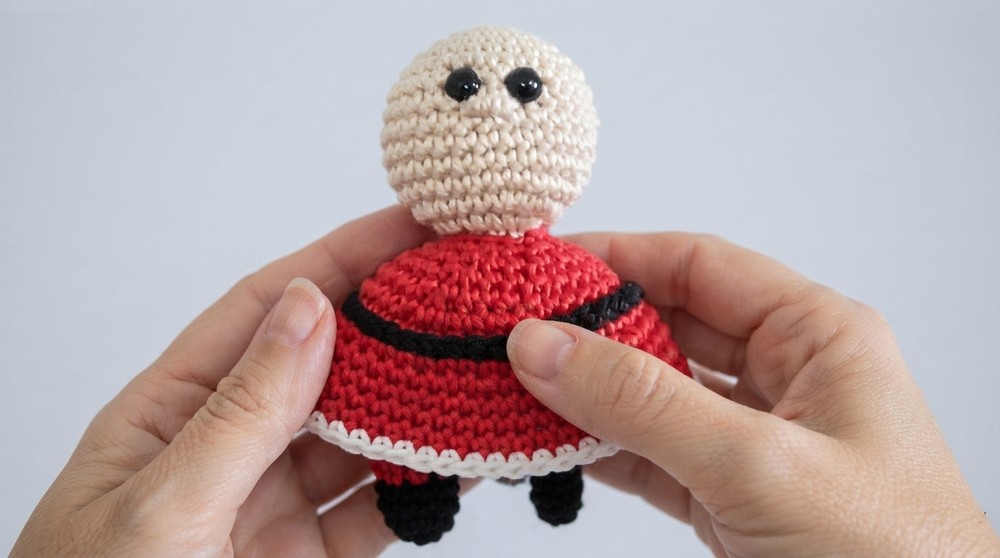
Round 12: 1 sc, dec six times. (12)
Final round: Decrease in each stitch until closed, fasten off.
Belt and Suit Detailing
- Use black yarn and tapestry needle to embroider belt at the waist.
- With yellow yarn, embroider a square for the buckle at the center front.
- With white yarn and hook, sc in each front loop left from BLO rounds at the suit band and boots to simulate fur
.
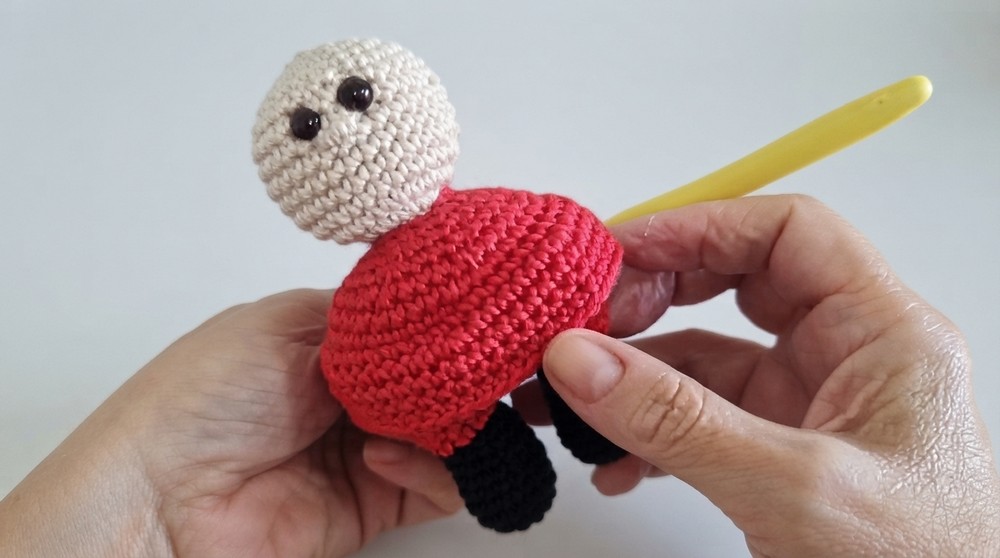
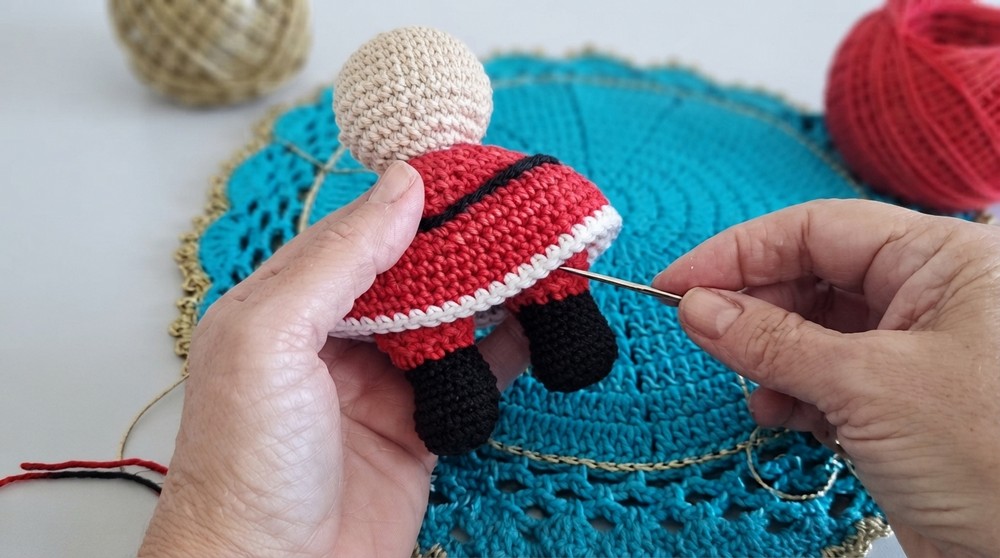
Arms (Make 2)
Round 1: MR, 5 sc. (5)
Round 2: 2 sc in each stitch. (10)
Rounds 3–4: 1 sc in each stitch. (10)
Round 5: 4 sc, ch 1, 4 dc cluster in next st, ch 1, 5 sc. (makes thumb)
Round 6: dec, 6 sc. (7)
Change to Red, work in BLO:
Rounds 7–12: 1 sc in each stitch. (7)
Stuff lightly, fasten off leaving a long tail for sewing.
Hat
Round 1: MR, 6 sc. (6)
Round 2: 1 sc, inc three times. (9)
Round 3: 1 sc in each stitch. (9)
Round 4: 2 sc, inc three times. (12)
Round 5: 1 sc in each stitch. (12)
Round 6: 3 sc, inc three times. (15)
Round 7: 1 sc in each stitch. (15)
Round 8: 4 sc, inc three times. (18)
Round 9: 1 sc in each stitch. (18)
Round 10: 2 sc, inc six times. (24)
Round 11: 1 sc in each stitch. (24)
Round 12: 3 sc, inc six times. (30)
Round 13: 1 sc in each stitch. (30)
Round 14: 4 sc, inc six times. (36)
Change to white yarn for brim, 1 sc in each stitch. (36)
Fasten off, sew to head, attach pom-pom at tip.
Beard
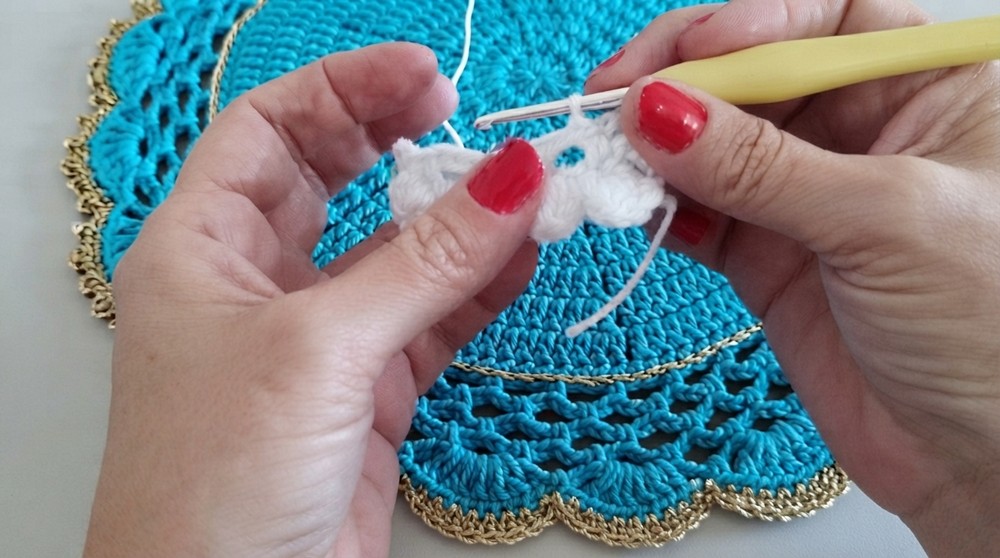
- Ch 21, skip 4 ch, 1 sc in 5th ch, ch 2, skip 3 ch, 1 sc in next ch; repeat to end.
- Turn, (1 sc, 4 dc) into each space, with a sc at end for fullness.
- Work another row for thickness if desired. Attach under Santa’s nose.
Mustache
- Ch 4, sc in 2nd ch, hdc in next, sc in last. Fasten off.
- Repeat for second side; offset and sew under nose, overlapping slightly at center.
Assembly & Finishing
- Sew arms to the sides of the body between suit and head.
- Embroider or glue the belt and buckle at the waist.
- Sew beard and mustache beneath safety eyes, centered on face.
- Fasten hat to head, secure with stitches, add pom-pom.
- Finish with any desired details: blush to cheeks, glue dots, etc.
- Weave in all yarn ends for neatness and safety.
Conclusion
This meticulously designed Santa Claus amigurumi pattern allows crafters to create a festive and iconic ornament, ideal for holiday displays or as a personalized gift. The approachable, step-wise instructions guide you through every detail, resulting in a classic holiday character complete with all the charming features that bring Santa to life.