
Cute Crochet Santa Claus Free Pattern with Easy-to-Follow Instructions
Join the festive fun by crocheting a Santa Claus figure that brightens holiday décor and spreads joyful cheer with simple step-by-step instructions.
This delightful holiday project is perfect for adding festive cheer to your home or gifts. The Crochet Santa Claus figure can be used as a charming decoration on your Christmas tree, a cute ornament for shelves or desks, or even as a thoughtful handmade gift or stocking stuffer.
Handmade Crochet Santa Claus Free Pattern Ideal for Christmas Decorations
It’s a small, soft creation made with cozy yarn, dressed in Santa’s classic red suit with white trim and a cheerful hat, full of festive charm.The finished Santa has a soft, squishy texture, perfect for holding or displaying during the holiday season.
This pattern is based on the original YouTube tutorial by [Shelen Crochet]. Full credit goes to Shelen Crochet for the original design and clear instructions. Be sure to visit her channel to watch the full video(Find the link below) and support her wonderful work.
This project is great for beginners and those with some basic crochet experience because it uses simple stitches and clear shaping to bring Santa to life. You’ll need common materials like red, white, and black yarn, a crochet hook, stuffing, and a few simple sewing tools. Crocheting this Santa Claus is a fun way to practice your skills while creating something special that captures the warmth of the holidays. It’s also a wonderful gift idea that friends and family will love.
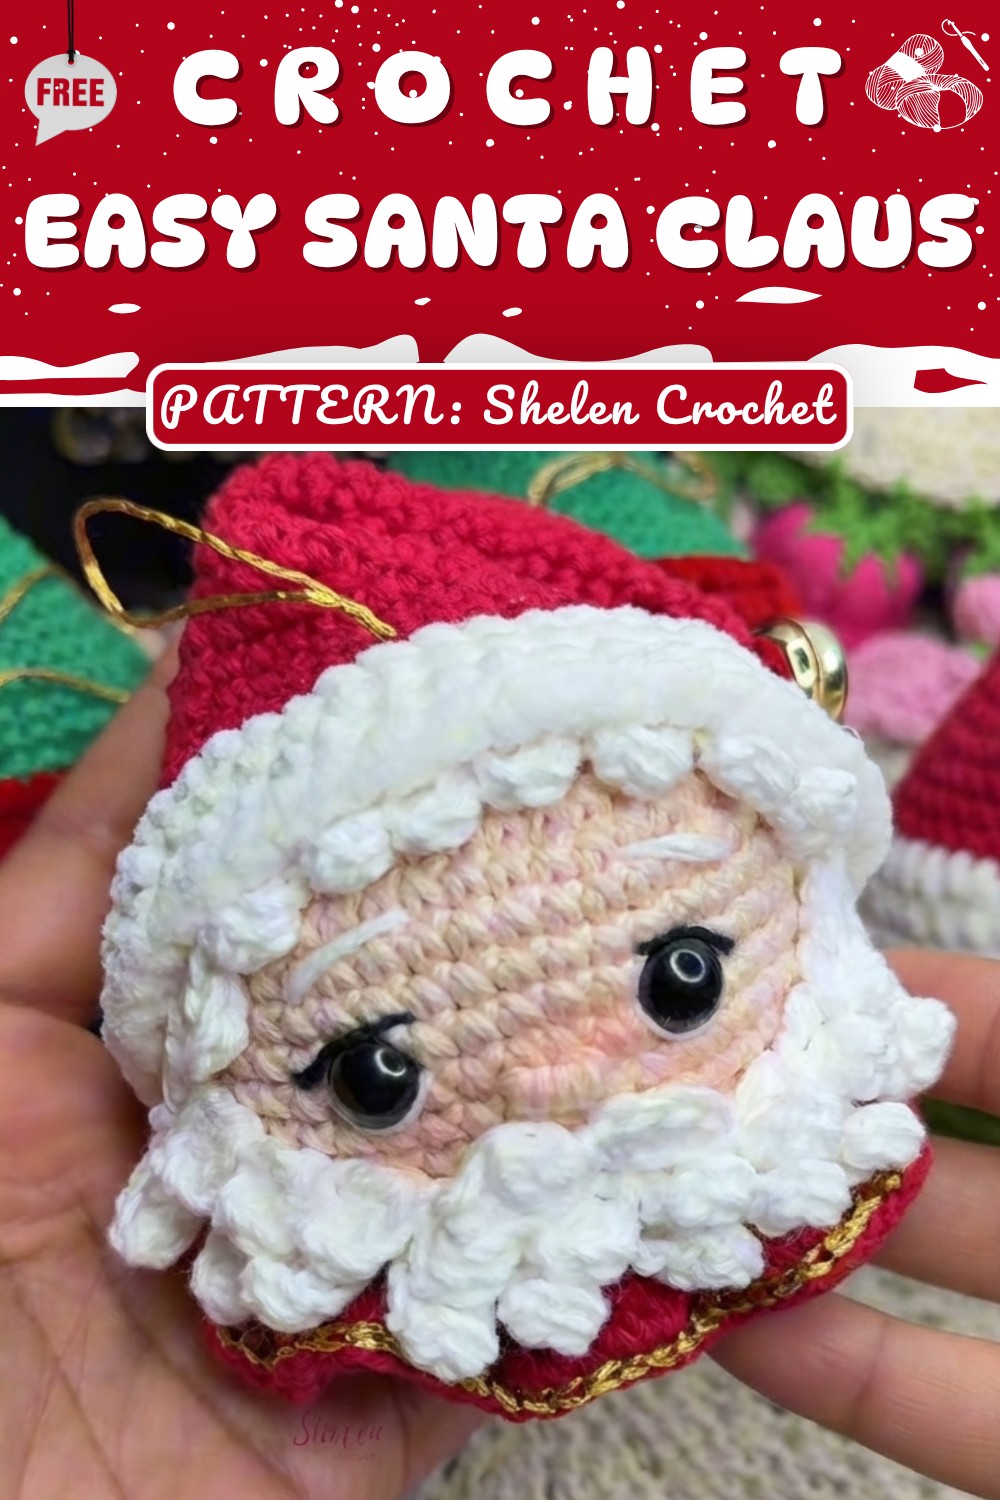
Chelen Crochet – Santa Sphere Amigurumi Pattern
Today, we're making a delightful Santa Sphere—a festive round Santa complete with a fluffy beard, detailed hat, golden accent, and jingly bell. This project is perfect for a holiday ornament or a playful holiday gift. Finished size will depend on your hook, but you can expect a charming, huggable decoration approximately 13–16 cm tall.
Pattern Highlights
Spherical Santa Construction
- Classic amigurumi “sphere” worked from top to bottom
- Integrated face structure for stability and expression
Expressive Facial Details
- Secure safety eyes, embroidered nose, eyebrows, and eye accents
- Simple but effective face embroidery for lifelike charm
Santa’s Hat and Fluffy Details
- Separate hat shapes to fit snugly on sphere’s head
- Features a band of soft chenille for a plush brim and a jingle bell tip
Santa’s Iconic Beard and Hair
- Composed of small, chained strips (for both beard and hair) and a mustache with subtle shaping for a classic look
Assembly and Finish Instructions
- Easy assembly with glue or sewing—beard, mustache, hair, and hat all attached securely
- Finishing touches: gold accent thread and carefully applied blush
Notes
- All rounds commence with a chain for height—this does not count as a stitch.
- The “false X” single crochet stitch is used to create a dense, textural appearance, but classic sc can be substituted.
- Maintain firm, even tension to prevent stuffing from showing through.
- Safety eyes are sealed with a lighter for extra security.
- Chenille yarn for hat brim can be substituted with regular yarn if needed.
- Glue (cold silicone or similar) is used for easy attachment, but hand-sewing is also possible.
Skill Level
Confident Beginner to Intermediate
You should be comfortable with:
- Working in rounds and rows
- Increases and decreases
- Color changes
- Basic embroidery for face details
- Assembling and gluing/sewing parts
Materials
- Yarn (Cotton #6): Carmine, Black, White, Flesh, Gold (Fiorentino or similar)
- Chenille Yarn: White (or substitute with regular white yarn)
- Pillow Stuffing (Polyester Fiberfill)
- Safety Eyes: 9 mm
- Jingle Bell: Number 18 (for hat tip)
- Hooks: 2.20 mm and 3.0 mm
- Blush and Makeup Brushes: For cheeks and nose
- Embroidery Needle, Scissors
- Cold Silicone or Craft Glue
- Lighter (for sealing safety eyes)
Measurements / Sizing
- Total Height (with hat): 13–16 cm (will vary with hook/yarn/tension)
- Width: Sphere measures roughly 8–10 cm across
Gauge
- Gauge is not critical for amigurumi.
- Work tightly so stuffing does not show through fabric.
- After Rnd 4 of body, circle should measure ~2.5 cm across as a rough guide.
Stitch Abbreviations
| Abbreviation | Meaning |
|---|---|
| ch | Chain |
| sc | Single crochet |
| inc | Increase (2 sc in one st) |
| dec | Decrease (sc 2 together) |
| sl st | Slip stitch |
| hdc | Half double crochet |
| dc | Double crochet |
| MR | Magic ring/loop |
| blo | Back loop only |
Special Stitches
- False X Single Crochet: Insert hook under both top loops from front and back, yarn over, pull up a loop, yarn over, pull through two.
- Invisible Decrease: Insert hook into front loops of next 2 sts, yarn over, pull through, yarn over, pull through both loops.
- Back Loop Only: Insert hook in back loop only for a subtle ridge line or transition.
Crochet Instructions
Head and Sphere (Flesh Color, 2.20 mm Hook)
Rnd 1: Magic ring (MR), ch 1, 6 sc (using false X if desired). Sl st to join. (6)
Rnd 2: ch 1, inc in each st (12). Sl st.

Rnd 3: ch 1, (sc, inc) around (18). Sl st.
Rnd 4: ch 1, (2 sc, inc) around (24). Sl st.
Rnd 5: ch 1, (3 sc, inc) around (30). Sl st.
Rnd 6: ch 1, (4 sc, inc) around (36). Sl st.
Rnd 7: ch 1, (5 sc, inc) around (42). Sl st.
Rnd 8: ch 1, (6 sc, inc) around (48). Sl st.
Rnd 9–16: ch 1, sc in each st (48 per rnd). Sl st. (Work 8 rounds)
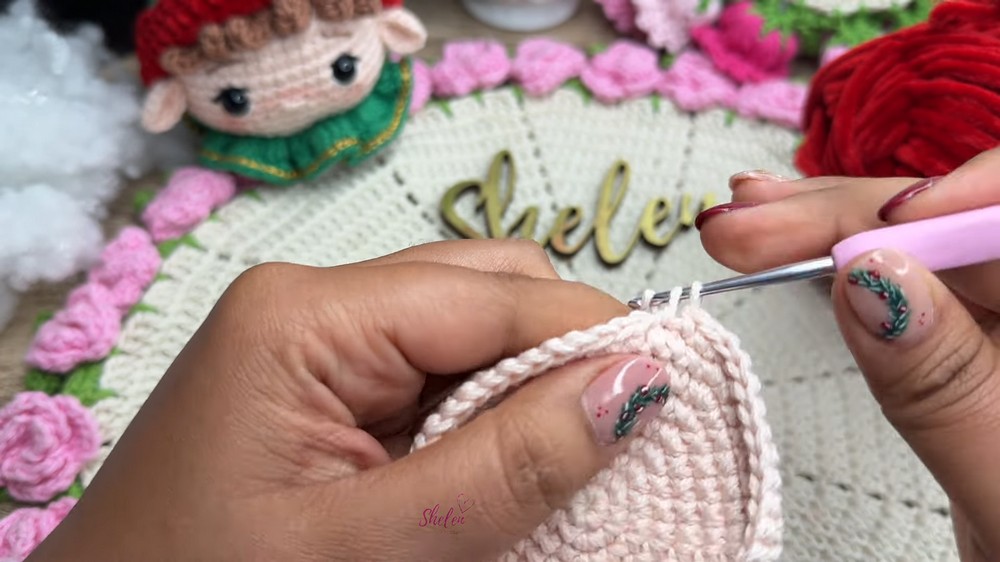
Rnd 17: ch 1, (6 sc, dec) around (42). Sl st.
Rnd 18: ch 1, (5 sc, dec) around (36). Sl st.
Rnd 19: ch 1, (4 sc, dec) around, blo throughout (30). Sl st.
Rnd 20: ch 1, (3 sc, dec) around (24). Sl st.
Rnd 21: ch 1, (2 sc, dec) around (18). Sl st.
Rnd 22: ch 1, (sc, dec) around (12). Sl st.
Rnd 23: ch 1, 6 dec (6). Sl st.
Stuff sphere well, fasten off, and close by weaving through the remaining front loops.

Neck Ruffle/Collar (Carmine Red)
Attach yarn to round where you left unused loops (Rnd 19).
Rnd 1: ch 3, 2 dc into same st, 3 dc into next st, repeat all the way around (3 dc in each st). Join with sl st.
Rnd 2: ch 1, sc in each dc around. Sl st to join, fasten off and weave in ends.
Edging: Attach gold yarn to edge, sl st in each st around. FO.
Santa’s Hat (Carmine Red, 2.20 mm Hook)
Rnd 1: MR, ch 1, 4 sc. Sl st to join.
Rnd 2: ch 1, 4 inc (8). Sl st.
Rnd 3–4: ch 1, 8 sc each rnd. Sl st.
Rnd 5: ch 1, (sc, inc) around (12). Sl st.
Rnd 6–7: ch 1, 12 sc per rnd. Sl st.
Rnd 8: ch 1, (2 sc, inc) around (16). Sl st.
Rnd 9–10: ch 1, 16 sc per rnd. Sl st.
Rnd 11: ch 1, (3 sc, inc) around (20). Sl st.
Rnd 12–13: ch 1, 20 sc per rnd. Sl st.
Rnd 14: ch 1, (4 sc, inc) around (24). Sl st.
Rnd 15–16: ch 1, 24 sc per rnd. Sl st.
Rnd 17: ch 1, (3 sc, inc) around (30). Sl st.
Rnd 18–19: ch 1, 30 sc per rnd. Sl st.
Rnd 20: ch 1, (4 sc, inc) around (36). Sl st.
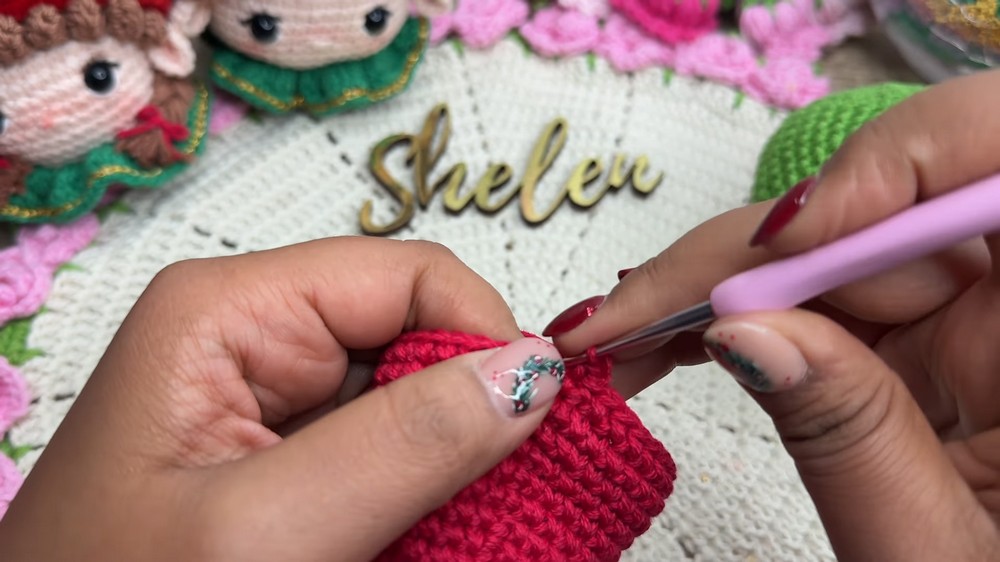
Rnd 21–22: ch 1, 36 sc per rnd. Sl st.
Rnd 23: ch 1, (5 sc, inc) around (42). Sl st.
Rnd 24–25: ch 1, 42 sc per rnd. Sl st.
Rnd 26: ch 1, (6 sc, inc) around (48). Sl st.
Switch to 3.0 mm hook and Chenille White yarn.
Rnd 27–29: ch 1, sc in each st (48 per rnd). FO, weave in ends.

Attach jingle bell to hat tip before sewing on.
Beard, Hair, and Mustache
Beard Strips (White) – Make 2:
- Ch 6, hdc in 2nd chain from hook and each across (5 hdc).
- Make 10 total strips.
- FO, hide tails.
Shorter Beard Strips (White) – Make 1:
- Ch 4, hdc in 2nd ch and each across (3 hdc).
- Make 10 total strips.
- FO, hide tails.
Mustache:
- Ch 8. In 2nd ch, sc; in next, hdc; then dc; next, sc; next, dc; next, hdc; in last, sc. FO, cinch and shape with a bit of extra thread in the center for a cleft.
Face Embroidery
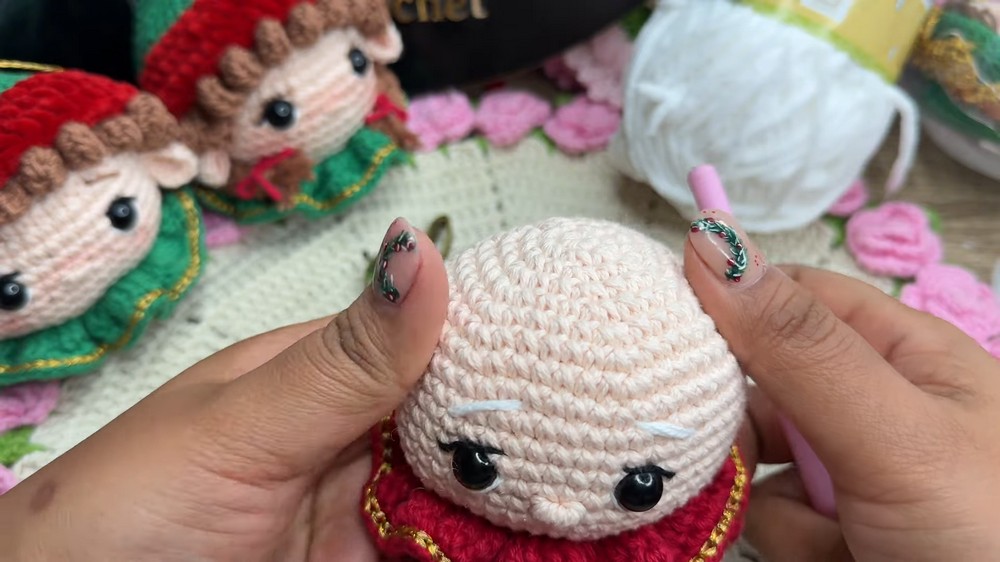
- Safety Eyes: Place between Rnds 12 and 13, spaced 7 sts apart, burn backs to secure.
- Eyebrows: Using 4 strands of white, embroider above eyes, spanning 3 stitches, two rounds up.
- Nose: With flesh color yarn, embroider below the eyes by repeatedly going over the same two stitches, then wrap the thread around.
- White Eye Highlight: Add small dash above each eye.
- Blush: Apply blush with a brush to cheeks and lightly on nose.
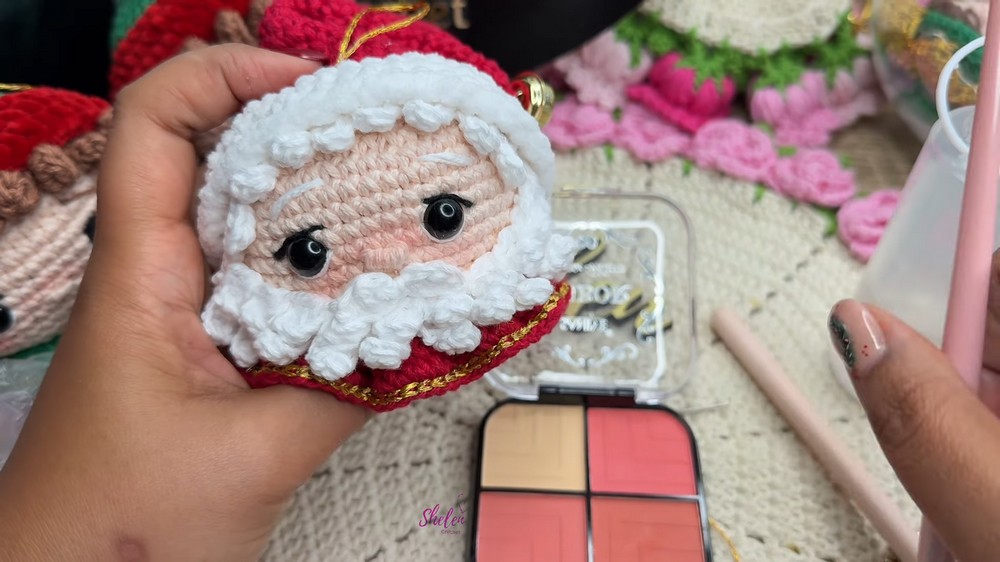
Assembly & Finished Size
- Attach beard strips to lower face, layering the longer then shorter ones, and glue or sew in place.
- Glue/sew hair strips above (use beard strip as hair as shown in video).
- Attach mustache below nose.
- Sew or glue hat onto head, then firmly add the jingle bell to the tip.
- Finish by threading and tying 20cm gold thread as accent/pendant string.
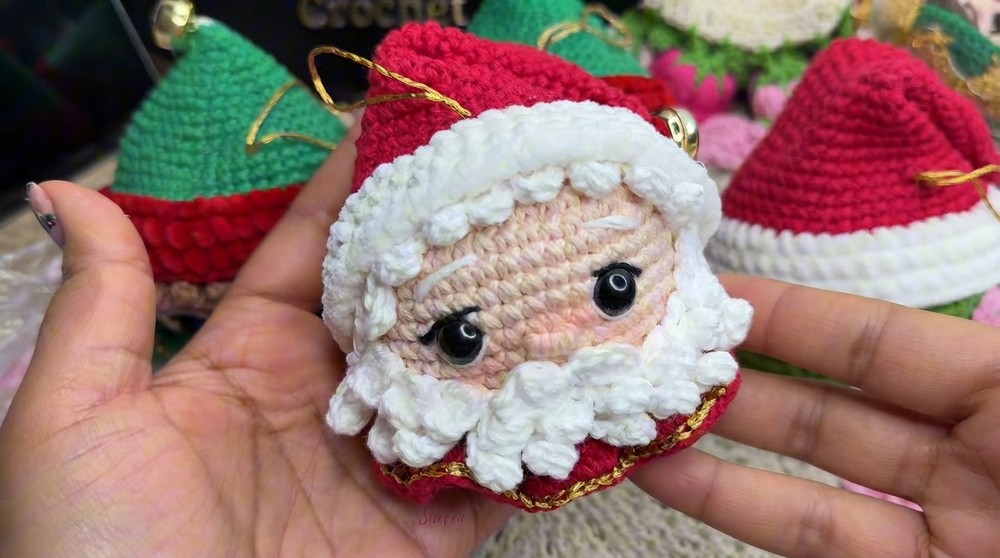
- Finished dimensions: 13–16 cm tall from base to hat tip.

Conclusion
Congratulations! Your Santa Sphere is ready to bring holiday cheer with his jolly grin, cozy beard, and sparkling hat. This pattern offers a fun challenge mixing simple stitches with creative shaping and assembly. Use as a festive ornament, a lovable toy, or a handcrafted gift for loved ones. Thank you for joining Chelen Crochet—may your seasons be filled with handmade magic. Don’t forget to subscribe for more tutorials and joyful crochet.