
Free Crochet Virgin Mary Amigurumi Pattern with Easy-to-Follow Instructions
Create a beautiful Crochet Virgin Mary Amigurumi with an easy pattern that brings warmth and charm to your holiday decorations or gift giving.
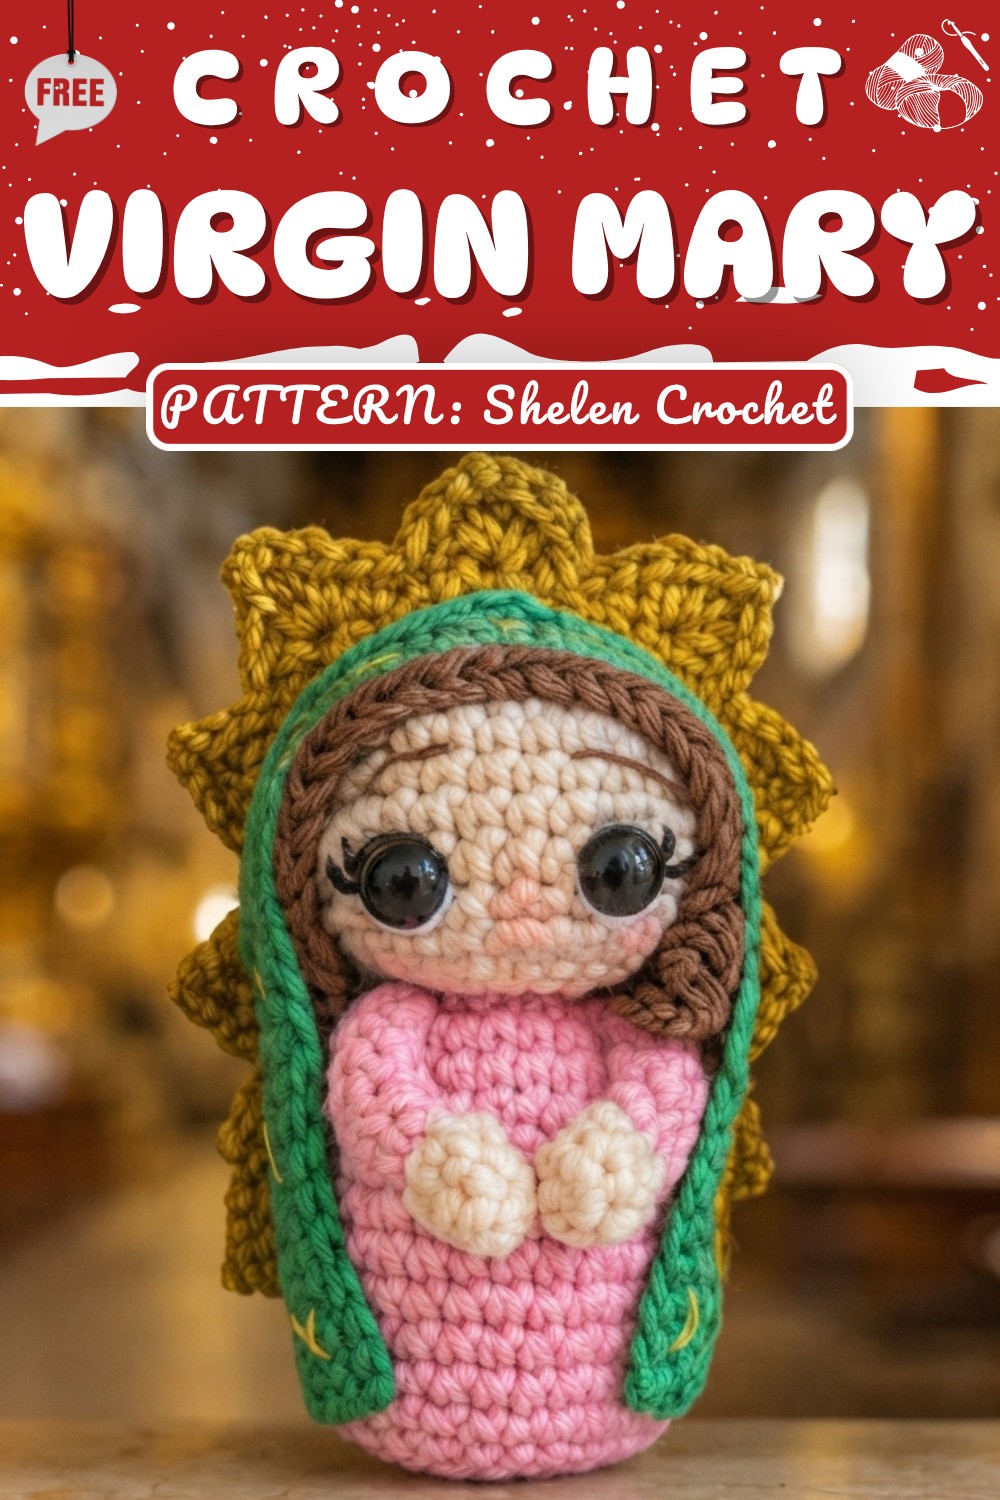
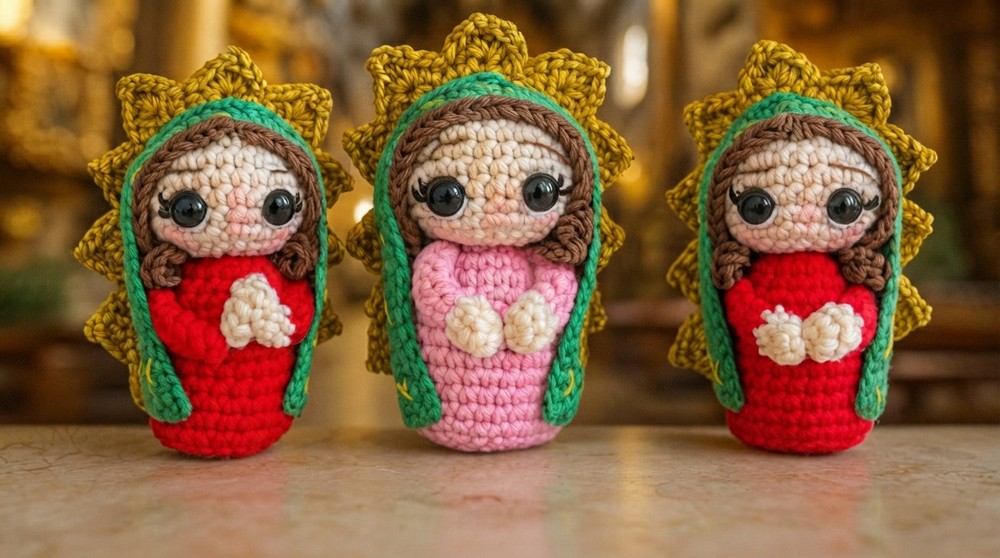
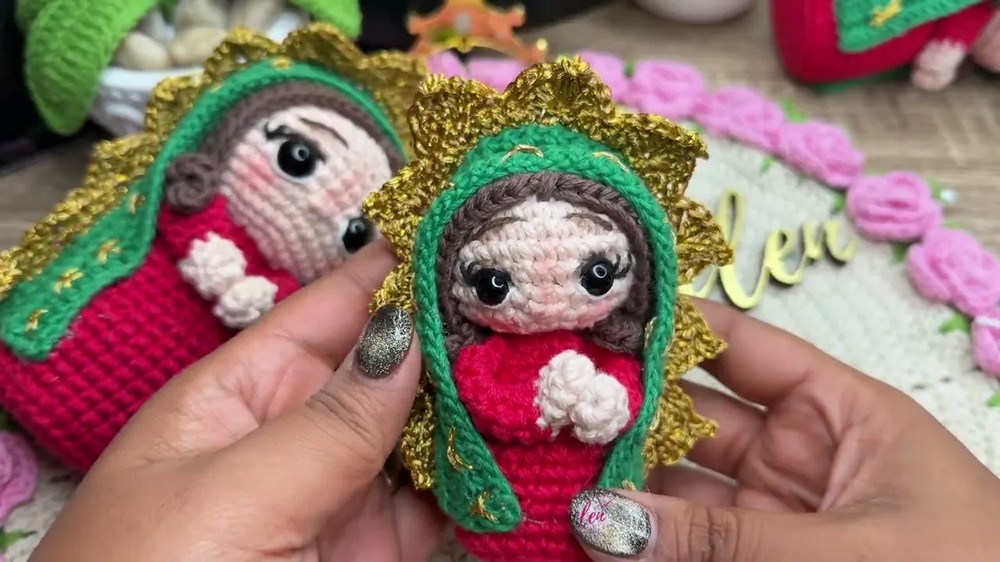
I recently completed a heartfelt project: the Crochet Virgin Mary Amigurumi. This small figure, about 13 cm tall, has a kind, peaceful face with simple embroidered eyes, nose, and eyebrows. It wears a soft green cloak decorated with tiny gold stars and a bright gold halo around its head. The yarn used is smooth and soft, giving the figure a gentle texture.
Adorable Crochet Virgin Mary Amigurumi Free Pattern with a Timeless Design
Its round and neat shape makes it pleasant to hold or place on a shelf. The gentle expression and soft colors give the figure a calm and comforting presence.
The Crochet Virgin Mary Amigurumi is very useful as a gift or decoration. Because of its size, it can be used as a car charm, keychain, or added to a flower bouquet. It’s a thoughtful gift for special occasions, offering a small but meaningful reminder of love and peace. The simple yet elegant design makes it a lovely addition to any home.
I want to give credit to Shelen Crochet, whose YouTube channel provides a clear and easy-to-follow tutorial for this project. The video (Link is below) explains every step carefully, showing how to crochet the figure stitch by stitch. Thanks to Shelen Crochet’s detailed guide, even beginners can feel confident completing this calming and beautiful amigurumi.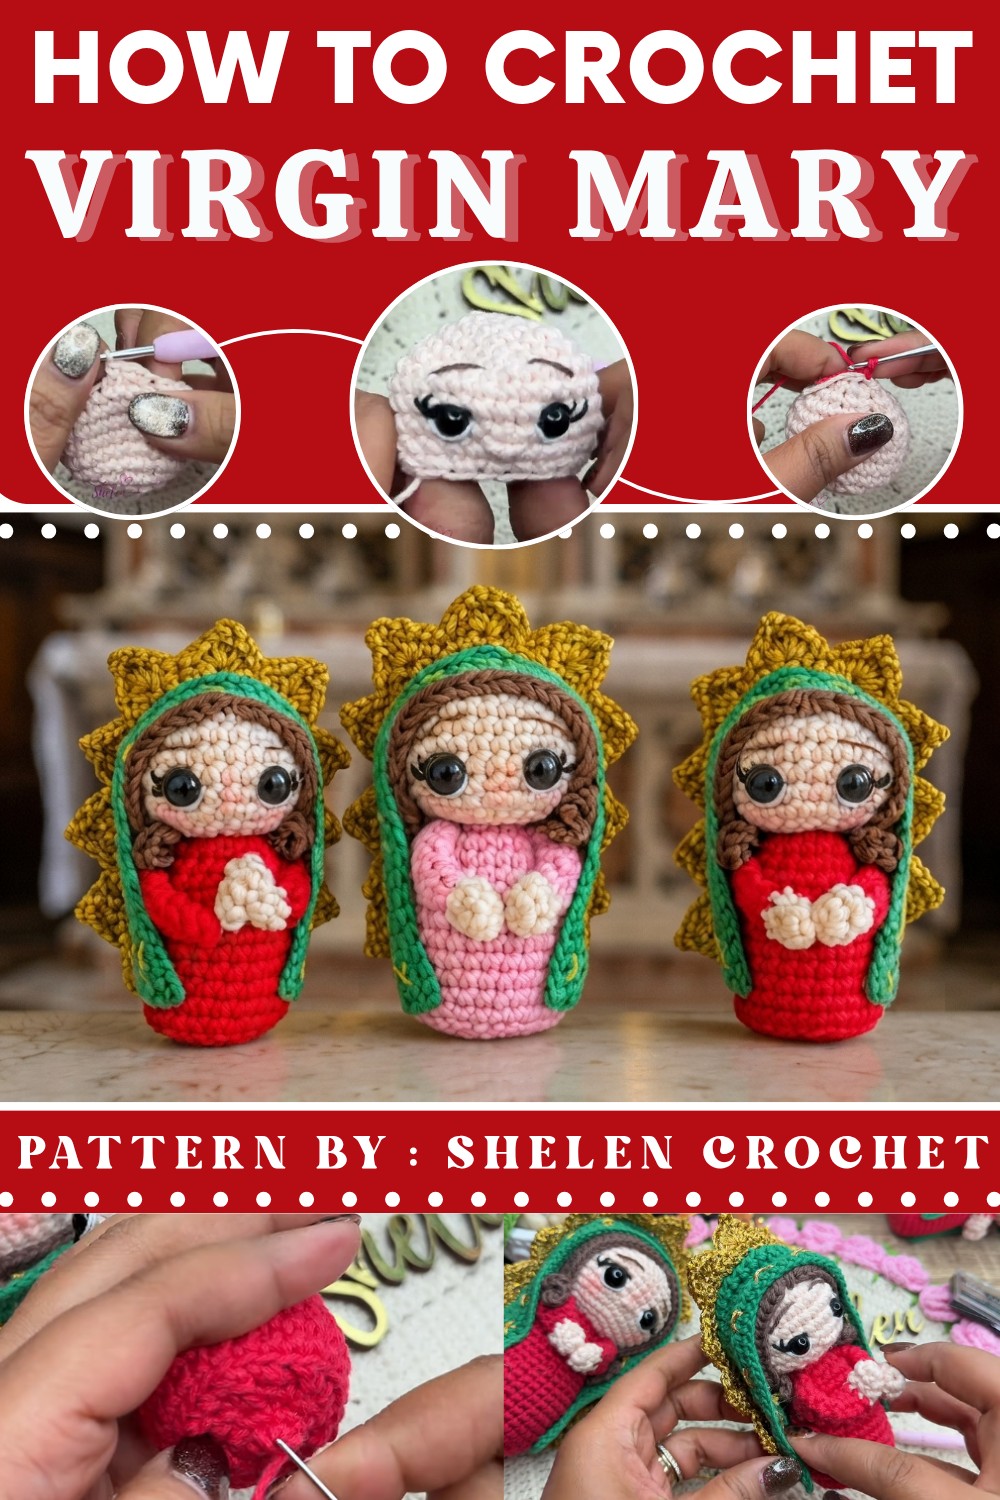
Chelen Crochet – Virgin Mary Amigurumi Pattern
In this detailed tutorial, you’ll learn how to create a charming, petite Virgin Mary amigurumi—a heartfelt figure perfect as a car pendant, a keychain, or a bouquet addition. Standing at approximately 10 cm tall (13 cm including the halo), this small yet intricate project features exquisite embroidery, subtle blush, a golden halo, and an ornate cloak. Every step mirrors the original video, ensuring a delightful outcome for beginners and seasoned crocheters alike.
Quick Overview Of Pattern
Thoughtful Sizing and Purpose
- Designed to be compact (10–13 cm), ideal for portable ornaments or special gifts.
- Beautifully proportioned, making it an appealing quick project.
Seamless, Embroidered Details
- Expressive safety eyes, richly embroidered nose, lashes, brows, and facial accents.
- Blush and shadow applied for gentle personality.
Integrated Shaping
- Body, head, and arms are worked as simple spheres and tubes then seamlessly joined.
- Hair and cloak feature step-by-step shaping and decorative techniques.
Elegant Cape & Golden Halo
- The cloak is worked flat with shaping rows and neatly closed at the back, then embroidered with gold stars.
- A separate, bright golden “halo” is crocheted and attached to complete the look.
Notes
- All rounds begin with a chain for height—this chain does not count as a stitch.
- The classic “false X” single crochet is used for a denser amigurumi texture—regular single crochets may be substituted if desired.
- Constant, firm tension is important for a neat look.
- Safety eyes are secured with a lighter for extra safety.
- Decorative stitches and embroidery can be customized for personal expression.
Skill Level
Adventurous Beginner to Intermediate:
While basic stitches predominate, proficiency with amigurumi shaping, changing colors, basic embroidery, working in BACK LOOP ONLY, and some light assembly are required.
Materials
- Yarn: Cotton #6 in flesh, green, brown, white, red, black, and gold (Florentine or similar shiny gold thread).
- Safety Eyes: 8 mm.
- Hooks: Size 2.0 mm.
- Stuffing: Polyester fiberfill.
- Embroidery Needle: For details and assembly.
- Blush & Eyeshadow: Brown and light pink; brushes for application.
- Cold silicone (or fabric/craft glue).
- Scissors
Measurements / Sizing
- Virgin (body without halo): Approx. 10 cm tall
- Total Height (with halo): Approx. 13 cm
Gauge
- Not critical for amigurumi; work tightly so stuffing does not show.
- Reference: After Rnd 4 on body, circle should measure close to 2 cm in diameter.
Stitch Abbreviations
| Abbreviation | Meaning |
|---|---|
| ch | Chain |
| sc | Single crochet |
| inc | Increase (2 sc in same st) |
| dec | Decrease (sc2tog, 2 sts to 1) |
| hdc | Half double crochet |
| sl st | Slip stitch |
| MR | Magic ring (adjustable loop) |
| blo | Back loop only |
Special Stitches
- False X Stitch: Insert hook under both the top (front and back loops), yarn over, pull up a loop, yarn over, pull through two. Creates a cross-textured, dense sc.
- Invisible Decrease: Insert hook in front loop of next 2 sts, yo, pull through both, yo, pull through to finish.
- Back Loop Only (blo): Work only into back loop for textural accents or fades.
- Amigurumi Decrease: Insert hook in front loops of next 2 stitches, yo, pull through, yo, pull through remaining 2 loops.
Crochet Pattern
Head & Body (Flesh Color)
Rnd 1: MR, ch 1, 6 sc in ring using false X stitch. Join with sl st to first st. (6)
Rnd 2: ch 1, inc in each st around. Sl st join. (12)
Rnd 3: ch 1, sc, inc around. Sl st join. (18)
Rnd 4: ch 1, 2 sc, inc around. Sl st join. (24)
Rnd 5: ch 1, 5 sc, inc four times. (28 sc) Sl st join.
- (Work [5 sc, inc] sequence four times to get 28 sts.)
Rnd 6-9: ch 1, sc in each st around. Sl st join. (28 sc per round)
Rnd 10: ch 1, 5 sc, dec x4. Sl st. (24)
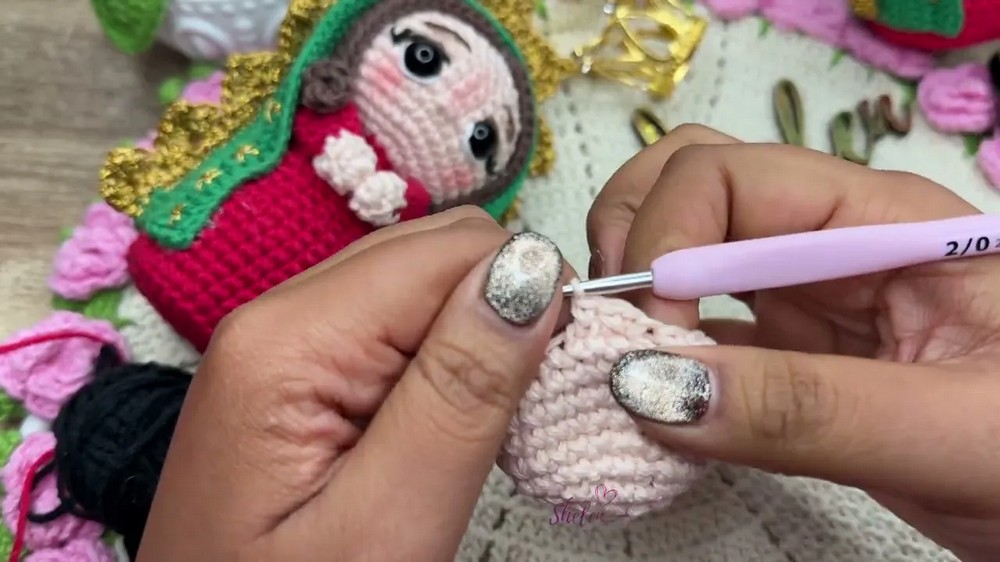
Rnd 11: ch 1, sc, 2 sc, dec x5, end with sc. (18)
ADD EYES & EMBROIDERY:
- Place safety eyes between Rnds 8–9, with 4 sts between. Burn backs of post to secure.
- Nose: Thread 2 plies of flesh yarn, embroider nose at bottom of eyes (across 2 sts, 3 passes, then wrap 4–6 times).
- Lashes: With 2 plies of black, draw 2 lashes from each eye, up and angled.
- White highlights: With 2 plies of white, make a line above the iris.
- Eyebrows: 2 plies brown, 2 rings above eye, spanning 3 sts.
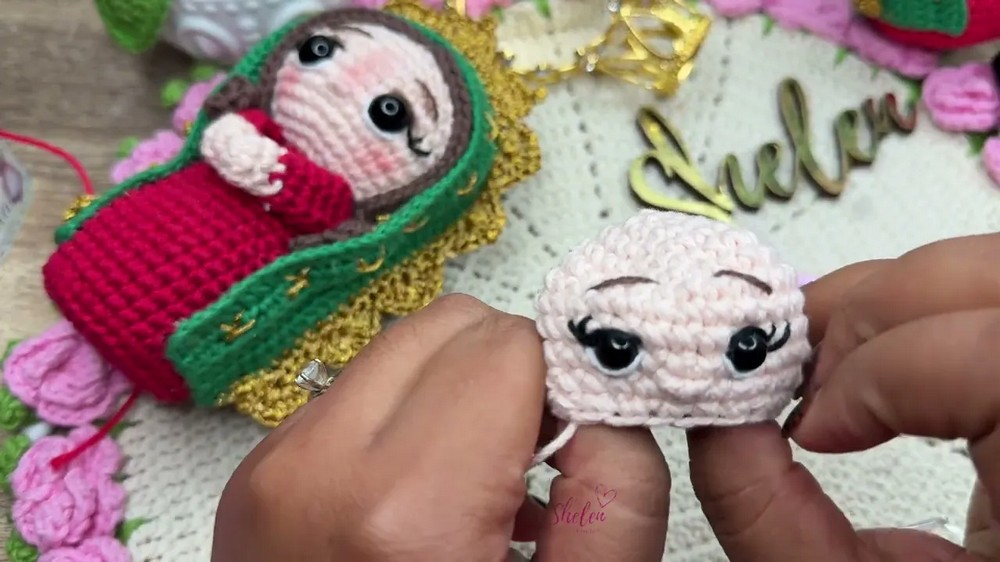
Rnd 12: ch 1, sc, dec x6. Sl st. (12)
STUFF HEAD & BODY FIRMLY.
Rnd 13: ch 1, sc, dec x4. Sl st. (8)
Skirt (Red)
Change to Red Yarn.
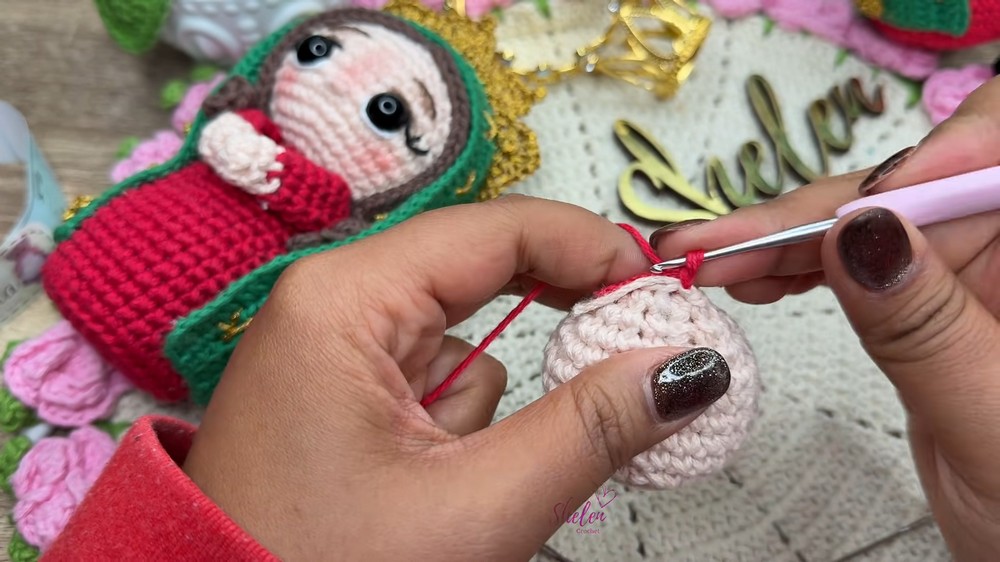
Rnd 14: ch 1, working in blo, (sc, inc) x6. Sl st. (12)
Rnd 15: ch 1, (sc, inc) x9. Sl st. (18)
Rnd 16-19: ch 1, sc in each st around. Sl st. (18)
Rnd 20: ch 1, 2 sc, inc x6. Sl st. (24)
Rnd 21-26: ch 1, sc in each st around. Sl st. (24)
Skirt Decreases & Closing
Rnd 27: ch 1, (2 sc, dec) x4. (18)
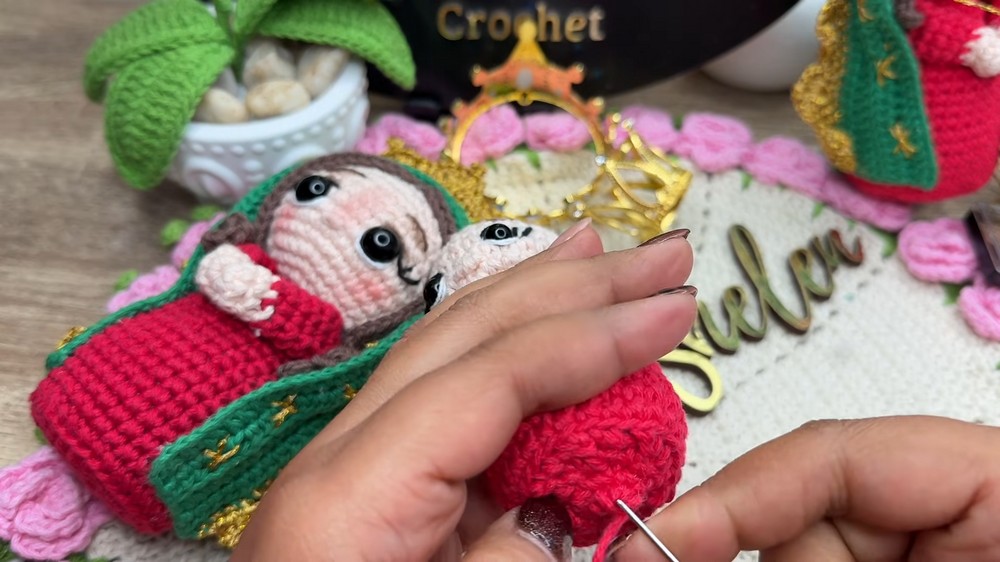
Rnd 28: ch 1, (sc, dec) x6. Stuff body tightly. Before finishing rnd, add a piece of silicone (or thick stabilizer, approx. 5 cm) between head and body (optional for firmness).
Rnd 29: ch 1, 6 dec. (6 sc)
Sl st to join, fasten off. Use yarn needle to weave through front loops and draw closed.
Arms (Make 2, Flesh Color and Red)
Rnd 1: MR, ch 1, 6 sc. Sl st.
Rnd 2-3: ch 1, 6 sc in each round. Sl st.
Change to red.
Rnd 4-10: ch 1, 6 sc each round. Sl st to join.
Fasten off. Sew closed end flat (see video), leaving a tail for joining.
Hair
Brown Yarn:
- Ch 39.
- Row 1: Starting in 2nd ch, (hdc inc, hdc)* three times (alternating), then hdc in 1 st, repeat for a total of four “inc, hdc” pairs on both sides.
- 10 hdc.
- 2 sl st.
- 10 hdc.
- Repeat the sequence with (hdc, inc) pairs (see video for visual) for fullness at both ends.
- FO, hide ends.
Sew/attach hairpiece neatly to head, aligning part to top of face, close to nose and brow. Attach ends with cold silicone/glue along sides of head.
Cape / Cloak (Green Flag Yarn)
Make foundation: Ch 50.
Row 1: In 2nd ch, hdc across (50 hdc).
Rows 2–4: Ch 1, turn, blo hdc across. (50 hdc each row)
Row 5: Ch 1, turn. 21 hdc, 4 dec, 21 hdc. (46 sts)
Row 6: Ch 1, turn. 19 hdc, 4 dec, 19 hdc. (42 sts)
Row 7: Seam edges—join last row to first row with sl st seam along both edges. FO, hide ends.
Embroidered Stars (Gold)
- Using gold thread, embroider small “star” crosses around the edge: stitch an X, then a second cross through the center. Repeat along the hem.
Halo
- Using gold thread, join to 3rd round of cape (“halo channel”):
- Rnd 1: sc across edge (approx. 20 sts),
- Rnd 2: 8 sc inc spaced out, sc remainder (total 28).
- Rnd 3: ch 1, turn, sc in each st (28).
- Rnd 4 (points): ch 3, 4 dc in same st, ch 3, sl st at base, repeat across to make several points.
Fasten off and weave in ends.
Assembly & Finished Size
- Attach arms by sewing close together in front in praying pose.
- Attach/ glue hair as described—match up center part and ensure clean fit near the eyebrows.
- Secure cloak around shoulders, pulling it snug at the front; apply glue or sew as preferred.
- Attach gold-embroidered stars and glowing points of halo as per video.
- Apply blush softly with brush to cheeks and a touch to nose and brows.
- Add brown or black shading for brow/eyelash depth.
Finished Size: Approx. 10 cm (body & head), 13 cm with halo.
Conclusion
Congratulations! Your beautiful Virgin Mary amigurumi is complete—graceful, meaningful, and delicately detailed. This elegant miniature is perfectly suited for gifts, keychains, car pendants, or bouquets. Each stitch and accent reflects a loving touch and a reverence for handcraft. Thank you for joining Chelen Crochet. May this tiny Virgin bring charm, joy, and inspiration. Don’t forget to subscribe for more heartfelt creations. See you in the next tutorial!