
Simple Free Crochet Star Pattern Anyone Can Try
Create beautiful and versatile decor with this Free Crochet Star Pattern, helping you crochet charming stars for gifts, ornaments, or festive decorations.
There’s a special joy in creating little handmade treasures that brighten up any space or outfit. One of the simplest yet most charming projects I’ve come across is making a crochet star. The Free crochet STAR pattern is an easy and delightful way to add a touch of handmade magic to your home décor, gifts, or accessories.
Free Crochet Star Pattern for Colorful Accessories
This crochet star stands out with its perfectly pointed shape and smooth texture, crafted to look neat and polished. The star can be made flat for appliques or slightly stuffed for a plush effect, offering versatility in style and use. Whether you choose bold colors to make it pop or soft pastels for a subtle sparkle, this design adapts beautifully. Its classic star shape makes it a timeless addition to holiday ornaments, keychains, garlands, or even sewn onto hats and scarves for a personal touch.

Ideal for beginners, the pattern mainly uses basic stitches like single crochet and slip stitch, worked in rounds to create crisp edges and clean points. The instructions are straightforward, making it easy to follow whether you’re new to crochet or looking for a quick, satisfying project.

Beyond being a fun project to make, these crochet stars are wonderful for gifting and decorating. They add warmth and personality, whether hung on a tree, tied to a gift, or used to embellish your clothing. If you’re seeking a simple yet versatile crochet pattern that brings sparkle and charm to your creations, this star is a perfect fit.
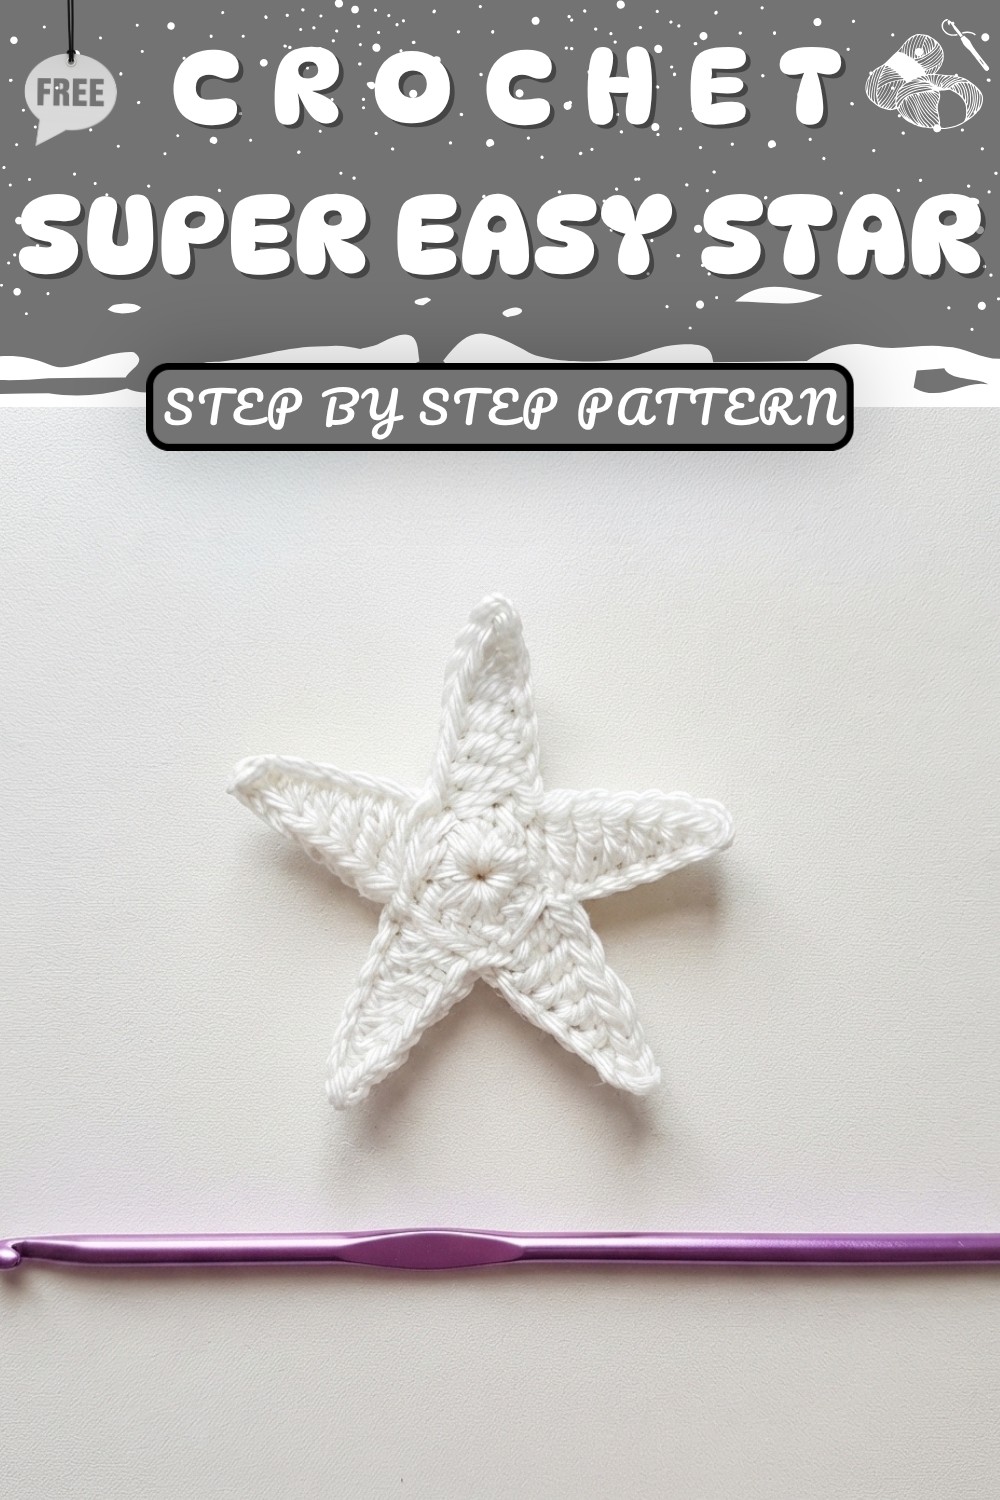
Free Crochet Star Pattern
In this pattern, we will make a crochet star. I’m going to use a 3 mm crochet hook and yellow acrylic yarn, plus scissors and a needle. So, without further ado, let’s get started!
Quick Overview Of Pattern
- Start with a slipknot and a chain circle (or magic ring alternative).
- Work double crochets in the center for the first round.
- Create star points using chains and a combination of stitches.
- Finish with slip stitches and weave in ends.
Notes
- The star is worked in rounds and then shaped by creating points.
- You can use the chain circle or a magic ring, depending on your comfort level.
- Stitch placement is key for crisp star points; pay attention to skip/next stitch instructions.
- Adjust yarn weight or hook size to make your star larger or smaller.
Skill Level
Beginner / Advanced Beginner
All steps use basic stitches, but shaping points may challenge absolute beginners. Watching stitch placement carefully and working slowly ensures success.
Materials
- Yellow acrylic yarn (or any color you prefer)
- 3 mm crochet hook
- Scissors
- Needle
Measurements / Sizing
- Finished star diameter: approx. 2–2.5 inches
- To make larger stars, use thicker yarn or a bigger hook and increase base chains.

Gauge
Gauge is not essential for this decorative pattern.
For reference: The first round (nine double crochets in a circle) should measure roughly 1 inch across.
Stitch Abbreviations
| Abbreviation | Stitch Name |
|---|---|
| ch | chain |
| sc | single crochet |
| hdc | half double crochet |
| dc | double crochet |
| sl st | slip stitch |
| st(s) | stitch(es) |
Special Stitches
- Slip Stitch (sl st): Insert hook, yarn over, pull through both loops.
- Magic Ring (alternative): Can be substituted for chain circle start.
The Crochet Pattern
Follow the instructions step-by-step. When in doubt, pause and count your stitches after each key step.
Step 1: Foundation Circle
- Make a slipknot.
- Chain 4:
- ch 1, ch 2, ch 3, ch 4.
- Join into a circle:
- Insert hook into first chain, make a slip stitch (sl st) to connect both ends.
- You now have a ring where all the subsequent stitches will be worked.

Summary: You create a small ring to serve as the center of your star.
Step 2: Center of the Star
- Work into the ring:
- Chain 3 (counts as 1st double crochet).
- Make 8 double crochets (dc) into the center of the ring.
- You should have a total of 9 double crochets in your ring (including the beginning ch-3).
- Slip stitch into the 3rd chain at the beginning to join the round.

Summary: This forms the flat center circle for your star, and will anchor the points.
Step 3: Creating Star Points
Each star point is made in a sequence, working around the circle:
For each point (repeat five times):
- Chain 7:
- ch 1, ch 2, ch 3, ch 4, ch 5, ch 6, ch 7.
- Slip stitch in 2nd chain from hook:
- This forms the tip.
- Single crochet in the next chain (next st).
- Half double crochet in each of the next 2 chains:
- 1 hdc in first; 1 hdc in next.
- Double crochet in each of the last 2 chains:
- 1 dc in first; 1 dc in next.
- Skip next stitch on center circle, then slip stitch in next to anchor the point.
- Repeat: Start a new point by ch 7.


Summary: By chaining 7 and working back down with progressively taller stitches, you create the distinct star shape.
Detailed Example for One Point:
- Chain 7.
- Slip stitch in 2nd chain from the hook.
- Single crochet in the next chain.
- Half double crochet in each of the next two chains.
- Double crochet in each of the last two chains.
- Skip a stitch on the center circle, slip stitch in the next to join point.
- Repeat until you have five points.
Step 4: Completing All Points
- Continue making points and connecting each by skipping one stitch and slip stitching into the next.
- After the fifth point, slip stitch to close the round.
Summary: Finish with even spacing by skipping stitches and attaching each point in sequence for a symmetrical star.
Step 5: Finishing
- Fasten off and weave in your yarn ends with a needle.
- Trim excess yarn.
- Pull points gently to shape your star neatly and evenly.
Summary: Simple finishing touches make your star clean and crisp.
Assembly & Finished Size
- Your star is now fully shaped and all ends are woven.
- The finished star will be about 2–2.5 inches across, depending on your tension and yarn.
- Can be used for decor, ornaments, or added to other crochet projects!
Conclusion and Ending Words
Now we are done crocheting our star! I hope this tutorial is helpful. If it is, please give it a thumbs up and don’t forget to like and subscribe to my channel for more videos. Click the bell button to get notified.