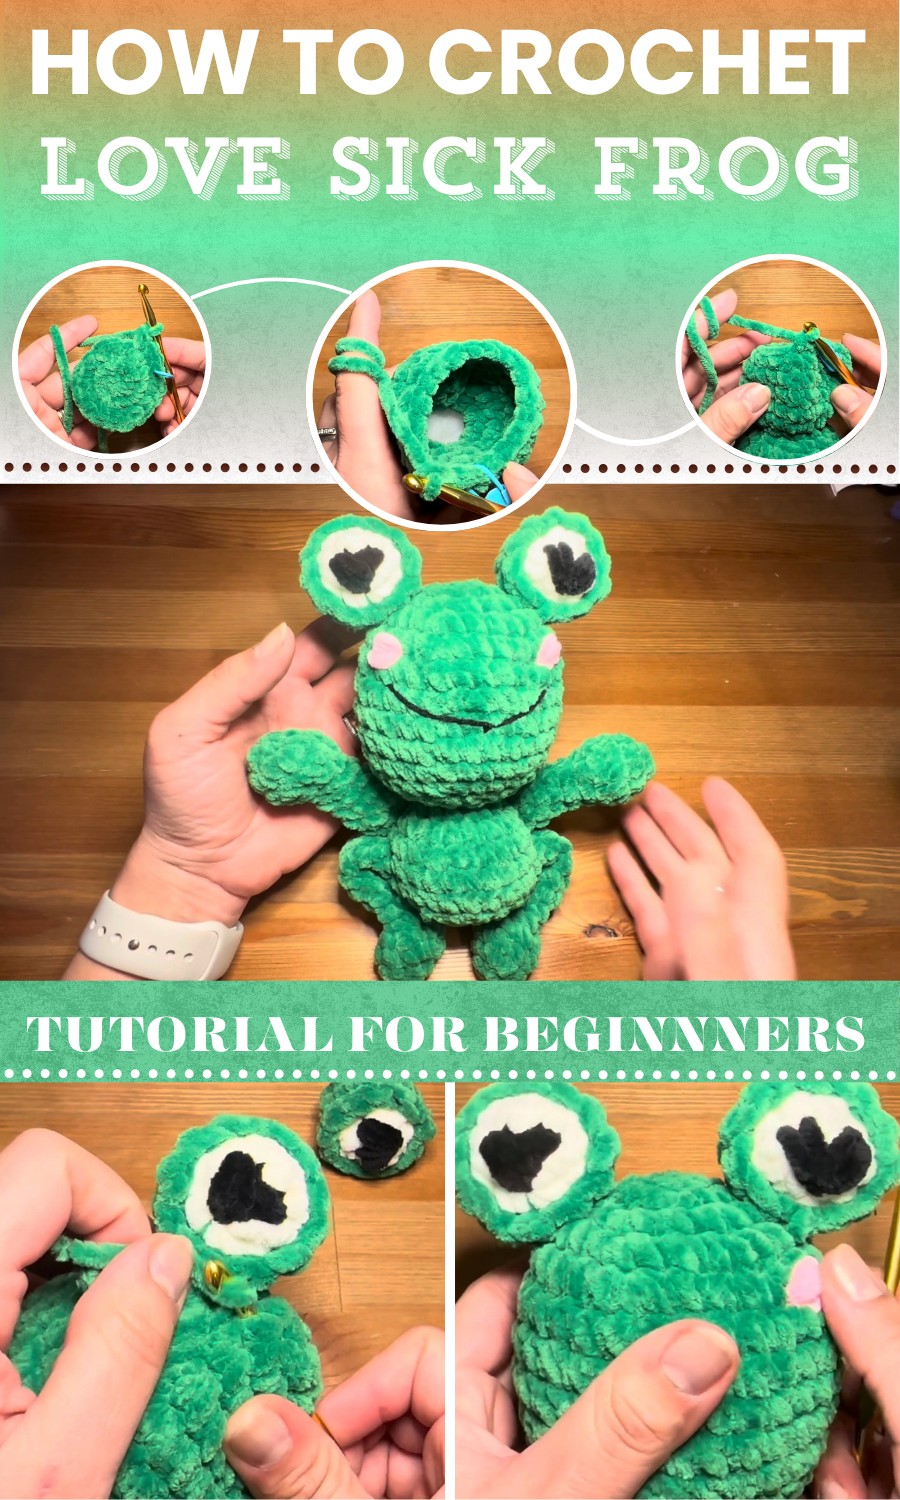
Crochet Love Sick Frog That’s Perfect for Personalized Gifting
Hop into charm with this Crochet Love Sick Frog Pattern, full of personality, emotion, and perfect for heartfelt gifts or quirky collections.
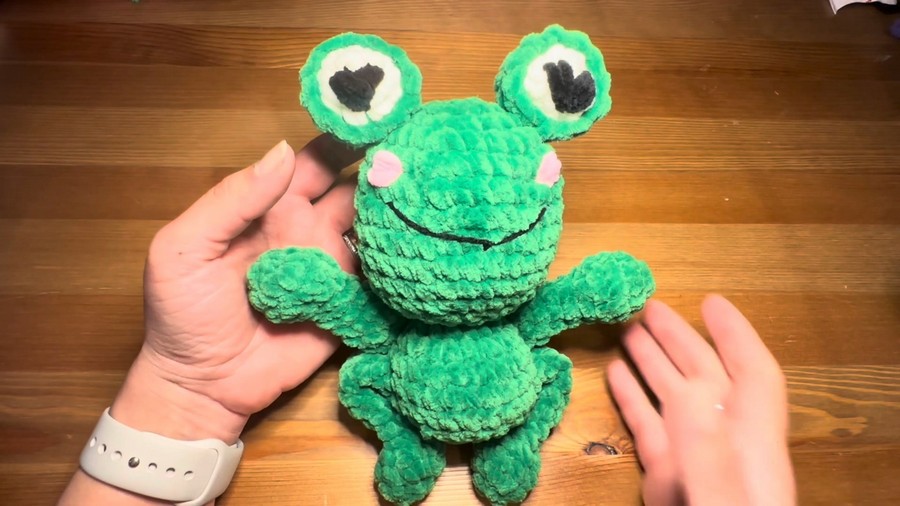
Long before emojis and quick texts, tokens of affection spoke louder through thoughtful, personal gestures. A small frog hugging a bright red heart tells a story no app can replicate—its wide, innocent eyes and sweet blush reveal everything unsaid. This love sick frog captures that timeless expression of tender, sometimes awkward, affection with undeniable charm.
Crochet Love Sick Frog Pattern For Love Notes & Decor
Its body is shaped with soft, rounded curves using single crochet, increase, and decrease stitches. The oversized eyes, heart accent, and blush details are the highlights, giving it personality and warmth. Assembly is minimal, making it approachable for confident beginners or anyone wanting a fun, expressive project without overwhelming complexity.
Ideal for Valentine’s Day, anniversaries, or just because, this frog fits perfectly on a desk, shelf, or gift box. The colors and expression create an emotional connection, offering humor and heart all at once. It’s a reminder that even in yarn, love can look a little green, a little silly, and absolutely sincere.
Materials Needed
- Plush Yarn – Green for the body, pink for blush accents, black for eyes.
- DK Yarn – Black for embroidering the mouth.
- Crochet Hook – 5.5mm size.
- Tools – Scissors, stitch marker, darning needle.
- Fiberfill – For stuffing the frog.
How to Crochet a Cute Frog – Step-by-Step Guide
Special Features
- Customizable design: You can adjust blush placement or modify the frog’s posture easily.
- 3D shaping: Achieved through repeated rounds of single crochets, increases, and decreases.
- Stitched heart-shaped eyes: Adds personality and charm to your creation.
Level of Difficulty
Beginner to Intermediate
The tutorial is well-suited for beginners because it uses basic crochet techniques (like single crochet, slip stitch, chain stitch, increases, and decreases). It requires minimal tools and materials, but attention to stitch count and tension is crucial, making it more challenging for absolute novices.
Step-by-Step Process
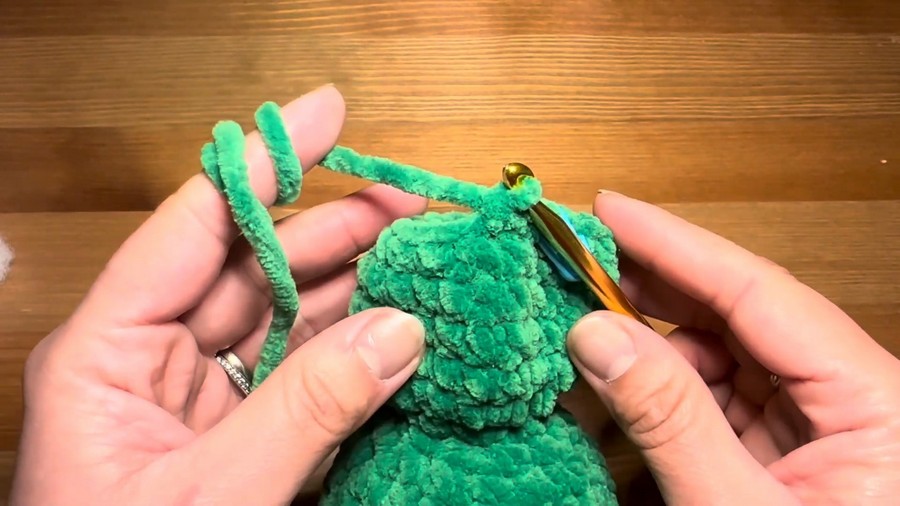
1. Head
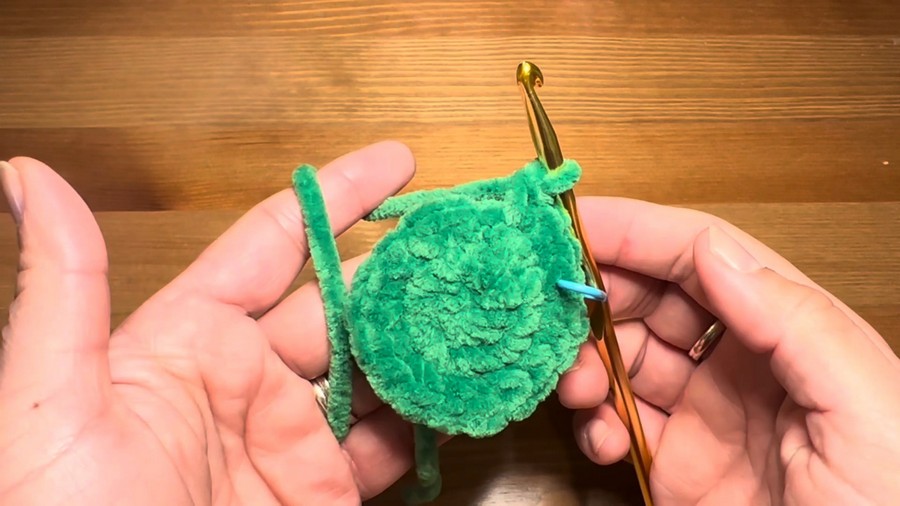
- Begin with a slip knot or magic ring as the foundation.
- Crochet six single crochets into the magic ring and continue working in a spiral.
- Follow rounds of increases while using a stitch marker to maintain stitch accuracy:
- Round 1: 6 single crochets.
- Round 2: 6 increases (12 stitches total).
- Round 3: Alternate single crochet and increase (18 stitches total).
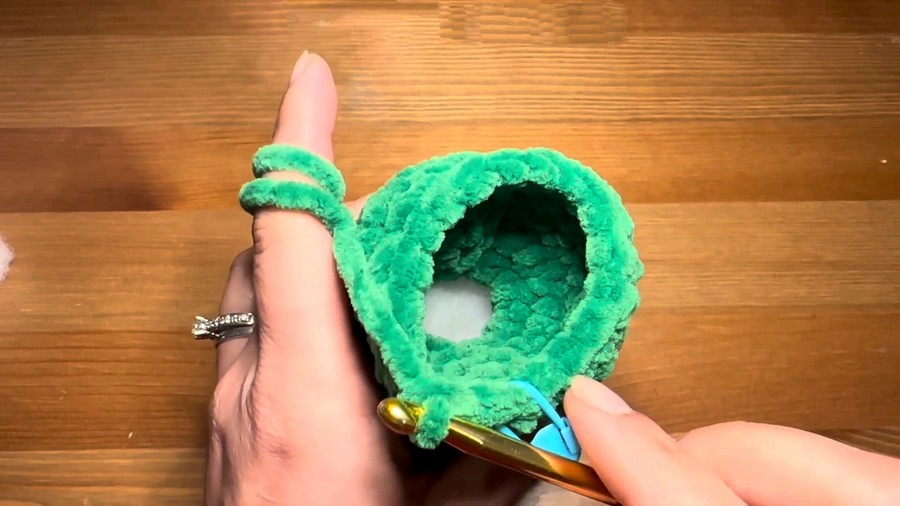
- Gradually transition by adding single crochet rounds and reducing stitches to form the spherical head.
- Stuff the head with fiberfill before fully closing the gap.
2. Body
- Start with six single crochets and work increases until reaching a total of 24 stitches.
- Crochet multiple rounds of 24 single crochets (spiral method) to form a cylindrical shape.
- Introduce decreases to shape the bottom portion of the body.
- Stuff the frog’s body tightly with fiberfill.
3. Arms and Legs
- Begin each limb with a slip knot, chain two, and single crochet.
- Add increases and decreases to define the limbs:
- Arms: Work 5 rounds of single crochet for smaller limbs.
- Legs: Work 10 rounds of single crochet for longer limbs.
- Close the tops by crocheting stitches from both front and back layers simultaneously. Leave a tail for sewing.
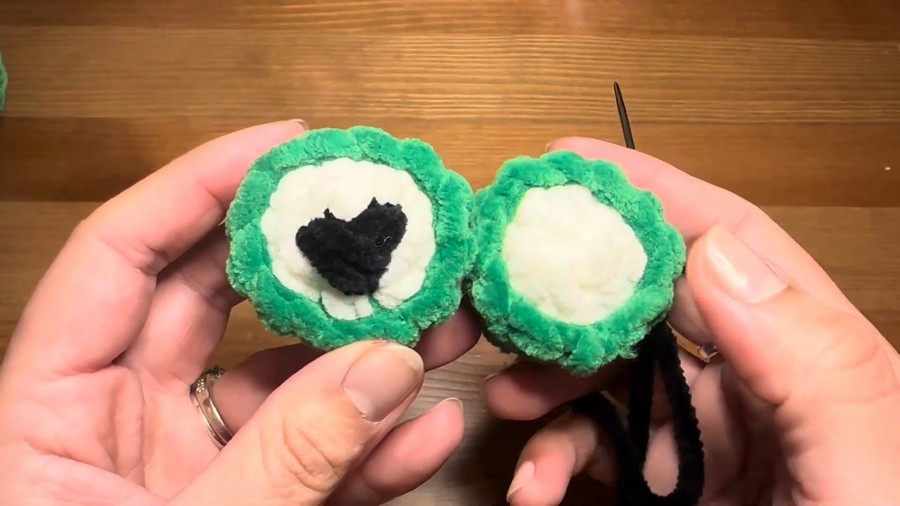
4. Eyes
- Start with green yarn in a slip knot or magic ring. Crochet six single crochets and work increases (12 stitches).
- Surround with white yarn to add contrast and stuff lightly with fiberfill.
- Embroider black yarn on the eye in a heart shape for detailed expression.
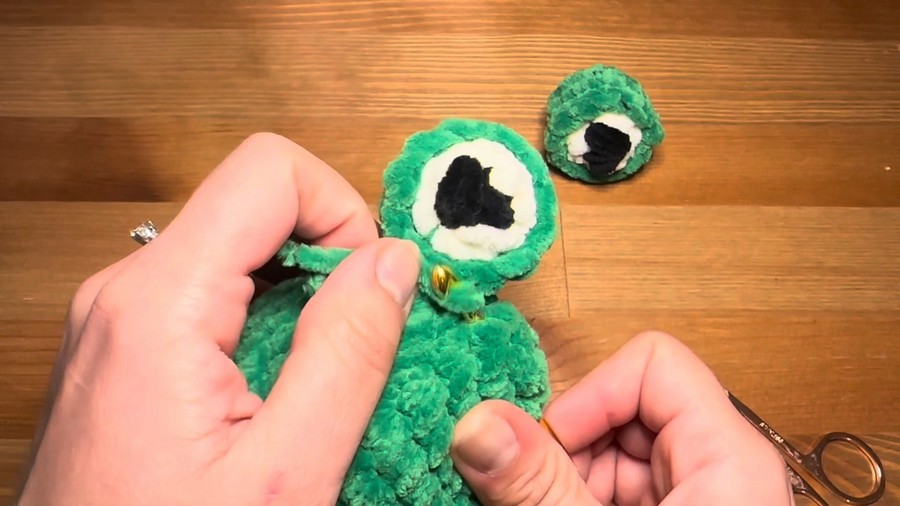
5. Assembly
- Sew the finished eyes onto the head in alignment with the body. Ensure symmetry for a polished look.
- Attach the arms above the legs, either folded (for a seated frog position) or flat against the body.
- Sew the legs loosely for natural movement when setting the plush frog in different positions.
Tutor’s Suggestions
- Stitch Markers: The instructor emphasizes marking the start of each crochet round to avoid losing track of stitch count.
- Gentle Pulls: When embroidering or closing gaps, a gentle tug ensures a clean finish without distorting the plush shape.
- Shaping: Always stuff fiberfill in small portions to achieve an even shape and smooth texture.
Uses
- Decor: Display your frog on shelves or furniture for a whimsical touch.
- Gifting: Perfect as a handmade gift, especially for children or those who appreciate project.
- Keepsake: A joyful project to commemorate your crochet journey.
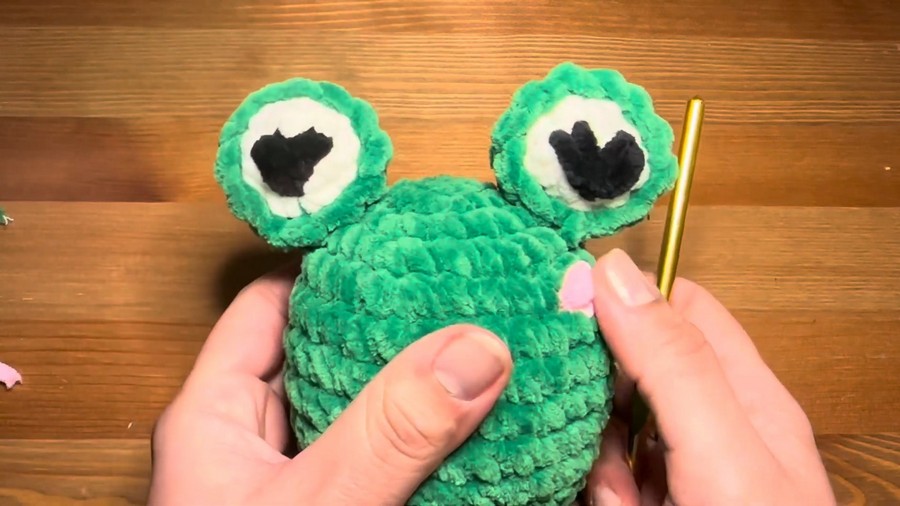
Tip
When embroidering the smile and blush, work slowly to ensure symmetrical placement and avoid pulling the yarn too tightly, which could distort the fabric.
Conclusion
Through easy-to-follow steps, this pattern helps you create a playful crochet frog with soft, vibrant materials and adorable features. Whether as a gift or personal keepsake, this frog will undoubtedly bring joy and a sense of accomplishment.


