
Playful Free Crochet Eagle Keychain Pattern with Style
Symbolic strength takes flight with this Crochet Eagle Keychain featuring bold details and compact charm for meaningful everyday accessories.
Symbols of strength and freedom have long found their way into everyday items, not just as emblems, but as statements of identity. This eagle keychain brings that symbolism to life in a compact, handmade form. With its bold shape, sharp detailing, and proud stance, the piece makes more than just a practical accessory—it becomes a meaningful item that reflects power, patriotism, and precision.
FREE Crochet Eagle Keychain Pattern for Bags
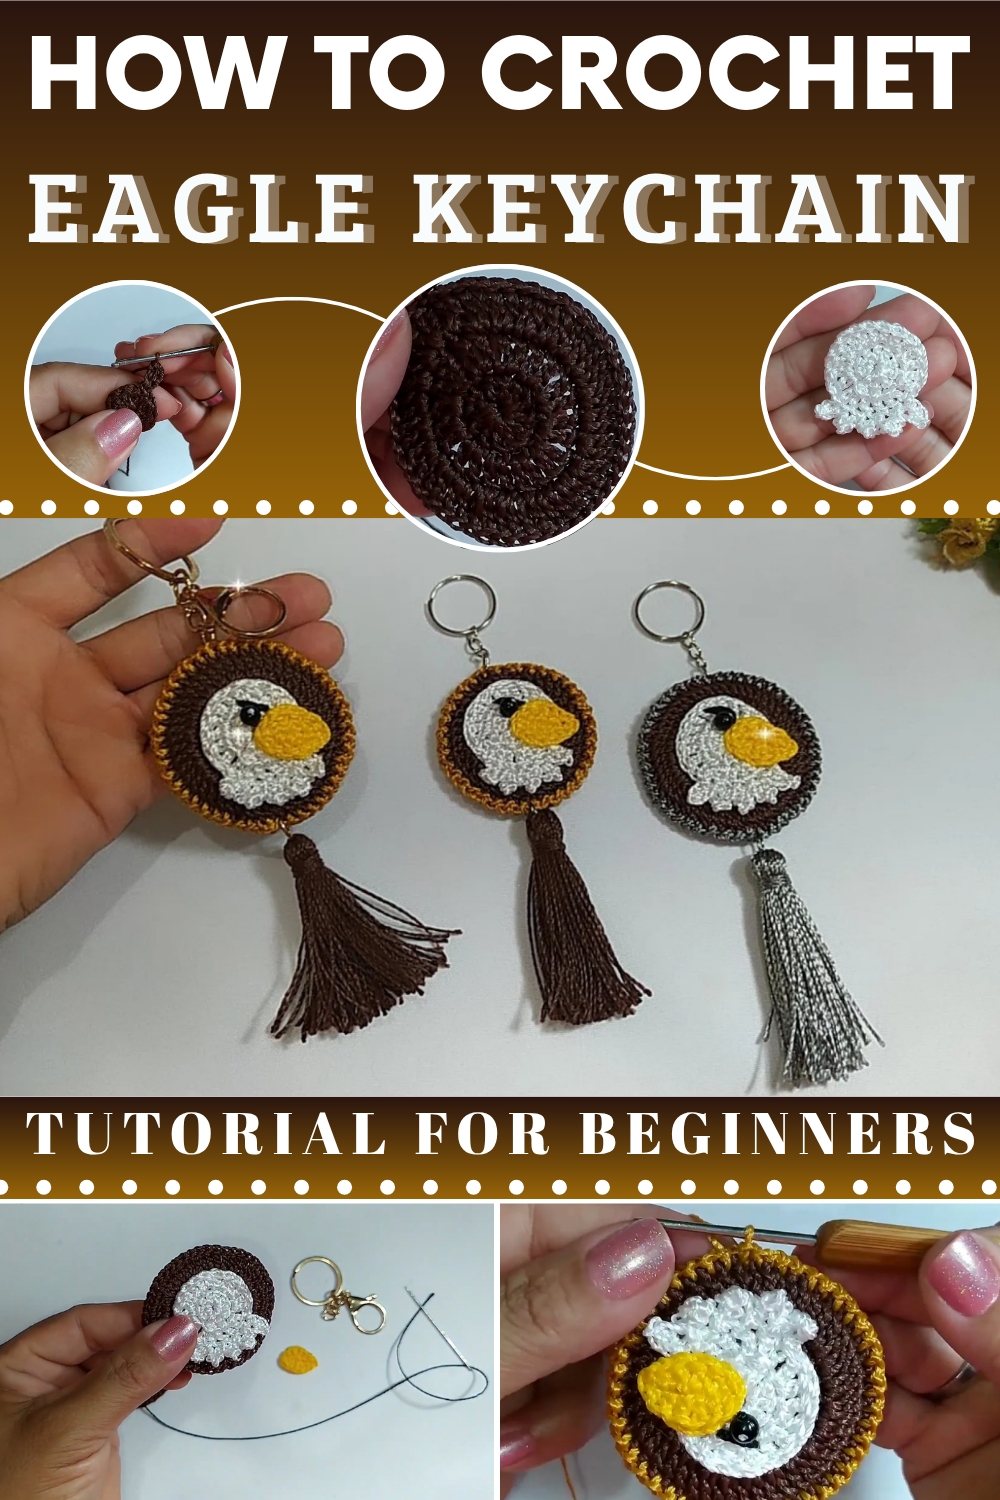
The pattern features a detailed build-up starting from a tightly stitched body using single crochet, building dimension through carefully placed increases and shaping techniques. Wings are formed separately and attached with subtle curve to give a natural, soaring posture. Color changes add depth to the feathers, while safety eyes and embroidered accents complete the proud expression.
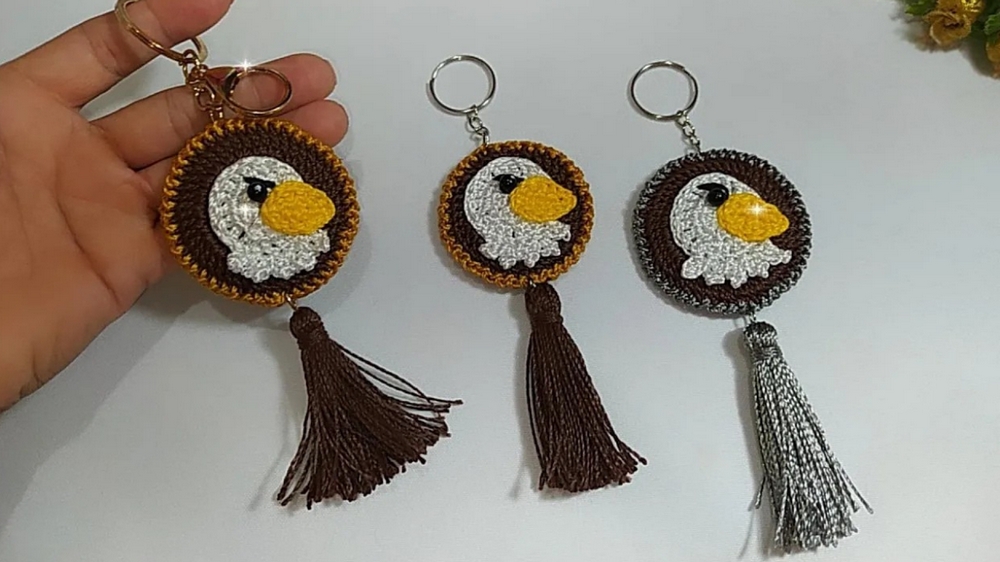
Lightweight and sturdy, the eagle keychain fits comfortably in your hand or pocket, ideal for bags, backpacks, or thoughtful gifts. Its construction allows for easy adaptation in size and color, offering personalization without losing the iconic eagle silhouette. Whether used as a symbol of national pride or given as a small gesture of motivation, this keychain stands out with intention. It offers both beauty in form and value in meaning—making it a project that’s as purposeful as it is visually appealing.
Free Crochet Eagle Keychain Pattern For Bag Charm
Finished Size
The eagle keychain measures approximately 5.5 cm (2.2 inches) in diameter once completed.
Materials Needed
Yarn
- Thick Silk Thread (Tex 288, 100% polypropylene).
- Base/Body Color: White.
- Eagle Head: White.
- Beak and Edging: Golden Yellow.
Tools
- Crochet Hook: 1.75 mm.
- Needle: For sewing and finishing.
- Scissors: For cutting and trimming yarn.
- Optional Accessories:
- Keyring or Carabiner Hook: For attaching the keychain.
- Glue: Silicone glue for added security when assembling.
Skill Level
Intermediate – Familiarity with working in rounds, stitch increases, creating picots, and assembling components is required.
Key Abbreviations (US Terms)
- ch: Chain
- sc: Single crochet
- sl st: Slip stitch
- dc: Double crochet
- picot: 3 ch and sl st into previous stitch to create a small point/peak
- yo: Yarn over
- inc: Increase (2 dc or 2 sc in one stitch)
- […]: Repeat instructions within brackets
Special Notes
- Tension Consistency: Keep your tension consistent for a well-shaped eagle.
- Picots: Work carefully to keep the picots uniform across the eagle's head.
- Assembly: Sewing the components securely ensures durability, especially if attaching to a keyring.
Pattern Instructions
Step 1: Bottom Circular Base (Make 2)
Foundation:
- Start with a magic ring.
- Round 1:
- Ch 2 (counts as first dc), then work 12 dc into the ring. (Including the initial ch 2, there should be 12 dc).
- Pull the ring tight and join with a sl st into the top of the first dc.
Round 2:
- Ch 3 (counts as first dc), work 1 dc in the same stitch (increase).
- [2 dc in each stitch] repeat around. (You should have 24 dc).
- Join with a sl st.
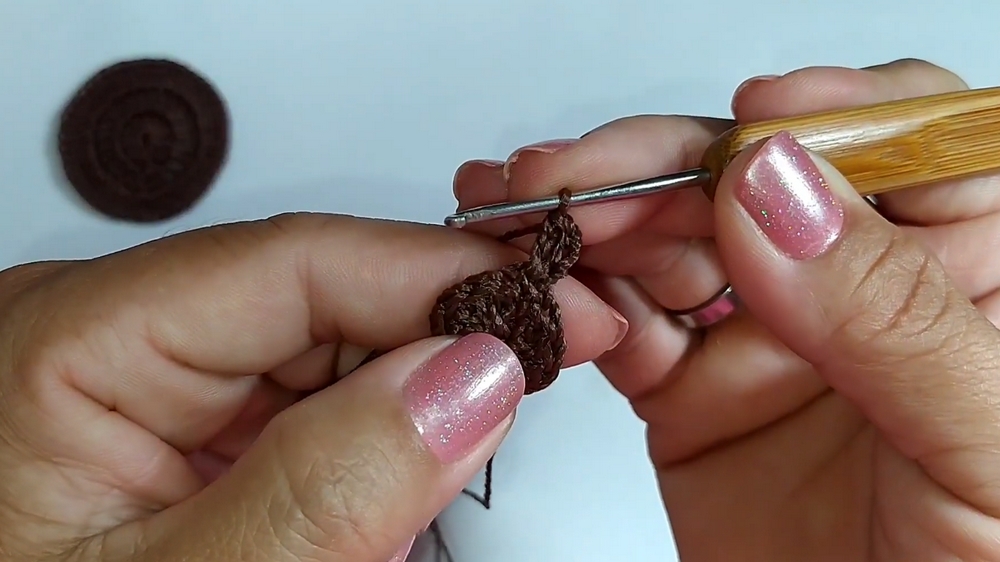
Round 3:
- Ch 3, work 1 dc in the same stitch.
- [2 dc in first stitch, 1 dc in next stitch] repeat around. (You should have 36 dc).
- Join with a sl st, fasten off, and weave in ends.
- Make a second circular base using the same instructions.
Step 2: Eagle Head
Foundation:
- Start with a magic ring.
- Round 1:
- Ch 2, work 10 dc into the ring.
- Pull the ring tight and join with a sl st.
Round 2:
- Ch 3, work 1 dc in the same stitch.
- [2 dc in each stitch] repeat around. (You should have 20 dc).
- Join with a sl st.
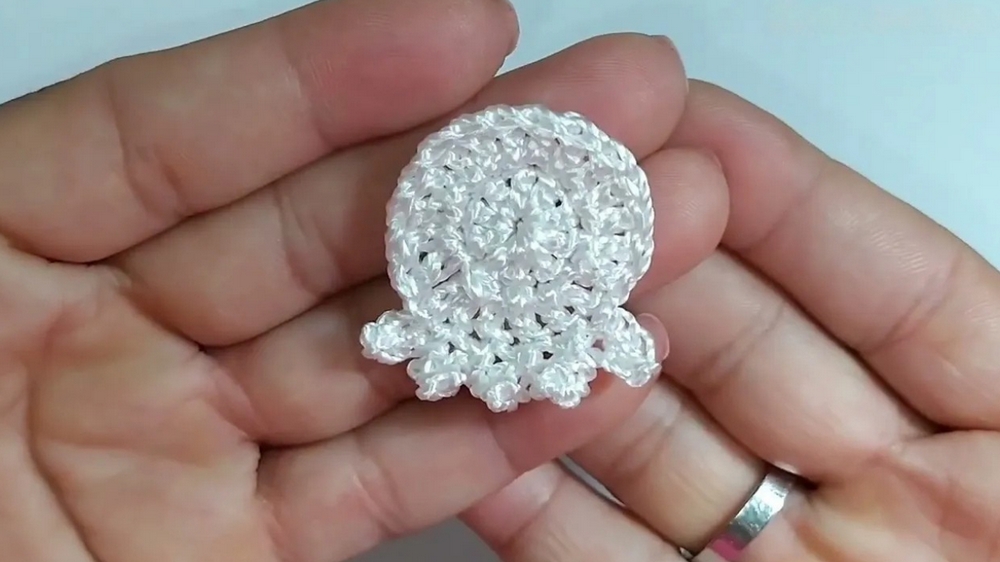
Picot Details:
- Ch 3, sl st into the previous dc to form a picot.
- Repeat to make 5 picots evenly spaced.
- Fasten off, trim excess yarn, and weave in ends.
Step 3: Eagle Beak
Foundation:
- Ch 5 using golden yellow yarn.
Row 1:
- Work into the chain as follows:
- Sc in the first ch.
- Hdc in the second ch.
- 2 dc in the third ch.
- Hdc in the fourth ch.
- Sc in the fifth ch.
- Row 2:
- Work back along the opposite side of the chain. Mirror the same stitch order:
- Sc, Hdc, 2 dc, Hdc, Sc.
- Join with a sl st to complete the beak shape.
- Fasten off and weave in ends.
- Work back along the opposite side of the chain. Mirror the same stitch order:
Step 4: Assembly
Attach the Eagle Head:
- Position the head at the top of one of the circular bases.
- Using white thread, sew the head securely onto the base, stitching around the edges.
Attach the Beak:
- Place the beak at the bottom center of the head. Sew it securely onto its position.
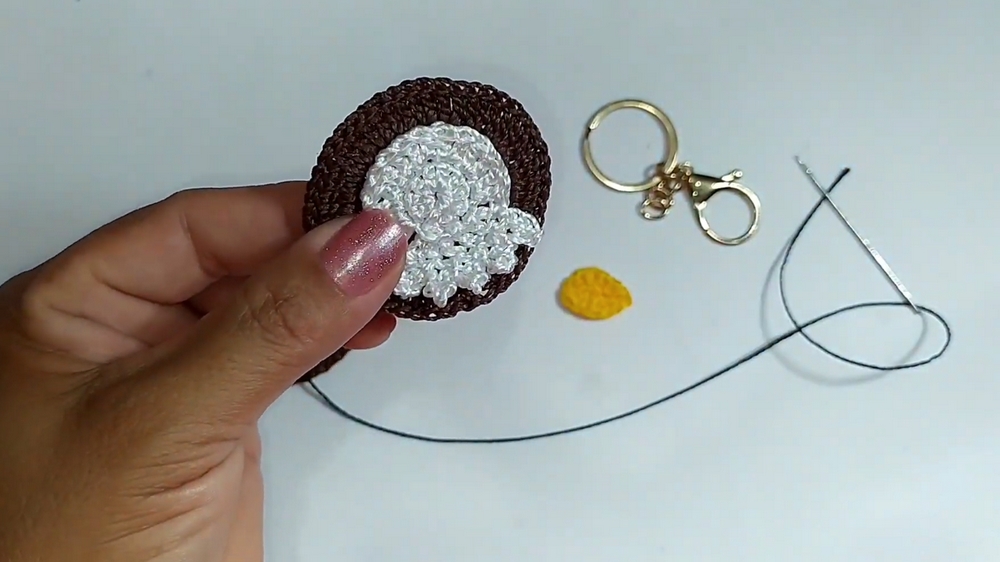
Combine Circular Bases:
- Stack the circular bases together (wrong sides facing each other).
- Using golden yellow yarn, crochet sl st evenly around both circles to join them.
- Insert the hook into both loops of each stitch from both bases.
- Leave an opening at the top if attaching a keyring.
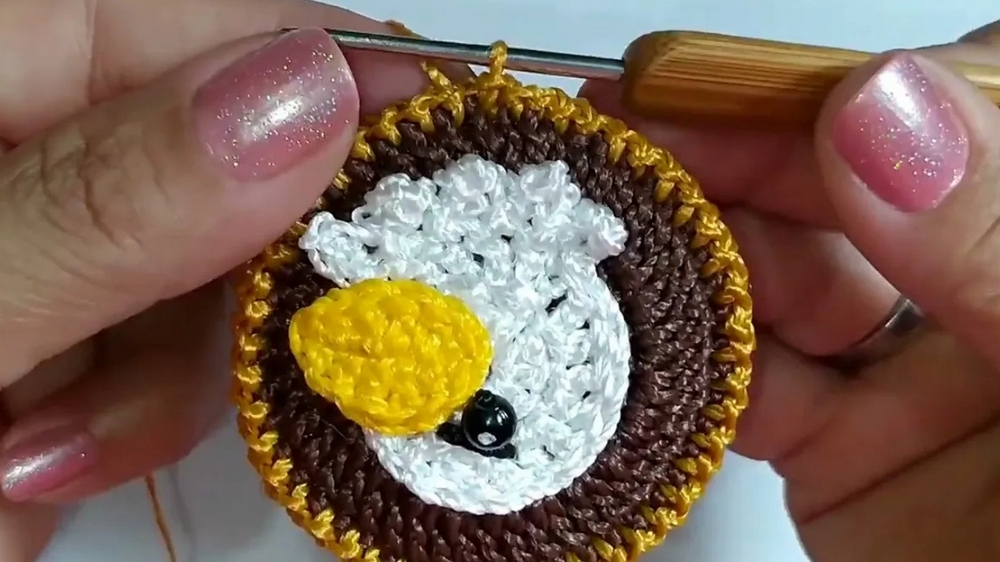
Attach Keyring or Carabiner Hook:
- Using a needle or tying directly with yarn, securely attach the keyring/carabiner hook to the top of the eagle.
Finishing Touches
Optional Customizations
- Add embroidery details for eyes to enhance the eagle’s face.
- Use alternate colors for a unique design (e.g., gray body, dark brown beak).
Tips for Maintenance
- Ensure yarn ends are woven in securely—use glue for extra reinforcement if needed.
- Keep stitches tight to maintain the shape and durability of the keychain.
Conclusion
Congratulations on completing your Eagle Keychain!
This stylish and functional accessory combines intricate crochet techniques with a practical use. Use it for your keys, hang it from your rearview mirror, or sell it as a unique handmade gift.
This project showcases creative craftsmanship, and its portability makes it a popular choice for gifting or selling. Keep exploring new designs and colors to create an entire collection of decorative keychains!
Important Remarks and Final Suggestions
Corrections: Ensure precise picot placement and uniform increases within the base to maintain balance.