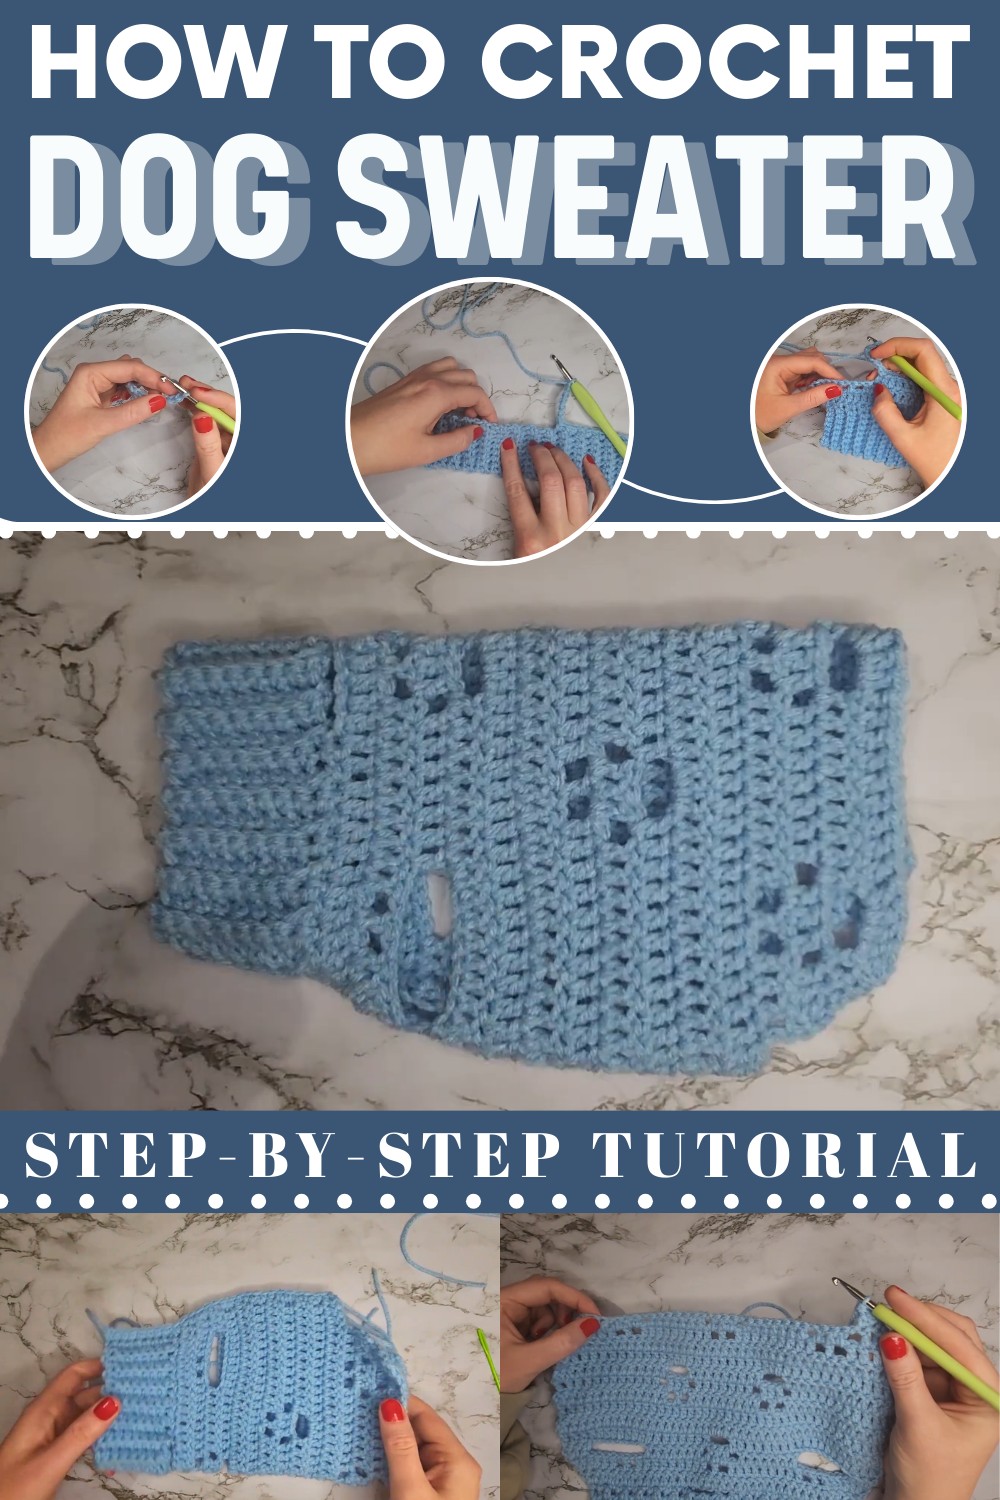
Fun Crochet Dog Sweater Pattern That Make Your Pup Stand Out
Pamper your pup with Crochet Dog Sweater Pattern and stitch a cozy outfit perfect for chilly walks, cute photos, and stylish pet comfort.
There’s nothing more heartwarming than seeing your furry friend wrapped up in something you’ve handmade with love. A Crochet dog sweater isn’t just a cozy layer for chilly days—it’s your chance to create something practical and adorable.
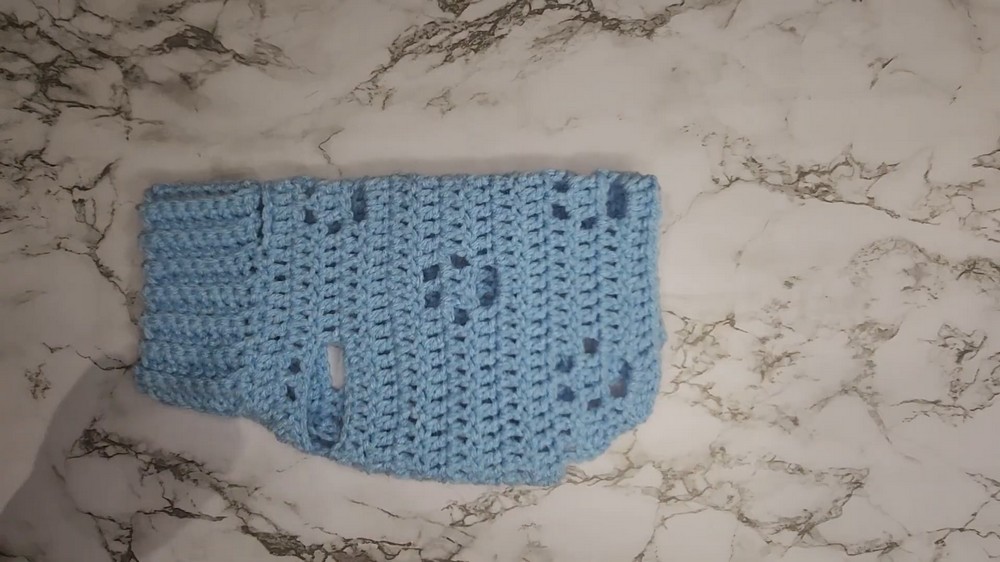
Imagine your pup strutting around in a snug sweater with playful paw-print detailing, a stretchy ribbed collar for comfort, and a perfectly placed leash hole for walk-time convenience. Beyond the warmth it offers, this project transforms your pet into the star of your winter outings, blending charm and functionality seamlessly.
Cozy Crochet Dog Sweater Pattern to Spoil Your Furry Friend
This sweater isn’t limited to just your dog—crocheting one makes it a heartfelt gift for a fellow pet lover too. Surprise a friend or family member’s furry companion with a stylish yet cozy handmade sweater that’s perfect for chilly days. It’s a creative and thoughtful gesture that makes their pup feel loved, warm, and oh-so-adorable. Whether gifting or crocheting for your own dog, this project lets you spread joy and love one stitch at a time!
Crochet Dog Sweater Pattern
Special Features
- Customizable Sizes: The pattern covers seven sizes to accommodate a wide variety of dogs.
- Leash Hole: A built-in leash hole ensures the sweater is practical for outdoor walks.
- Ribbed Collar: The stretchy collar offers a snug but comfortable fit around your dog’s neck.
- Paw Print Motif: Decorative paw details provide an adorable accent.
- Tapered Fit: The bottom portion of the sweater is shaped to fit perfectly over your pet's body.
Required Materials
- 43 grams of 10-ply worsted/medium yarn (Tammy uses Red Heart Super Saver in Light Blue).
- 5mm crochet hook.
- Yarn needle.
- Scissors.
Level of Difficulty
This pattern is ideal for confident beginners progressing to intermediate crochet skills. Techniques such as working into the back loop, creating chain spaces, double crochet increases, and tapering ensure a balanced learning experience.
Step-by-Step Pattern
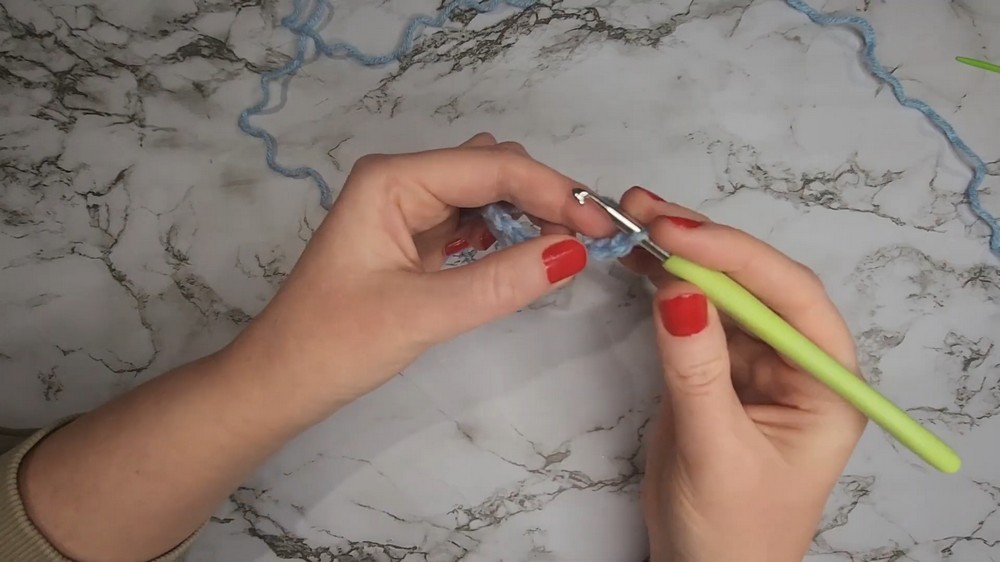
Step 1: Create the Collar
- Foundation Chain
- Begin by chaining 9 stitches.
- Work 1 single crochet (SC) into the second chain from the hook.
- Continue to work 1 SC in each stitch across. You should have 8 SCs in total.
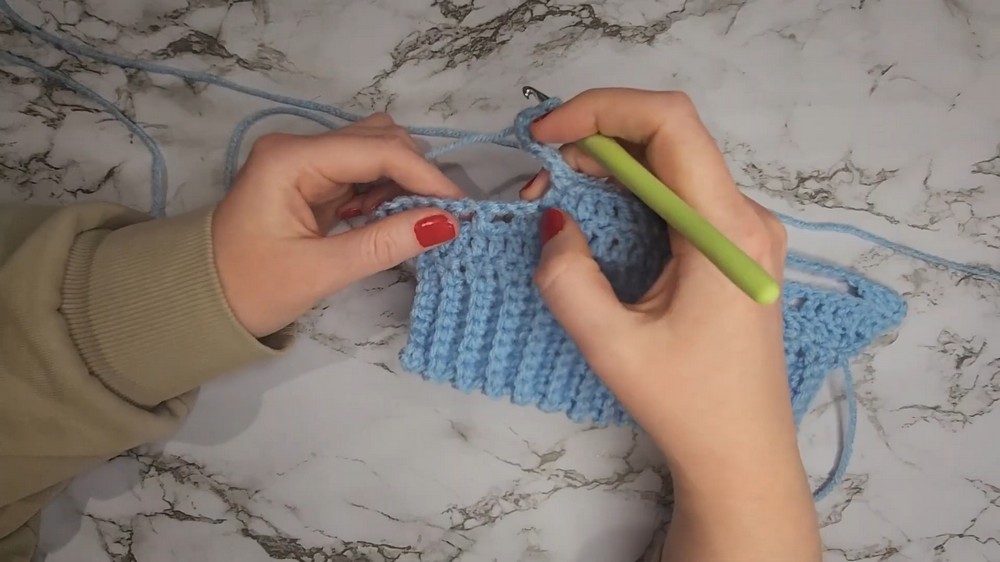
- Create Ribbed Effect with Back Loop Only (BLO)
- Chain 1, turn your work, and work 1 SC into the back loop of each stitch across the row (8 SCs total).
- Repeat this process for 31 rows, creating a ribbed and stretchy texture for the collar.
Result: A ribbed rectangle that will serve as the collar.
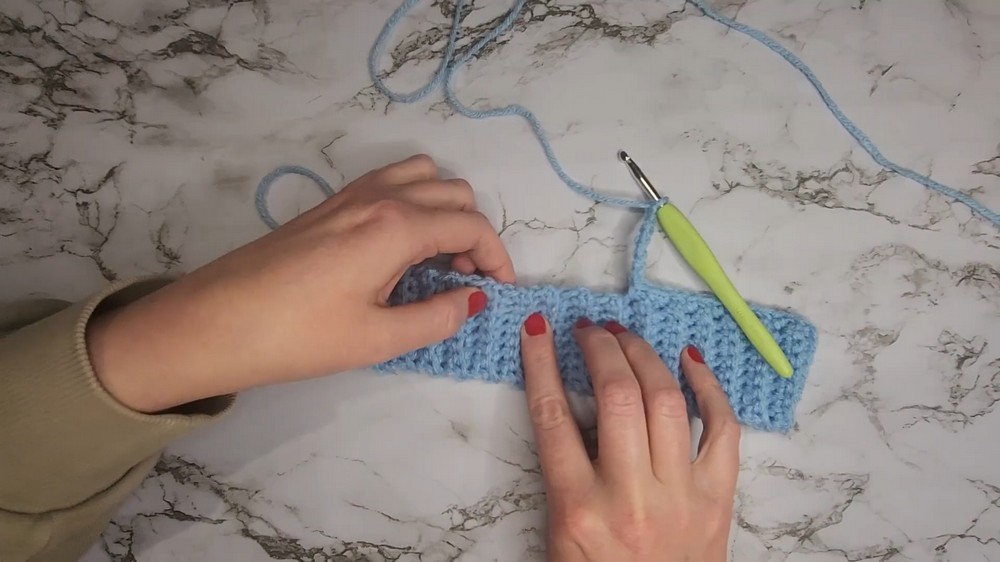
Step 2: Transition to the Body
- Single Crochet Along the Long Edge
- Chain 1 and rotate the collar vertically.
- Work 12 SC evenly along the long edge, ensuring spacing is consistent.
- Create the Leash Hole
- Chain 7 stitches.
- Skip 7 SC rows and work 1 SC into the 8th stitch.
- Continue working 11 SC along the rest of the row.
Step 3: Begin the Rounded Body
- Row 1 (Increase Row)
- Chain 2 (does not count as a stitch). Turn your work.
- Work 2 Double Crochets (DC) into the first and second stitches.
- Work 27 DC across the row.
- In the last 2 stitches, work 2 DC into each stitch for a total of 4 increases.
- Chain 2 and turn.
- Row 2 (Continue to Increase)
- Repeat the process from Row 1, adding increases to shape the body for extra width.
- Start Paw Prints
- Create footpad accents by incorporating chain spaces:
- DC, chain 1, and skip 1 stitch.
- Continue the paw pattern as per instructions, returning to DC between each set of paw prints by following your desired placement and space count (e.g., 9 DC between accents).
- Create footpad accents by incorporating chain spaces:
Step 4: Create Leg Openings
- Form Leg Holes
- On the appropriate row:
- Chain 8 stitches.
- Skip 8 stitches and connect with a DC to create an opening.
- Add 7 DC stitches, creating symmetrical placement for the second chain opening to form the second leg hole.
- On the appropriate row:
- Continue Body Rows
- Work straight rows after creating leg openings, maintaining the existing stitch count.
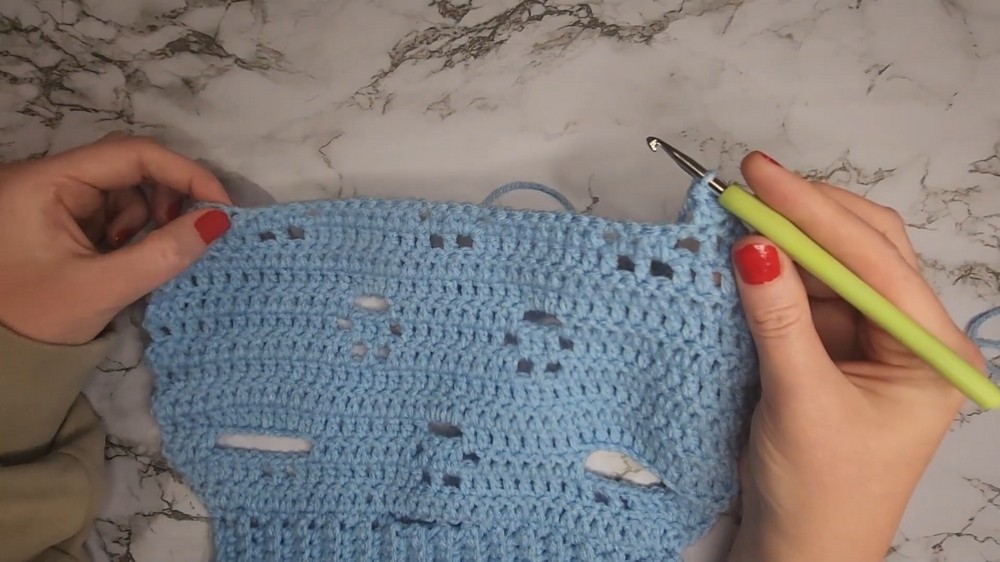
Step 5: Add Paw Print Details
- To create the paw motifs:
- Chain 1, skip the next stitch, and then work 1 DC into the next stitch.
- Repeat (chain 1, skip, DC).
- Add regular DCs in between paw motifs as per the specified stitch counts.
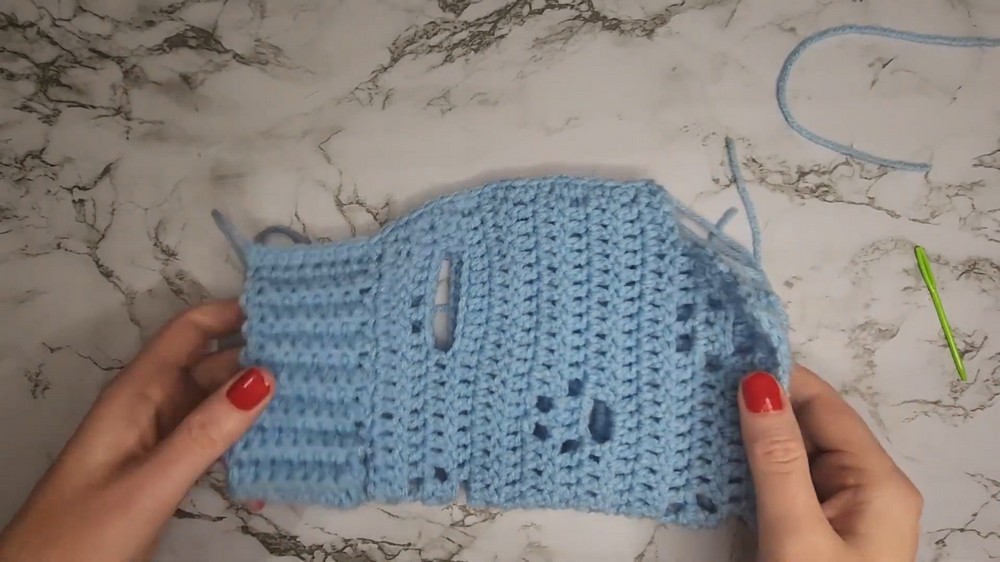
Step 6: Shape and Taper the Sweater Body
- Decrease with DC Two Together (DC2Tog):
- Start and end each row with Double Crochet Two Together. This creates a taper for the sweater to fit snugly over your pet's back.
- Continue tapering until the sweater reaches the final length specified in the instructions.
Step 7: Complete the Sweater Assembly
- After completing the final row, chain 1 and cut the yarn with a long enough tail to weave in the end later.
- Fold the sweater in half lengthwise with the correct sides facing in.
- Seam the edges by using either:
- Slip stitches for a low-profile edge.
- Single crochets for a slightly more pronounced seam.
PRO TIP: When creating the seam, aim for 1.5 single crochets per row to maintain balanced tension. This prevents puckering or stretching.
- Turn the completed sweater inside out and push out the seams.
Tutor’s Suggestions
- Count consistently to avoid mistakes when skipping chains for paw patterns, leash holes, or leg holes.
- Don’t crochet too tightly on the collar ribbing to ensure it stays stretchy and comfy.
- Double-check the placement and size of the leash and leg holes before completing the sweater.
- The ending taper helps the sweater hug your dog’s body better, so don't skip this step!
Uses of the Sweater
The Franklin Footprint Dog Sweater is perfect for giving your pet warmth and added style in cooler weather. The paw print details make it adorable, while the functional leash hole makes the sweater practical for everyday use. It’s especially great for small or short-haired dogs that need extra layers during chilly seasons.
Pro Tip
If you’re new to crocheting, practice working into the back loop only (BLO) on a swatch before starting the collar, as this is one of the foundational techniques for this project.
Conclusion
The Dog Sweater is a delightful crochet project, blending functionality and creativity in one. Pets of all sizes can benefit from the warmth, and their human companions can be proud of crafting something special. Whether you’re a seasoned crocheter or a confident beginner looking to expand your skills, this pattern provides a rewarding experience and a chance to showcase your love for your furry family members.