
Cute & Free Crochet Rabbit Pattern For Easter Basket Fillers
Construct your Crochet Rabbit Pattern to build a long-eared, fuzzy pal that brings a hop of pure happiness to any cozy nursery.

A little bunny made with the Rabbit Crochet Pattern can sit on a shelf or cuddle in your hands. Its soft ears, round body, tiny paws, and small tail make it look super cute. This project features a chubby little body and a minimalist embroidered nose, creating a sweet and gentle expression. It serves as a perfect companion for a child's backpack, a festive table decoration, or a heartwarming gift tucked inside a spring-themed basket.
Learn Free Crochet Rabbit Pattern for Playful Decor

Its classic silhouette and soothing yarn colors make it a sophisticated addition to any nursery or a cozy shelf display.
Creating this cuddly friend is an excellent way for newcomers to master the basics of shaping while practicing clean color transitions and secure assembly. The journey begins with a simple magic ring to form a perfectly spherical head, moving gradually into a series of rounds that build a sturdy, stuffed body. You will learn how to crochet two extra-long ears that can be positioned to give the bunny a curious or sleepy personality, adding a unique touch to every single piece. A key tip for success is using a smaller hook to keep your stitches tight, ensuring the stuffing remains hidden and the toy stays durable for years of play.


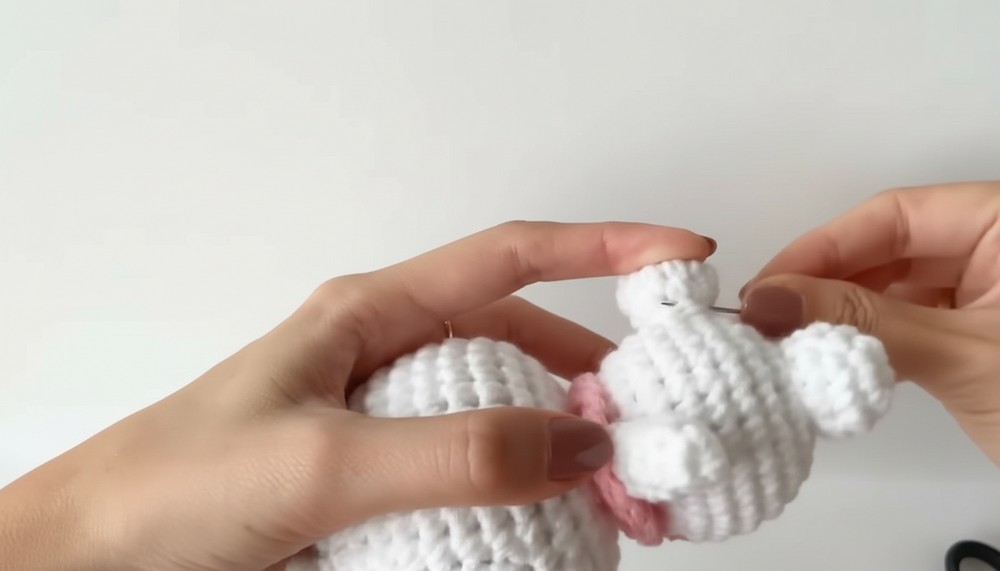
By the time you attach the tiny arms and legs, you will have gained the skills to create a professional-quality toy that is truly special.
Start you day from Here!
Difficulty Level:
Intermediate (requires patience for assembly).
Materials:
- Milk cotton yarn big paly
- 3.5mm crochet hook
Special Features:
Extra-long floppy ears and a seamless round head.
Uses:
Baby shower gift, Easter decoration, or a cozy nursery accent.
Tutor’s Suggestions:
The tutor emphasizes using a smaller hook than the yarn label suggests to ensure your stitches are tight enough so that the stuffing doesn't peek through.
Conclusion
Once you have finished all the individual components, simply sew the arms to the sides of the body and the legs to the base. Embroider a small "Y" or "X" shape for the nose to give your bunny its final, heartwarming expression. You now have a beautiful, handmade rabbit that is ready for cuddles.
Final Pro-Tip:
To make the bunny sit perfectly, sew the legs slightly towards the front of the base rather than directly on the bottom. This acts as a tripod, giving your amigurumi much better stability for display!
Step By Step Details