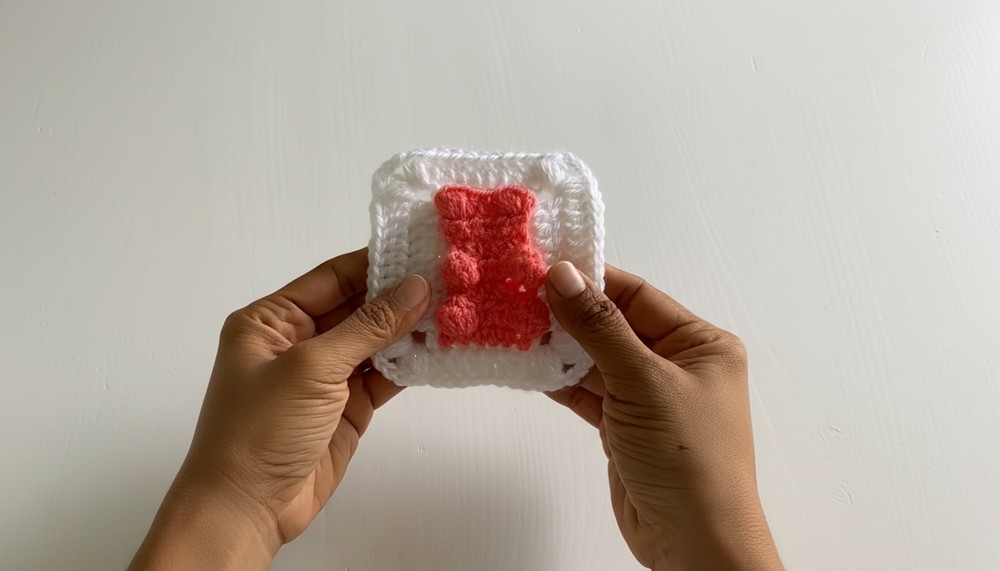
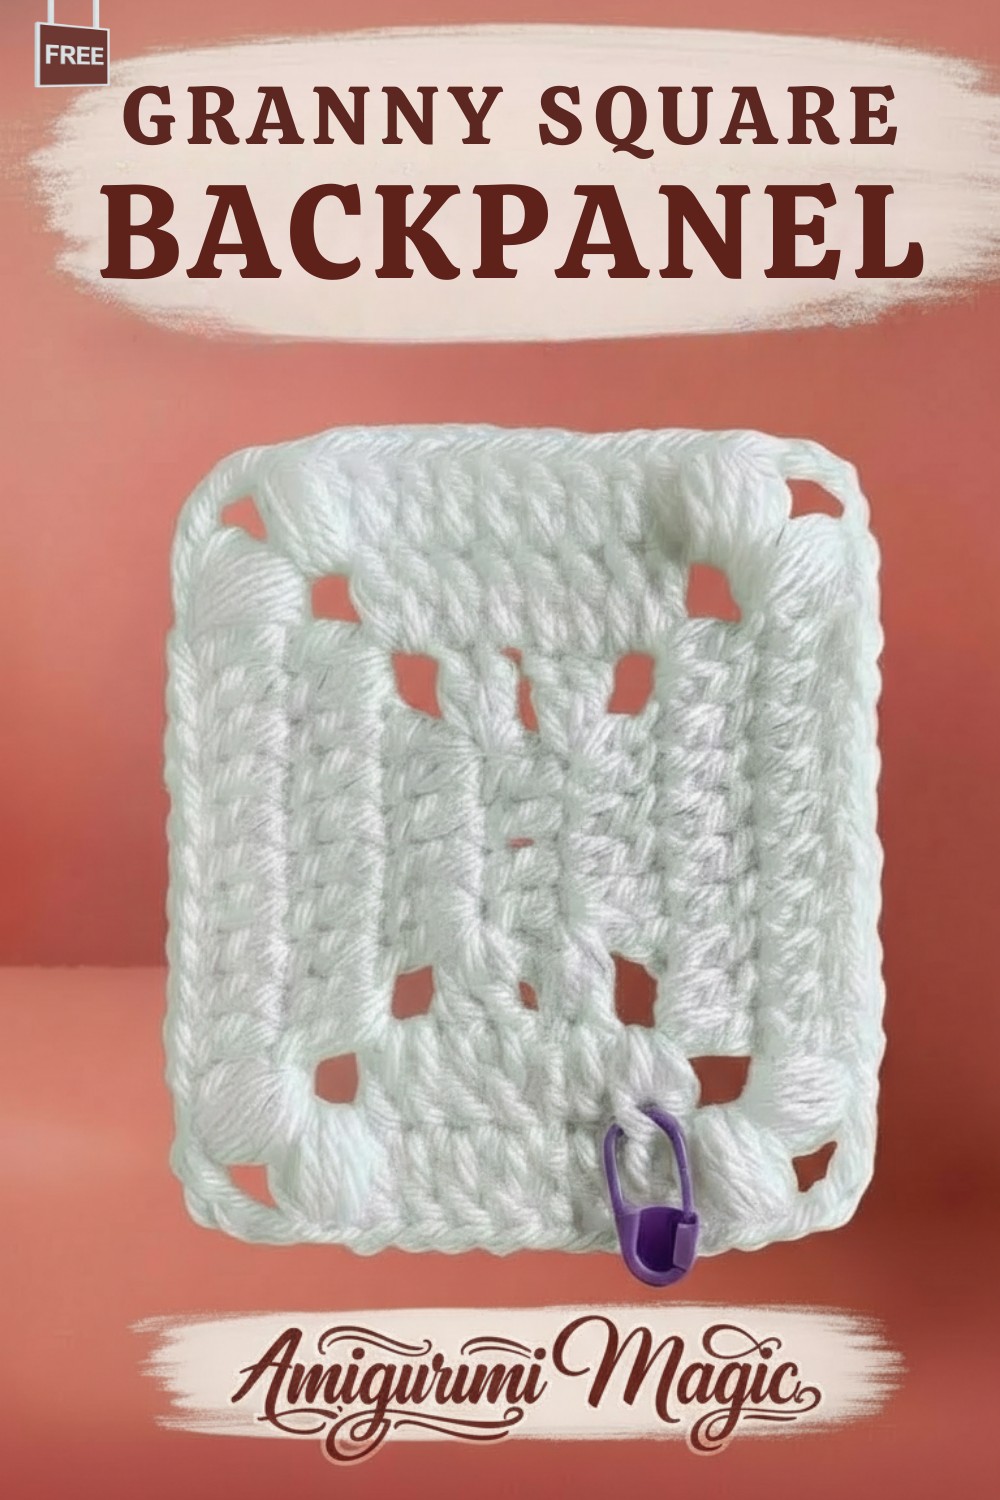
Stylish Crochet Gummy Bear Granny Square Background Panel for Everyone
Refresh your vibe with Stylish Gummy Bear Granny Square Background Panel for Everyone, a cheerful crochet accent that pops with color or fun.
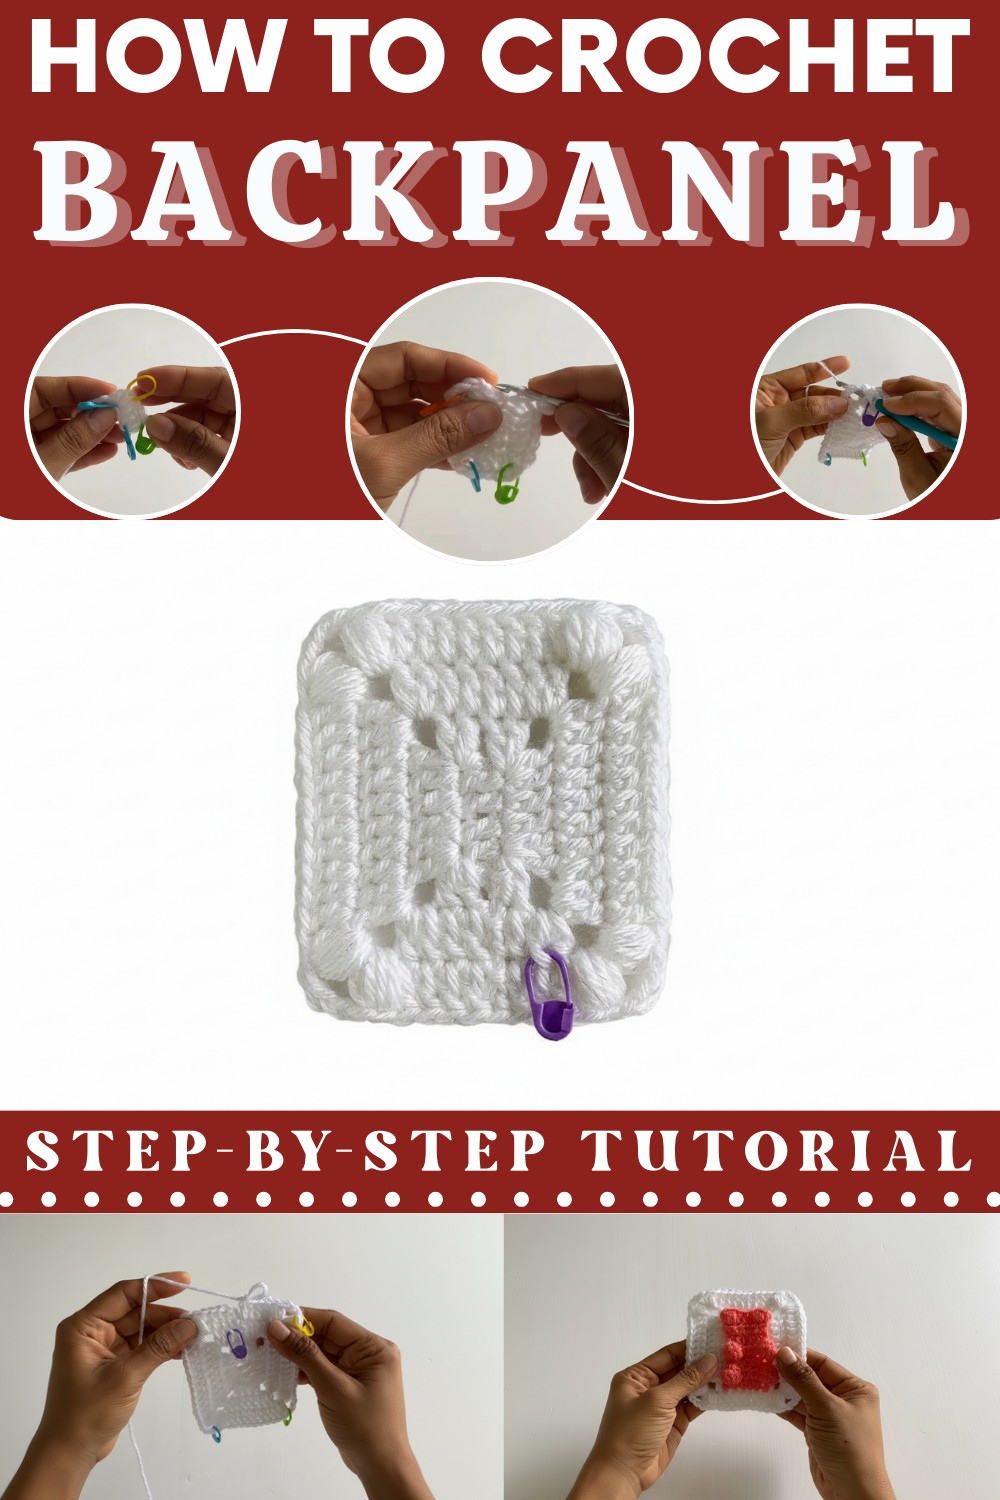
Glittering metallic threads and a soft finish transform this simple rectangular base into a magical stage for your handmade creations. The Stylish Gummy Bear Granny Square Background Panel for Everyone features four textured puff-stitch corners that frame a neat center, giving it a sophisticated and "party-ready" look. Because of its modular design, you can use a single panel as a cute decorative coaster or stitch many together to form the ultimate colorful blanket or pillowcase. This soft, glittery texture adds a layer of whimsy to any project, serving as a high-quality foundation for attaching tiny amigurumi bears or other sweet treats.
Gummy Bear-Inspired Granny Square Crochet Design You’ll Adore
The rectangular background panel is versatile and slightly different from standard granny squares. The added sparkle in the yarn used makes it perfect for decorative projects. This project is a fantastic confidence booster, leaving you with a versatile and "jazzy" panel that looks professional and feels incredibly cozy.
Crochet Pattern: Background Panel for Gummy Bear Granny Square
- Skill Level: Intermediate (requires familiarity with chain (CH), double crochet (DC), puff stitches, and basic finishing techniques).
- Estimated Time: Approximately 1.5–3 hours.
Let’s begin!
Special Features
- Custom Shape: Slightly rectangular background, different from the usual square, making it unique for granny-inspired projects.
- Texture Detail: Puff stitches (Cluster B) in the final row add unique texture and elegance.
- Stitch Markers for Precision: Clear guidance to prevent mistakes by marking corners.
- Seamless Finish: Master a professional finish that provides symmetry and neatness to your work.
- Customizable Size: Adjust yarn thickness and number of rounds to increase or reduce panel size.
Materials Needed
- Yarn: Medium worsted weight (#4) yarn, such as Karen Simply Soft (Party). This yarn includes an iridescent metallic thread for sparkle—perfect for decorative projects.
- Crochet Hook: 4.5mm.
- Scissors: For cutting yarn ends.
- Yarn Needle: For weaving in ends and seamless finishing.
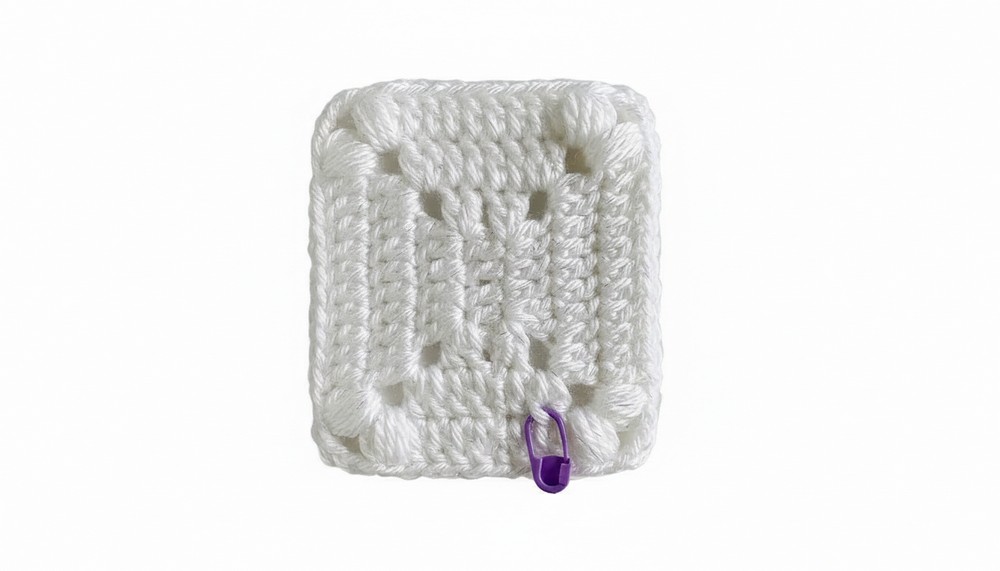
- Stitch Markers: 5 markers (4 for corners, and 1 for the first loop in Round 3, useful for adding the gummy bear later).
Step-by-Step Pattern
Round 1: Creating the Center Rectangle
- Start with a Slip Knot and Chain (CH) 4 using loose tension. This forms the first side of the rectangle.
- Count these 4 chains as Side 1.
- Chain 2 (normal tension).
- This represents Side 2.
- Work 4 Double Crochets (DC) into the back bump of the third chain from the hook.
- These stitches form Side 3.
- Chain 2 again for normal tension.
- This completes Side 4.
- Slip Stitch (SLST) into the same back bump as the last DC to close the round.
At this point, you will have a small rectangle as the foundation.
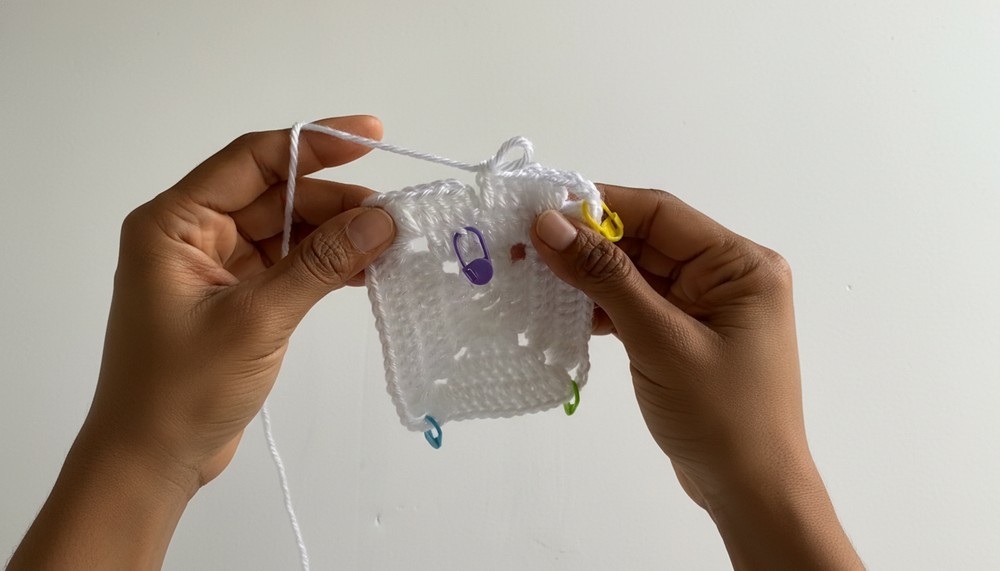
Marking Corners:
- Use stitch markers to mark the 4 corners:
- Back bump of the first chain (near the starting tail).
- Back bump of the fourth chain.
- First DC of Side 3.
- Last DC of Side 3.
- This ensures consistent progress for subsequent rounds.
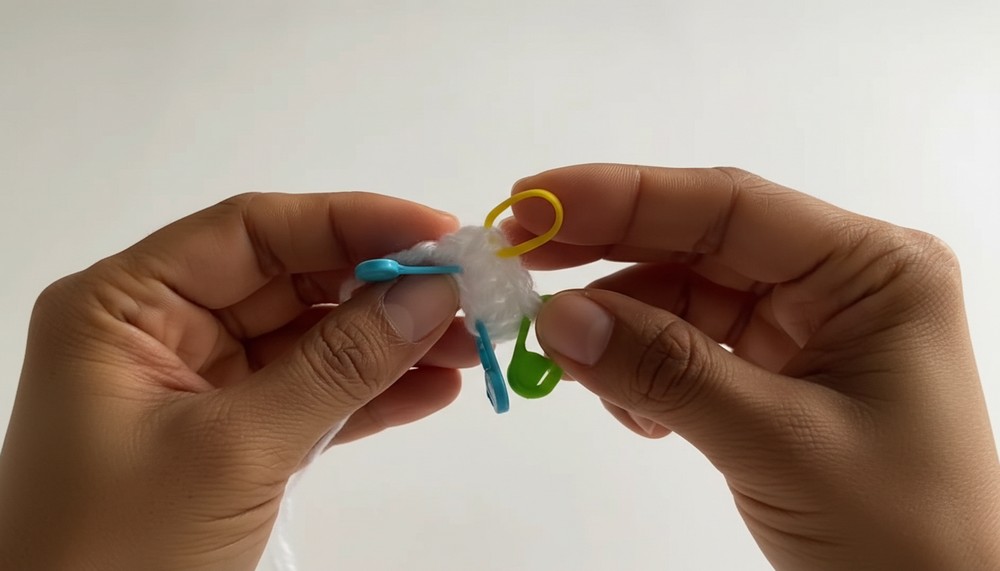
Round 2: Extending the Rectangle
- Work 1 Chain (CH) followed by 1 DC into the same back bump as the SLST to begin the round.
- Mark the First Corner with a stitch marker in the chain space. This will keep track of Corner 1.
- For Cluster A in each corner (except the starting corner):
- Work 2 DC, CH 3, and 2 DC into each marked chain space.
- Between corners, work 1 DC into each stitch of the side.
- Side 1: 2 DC stitches in total.
- Repeat the steps above for the remaining 3 corners. (Remove the marker, create the corner with Cluster A, and replace the marker in each corner chain space.)
- At the end of the round, SLST to the top of the chain 2 from the beginning of the round.
At the end of Round 2:
- Sides: 6 DC on long sides, 4 DC on shorter sides.
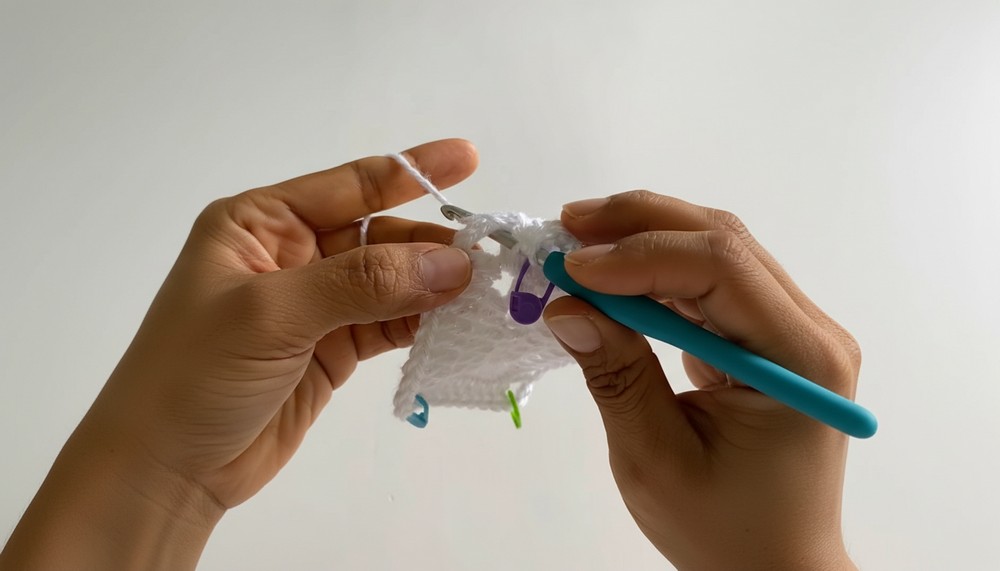
Round 3: Adding Another Layer
- Start Round 3 with CH 2 (counts as a DC).
- Into the same stitch where you SLST to close Round 2:
- Work 1 DC
- Mark the left loop of this first DC on the hook with the fifth stitch marker. This marks the starting loop for the gummy bear later in this panel.
- Into each corner chain space, make Cluster A:
- Cluster A consists of 2 DC, CH 3, 2 DC in the corner.
- Work across each of the sides, adding DC into every stitch:
- Side 1 and Side 3 (long sides): Work 6 DC.
- Side 2 and Side 4 (short sides): Work 4 DC.
- Complete each corner with Cluster A, replacing markers in new corner chain spaces as you go.
- Close the round with SLST to the first DC made in this round.
Round 4: Final Round with Puff Stitches
This final round adds texture and visual interest with puff stitches (Cluster B).
- Start with CH 2, then work 1 DC into each of the next 3 stitches along Side 1.
- At Corner 1:
- Work a Puff Stitch (Cluster B):
- Steps for Puff Stitch:
a. Yarn over, insert the hook into the corner chain space, yarn over, and pull up a long loop.
b. Repeat this process four times, ensuring all loops are even in height.
c. Yarn over, pull through all 9 loops on the hook.
d. CH 1 to close the puff.
- Steps for Puff Stitch:
- CH 3 to turn the corner, then repeat another puff stitch.
- Work a Puff Stitch (Cluster B):
- Side Stitches:
- Work 1 DC into each stitch, increasing to 10 DC for long sides and 8 DC for short sides.
- Repeat Cluster B with puff stitches in each of the remaining 3 corners.
- Close the round with SLST to the first DC.
Finishing: Seamless Ending
- Leave a 6-inch tail before cutting your yarn.
- Thread the tail through the yarn needle and use it to create a seamless join:
- Insert into the front loop of the first DC in the round.
- Draw the needle through the back loop and back bar of the last DC, mimicking a final stitch.
- Weave in yarn tails on the back of the piece for a neat and secure finish.
Tutor’s Suggestions
- Stitch Markers Are Key: Always mark corners and important stitches to avoid confusion, especially as the piece gets larger.
- Metallic Yarn Caution: Metallic thread can snag, so work with loose tension and adjust your loops often.
- Count Your Stitches Often: Before cutting the yarn at the end of a round, verify that the stitch count is accurate to avoid reworking rounds.
Uses
- Base for Gummy Bear Granny Squares: Add cute crochet gummy bears on top to build creative projects like baby blankets or pillows.
- Decorative Panels: Use as standalone textured pieces.
- Custom Projects: Continue adding rounds to make larger panels or mix and match yarn colors!
Tip
For puff stitches, draw loose loops when creating the incomplete stitches; this ensures uniform height. Use your middle finger to support the yarn and prevent loops from collapsing.
Conclusion
This rectangular background panel is a versatile and customizable foundation for your next granny square project. Whether you're adding gummy bears or using it for a blanket or home décor, the details on puff stitches and seamless finishing ensure a professional touch. Get creative, and be sure to check the related video on how to crochet the gummy bears!