Easy Free Crochet Amigurumi Anna Pattern With Cute Outfit
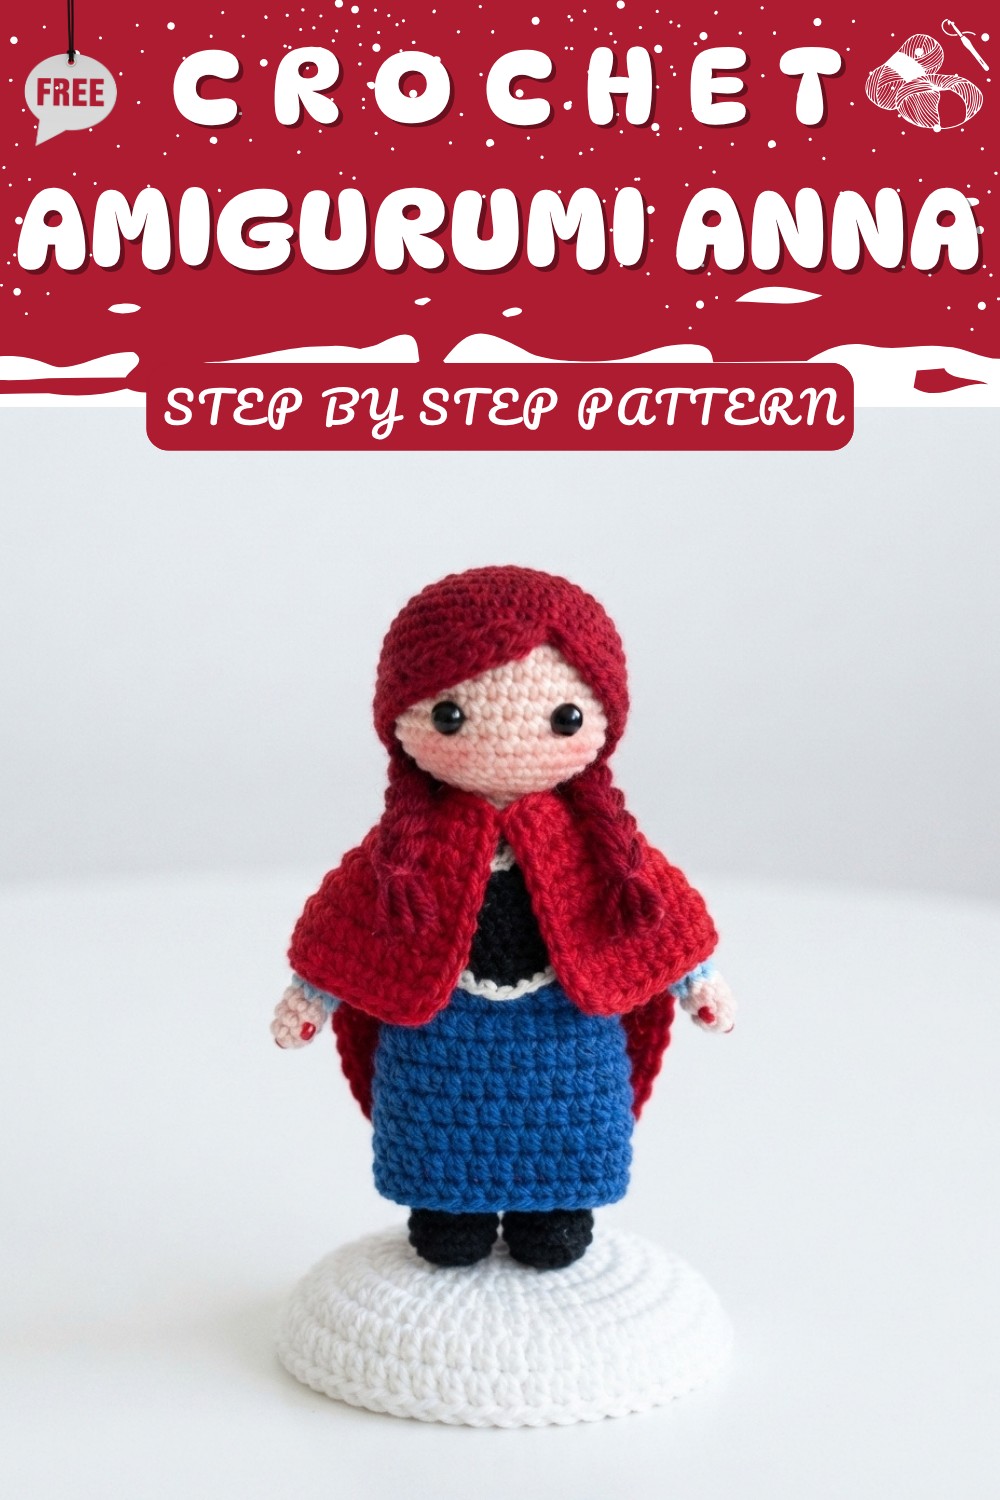
Make an adorable Frozen-inspired doll with this Free Crochet Amigurumi Anna Pattern, designed to help you create a detailed and lovable keepsake.
I’ve always loved making handmade toys, especially ones inspired by characters that bring back happy memories. One of my favorite recent projects is a soft doll that captures the spirit of a beloved princess perfectly. The Free Crochet Amigurumi Anna pattern is a great way to create a cute and cuddly version of this charming character, ideal for all fans of amigurumi and crochet dolls.
Best Free Crochet Amigurumi Anna Pattern for Playtime
This amigurumi Anna is full of sweet details that make her truly special. She has a round, soft body and a friendly face that’s perfect for hugging or displaying. The texture is smooth and neat because of the tight stitches, which also give the doll a nice, sturdy shape. Her outfit is simple but instantly recognizable, with colorful touches that add personality. The little braids and dress details really make Anna come alive in yarn form. This doll is perfect both as a toy for kids or as a cute collectible on a shelf.

The pattern is suited for those who know the basics of crochet and are comfortable with amigurumi techniques. Using mainly single crochet stitches worked in continuous rounds, the project builds up gradually. Some experience with stitching parts together and working small details will be helpful, but the instructions guide you step by step. It’s a great project if you want something fun that’s not too hard but still satisfying.

This free crochet Anna doll makes a wonderful gift, bringing joy to kids and collectors alike. It adds a handmade charm to any collection and can brighten up a room or a play area. If you enjoy making characters that are full of heart and personality, this pattern is an excellent choice you’ll be proud to create.
Crochet Amigurumi Anna Doll Pattern
Pattern Notes
- Work in continuous rounds unless otherwise specified.
- Use stitch markers to mark the beginning of each round.
- Invisible decreases are used for shaping to maintain smooth edges.
- Yarn color changes are required to reflect clothing and skin tones.
- Stuff parts firmly but gently with toy stuffing for best shape stability.
- Assembly includes sewing and optional wire insertion for poseability.
- Crochet hook size and yarn type may affect final size.
Skill Level
Intermediate — requires knowledge of magic ring, single crochet, invisible decreases, color changes, working in rounds, and basic assembling.
Materials
- Red acrylic yarn
- Blue acrylic yarn
- Black acrylic yarn
- Skin tone yarn
- 2.5 mm crochet hook
- Scissors and needle
- Stitch markers
- Toy stuffing
- Pins
- Two beads for eyes
- Optional pipe cleaners (for leg wire structure)
Measurements / Sizing
- Approximate height: 6–7 inches (depending on yarn thickness and tension)
- Head diameter corresponds to 36 single crochet stitches per round at widest point
- Body and limbs proportioned accordingly to maintain a realistic doll shape
Gauge
- Gauge is flexible due to amigurumi techniques but approximately 24 stitches x 24 rounds = 4” square with 2.5 mm hook and worsted weight yarn.
Stitch Abbreviations
- ch = chain
- sc = single crochet
- inc = increase (2 sc in same stitch)
- dec = invisible decrease (crochet two stitches together invisibly)
- sl st = slip stitch
Special Stitches
- Magic ring: Starts each round to create a tight closed circle.
- Invisible decrease: Crocheting two stitches together to reduce stitch count without creating a noticeable gap.
- Color changes: Switching yarn colors mid-round or between rounds to achieve distinct sections.
The Crochet Pattern!
Head (Skin Tone Yarn)
- Round 1: Magic ring, ch 1, 6 sc into ring (6 sc). Pull tight to close.
- Round 2: Inc in every stitch around (12 sc).
- Round 3: 1 sc, inc repeat around (18 sc).
- Round 4: 2 sc, inc repeat around (24 sc).
- Round 5: 3 sc, inc repeat around (30 sc).
- Round 6: 4 sc, inc repeat around (36 sc).
- Rounds 7-10: Sc in each stitch around (36 sc per round).
- Round 11: 4 sc, dec repeat around (30 sc).
- Round 12: 3 sc, dec repeat around (24 sc).
- Round 13: 2 sc, dec repeat around (18 sc).
- Stuff head firmly with toy stuffing.
- Round 14: 1 sc, dec repeat around (12 sc).
- Rounds 15-17: Sc in each stitch around (12 sc per round) – forming the neck.

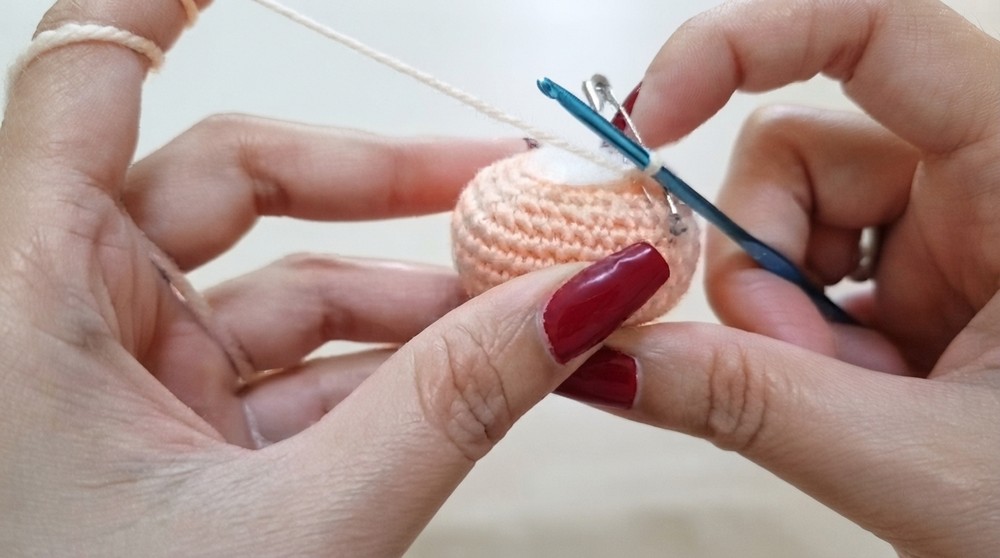
Color Change to Blue Yarn
- Round 18: 1 sc, inc repeat around (18 sc).
- Round 19: 2 sc, inc repeat around (24 sc).
- Continue increasing rounds as above if desired to increase neck size or shape.
Arms Partition
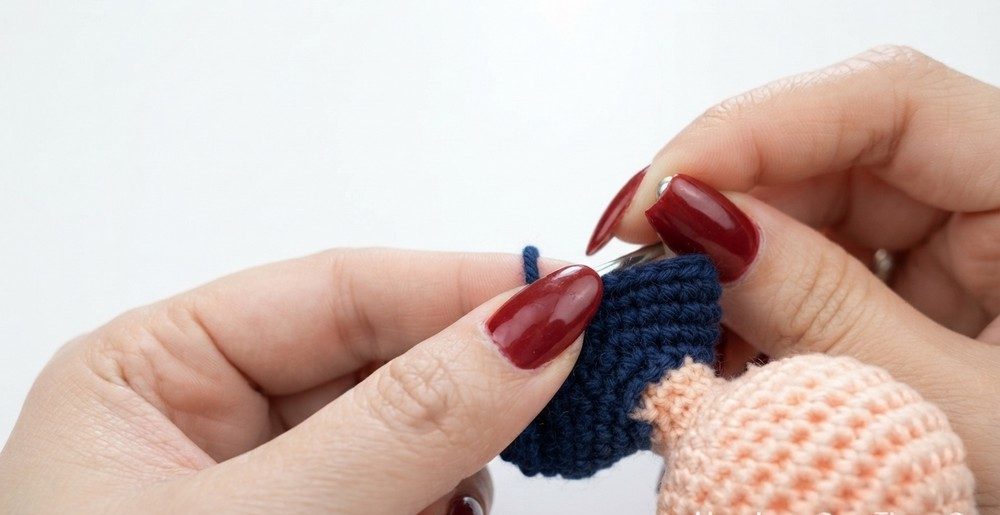
- Fold work and mark the position for arms using stitch markers 4 stitches on each side around 8 stitches total for arms.
- Mark five stitches on each arm section and add three more single crochet stitches to total eight stitches per arm.
- Remove stitch marker.
Body
- Work 7 rounds of single crochet all around with 20 stitches per round (or adjust for body size).
Change to Skin Tone Yarn
- Work in the back loop only for 1 round.
- Add toy stuffing into body firmly.

Legs Partition
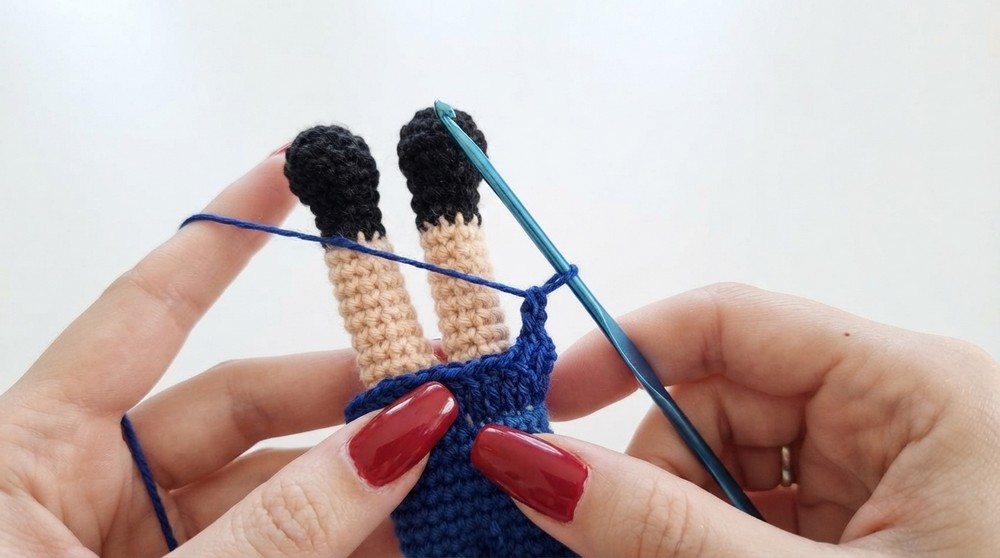
- Divide 10 stitches equally for two legs—mark 5 stitches for each leg with stitch markers.
- Remove stitch markers once legs are defined.
Legs (Each Leg)
- Work 10 rounds of single crochet (10 stitches per round).
- Change yarn to black for shoes/boots.
- Work 5 rounds of single crochet in black yarn.
Construction of Legs
- Optional: Insert pipe cleaner or wire into legs for structure.
- Insert stuffing in legs and secure open ends.
Arms (Blue Yarn)
- Work 10 rounds of single crochet (8 stitches per round).
- Change yarn to dark skin tone for hands.
- Work 2 rounds of single crochet.
Skirt (Blue Yarn)
- Start with slip knot and chain 10.
- Chain 3 (counts as first double crochet).
- Double crochet in each chain across; increase every few stitches as pattern dictates.
- Make rounds of double crochet stitch until desired skirt length is reached (approx. 5 rounds).

Vest (Red Yarn)
- Chain 22.
- Begin double crochet from fourth chain from hook.
- Continue double crochet across chain and rows to form vest shape.
- Add slip stitch and change yarn color to yellow as detail.
- Add yellow single crochet stitches for trim on vest.
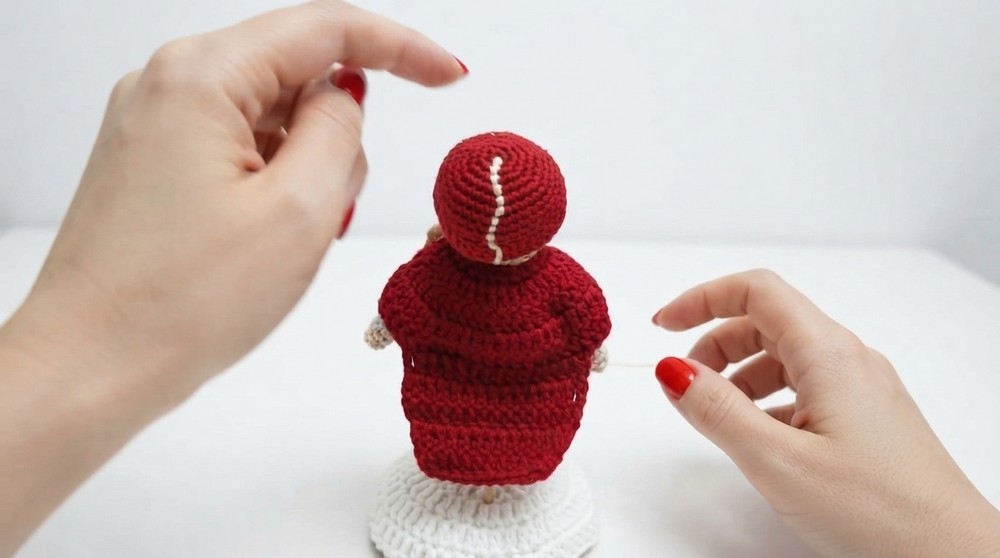
Cape (Red Yarn)
- Chain 10, add 3 to chain for turning.
- Double crochet into fourth chain from hook.
- Increase double crochets across the row.
- Work 5 rounds of double crochet with increases as in previous steps.
- Fasten off and sew cape onto doll as desired.


Assembly & Finished Size
- Attach head to body securely by sewing.
- Attach arms and legs to body with several stitches for stability.
- Add beads for eyes, and sew or paint face details (tutorial for hair and face construction referenced).
- Sew vest and cape onto the doll; adjust cape length as wanted.
- Insert pipe cleaner if desired to provide structure to legs or arms.
- Final height expected between 6 and 7 inches.
Conclusion
This Anna amigurumi pattern offers a rewarding project for intermediate crocheters looking to create a detailed doll. With clear increment and decrement rounds and color changes, you can bring this beloved Frozen character to life. Assembly is an important step to achieve stability and charm.
This detailed crochet pattern guides you to create a charming amigurumi Anna doll from Frozen. Working mainly in continuous rounds using single crochet stitches, you will shape the head, body, arms, legs, vest, skirt, and cape with clear step-by-step instructions. This pattern involves changing yarn colors to match Anna’s appearance, making use of simple increases and decreases for shaping. The finished doll is perfect as a collectible or gift for Frozen fans.