
Easy Crochet Doll Amigurumi Pattern Everyone Can Try
Create a lovable companion with the Free Crochet Doll Amigurumi Pattern, perfect for gifts, decor, and making soft, charming handmade joy.
A burst of fun color and gentle stitching can transform a simple ball of yarn into a charming companion you’ll love to hold and share. The Free Crochet Doll Amigurumi Pattern offers an inviting way to craft a soft, personalized doll that brightens nurseries, desks, shelves, or gift baskets. This pattern highlights a rounded head, plump body, articulated arms and legs, and customizable hair and outfit features, making it versatile for different ages and styles.
Fun Crochet Doll Amigurumi Pattern That’s Quick and Cute
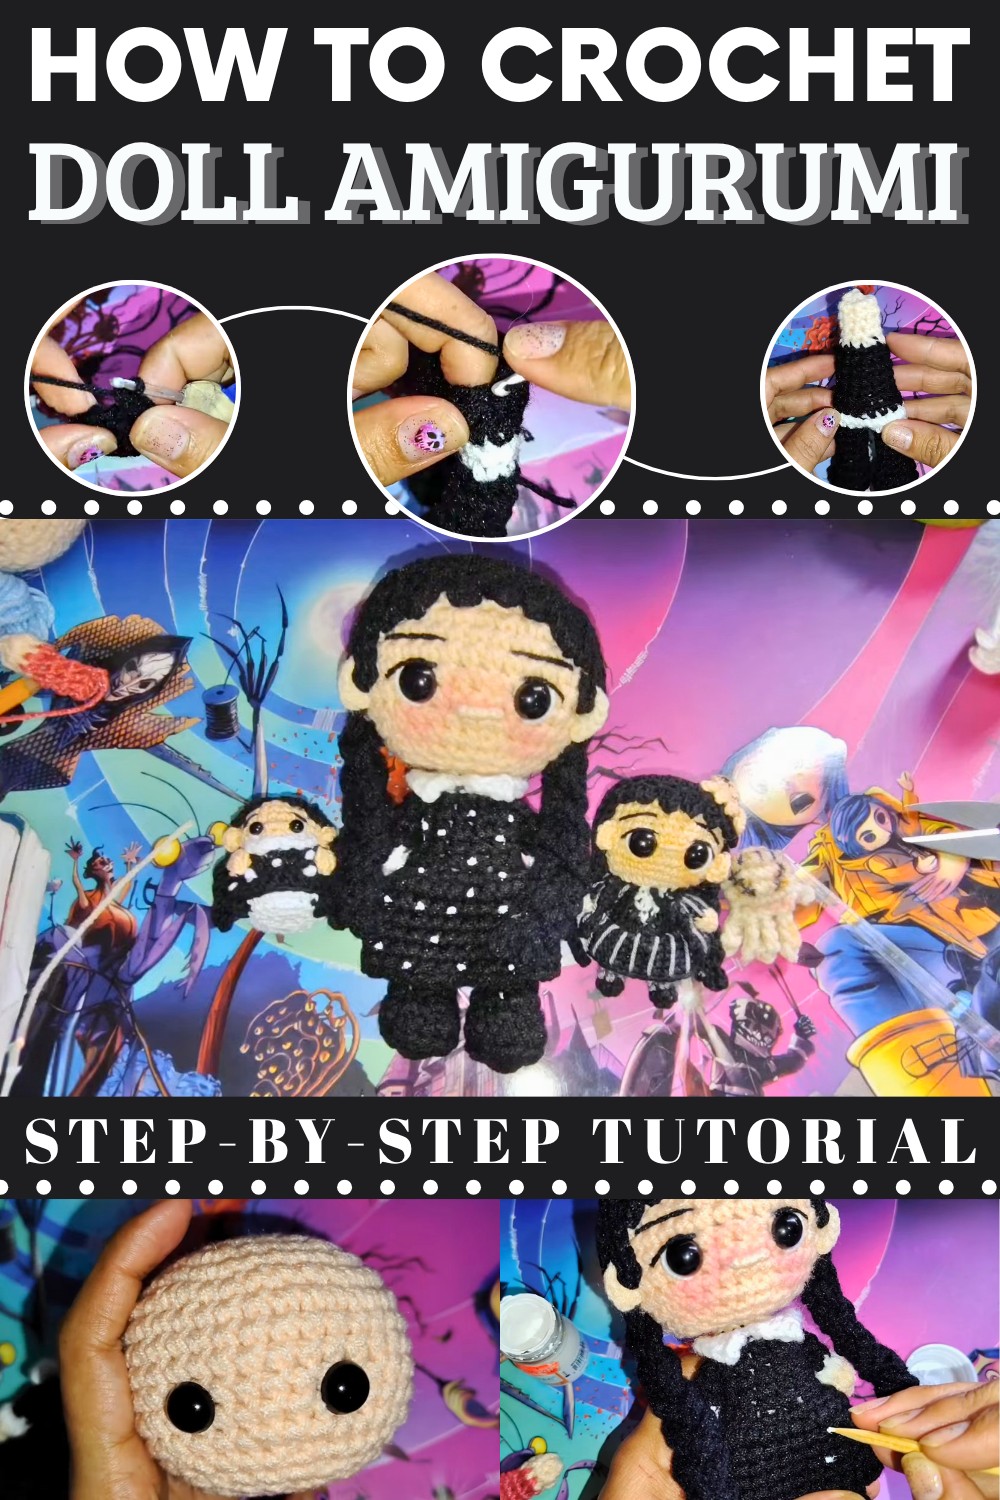
The general feature of the pattern lies in its modular build: begin with the body, then add separate limbs and head pieces, and finally finish with hair or clothing embellishments to personalize your amigurumi. Each finished doll carries a handmade charm that stands out on the shelf, comforts as a soft companion, and showcases your crochet skill. Whether you make it for yourself or bring joy to someone else, this crochet doll project turns yarn into something meaningful and memorable.

Crochet Amigurumi Doll Pattern
Materials List
- Yarn:
- Black (main body, hair)
- White (panties, collar, stripes, and dress dots)
- Skin tone (head, hands, neck)
- Orange, red (optional scars/accent)
- Hook: 2.0 mm or to match yarn weight
- Stuffing: Poly-fil or similar fiberfill
- Scissors
- Yarn needle
- Stitch markers
- Permanent markers/fabric markers (for face/scars, optional)
- Hot glue (optional, for braids/attaching details)
Key Abbreviations
| Abbreviation | Explanation |
|---|---|
| st(s) | stitch(es) |
| ch | chain |
| sc | single crochet |
| sl st | slip stitch |
| hdc | half double crochet |
| dec | single crochet decrease |
| inc | single crochet increase (2 in 1) |
| BLO | back loop only |
| FLO | front loop only |
| MR | magic ring (adjustable ring) |
Special Notes
- Work in continuous rounds unless otherwise specified.
- Mark the first stitch of each round.
- Stuff as you go for best results.
- For colorwork (stripes, white dots), carry unused yarn inside stitches or use a needle to surface-embroider/attach after.
Pattern Instructions
Legs (Make 2)
Work the following twice:
- With black yarn:
- Round 1: MR, 6 sc (6)
- Round 2: 6 inc (12)
- Round 3: BLO, 1 sc in each st (12)
- Round 4: sc in next 3, 3 dec (making foot), finish round with 3 sc (9)
- Round 5: sc in next 3, 1 dec, 4 sc (8)
- Rounds 6–9: sc in each st (8)
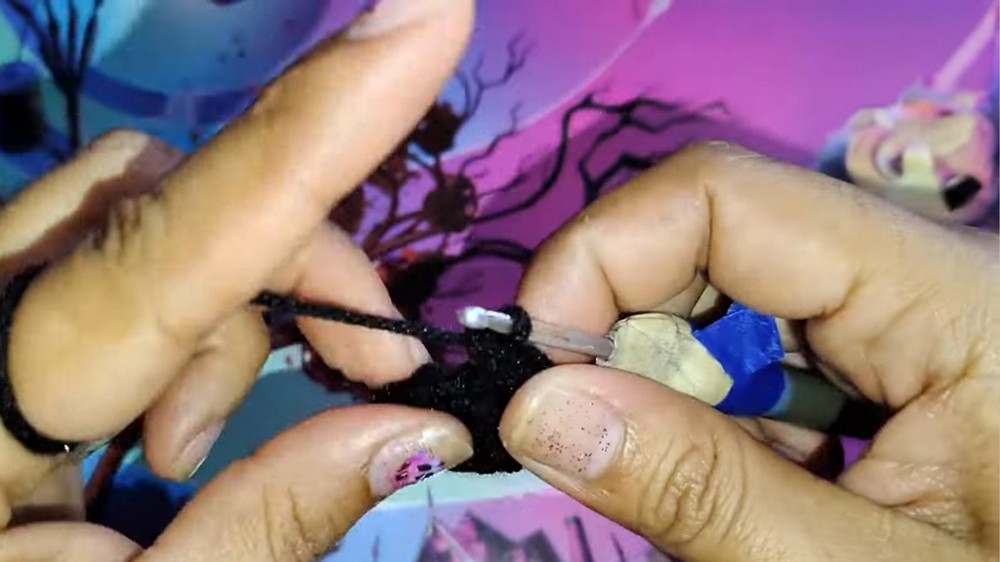
Finish off first leg. On SECOND leg, do not cut yarn—continue to Body.
Joining Legs/Body Base
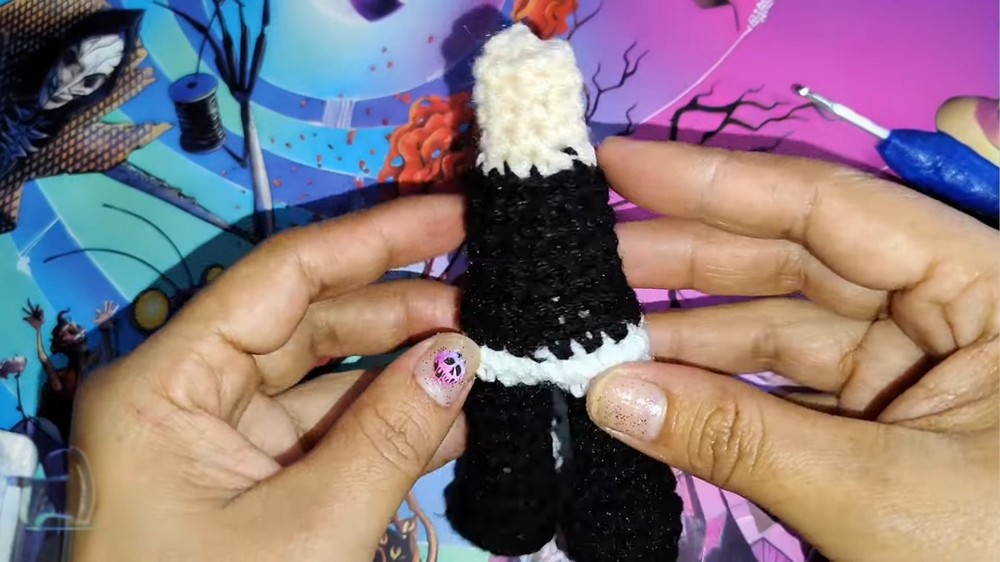
- Add white yarn for panties:
- Ch 1, join legs: pick up both legs, sc into center st of first leg, sc in each st of first leg (8), 1 sc in ch, sc in each st of second leg (8), 1 sc in ch. (18 sts)
- Round 10: (White): sc in each st around (18)
- Round 11: (White): sc in each st around (18)

Upper Body
- Switch to black yarn:
- Round 12: sc in each st around (18)
- Round 13 (BLO): [sc, dec] around (12)
- Begin stuffing now!
- Rounds 14–17: sc in each st around (12)
Neck
- Switch to skin color:
- Round 18 (BLO): [sc, dec] around (8)
- Rounds 19–21: sc in each st (8)
- Stuff as you go.
- Fasten off, leave a long tail for sewing. Sew closed using 6 decreases.
Arms (Make 2)
- With skin yarn:
- Round 1: MR, 6 sc (6)
- Round 2: sc in each st (6)
- Switch to white:
- Round 3: sc in each st (6)
- Switch to black:
- Rounds 4–5: sc in each st (6)
- Stuff lightly only up to the wrist, then flatten and sc through both sides to close arm (3 sc). Leave long tail for sewing.
Skirt
- Join white yarn to FLO from Body (where BLO was worked):
- Round 1: (sc, inc) around (27)
- Rounds 2–7: sc in each st around (27)
- Finish off, weave in tail.
Collar
- With white:
- Ch 9, turn
- 3 sc, 2 hdc inc, 2 dc inc, [picot (ch 2, sl st at base)], 2 dc inc, 2 hdc inc, 3 sc.
- Finish off. Attach around the neck area as a decorative collar.
Head
If you want to match the rest of your dolls or Merida’s head:
- Round 1: MR, 6 sc (6)
- Round 2: 6 inc (12)
- Round 3: (sc, inc) around (18)
- Round 4: (2 sc, inc) around (24)
- Round 5: (3 sc, inc) around (30)
- Round 6: (4 sc, inc) around (36)
- Rounds 7–14: sc in each st (36)
- Round 15: (4 sc, dec) around (30)
- Round 16: (3 sc, dec) around (24)
- Round 17: (2 sc, dec) around (18)
- Round 18: (sc, dec) around (12)
- Stuff, close, finish.

Ears (Make 2)
- Attach skin yarn, count stitches on head, insert through location with tapestry needle.
- Using hook, work 6 sc into the loops just placed, sl st, ch 1.
- Pull tight, tie and hide yarn end.
Nose
- Use a piece of skin yarn, embroider over 2–3 sts to make a small raised line as a nose.
Eyes/Eyebrows/Facial Features
- Use black yarn or embroidery floss to embroider a straight-line mouth, eye details, and straight/angled eyebrows as shown.
- Add “light” to the eyes with a small stitch of white yarn.
- Optional: Add blushing or details with fabric marker if desired.
Hair
- Sideburns:
- Ch 6, sc back (5); sew in place.
- Braids:
- Ch 25, sc back (24); make 3 strands per braid.
- Braid and attach to head sides.
- Back cap/Strands:
- Ch 9, 8 hdc back. Attach as soft “nape” at back head, work characteristically flat.
- Short front fringe/part:
- Add 2–3 small chain rows as shown in video to front for texture.
Assembly of braids: Use a dab of glue at the ends of the braids for a neat finish.
Wednesday’s Hands “Thing” Accessory (Optional)
- Ch 5, turn. 4 sl st back. Repeat 3 more times (for 4 fingers).
- Ch 4, 3 sl st back (for thumb).
- Now, work along the “base” of the fingers in FLO: [sc in next 3, inc], repeat across (for about 9 sc).
- Rounds 2–3: sc in each st around.
- Round 4: (sc in 4, dec)
- Stuff lightly, decrease, weave end.
- Add “scars” and “staples” with embroidery floss or permanent marker.
- Use orange/red for accent marks if desired.
Dress/Finishing Touches
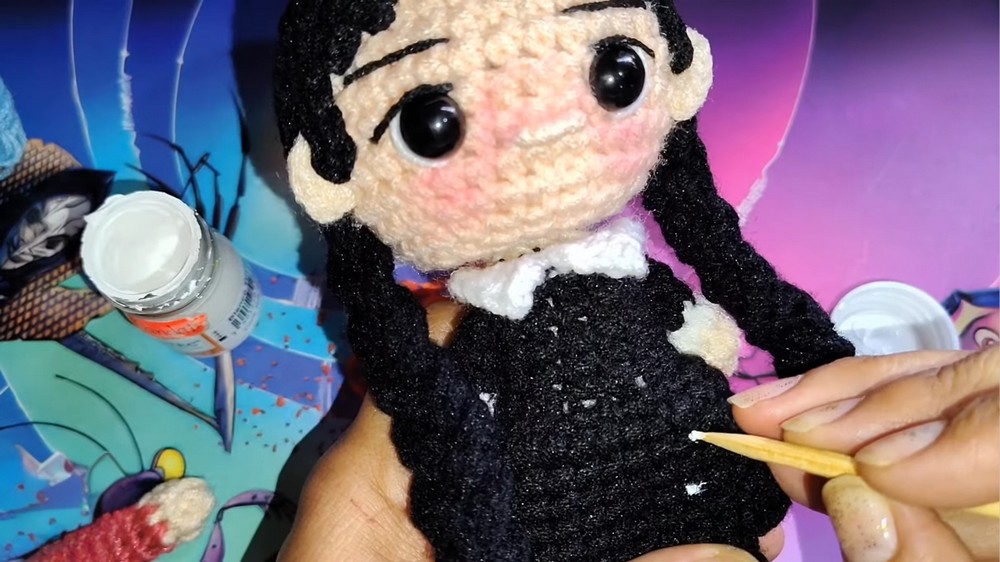
- Add small white dots to the dress surface with fabric paint or needle and yarn.
- Apply orange/red highlights for scars as desired.
- Stitch arms in place, sew head to body.
Pattern Correction
- If your stitch count on the skirt does not match, adjust by adding/removing an increase in the first skirt round.
- For ears, if the shape is not as desired, add a second “row” of 6 sc for larger ears.
- The collar can be made longer by increasing ex-chains for a looser fit.
Tips
- Use a stitch marker; black yarn is hard to see!
- Add all embroidered or glued details (dots, scars, etc.) after final assembly and before final photographs.
- Shape braids neatly and affix ends for the neatest appearance.
- For display, you may pin “Thing” on the head or shoulder, whichever you prefer.
Conclusion
With its unique features—braided hair, iconic collar, and even “Thing”—your Wednesday Addams amigurumi will have character and charm. Add your own touches with stripes, polka dots, or “scars” and enjoy bringing this spooky-sweet doll to life.