
Amigurumi Merida Free Crochet Pattern for Plush Dolls
Keep your crochet skills growing with the Free Crochet AMIGURUMI MERIDA Pattern, an engaging way to create a beautiful and inspiring character effortlessly.
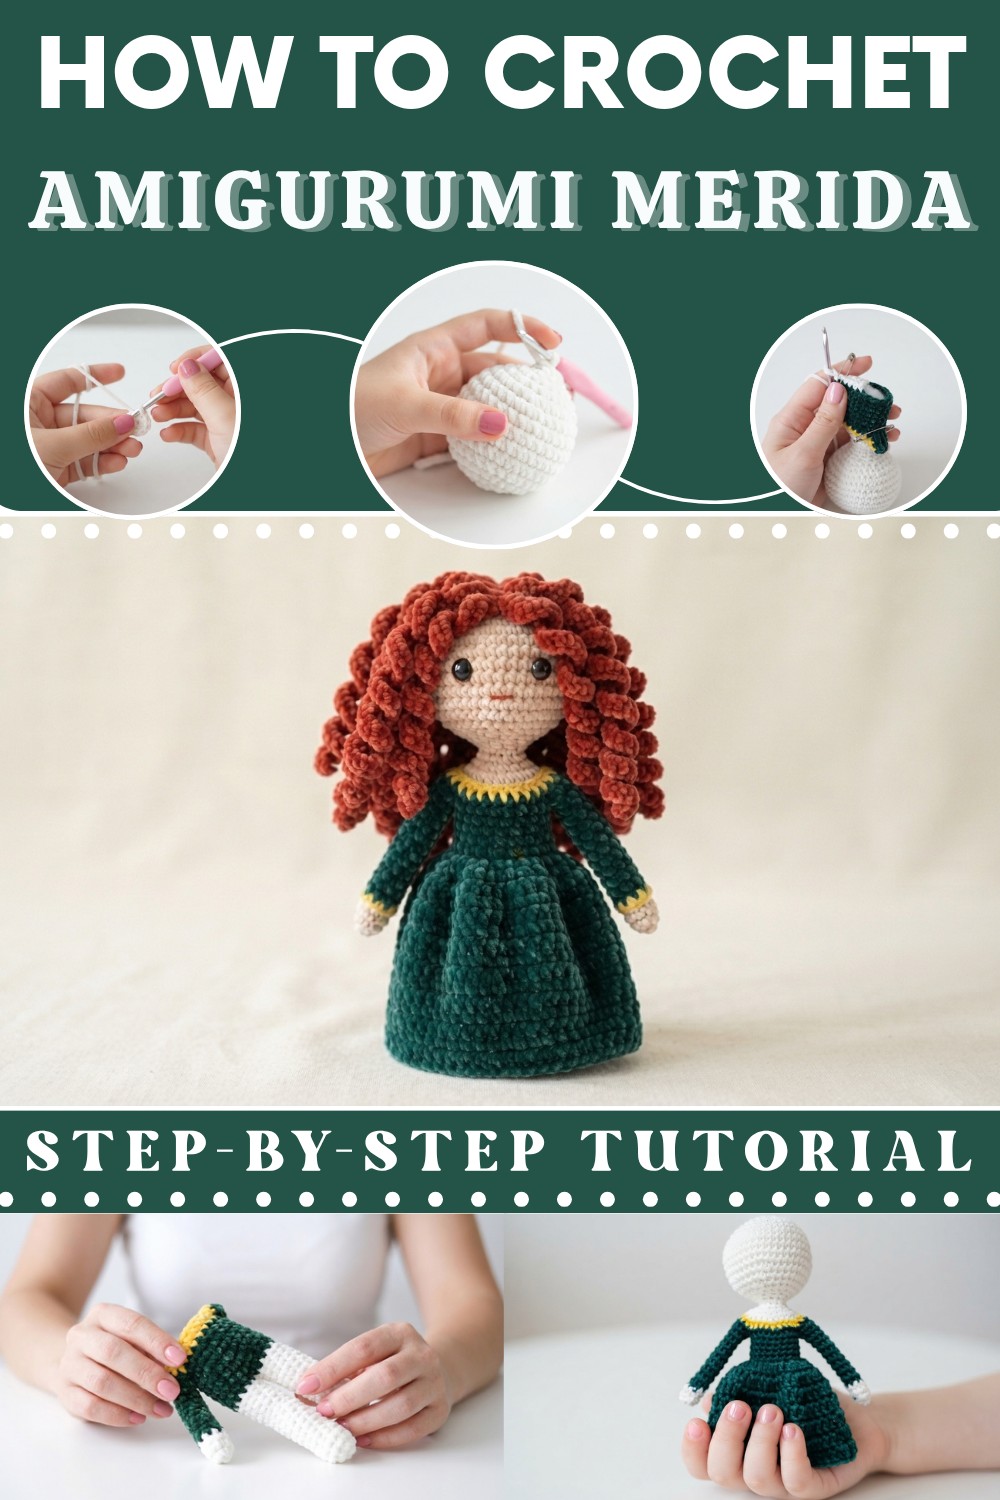
Making handmade toys has always been one of my favorite ways to relax and get creative. One project that really caught my heart is the free crochet AMIGURUMI MERIDA pattern. This fun and cozy crochet doll is inspired by the brave princess Merida, and it’s perfect for anyone who loves amigurumi, Disney characters, or just cute, handmade gifts.
Free Crochet Amigurumi Merida Pattern for Disney Fans
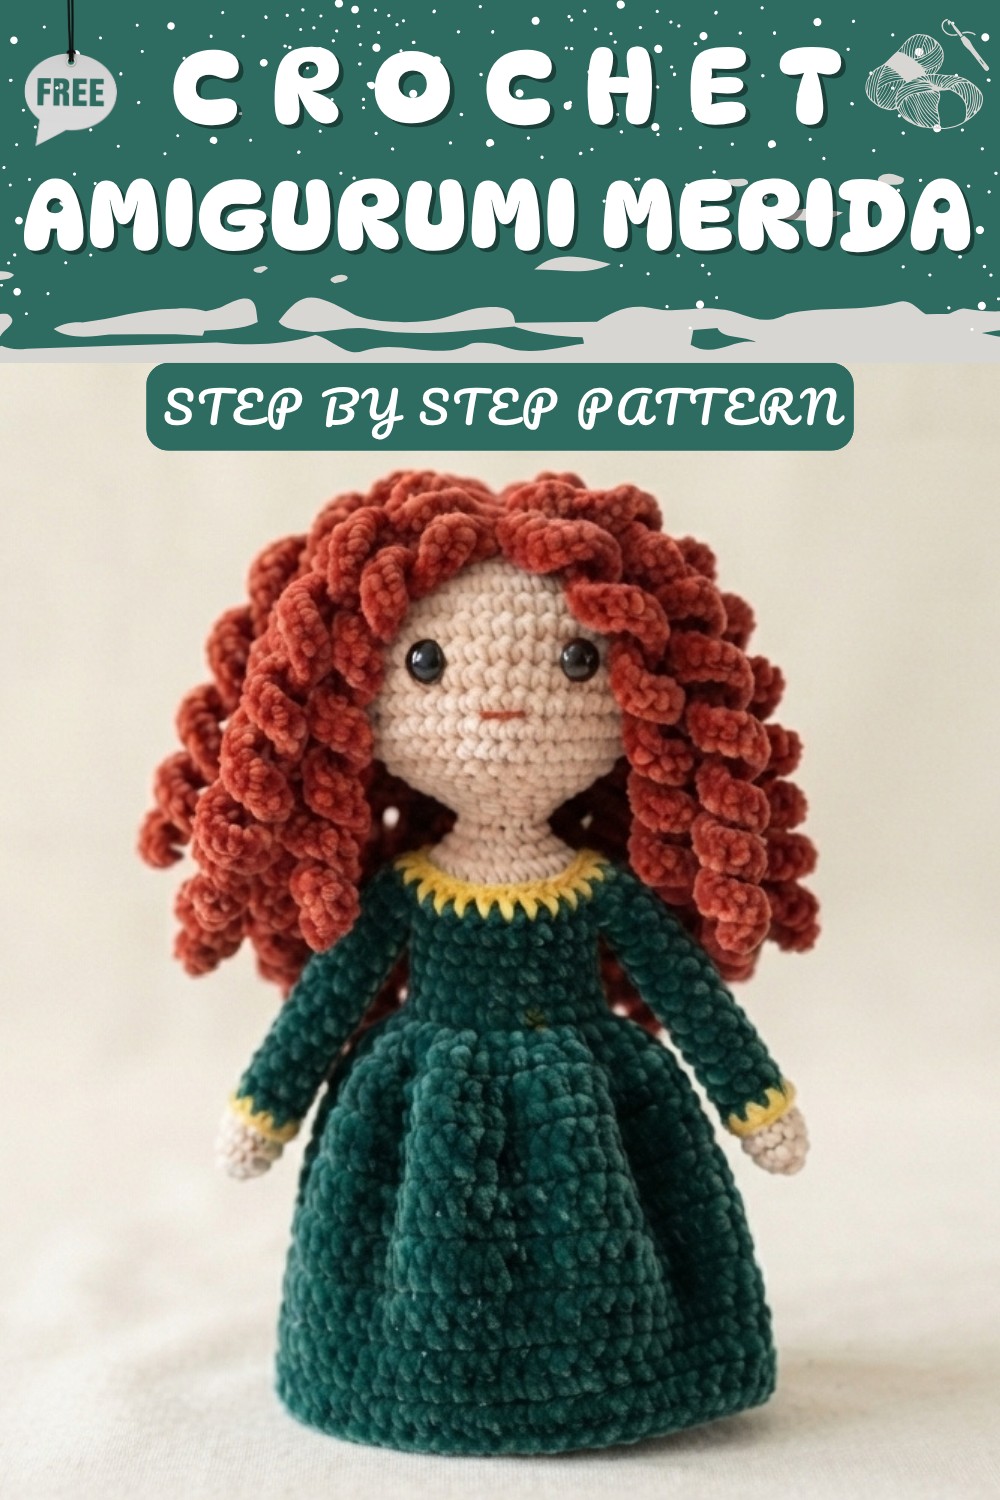
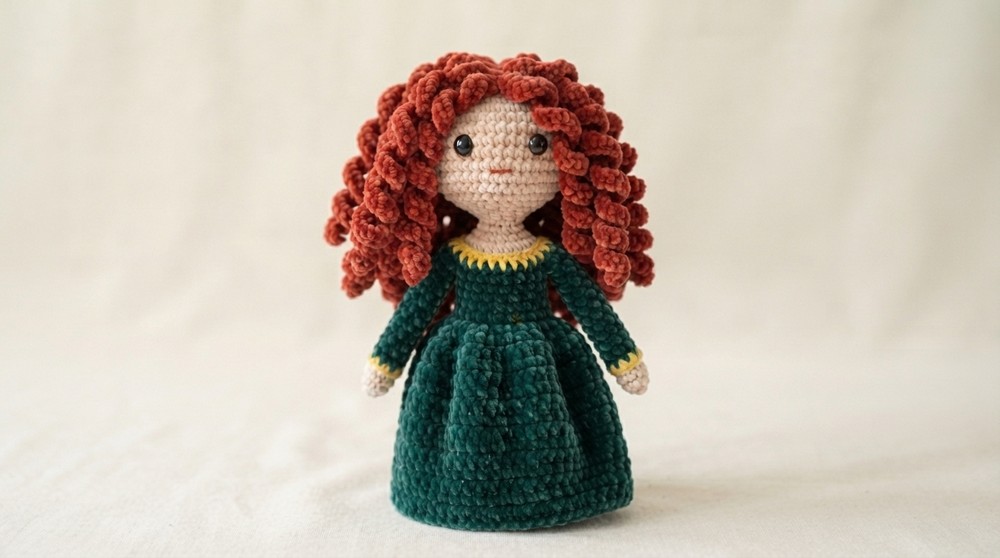
The Merida amigurumi is charming with its bright curly hair and fierce yet sweet expression. The doll is soft and cuddly with a firm crochet texture that holds its shape well. It features a lovely round face, a small body dressed in her signature green outfit, and beautifully detailed hair that makes this doll stand out. Its size makes it a great decoration for your room or a cute companion you can carry with you. The style is simple but eye-catching, capturing the spirit of Merida in an easy-to-love form.
This pattern is great for beginners and those at an intermediate level because it mostly uses simple single crochet stitches worked in rounds. You’ll get to practice basic shaping and color changes to bring out Merida’s details. The instructions are clear and easy to follow, so even if you’re new to amigurumi, you can create this lovely doll step by step.
If you’re looking for a meaningful gift, a unique collectible, or a pretty decoration, the free crochet AMIGURUMI MERIDA pattern is an excellent choice. It’s enjoyable to make and will give you a sense of pride when finished. Give this pattern a try — it might be exactly what you need for your next crochet adventure.
Amigurumi Merida Doll Crochet Pattern
Quick Overview Of Pattern
- Head and body are crocheted in one piece, from top to bottom.
- The pattern uses continuous rounds of single crochet, with strategic increases and decreases for shaping.
- Color changes are used to separate skin, shirt (yellow/white), and dress (dark blue).
- Partition is made for arms and legs, which are worked separately and then attached.
- Pipe cleaner or toy stuffing may be used inside limbs.
- The skirt is crocheted onto the body, working into front loops only.
- Hair is added last (tutorial referenced in video, not included here).
Notes
- Use a safety pin or stitch marker to keep track of your rounds.
- The pattern is worked in a spiral; do not join rounds unless stated.
- Color changes are made by completing the last stitch of the current color with the new one.
- The arms and legs are worked onto the main body after partition.
- Insert pipe cleaner or stuffing before closing arms and legs for poseable/flexible limbs.
Skill Level
Confident Beginner
- Must know how to crochet in rounds, increase, decrease, color change, and basic seaming.
Materials
- 3.0 mm crochet hook
- Cotton yarn: dark green, yellow/white, skin tone, dark orange (for hair)
- Toy stuffing
- Safety eyes for dolls
- Needle
- Scissors
- Safety pin/stitch marker
- Pipe cleaners (optional)
Measurements / Sizing
- Height: About 18–20 cm (7–8"), using listed materials and hook.
Gauge
- Not crucial for amigurumi. Work with tight stitches to avoid the stuffing showing.
Stitch Abbreviations
| Abbreviation | Meaning |
|---|---|
| MR | Magic ring |
| sc | Single crochet |
| inc | Increase (2 sc in same st) |
| dec / inv dec | Decrease (invisible decrease, sc2tog) |
| st(s) | Stitch(es) |
| ch | Chain |
| sl st | Slip stitch |
| dc | Double crochet |
| FLO | Front loop only |
| BLO | Back loop only |
Special Stitches
Invisible Decrease (inv dec):
Insert hook in the front loop of the next two stitches, yarn over, pull through both front loops, yarn over, pull through both loops on hook.
The Crochet Pattern
Head
Skin tone yarn
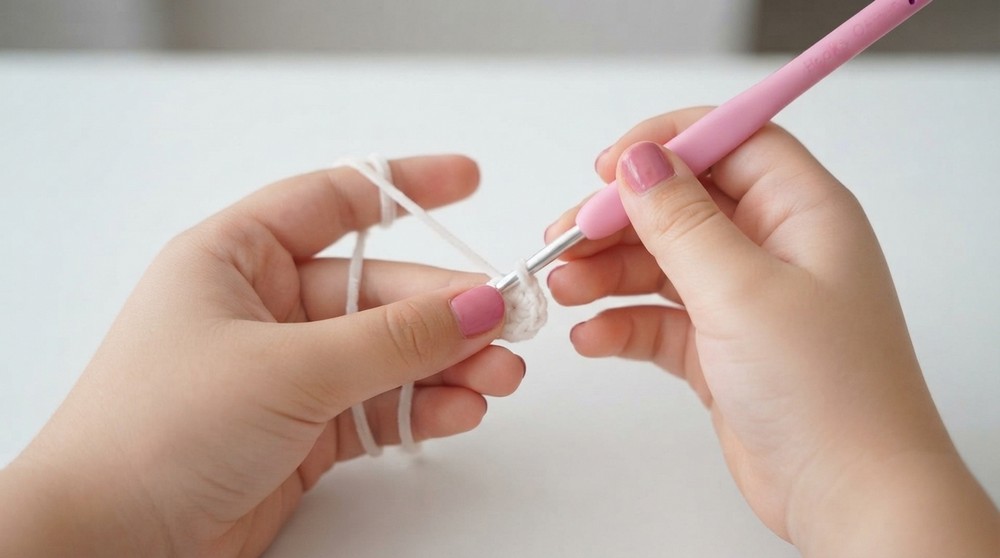
- MR, ch 1.
- Rnd 1: 6 sc in ring (6).
- Rnd 2: inc in each st around (12).
- Rnd 3: (sc 1, inc) x6 (18).
- Rnd 4: (sc 2, inc) x6 (24).
- Rnd 5: (sc 3, inc) x6 (30).
- Rnd 6: (sc 4, inc) x6 (36).
- Rnd 7: (sc 5, inc) x6 (42).
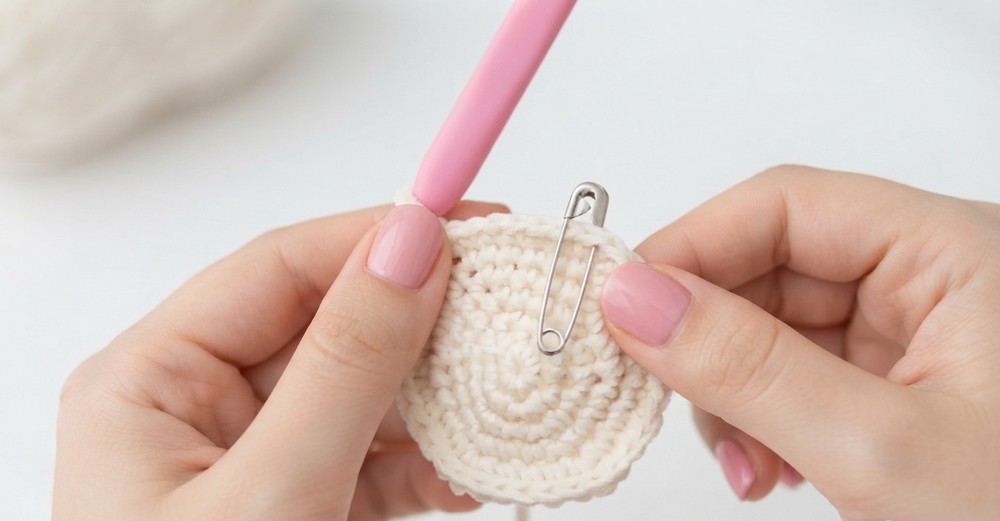
Face & Head Sides
- Rnds 8–12: sc around (42 st, 5 rounds).
Shape Head for Neck
- Rnd 13: (sc 5, inv dec) x6 (36).
- Rnd 14: (sc 4, inv dec) x6 (30).
- Rnd 15: (sc 3, inv dec) x6 (24).
- Add stuffing.
- Rnd 16: (sc 2, inv dec) x6 (18).
- Rnd 17: (sc 1, inv dec) x6 (12). Add more stuffing.
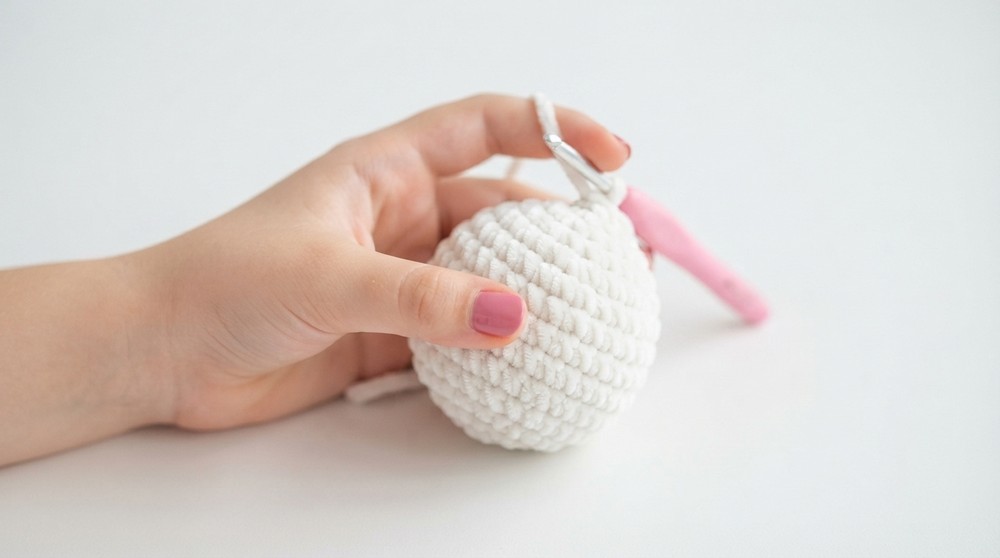
Neck
- Rnds 18–20: sc around (12). (3 rounds)
Body Top
- Rnd 21: (sc 1, inc) x6 (18).
- Rnd 22: (sc 2, inc) x6 (24).
Color change to yellow or white on last st of previous round.
- Rnd 23: (sc 3, inc) x6 (30). Cut skin tone yarn.
Color change to dark blue on last st of previous round.
- Rnd 24: (sc 4, inc) x6 (36).
Body & Arm Partition
- Fold work in half to find sides for arms (place markers). On each side, mark off 8 sts for each arm (both left and right), leaving 20 sts for the body (centered front and back).
- Rnd 25–29: sc around body sts only (20 st, 5 rounds).
Hips/Skirt Base
- Rnd 30 (BLO): sc around (20).
- Rnd 31: sc around (20).
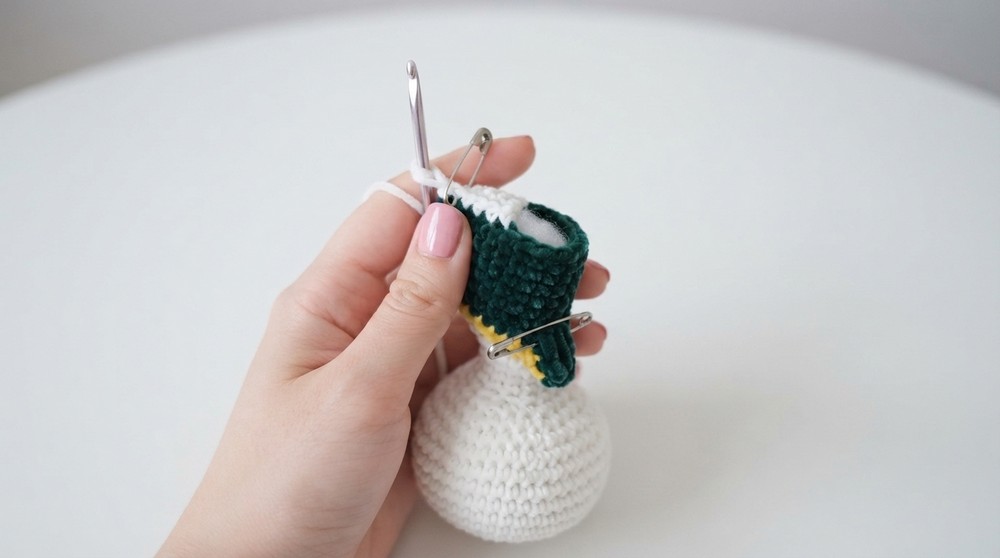
Stuff Body Well
Legs (make two, join skin tone yarn at partition)
- Count and separate 10 sts for each leg.
For each leg:
- Rounds 1–15: sc around (10). (15 rounds) (Don’t forget to cut dark blue yarn and switch to skin tone at start.)
- Insert pipe cleaner or stuffing, then sew closed and weave in end.
Arms (Make two, start in armhole with dark blue)
- Join dark green yarn, ch 1 (not counted).
- Rnd 1: sc in each of 8 armhole sts. (8)
- Rnd 2–11: sc around (8). (10 rounds of dark blue)
- Switch to skin tone yarn.
- Rnds 12–13: sc around (8) (2 rounds)
- Insert pipe cleaner/stuffing, sew closed and weave in end.
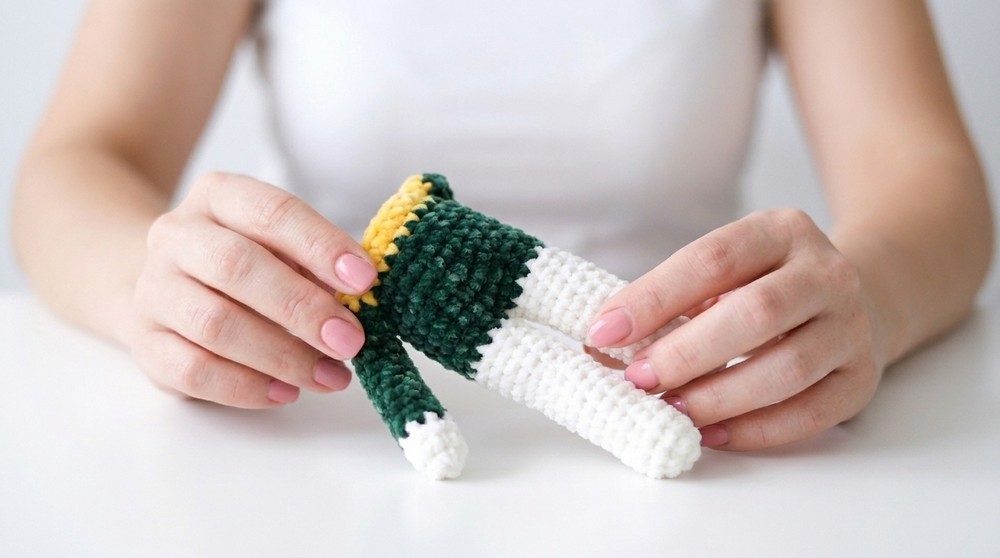
Skirt (Dark Green, work into the front loops left at Round 30)
- Join yarn at any FLO, ch 2 (not counted in stitch count).
- Rnd 1: dc in same st as ch-2, (inc dc in next st), dc in next st, inc dc in next repeat around (should have 30 dc).
- Sl st to top of first dc.
- Ch 2, (dc in next 2 sts, inc dc in next st) repeat around (ends with ~40 dc). Sl st to join.
- Ch 2, (dc in next 3 sts, inc dc in next) repeat around (ends with ~50 dc). Sl st to join.
- Ch 2, dc in each st around (work even), sl st to join.
- Work as many even rounds as necessary until the skirt reaches feet (video: 5 rounds total).
- Fasten off and weave in ends.
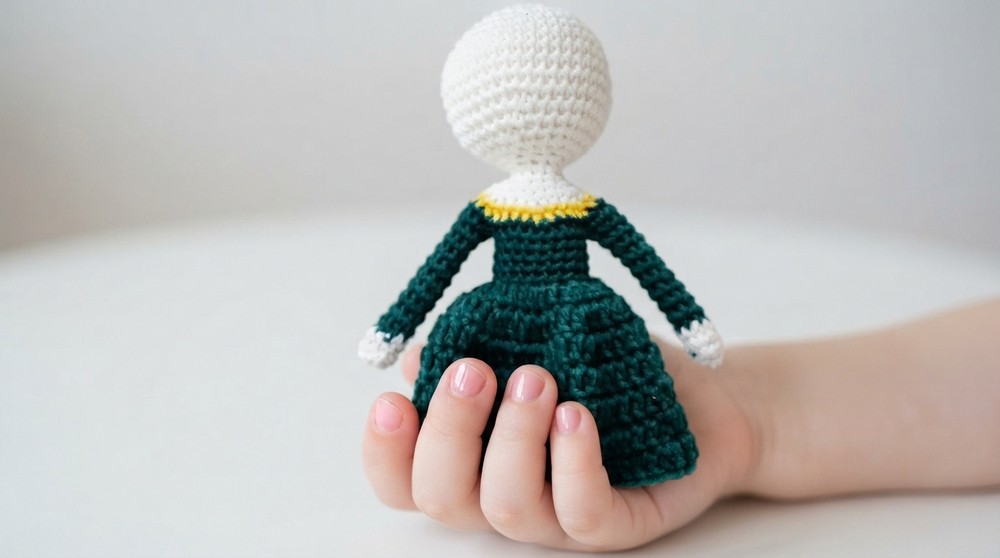
Assembly & Finished Size
- Weave in all ends.
- Add stuffing to arms and legs and close neatly.
- Attach the arms securely to the body at the partition.
- The finished doll is around 18–20 cm (7–8") tall.
- Add safety eyes, sew or embroider mouth/nose as desired.
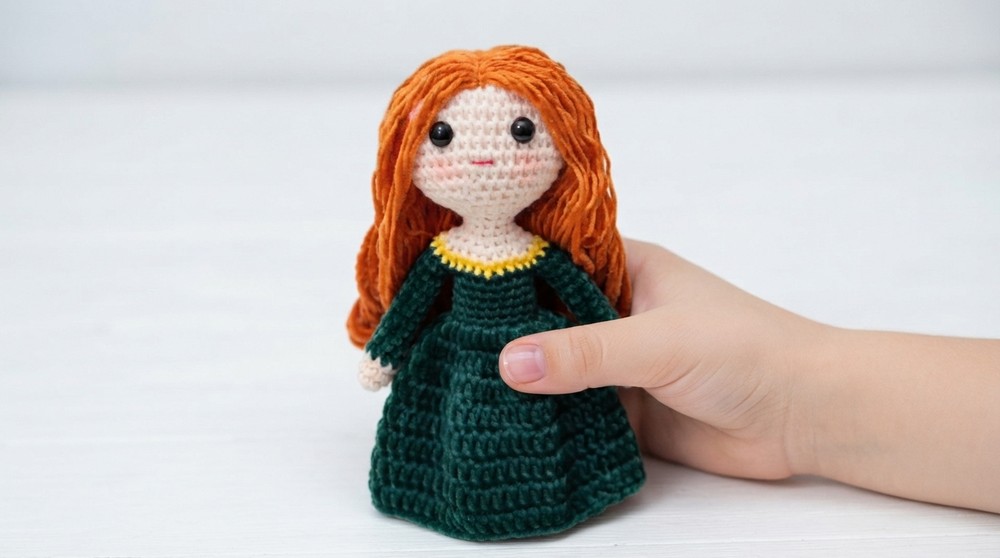
Conclusion and Ending Words
Here is the final look of our amigurumi Merida! It’s very easy to make, guys. I hope you will give it a try.