
Unique Free Crochet Mulan Doll Pattern for Décor Accents
Bring courage and charm to life with this Free Crochet Mulan Doll Pattern, perfect for handmade gifts, collectibles, or playful décor accents.
A soft sense of bravery comes alive as you stitch a miniature hero full of character and charm. The free crochet Mulan doll pattern carefully guides you through creating her signature outfit, flowing hair, and expressive features, offering a rewarding project for crocheters of all levels. Perfect for collectors, children’s play, or as a standout handmade gift, this doll combines visual appeal with practical use.
Free Crochet Mulan Doll Pattern That Brings Heroic Charm

The pattern emphasizes intricate details, from her determined facial expression to textured elements in her clothing, while allowing flexibility with yarn colors and small personal touches. Beyond its visual charm, working on this project encourages patience, fine motor skills, and a sense of accomplishment, making it a fulfilling activity for hobbyists.

This free crochet Mulan doll pattern provides clear step-by-step guidance while leaving room for personalization, blending creativity with the satisfaction of producing a tangible, beautifully crafted figure. By the time your doll is complete, you’ll have a charming, one-of-a-kind piece that captures the spirit and strength of a beloved character.
Crochet Mulan Princess Amigurumi Pattern
Materials
- Yarn (Category 2 or 3, DK/light worsted recommended):
- Black (shoes, hair)
- Flesh/skin color
- Yellow (dress bodice)
- Green (jacket/overdress, neck detail)
- Blue (skirt hem, sash)
- White (flower)
- Crochet hook: #3 mm (adjust for yarn weight & tight fabric)
- Stuffing:
- Yarn needle: For sewing and embroidery
- eyes
- Scissors
- Stitch marker
Key Abbreviations
(US Terminology)
- MR – Magic Ring
- ch – Chain
- sc – Single Crochet
- inc – Increase (2 sc in same st)
- dec – Decrease (sc2tog)
- sl st – Slip Stitch
- hdc – Half Double Crochet
- blo – Back Loops Only
- flo – Front Loops Only
- st/sts – Stitch(es)
- rep – Repeat
Special Notes
- The head pattern is not detailed here; it is the same as the Merida princess (refer to previous pattern or use your standard amigurumi head).
- Work in continuous rounds unless otherwise instructed; use a stitch marker to mark the beginning of each round.
- Stuff moderately firm as you go.
- Strands for hair and sashes are custom-fitted to your doll; adjust number of chains as needed.
Step-by-Step Pattern
Feet & Legs (Make 2)
With black yarn (shoes):
- Round 1: MR, 6 sc in ring. (6)
- Round 2: Inc in each st around. (12)
- Round 3 (blo): Sc in each st around. (12)
- Round 4: Sc in next 3 sts, dec in next 3 sts, sc in next 3 sts. (9)
- Round 5: Sc in next 3 sts, dec in next st, sc in next 4 sts. (8)
- At end of round, change to flesh color:
- For spiral rounds: finish last black st with flesh color.
- For joined rounds: join with sl st in flesh, ch 1 to start next round.
- At end of round, change to flesh color:
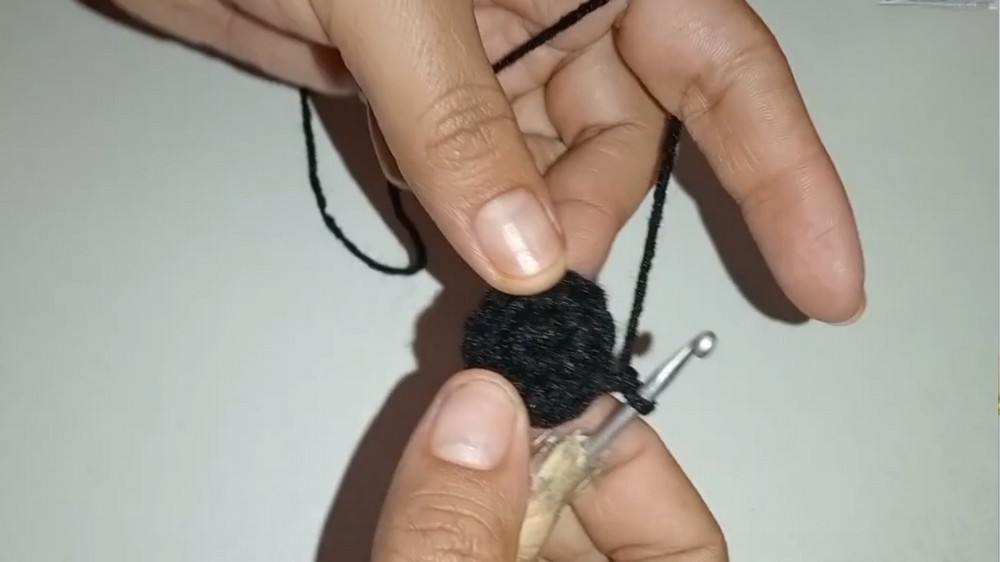
With flesh/skin color:
6. Round 6: Sc in each st around. (8)
- Round 7: Sc in each st around. (8)
- Finish off, cut yarn. Stuff the leg/foot firmly.
Make second leg in the same manner.
Body
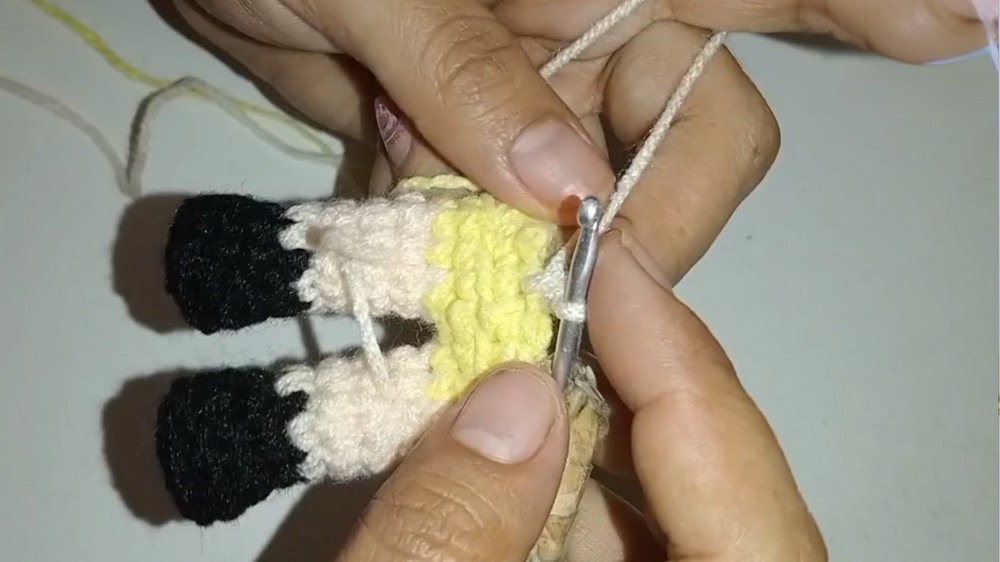
Join legs with yellow yarn (dress bodice):
- Place legs side by side. Join with yellow yarn at the center.
- Ch 1.
- Round 8: Sc around first leg, sc in chain joining to second leg, sc around second leg, sc in joining chain on opposite side. (18 sts: 8 sts per leg + 2 across joining chain)
- Round 9: Sc in each st around. (18)
- Round 10 (blo): Sc in each st around. (18)
- Rounds 11: Sc in each st around. (18)
- Round 12 (blo): Sc in each st around. (18)
- Round 13: Change to flesh/skin color. (For a cleaner color change, finish previous st in new color)
- Alternate sc, dec around. (12 sts)
- Rounds 14–16: Sc in each st around. (12 per round)
Round 17: Change to yellow. Sc in each st around. (12)
Finish off, stuff as you go.
- Round 18: Decrease for neck. (sc, dec around: 8 sts)
- Rounds 19–21: Change to flesh color, sc in each st around. (8)
Finish stuffing. Leave a long tail. Cut yarn.
Arms (Make 2)
With flesh color:
- Round 1: MR, 6 sc. (6)
- Round 2: 6 sc. (6)
- Round 3: Change to green, 6 sc. (6)
- Rounds 4–6: 6 sc. (6)
- Stuff lightly (do not overstuff).
Flatten arm, sl st or sew across the top to close, making 3 sc to seam. Leave long tail for sewing. Sew to upper sides of body.
Attach Head
- Sew (or glue) head to neck/body using tail from body or head.
- If desired, add extra stuffing for a firm finish before closing seam.

Jacket/Overdress (Green)
With green:
- Ch 18.
- Row 1: Skip 2, sc in each of next 9 ch, ch 2, skip 2, sc in last 2 ch. (You form 2 small slits for armholes or shaping.)
- Row 2: Ch 1, turn, sc in each st (including ch-2 spaces). (17)
- Rows 3–6: Ch 1, turn, sc across (17).
- Fasten off.
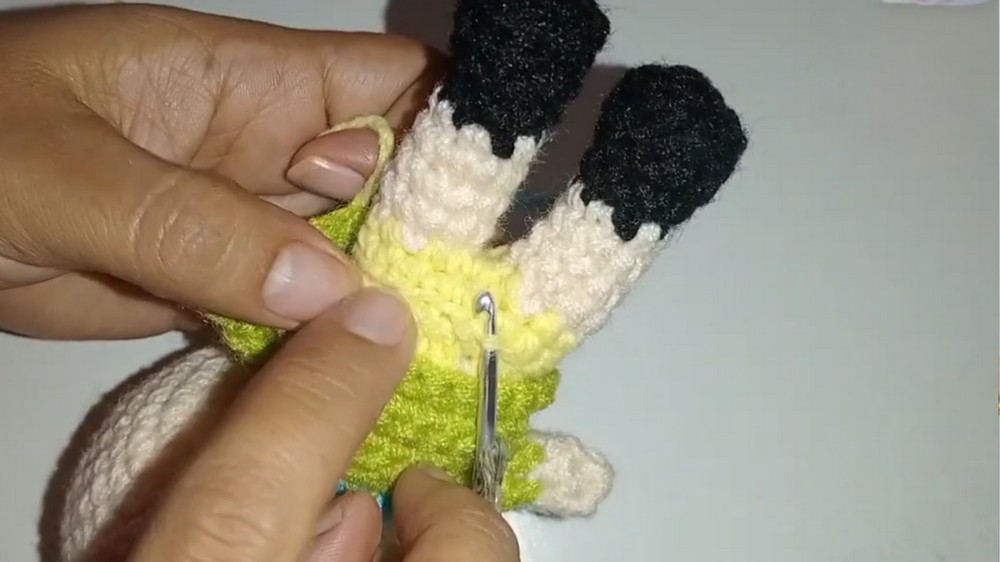
Blue Edge:
- Join blue at top of one short side. Sc all around vest, except lower edge.
- Place 2 sc at each outer corner to round.
- Fasten off, weave in ends.
- Fit vest/overdress to doll and glue/sew as needed.
Skirt
Return to remaining BLO on body/yellow round:
- Round 1: Join green (or other skirt color), sc in each st around. (18)
- Round 2: Inc in every third st: (sc 2, inc) around. (24)
- Rounds 3–8: Sc in each st around. (24)
- Fasten off, weave in end.

Sash/Belt
With blue (waist sash, make 2):
- Ch 23 (fit to waist as needed).
- Row 1: Sc in each ch across. (22)
- Rows 2–4: Ch 1, turn, sc across. (22)
- Fasten off, hide ends.
- Sew/glue around waist, overlapping ends at back and front as shown in video for belt effect.
Hair
With black:
- Attach yarn at back of head. For hair strands:
- At each point along the hairline, Ch 22, turn, sl st or hdc in last 21 ch to the base (strand complete).
- Repeat around the hairline, skipping every other st if strands overlap too much (adjust for fullness).
- For center front tuft: Ch 6, sl st in 1st ch, sc in next, hdc in last 2 ch. Attach as a small tuft in the middle.
- Arrange and glue strands as necessary.
Flower (White)
- Magic ring, ch 3, sl st in ring – repeat 5 times for 5 petals.
- Pull tight, fasten off.
- Sew or glue to side of hair.
Assembly & Final Details
- Glue or sew remaining hair and flower in place.
- If desired, shape bangs/front strands with extra glue/pins.
- Smooth and style all hair strands down.
- Embroider facial details as desired (eyes, mouth, blush).
- Let dry/cool if using glue.
Conclusion
You have now created a Mulan-inspired amigurumi as part of the princess series! This adorable crochet doll is perfect for display or gifting. Feel free to personalize hair or embroidery for unique expression.
Pattern Correction
- If row/round counts do not match exactly when joining or finishing limbs, adjust by adding or skipping 1–2 sts or chains for clean attachment. Consistency and general shape are more important than exact stitch count, especially for accessories.
Tips
- Do not overstuff arms to keep them flexible and neat.
- For a professional finish, use glue sparingly on hair and accessories.
- Chains for dress/jacket/belt may be adjusted to fit your specific doll size.
- Use pins to hold accessories in place before final sewing/gluing.
- For the flower, you may use other colors (pink, red) if desired.