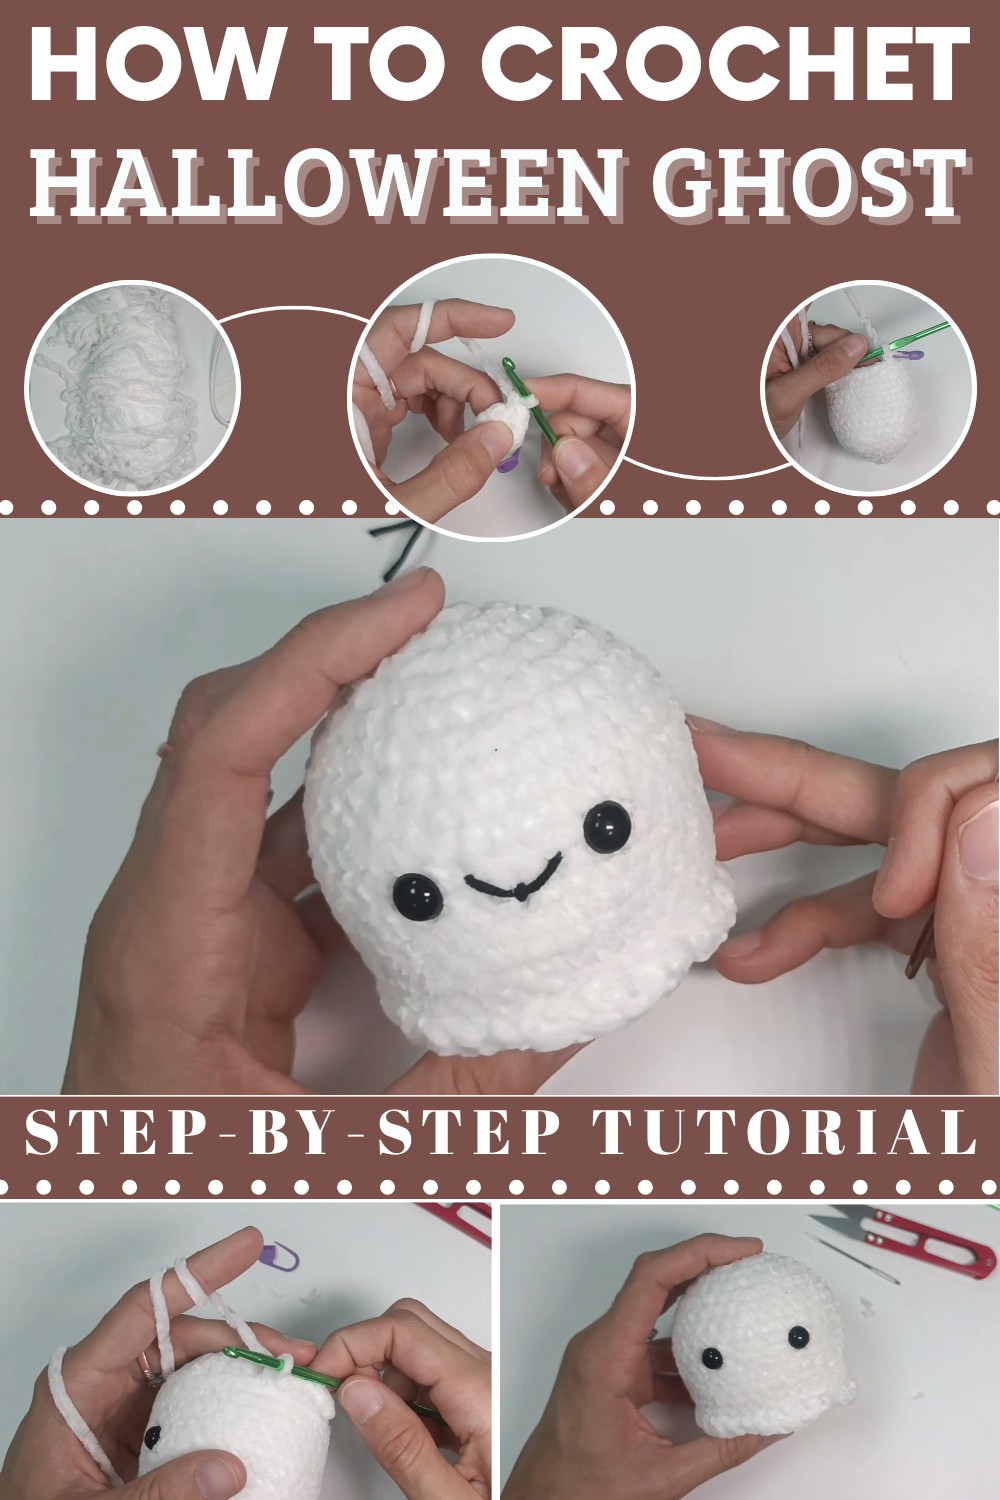
Cute & Spooky Crochet Halloween Ghost Amigurumi Pattern
Spook up your seasonal decor with a lovely crochet Halloween ghost pattern, perfect for cozy touches or unique gifts full of charm and personality.
This adorable handmade crochet ghost with soft, plush yarn creates a charming addition to your seasonal setup—whether perched on a shelf, hanging from door handles, or as an enchanting keychain or bag charm. It’s a delightful way to add uniqueness to your treats or bring soft, ghostly company into your home, blending whimsy with the charm of handmade crochet art.
Crochet Halloween Ghost Amigurumi
Crochet Ghost Pattern - Step-by-Step Guide
With Halloween approaching, this crochet ghost pattern is an exciting project to try! Using simple shapes, techniques, and materials, you can create a cute and spooky crochet ghost. This pattern is guided step-by-step, ensuring that even beginners can follow along successfully. The final result depends on consistent crochet and personalization, such as adding a little smile or turning the ghost into a keychain.
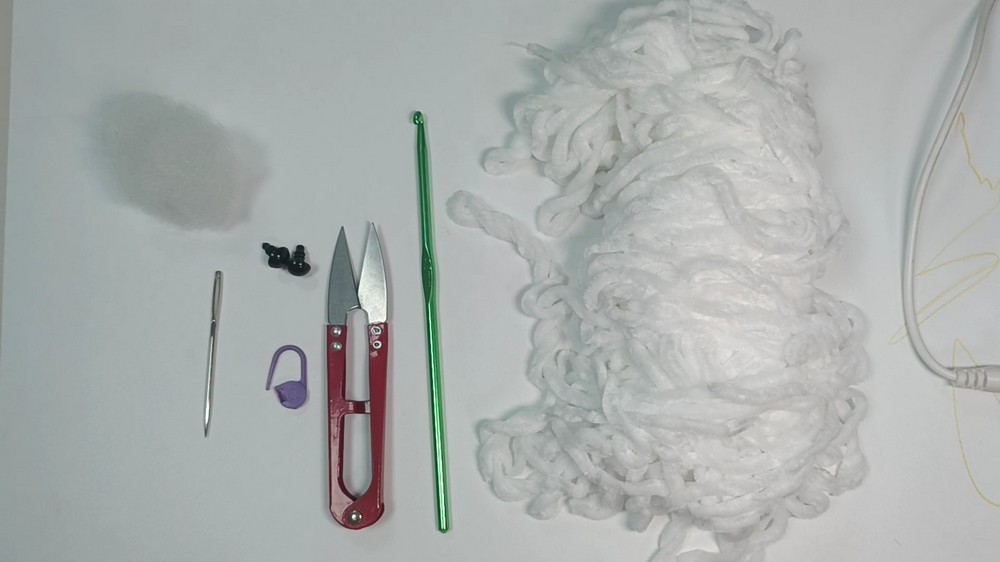
Materials Needed
To crochet the ghost, you’ll need the following materials:
- White plush yarn: Chenille thick yarn is recommended, but any plush yarn will work.
- Crochet hook: 4mm crochet hook (or size suitable for your yarn).
- Scissors
- Tapestry needle: For sewing and finishing.
- Stitch Marker: To keep track of the end of each row.
- Stuffing: Fiberfill to stuff the ghost.
- Safety Eyes: 8mm safety eyes (or other sizes depending on your preference).
- Black thin yarn (optional): For creating the ghost’s smile (only if desired).
- Optional: Keychain hook to turn the ghost into a bag charm or keychain.
Abbreviations of Stitches
Here are the crochet abbreviations you’ll need to know for this pattern:
- MR: Magic Ring
- SC: Single Crochet
- Inc: Increase (two SC in the same stitch)
- Dec: Decrease (regular or invisible decrease)
- HDC: Half Double Crochet
- DC: Double Crochet
- Sl St: Slip Stitch
- BLO: Back Loop Only
- FLO: Front Loop Only
Step-by-Step Pattern
Body (Main Part)
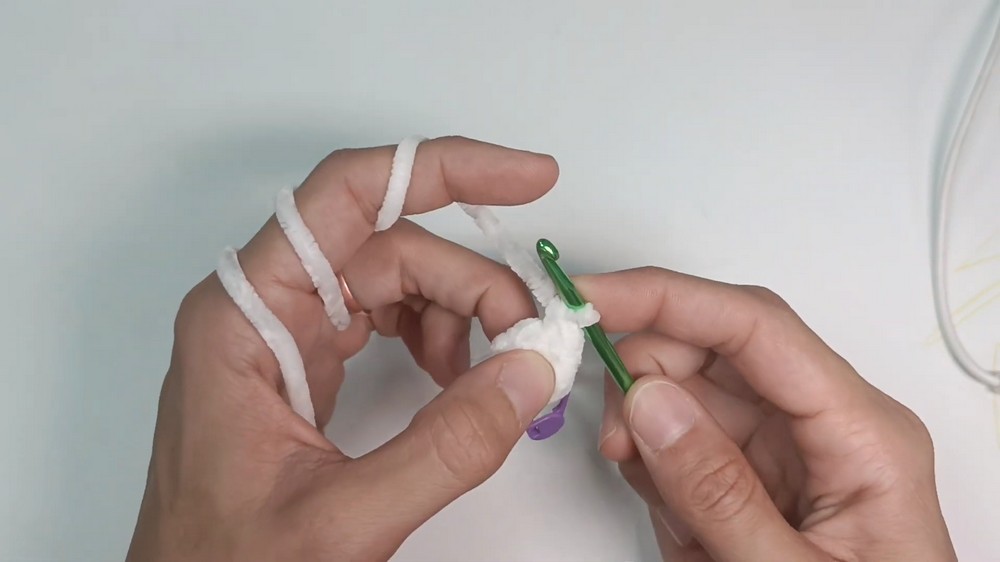
Rows 1–6: Expanding the Circle
- Row 1: Start with a magic circle. Make 6 SC into the loop. Pull the yarn tail tight to close the circle.
- Stitch Count: 6 stitches
- Use a stitch marker to mark the last stitch of the row.
- Row 2: Make 6 Inc (two SC into each stitch around).
- Stitch Count: 12 stitches
- Row 3: Alternate SC in the first stitch and Inc in the second stitch. Repeat this pattern 6 times.
- Stitch Count: 18 stitches
- Row 4: Start with Inc in the first stitch. Then, make SC in the next two stitches. Repeat this sequence for 6 times.
- Stitch Count: 24 stitches
- Row 5: Make SC in the first three stitches, followed by Inc in the fourth stitch. Repeat for 6 times.
- Stitch Count: 30 stitches
- Row 6: Make SC in the first four stitches, followed by Inc in the fifth stitch. Repeat for 6 times.
- Stitch Count: 36 stitches
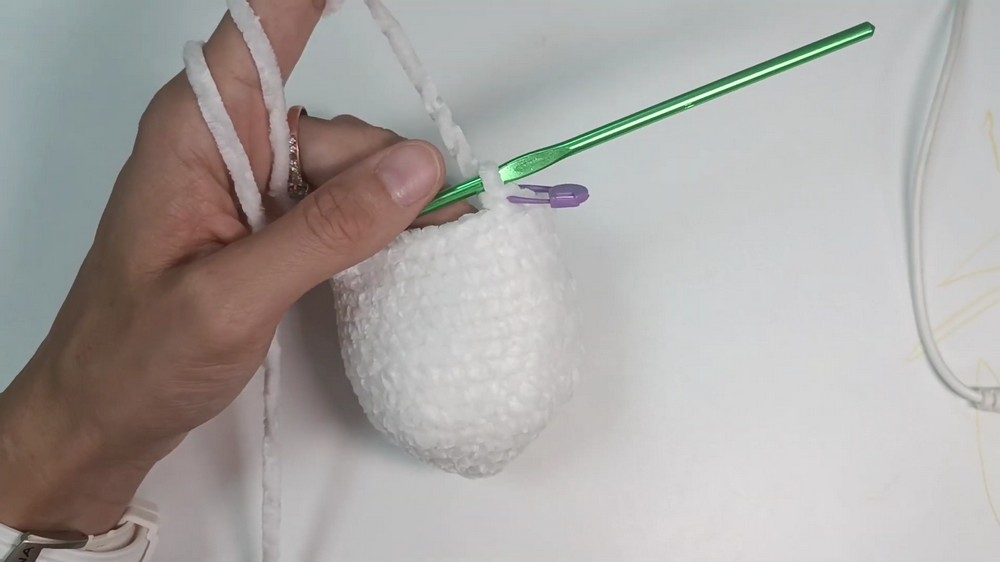
Rows 7–16: Shaping the Body
- Rows 7–16: Make 1 SC into each stitch for 10 rows.
- Stitch Count: 36 stitches per row
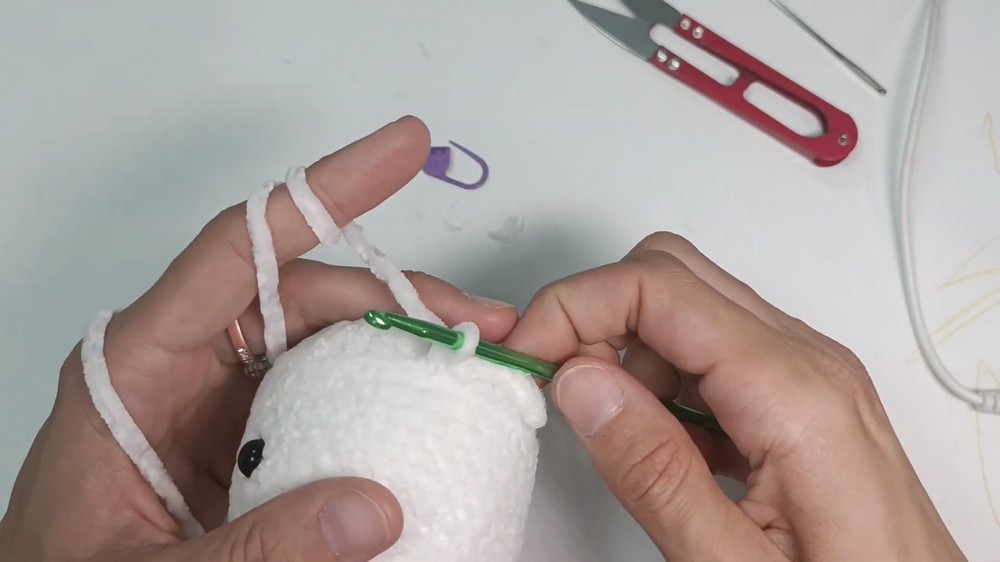
Insert Safety Eyes
After completing Row 16, insert the safety eyes:
- Place the eyes between Rows 10 and 11.
- Ensure the eyes are spaced 5 stitches apart. Count the stitches carefully to ensure symmetry.
- Secure the eyes with plastic washers.
Row 17: Back Loop Only
- Row 17: Work SC in the back loop only (BLO) for every stitch around.
- Split each stitch by the front and back loops. Place your hook into the back loop only of each stitch. This will leave the front loops for later use.
- Stitch Count: 36 stitches
Row 18: Decrease
- Row 18: Make SC in the first four stitches, followed by a Dec. Repeat 6 times.
- Stitch Count: 30 stitches
Use the invisible decrease method for tighter, neater stitches:
- Insert your hook through the front loop only of the next two stitches. Yarn over and pull through. Yarn over again, and pull through both loops on the hook.
Row 19: Back Loop Only Decreases
- Row 19: Perform decreases across the row using the BLO technique:
- Take the back loop only of the next stitch, yarn over, and pull through.
- Then take the back loop only of the next stitch, yarn over, and pull through (creating three loops on your hook).
- Yarn over and pull through all three loops to complete the decrease. Repeat this process for all stitches in the row.
- Stitch Count: 15 stitches
Stuffing
Before continuing, stuff the ghost with fiber filling. Add enough stuffing to shape the ghost, but avoid overfilling, which could create holes between stitches.
Sharp Edges and Closing
- Row 20: Make 7 Dec across the row, then make 1 single crochet into the last stitch.
- Stitch Count: 8 stitches
- Finish Off:
- Work a Sl St into the next stitch, chain 1, and cut the yarn (leaving a long tail).
- Use the tapestry needle to sew closed the remaining hole.
- Insert the needle into the front loops of the remaining stitches, pulling tight as you move around the circle. Tie off to secure, then hide the yarn tail inside the body.

Ghost Frill
- Join Yarn: Attach white yarn to the FLO of Row 17, which was left unused earlier.
- Insert your hook into a front loop from Row 17. Yarn over and create a slip stitch to join the new yarn. Chain 1 to begin.
- Row 1 (Frill Pattern):
- Into the first front loop: SC
- Into the second front loop: HDC [half double crochet]
- Into the third front loop and fourth front loop: DC [double crochet]
- Into the fifth front loop: HDC [half double crochet]
- Into the sixth front loop: SC [single crochet]
- Repeat this pattern for all 36 stitches, creating the frilly effect.
Final Touches
- Finishing Off the Frill:
- After completing the frill row, work a Sl St into the first stitch.
- Chain 1, cut the yarn, and use a tapestry needle to hide the ends inside the ghost’s body.
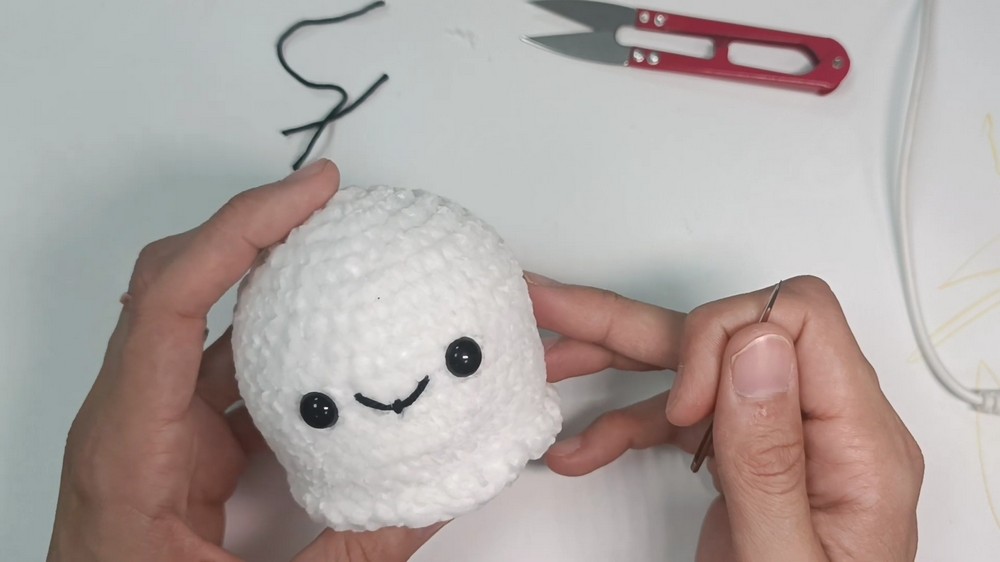
- Optional Smile:
- Use black thin yarn to embroider a smile between the eyes. Insert the needle into the center between Rows 10 and 11. Pull the yarn across, and knot the ends tightly. Tuck the excess yarn into the body for a neat finish.
- Optional Keychain:
- Attach a keychain hook to the top of the ghost to turn it into a bag charm or keychain. Thread the hook through the top, secure firmly, and twist to close.
Conclusion
Congratulations! Your cute crochet ghost is now complete. This adorable design, with its frill base and friendly smile, makes it perfect for Halloween decorations, party favors, or gifting. You can personalize your ghost by using different yarn colors, adding accessories like bows, or attaching a keychain for a portable charm. With its beginner-friendly techniques and easy-to-follow steps, this pattern allows anyone, even new crocheters, to successfully craft their own spooky and sweet crochet ghost!