
Crochet MORTICIA ADDAMS AMIGURUMI Free Pattern for Halloween
Bring spooky elegance to life with this free crochet MORTICIA ADDAMS AMIGURUMI pattern, guiding you to create a striking and unique handmade character.
Creating character-themed crochet dolls is a fantastic way to combine crocheting with fandom, and this project is no exception. The free crochet MORTICIA ADDAMS AMIGURUMI pattern lets you make a charming and spooky little doll inspired by the iconic TV character. It’s a soft stuffed toy that can be customized easily, with minor changes to hair color, clothing, or accessories, you could create other gothic-inspired figures or dolls with a similar elegant style.
Cute & Fun Free Crochet MORTICIA ADDAMS AMIGURUMI Pattern
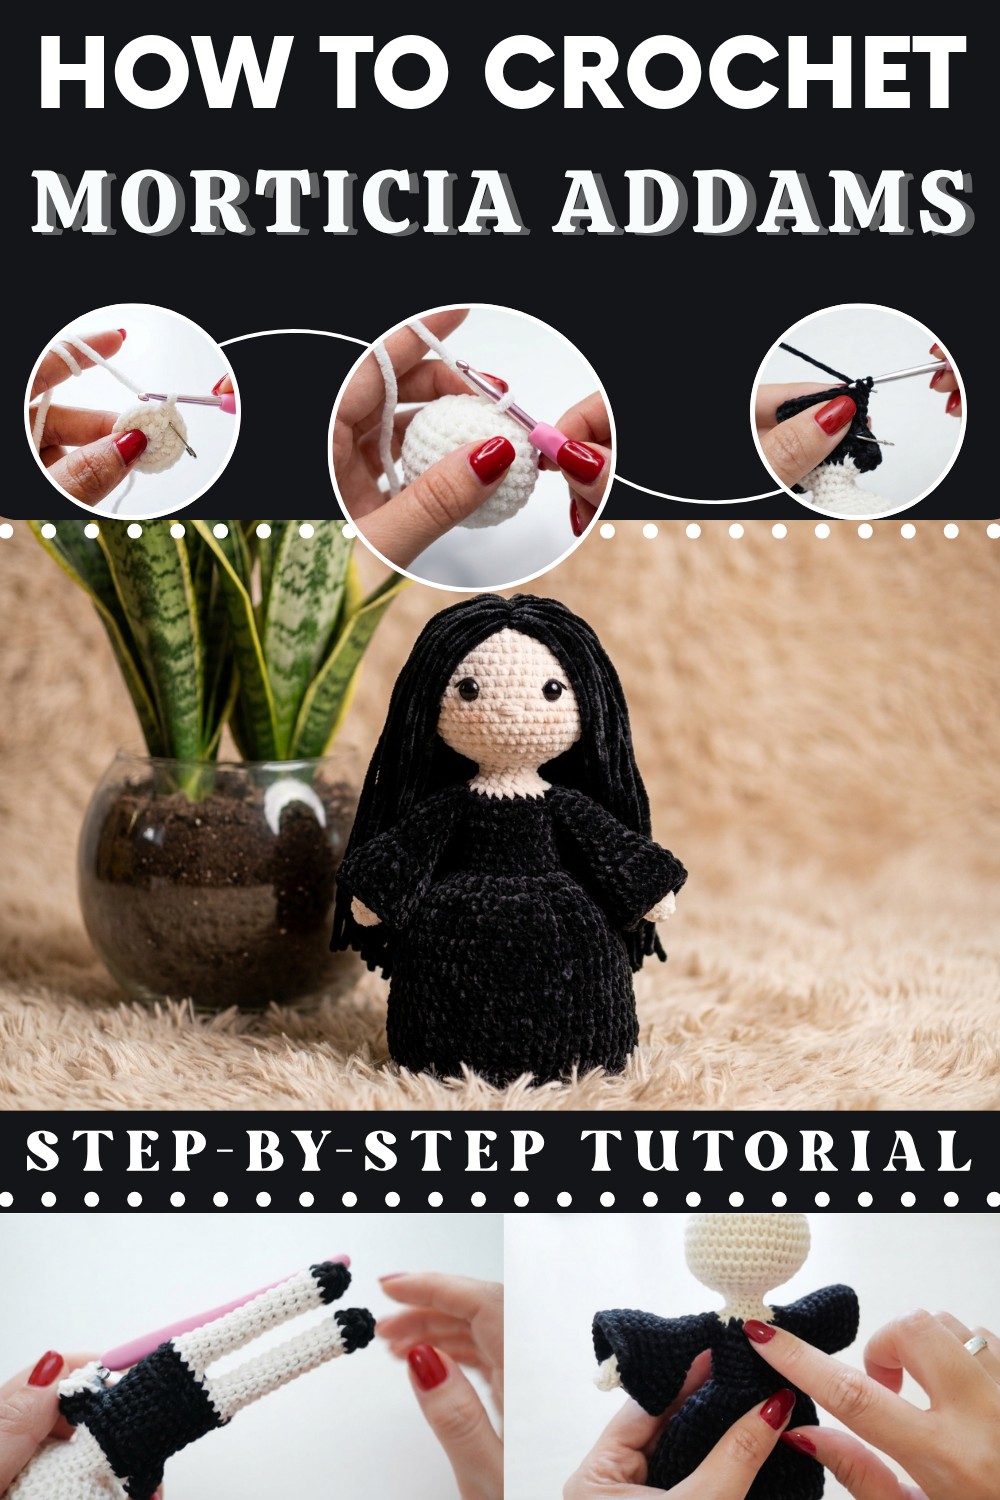
This Morticia amigurumi features a sleek, slender shape that captures the character’s graceful and mysterious aura. The plush texture comes from tight, consistent stitches that give the doll a smooth and sturdy feel. Her long black dress and flowing hair are standout design elements, making the figure instantly recognizable. The doll’s delicate facial features and minimalist style enhance its unique charm, making it a great decorative piece or collectible.
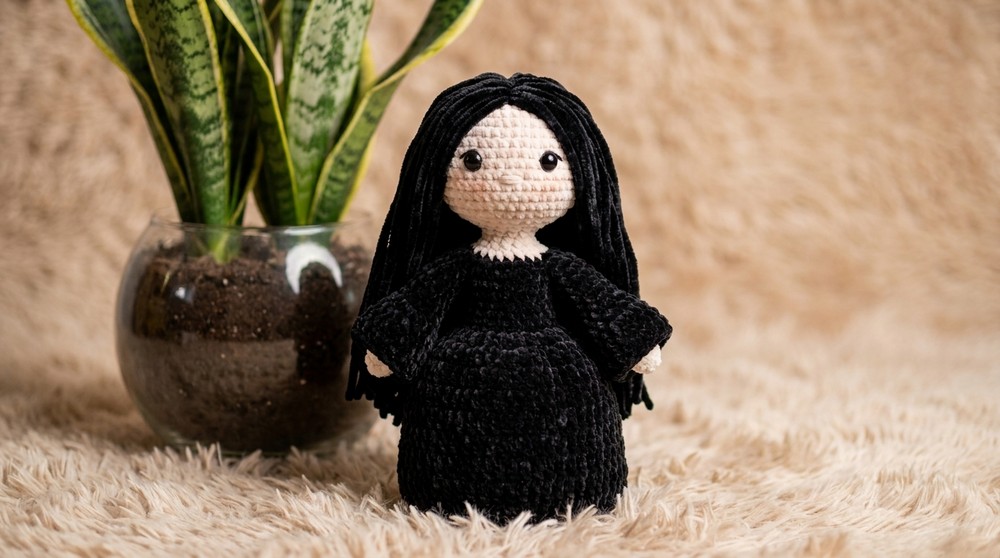
The pattern is best suited for crocheters with some experience, particularly those familiar with amigurumi techniques. The main stitch used is single crochet, worked in continuous rounds to create a seamless and well-defined shape. For those comfortable with basic crocheting and stuffing dolls, this project offers a satisfying mix of shaping and detailing to bring Morticia’s character to life.
This amigurumi is a wonderful handmade gift for fans of the Addams Family, a striking decoration for Halloween, or a unique addition to any amigurumi collection. It also offers opportunities for personalization and creative expression. If you enjoy character dolls and want a project that balances elegance with a touch of spookiness, this Morticia Addams crochet pattern is an inviting and rewarding choice.
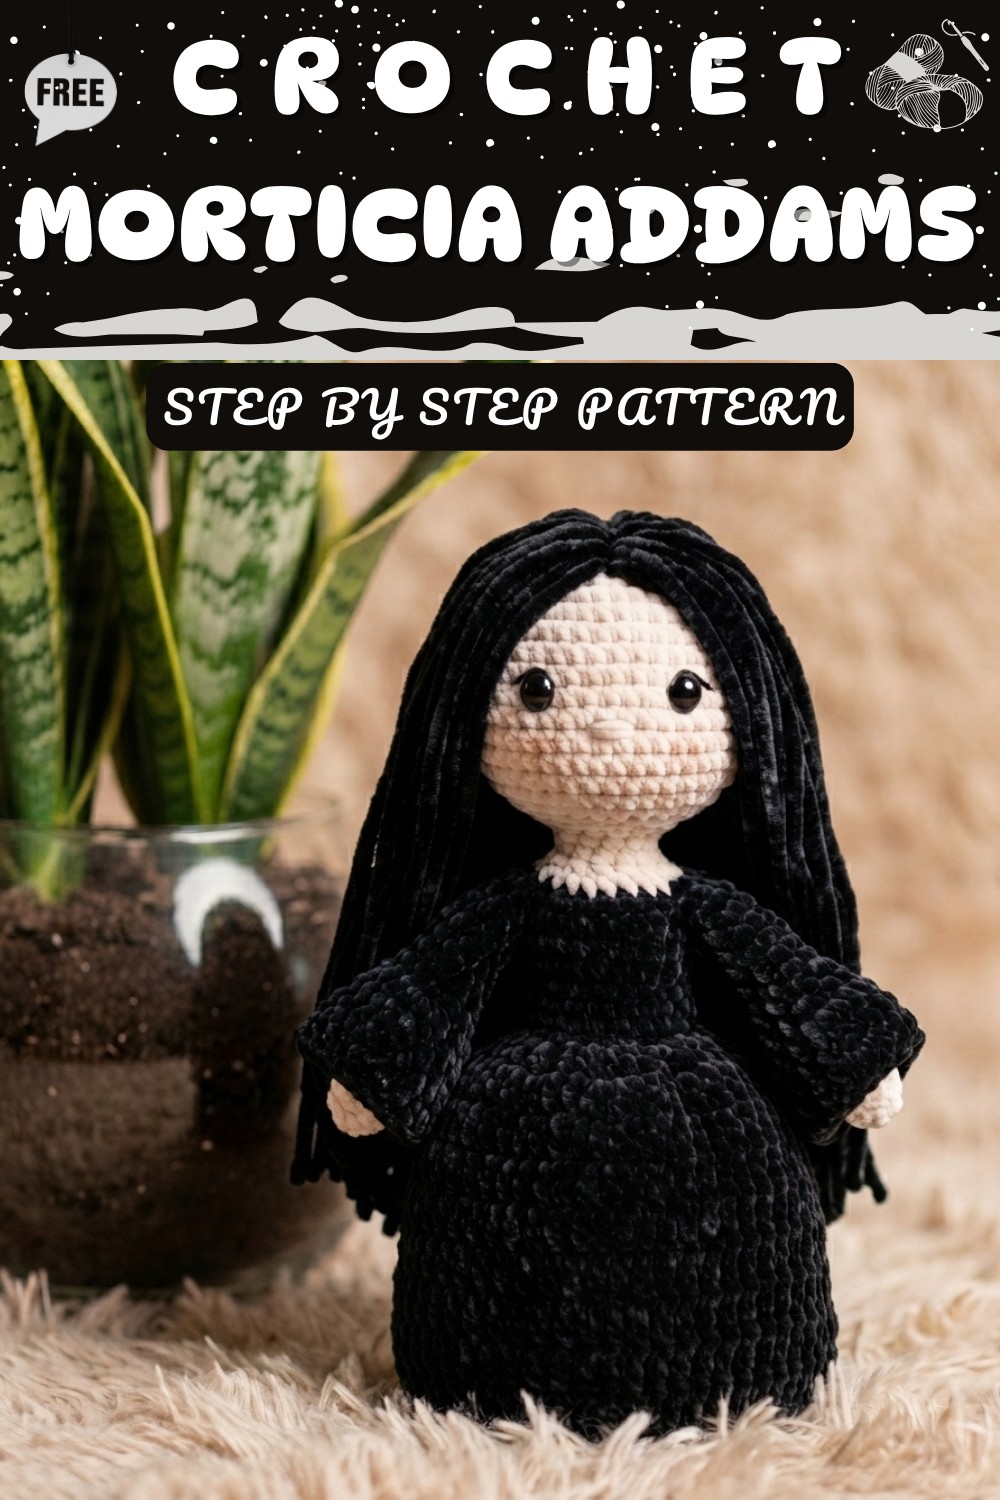
Amigurumi Morticia Addams – Step-by-Step Pattern
This step-by-step amigurumi pattern helps you create a younger version of Morticia Addams in her iconic black dress and long hair. The body, head, skirt, arms, and sleeves are all constructed seamlessly using single crochet and double crochet. Customizable with optional poseable arms and legs (using pipe cleaners), this doll is a fun and unique gift or display piece for any Addams Family fan!
Pattern Notes
- Work in continuous rounds (spirals) without joining unless stated. Use a stitch marker at the start or end of each round.
- Invisible decrease is recommended for best results on shaping.
- Always add two beginning chains to start a round of double crochet (not counted as a stitch).
- The sleeves and skirt are worked in front loops after the main body is complete.
- Stuff as you go, especially after finishing head and torso.
- For best appearance, the "wrong side" (with visible color changes) can be designated as the back of the doll.
- Pattern includes instructions for poseable limbs, but these are optional.
Skill Level
Advanced Beginner to Intermediate
- Familiarity with magic ring, color changes, rounds, increases/decreases, working in back/front loops only, and basic assembly.
Materials
- Black cotton yarn (or acrylic) for dress, sleeves, skirt, hair
- Skin-tone cotton yarn (or acrylic) for face, hands, legs
- 3 mm crochet hook
- Toy stuffing (polyfill/fiberfill)
- Yarn needle
- Safety pin (stitch marker)
- Safety eyes for dolls (small size)
- Pipe cleaners (optional, for poseable arms/legs)
- Scissors
Measurements / Sizing
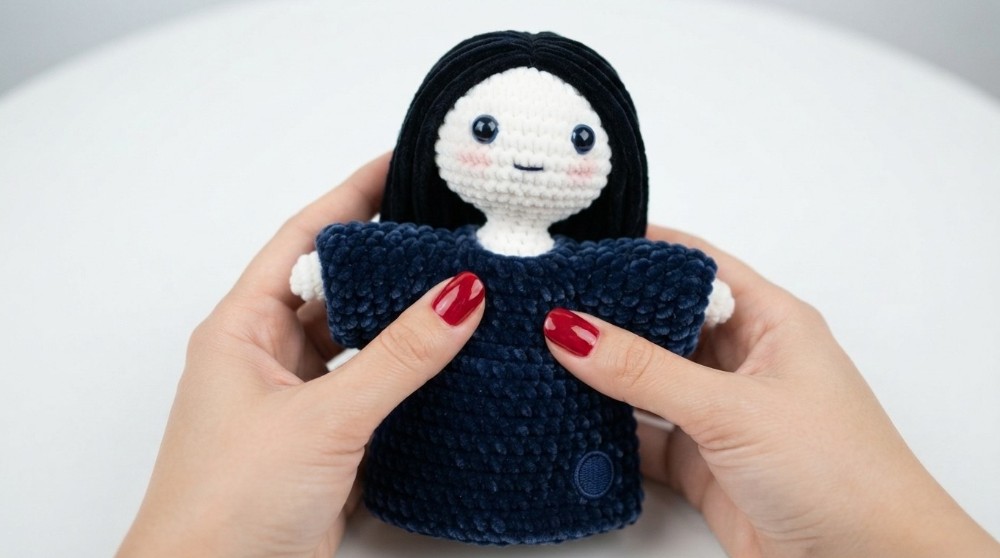
- Finished size: approx. 20–23 cm (8–9 in) tall, depending on yarn and tension.
Gauge
- 10 sc x 10 rows = 4 x 4 cm with 3 mm hook and average yarn.
- Gauge is not essential for amigurumi—more important is tightness of stitches.
Stitch Abbreviations
- sc = single crochet
- inc = increase (2 sc in one stitch)
- dec = decrease (invisible decrease)
- hdc = half double crochet
- dc = double crochet
- MR = magic ring (adjustable ring)
- ch = chain
- sl st = slip stitch
- FLO = front loop only
- BLO = back loop only
- FO = fasten off
Special Stitches
Invisible Decrease (dec):
Insert hook in front loops only of next 2 stitches, yarn over, pull up a loop, yarn over, pull through both loops.
The Crochet Pattern
Head
With skin-tone yarn:
- MR, ch 1, 6 sc in ring (6)
- Inc in each st (12)
- (Sc, inc) around (18)
- (Sc in next 2, inc) around (24)
- (Sc in next 3, inc) around (30)
- (Sc in next 4, inc) around (36)
- (Sc in next 5, inc) around (42)
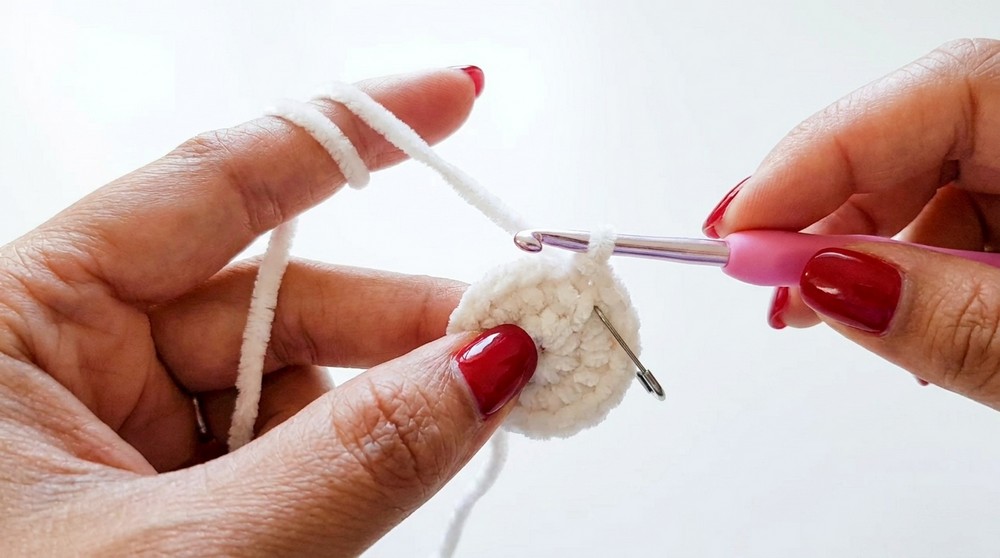
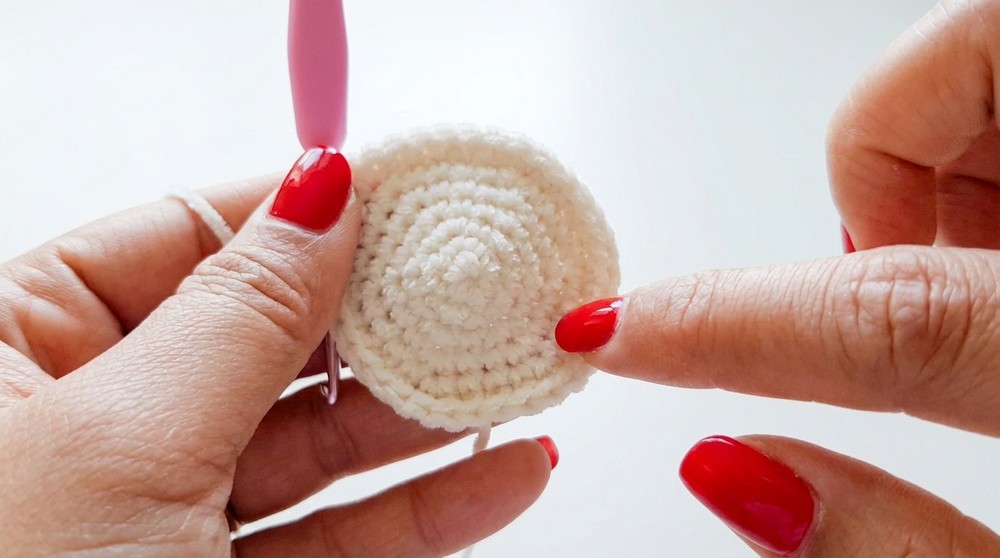
Round 8–12: Sc in each st (42, 5 rounds)
Start Head Shaping:
- (Sc in next 5, dec) around (36)
- (Sc in next 4, dec) around (30)
- (Sc in next 3, dec) around (24)
- (Sc in next 2, dec) around (18) – Begin stuffing.
- (Sc, dec) around (12) – Finish stuffing head.
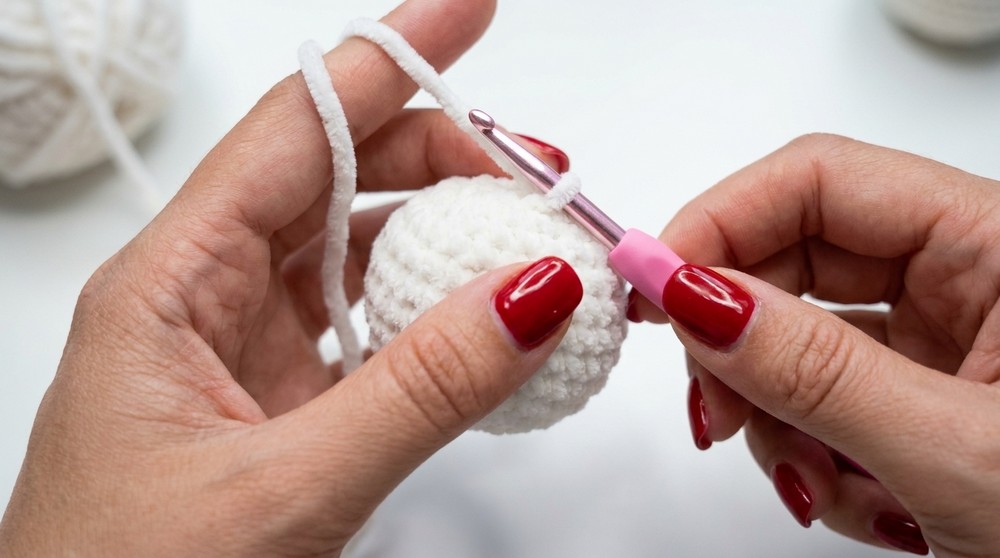
Neck/Upper Body
Rounds 18–20:
Sc in each st (12 per round, 3 rounds)
Body Increases:
- (Sc, inc) around (18)
- (Sc in 2, inc) around (24)
Change to Black Yarn for Dress Bodice
Cut skin-tone yarn at last stitch of Round 22.
- (Sc in 3, inc) around (30)
- (Sc in 4, inc) around (36)
Stuff the neck area lightly but firmly.
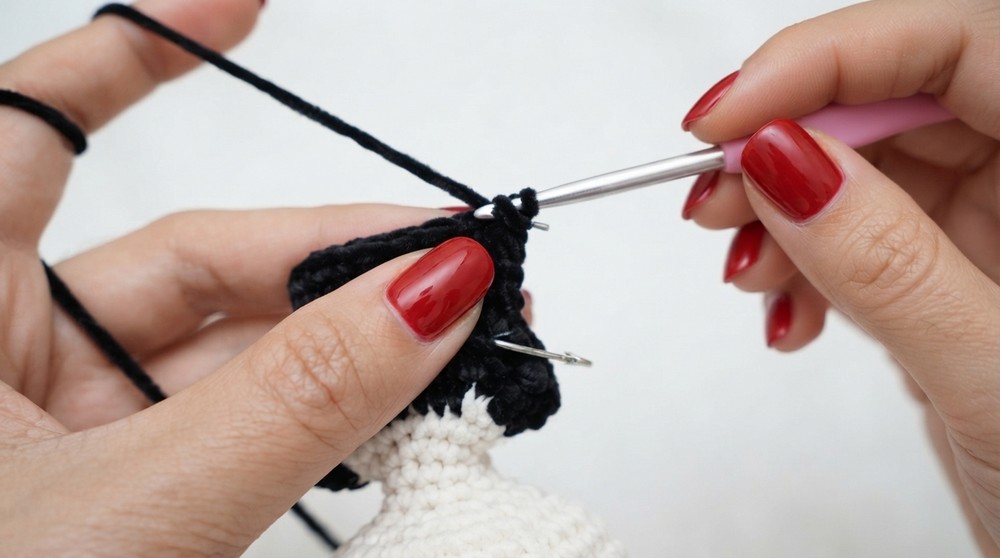
Arm Partition
- Fold piece in half, find the first "increase" stitch for the arm.
- Count 8 stitches, place markers for both arms (8 sts per arm on each side = 16, 20 body sts remain).
Torso
Rounds 25–29:
Sc in each of 20 st (5 rounds).
Round 30:
Sc in BLO in each st around (20)
Round 31:
Sc in both loops in each st around (20)
Stuff the torso firmly.
Leg Partition
- Change to skin-tone yarn.
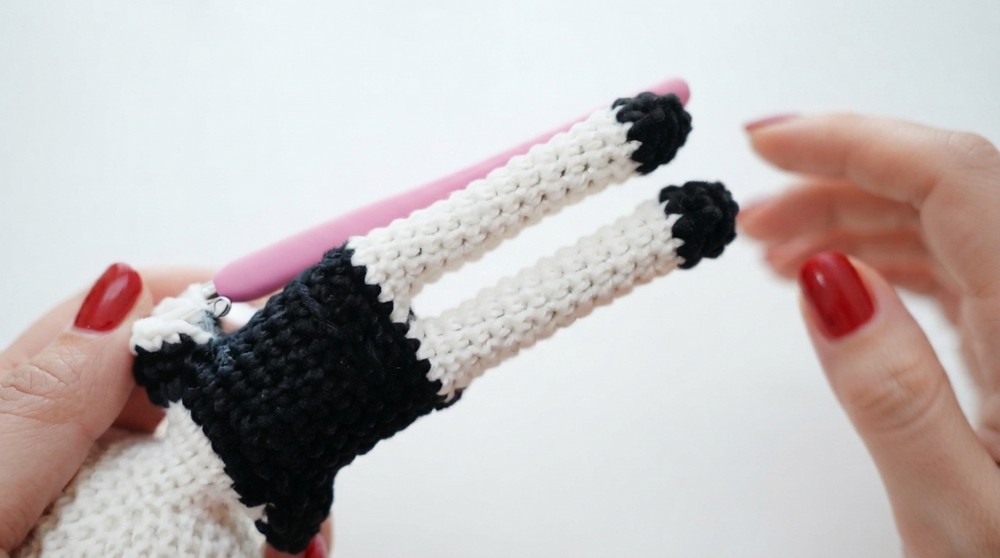
- Divide 20 stitches into 2 legs (10 each). Work 13 rounds per leg.
For each leg:
- Rounds 1–13: Sc in each of 10 sts (10)
- Optional: Insert pipe cleaner or extra stuffing before closing.
- Change to black yarn.
- Rounds 14–15: Sc in each st (10)
- FO, close the opening neatly with in/out stitches using the yarn needle.
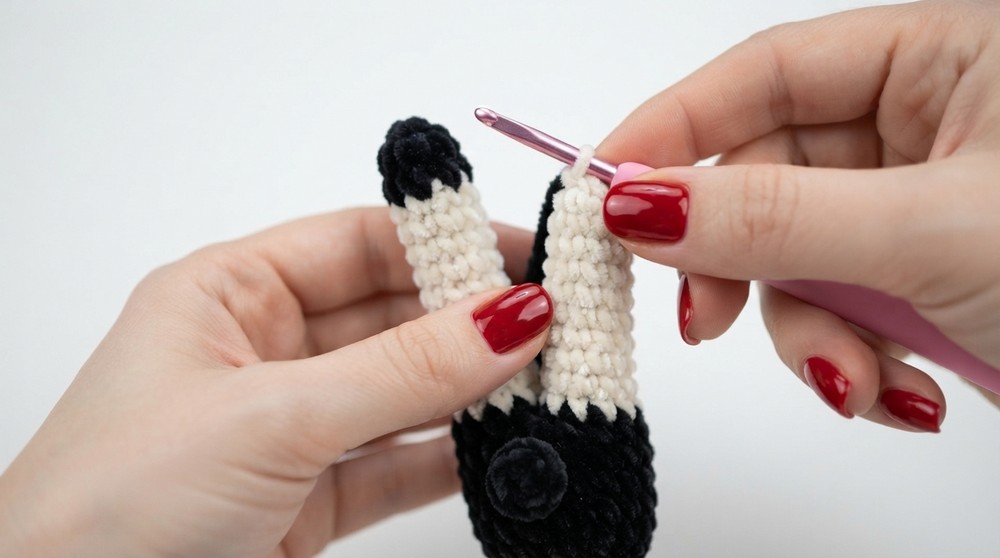
Arms (Make 2)
- Attach skin-tone yarn at armhole with hook (8 sts per arm).
- Round 1: Sc in BLO in each st around (8)
- Rounds 2–12: Sc in each st (8 per round)
- FO, stuff lightly, insert pipe cleaner if desired, sew end closed.
- Repeat for other arm.
Sleeves
- Join black yarn at first FLO of arm round (where you previously worked into BLO).
- For each arm, follow rounds below, working IN FLO only:
- Round 1: Inc in 1st st, sc in next 3, inc in next, repeat to end (inc, 3 sc, inc, 3 sc; multiple as fits arm). Place marker at last st.
- Round 2: Inc in 1st st, sc in next 4, repeat (inc, 4 sc).
- Round 3: Inc in 1st st, sc in next 5, repeat.
- Continue (inc, 6 sc), (inc, 7 sc), etc., for a total of 10 rounds or until widest point desired.
- Final round: Inc, 12 sc around.
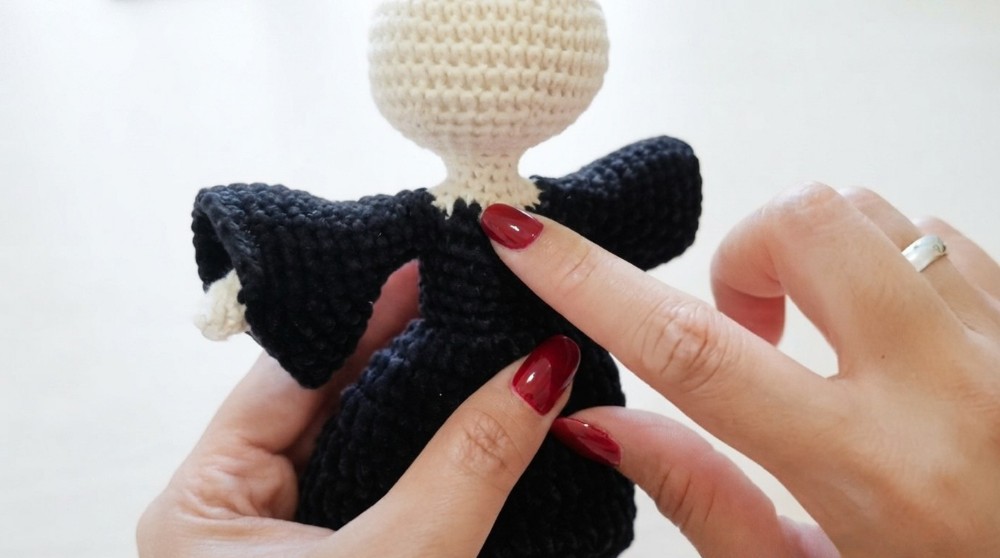
- On last round, sl st, FO. Weave in ends.
Skirt
- Join black yarn in first unused FLO stitch at waist.
- Ch 2 (not counted as st), dc in same st, dc-inc in next stitch, repeat (1 dc, 1 dc-inc) around (30 dc). Sl st to join.
- Ch 2, (dc in next st, dc in next, dc-inc in next) repeat around (40 dc). Sl st.
3–7. Ch 2, dc in each st around (5 rounds; 40 dc each). Sl st each round, FO.
- Note: Always begin rounds with ch 2, NOT counted as a stitch.
Hair
Make long strips in black yarn and attach to head, or follow any Morticia hair tutorial. Optional: attach using a separate crocheted wig.
Assembly & Finished Size
- Stuff all body parts as you go and close with tapestry needle.
- Sew legs and arms securely; insert pipe cleaners if using for poseability.
- Work sleeves in black yarn into FLO at top of each arm.
- Work skirt into unused front loops at waist.
- Attach hair or wig as desired.
- Attach safety eyes evenly on front of face before closing head.
- Embroider mouth and eyebrows if desired.
- Finished doll stands approx. 20–23 cm (8–9 in) tall.
Quick Pattern Overview for Beginners
- Work head and body as a single piece, changing colors for dress.
- Divide for arms and legs, crochet each in continuous rounds.
- Use BLO and FLO to attach sleeves and skirt after body is built.
- Make/attach hair and facial features after assembly.
- Stuff as you go; insert pipe cleaners if poseable limbs desired.
- All rounds worked in spiral; mark beginning/end of each round for accuracy.