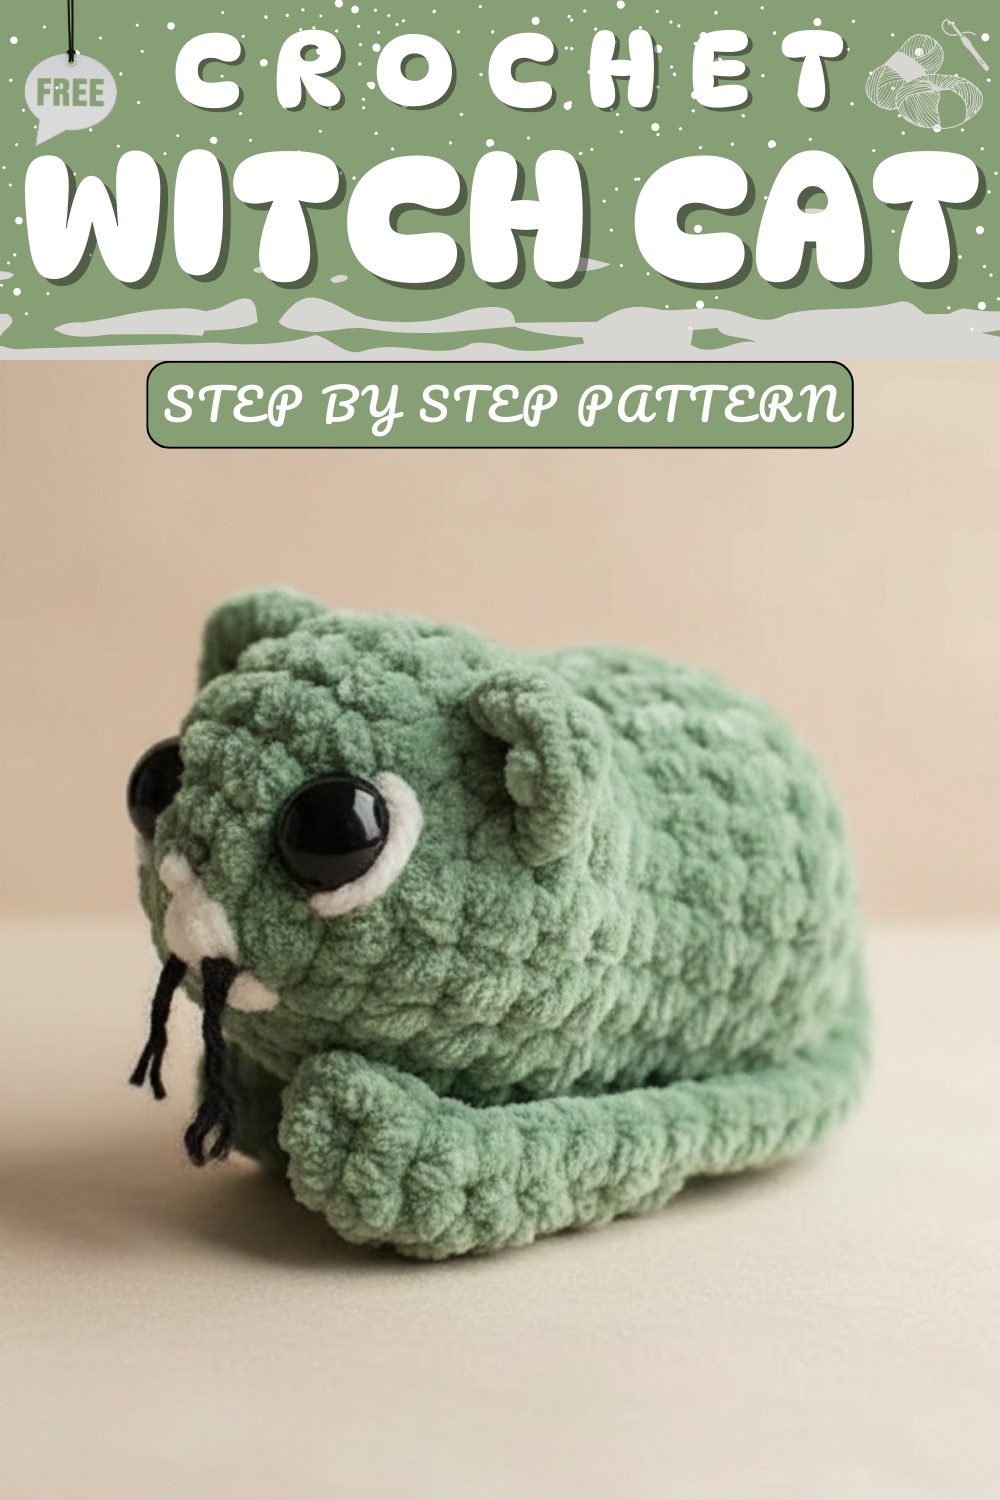
Cute & Softie Crochet Sad Kitty Pattern That Feels So Real
There's something truly heartwarming about creating a tiny, sad-faced kitty with just a hook and some yarn. This Crochet Sad Kitty Pattern captures emotions in the most adorable way, making it an instant favorite for those who love unique handmade kitty. Perfect as a thoughtful gift, a keychain decoration, or even a cute desk companion, this pattern brings a touch of whimsy and charm wherever it goes.
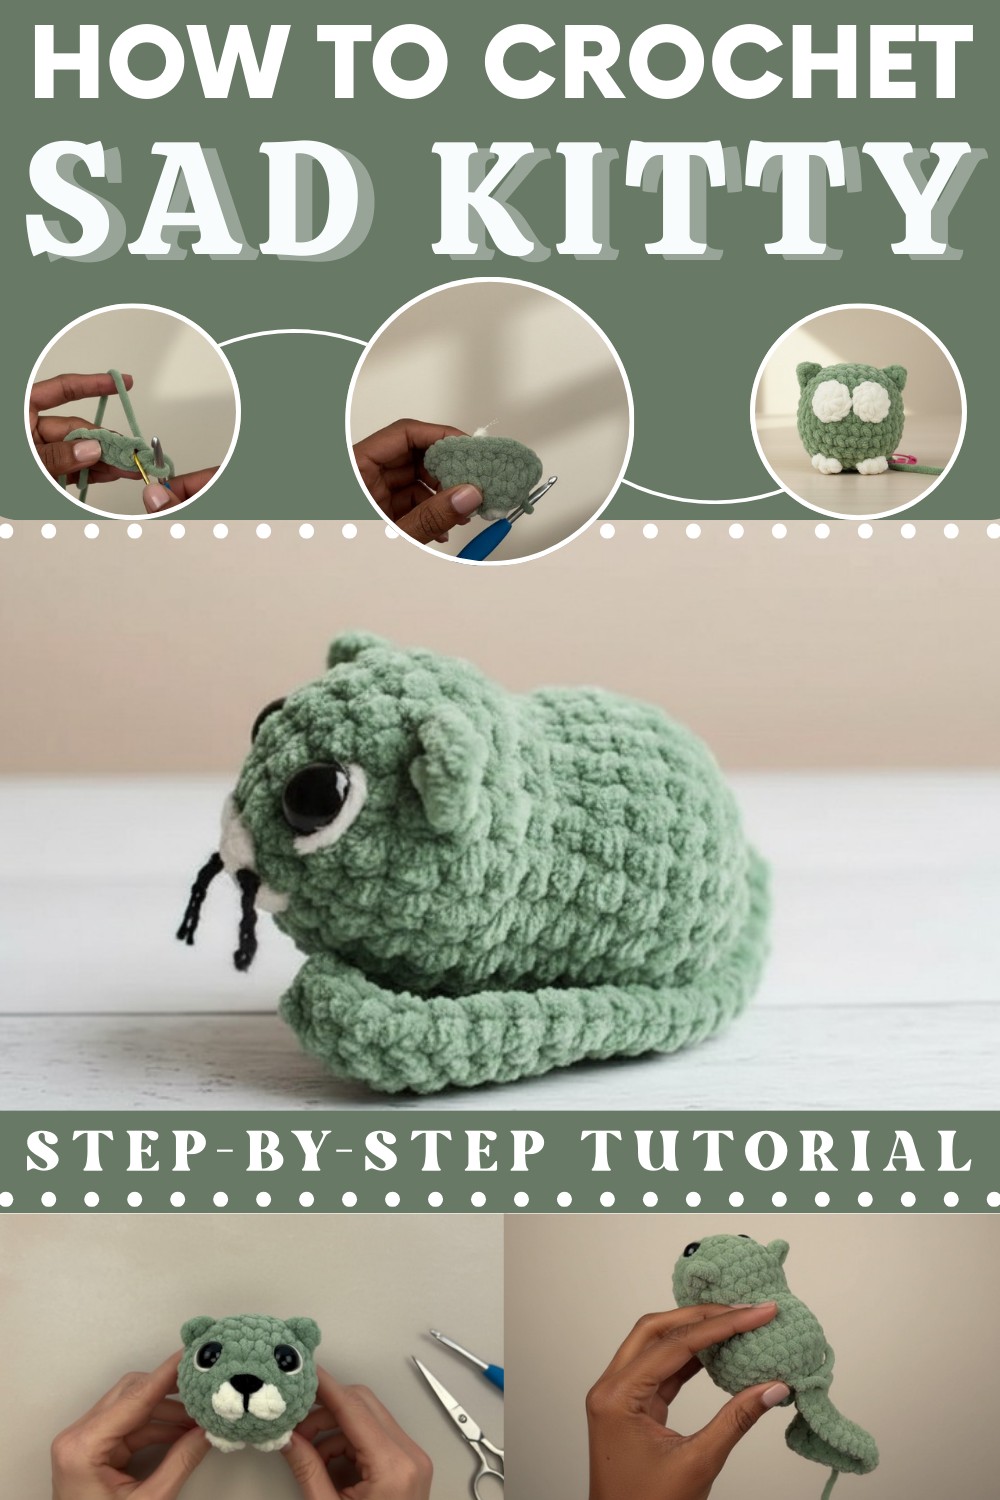
The soft, crocheted texture and downcast expression create a blend of sweetness and emotion, making it a wonderful keepsake for yourself or someone you care about. Whether you're looking to experiment with crochet kitty or simply want to give life to a delicate creation with character, this pattern promises a fun and rewarding experience. Its versatility and heart-melting appearance make it a delightful project for both beginners and seasoned crocheters alike, spreading warmth and smiles despite its tiny "sad" face.
Delight a little kitty with this Crochet Sad Kitty Pattern that turns soft yarn into a cute and playful design perfect for gifts or décor.
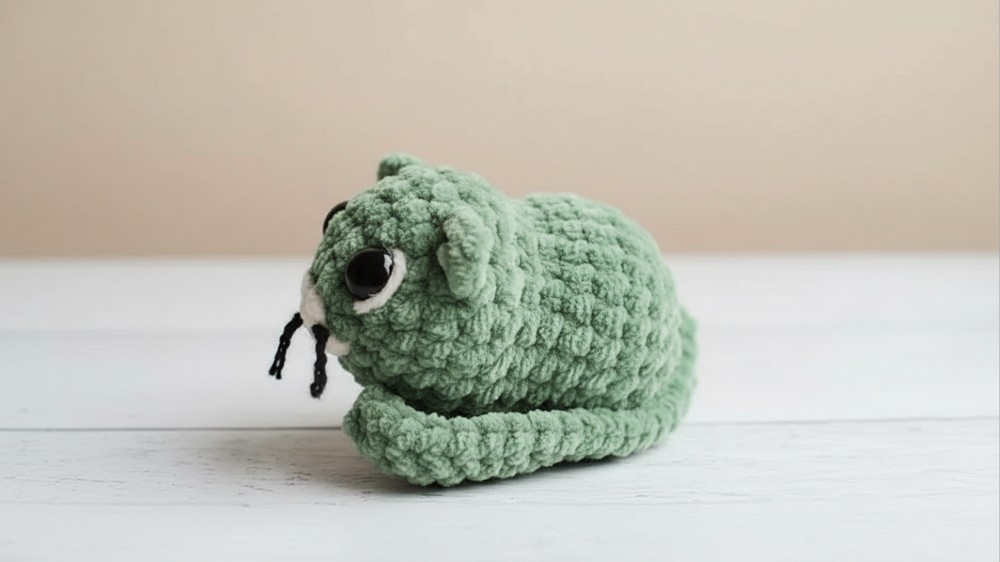
Emotional Crochet Sad Kitty Pattern Full of Sweet Tears
Materials
Yarn
- Main Yarn: Super bulky chenille yarn for softness and texture.
- Main Color: muted shade of green
- Contrasting Color: Cream or any lighter shade for legs, tail, and facial details.
Hook and Tools
- Crochet Hook: 4mm (US size G) or one appropriate for your yarn weight.
- Stitch Markers: At least 6 markers or bobby pins for marking placement.
- Stuffing: Polyester fiberfill for filling the head, body, and tail.
- Optional Items:
- 14mm safety eyes (or felt for sleeping eyes).
- Embroidery thread or worsted-weight yarn for whiskers and nose.
- Sharp tapestry or embroidery needles for sewing details.
- Scissors and fabric glue (optional).
Key Stitch Abbreviations
- MR = Magic Ring
- ch = Chain
- SC = Single Crochet
- SC2tog = Single Crochet Two Together (invisible decrease)
- hdc = Half Double Crochet
- st(s) = Stitch(es)
- sl st = Slip Stitch
- WS = Wrong Side
Customization Ideas
- Colors: Choose colors to match your preference; yarn with soft tones works best for a cuddly look.
- Expressions: Embroider sleeping eyes, add sad eyebrows, or change facial features for different expressions.
- Tail Style: Adjust the length or shape of the tail for movement or emphasize a curled tip with stitching.
- Whiskers: Use contrasting embroidery threads or similar yarn colors to amplify the kitty’s cute features.
Special Notes
- Stitch Markers: Use stitch markers generously to keep track of marked stitches while handling chenille yarn.
- Color Changes: Always pull contrasting yarn through before completing previous stitches to ensure seamless transitions.
- Focus Areas: Bobble stitches require extra care for firmness; practice separately if unfamiliar with the technique.
- Stuffing Reminder: Stuff incrementally during crocheting to avoid difficulty in reaching narrow areas later.
Pattern Instructions
Body: First Rounds
Round 1
- Cut about 10 inches of your main color yarn and set aside for later use.
- Create a slip knot, then ch 6.
- SC into the second chain from the hook. Work SC in each of the next four stitches.
- Turn your work to crochet along the other side of the chains:
- SC into the first chain, then make bobble stitches into alternating chains:
- Bobble Stitch: Yarn over, insert hook into chain, pull up a loop. Yarn over, pull through two loops. Repeat once more into same stitch, and finish with your contrasting color yarn.
- Work bobble stitches in two spots, alternating with normal SC stitches.
Total Stitches for Round 1: 10 sts.

Round 2
- SC increase into the first stitch, then work SC in the next stitch.
- Repeat (increase + single crochet) across the round.
Total Stitches for Round 2: 15 sts.
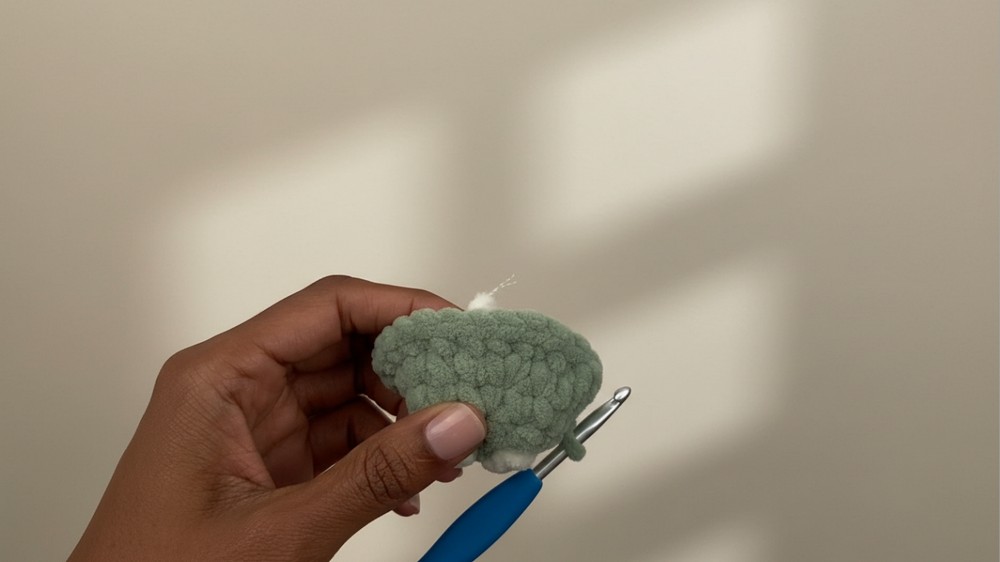
Round 3
- Work SC increase into the first stitch, followed by SC in the next two stitches.
- Repeat this sequence (increase + two SC) for five sets.
Total Stitches for Round 3: 20 sts.
Round 4
- Work SC increase into the first stitch, followed by SC in the next three stitches.
- Repeat this sequence (increase + three SC) for five sets.
Total Stitches for Round 4: 25 sts.
Ears
Round 5
- Use stitch markers to mark Stitch #5 and Stitch #12 (both marked in the back loops only).
- SC into the first four stitches.
- Create the ear as follows:
- Into Stitch #5: Work SC, then ch 2 and finish with SC into the same stitch.
- Use markers to note the chain stitches for easier navigation on subsequent rounds.
- SC into the next six stitches.
- Repeat the same ear creation method into Stitch #12.
- Finish with SC into the remaining stitches.Total Stitches for Round 5: 25 sts.
Bobble Feet and Face Details
Round 6
- SC into the first 19 stitches of the round. At specific points, remove stitch markers after working out marked loops.
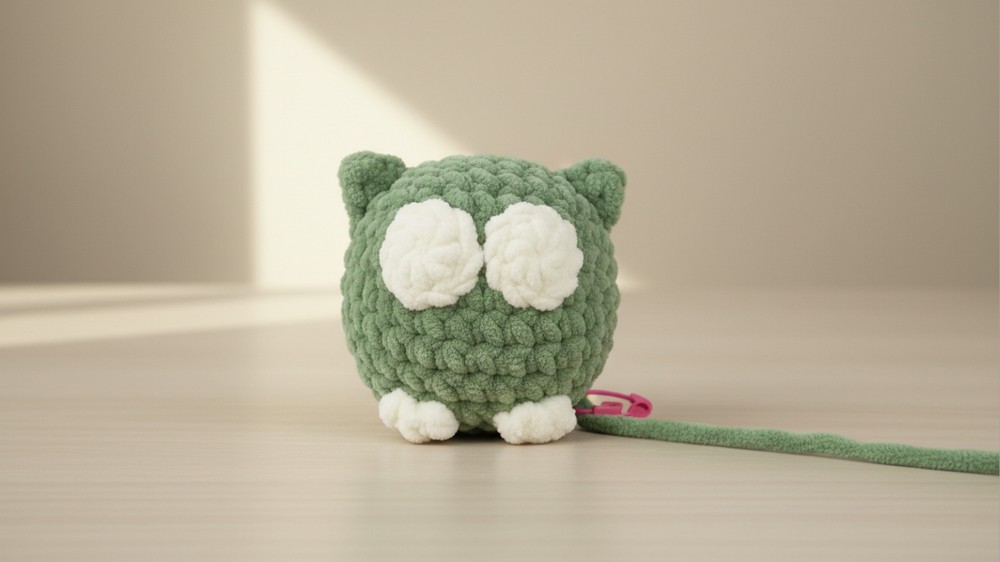
- Add bobble stitches in the front loops only for the paws (similar technique as above). Complete sequence with color changes to define the feet as needed.
- End the round with SC in the final two stitches, adjusting your yarn and stitch marker.Total Stitches for Round 6: 25 sts.
Adding Facial Features
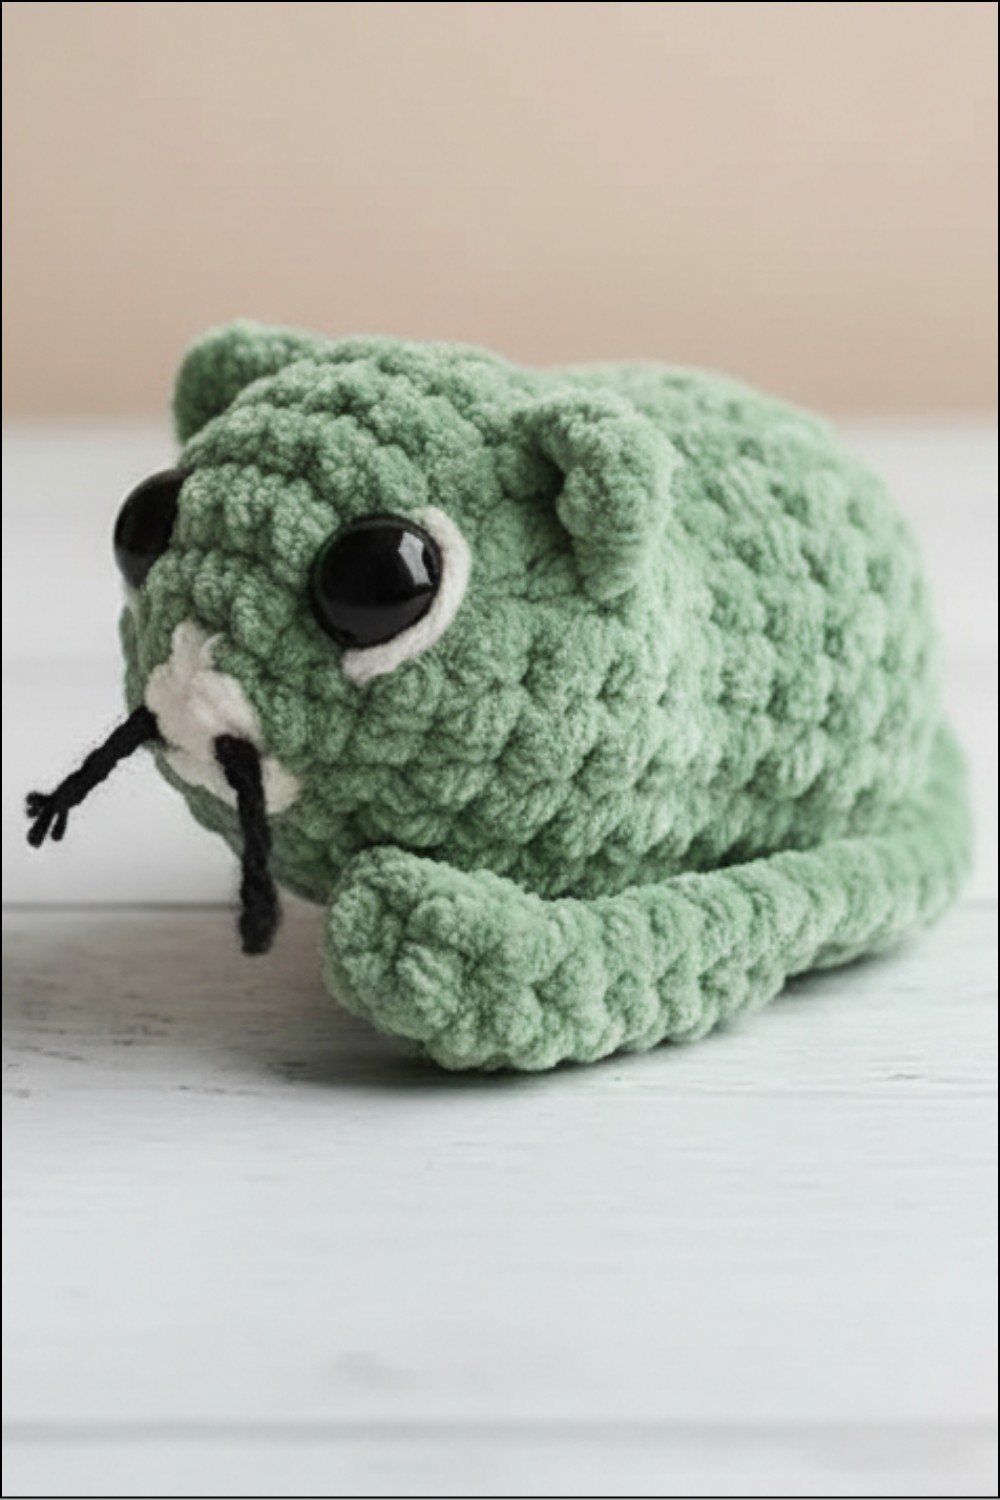
- Nose: Using black worsted-weight yarn and a sharp embroidery needle, stitch the nose over the cream bobble area. Start on one side, pull across, and secure tightly behind—the stitches should form a small triangular shape.
- Safety Eyes: Use 14 mm safety eyes, placing them above the nose between Rounds 2 and 3. Leave 4 open stitches between each eye.

Body Shaping
Rounds 7-12
- Work uninterrupted SC rounds (25 sts each) to form the head and upper body portion. Stuff lightly after Round 9.
Rounds 13-16
- Gradually decrease by making SC2tog to close the body base:
- Round 13: Decrease, then SC in next 3 sts. Repeat across the round. (20 sts)
- Round 14: Decrease, then SC in next 2 sts. Repeat across the round. (15 sts)
- Round 15: Repeat Decrease + SC (10 sts). Stuff fully.
- Round 16: Work 5 decreases, fasten off, and sew the bottom closed using a tapestry needle.
Tail
- Attach the yarn at a slight angle near the back center.
- Ch 21, forming the tail base.
- Work hdc into the second chain from your hook, and then hdc across the chain.
- Slip stitch into the base of the body where the tail begins, securely fastening off and weaving in ends.

Whiskers
- Use worsted-weight yarn strands (split into half for finer whiskers).
- Attach whiskers onto the face using embroidery needle, and tighten carefully to avoid pulling the stitches too tight.
Conclusion
Congratulations on completing your Sad Kitty Crochet Pattern! This project blends unique techniques like color changes, bobble stitches, and customization, resulting in a charming yet sophisticated design. Whether gifting or keeping for yourself, Sad Kitty makes for an excellent crochet decor or heartfelt present.
Pattern Corrections
- Adjust marking placements carefully for the ears and feet to maintain proper symmetry. Always count stitches after each step.
- The bobble stitches may appear loose at first; ensure tight yarn tension while working to keep the structure intact.
Tips
- Practice bobble stitches in scrap yarn if you’re unfamiliar before working them into the pattern.
- Use safety eyes cautiously: consider felt details instead if gifting to children under three years old.
- Place additional padding into the neck slightly before closing the body for a well-supported head shape.