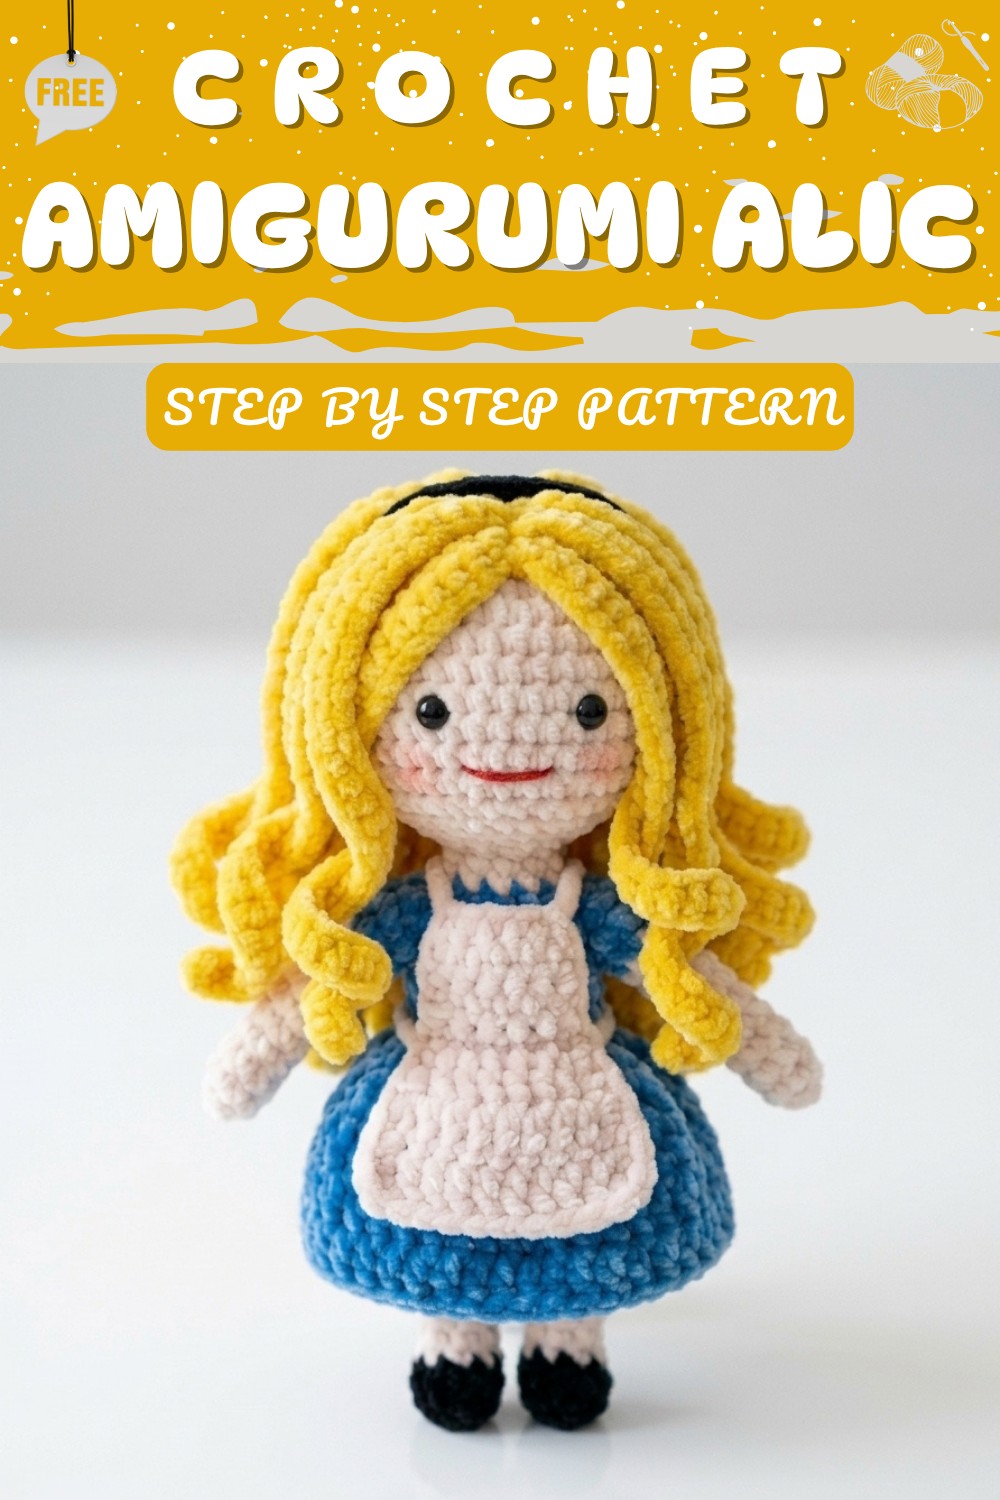
Mini Alice Free Crochet Pattern That Sparks Imagination
Fill your crochet collection with charm using this Cute Crochet Alice Free Pattern to create a timeless doll that everyone will admire.
Bring a touch of storybook charm to life with your hook and yarn. Creating a cute crochet Alice doll is a lovely way to add a bit of classic magic to your home. This project is quite friendly for those who enjoy making toys. You will find that the steps are straightforward and easy to follow. Watching the familiar blue dress and white apron come together is truly a rewarding experience.
Cute Crochet Alice Free Amigurumi Pattern with Fairy Tale Beauty
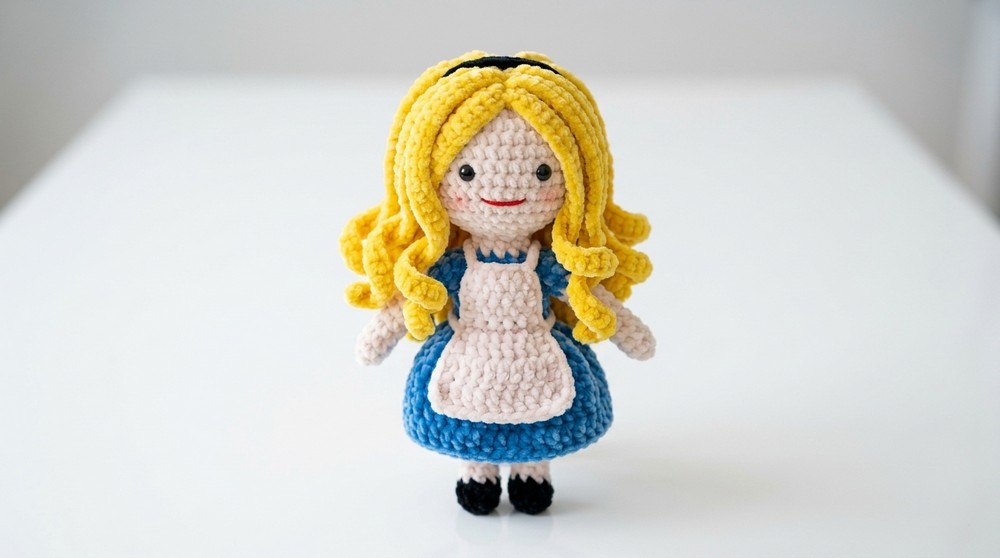
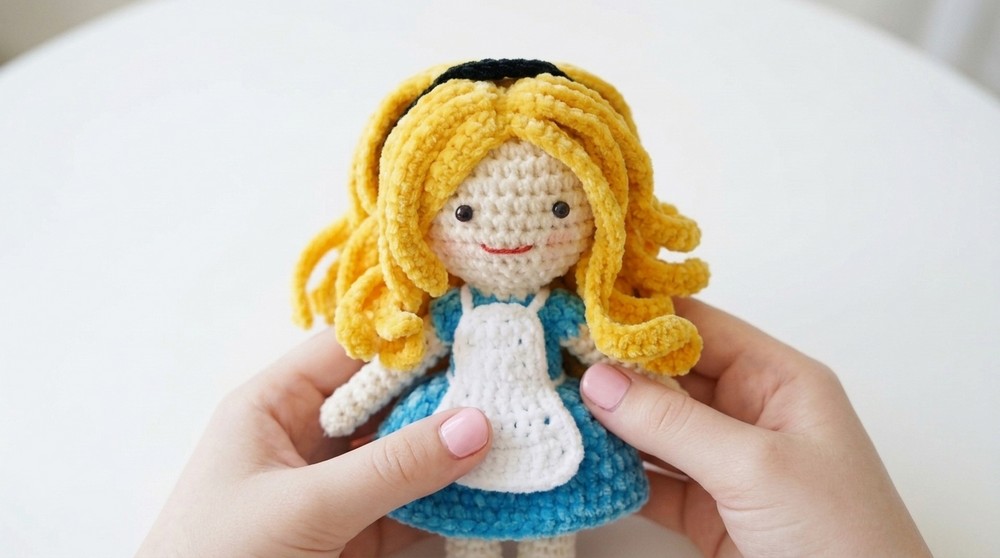
The finished doll has such a sweet, human look that makes it feel special. Its wide eyes give it a curious expression, as if it is always ready to explore a new garden. The way the skirt flares out and the little apron sits on top adds such a classic touch. It really captures that iconic look we all know and love. Because of its friendly face, it makes a wonderful companion to keep on your shelf or to give as a thoughtful gift.
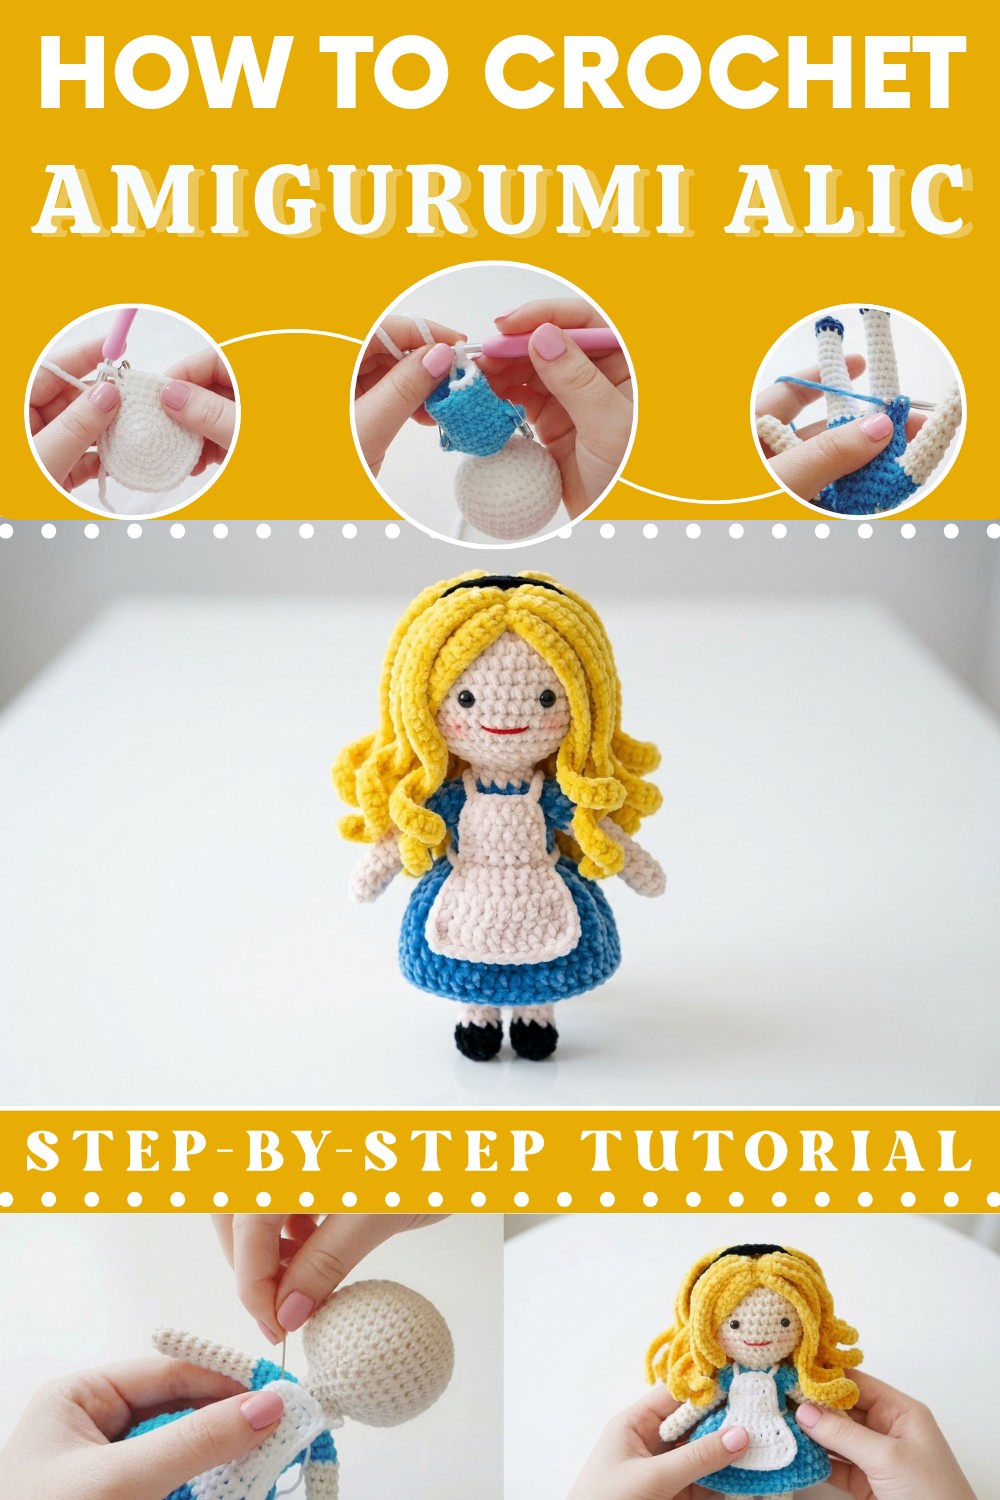
Beyond the visuals, the story behind Alice adds a layer of depth that makes her even more meaningful. She represents the spirit of curiosity and the courage to explore the unknown. Much like the story itself, which celebrates the beauty of unpredictability and imagination, your handmade doll acts as a gentle reminder to keep an open mind. She symbolizes the magic of unexpected adventures and the joy of seeing the world through a whimsical lens.
Beyond the meaning, the process of stitching is very calming and helps you relax after a busy day. Additionally, it helps you practice important skills like changing yarn colors and working in different loops. Ultimately, finishing your doll gives you a sense of pride and joy. Why not start your own little adventure today? You will surely love the process of bringing this tiny hero to life.
Crochet Alice Pattern
Notes
-
Work in continuous spiral rounds unless otherwise stated.
-
Use a stitch marker at the start of each round to maintain accuracy.
-
Stuff the doll firmly with fiberfill as you work to ensure structural integrity.
-
Work in the back loops or front loops only when explicitly indicated in the instructions.
Skill Level
Intermediate
Materials
-
Cotton or Acrylic yarn in Yellow, White, Black, Light Blue, and Skin Tone
-
3.0 mm crochet hook
-
Tapestry needle
-
Safety pin (stitch marker)
-
Scissors
-
Toy stuffing (fiberfill)
-
Pipe cleaner (optional, for limb support)
Measurements / Sizing
The finished doll is designed to be a small amigurumi figure, typically measuring approximately 8 to 10 inches tall depending on your yarn weight and personal tension.
Gauge
Standard tension is required to ensure that stuffing does not show through the stitches. Use a smaller hook than recommended for your yarn weight to keep stitches tight.
Stitch Abbreviations
-
sc: Single crochet
-
inc: Increase (2 sc in one stitch)
-
dec: Decrease (Invisible or standard)
-
sl st: Slip stitch
-
ch: Chain
-
hdc: Half double crochet
-
dc: Double crochet
-
st(s): Stitch(es)
Special Stitches
-
Invisible Decrease: Insert hook into the front loop of the next two stitches, yarn over, pull through both, yarn over, and complete the stitch. This minimizes gaps in amigurumi projects.
The Crochet Pattern
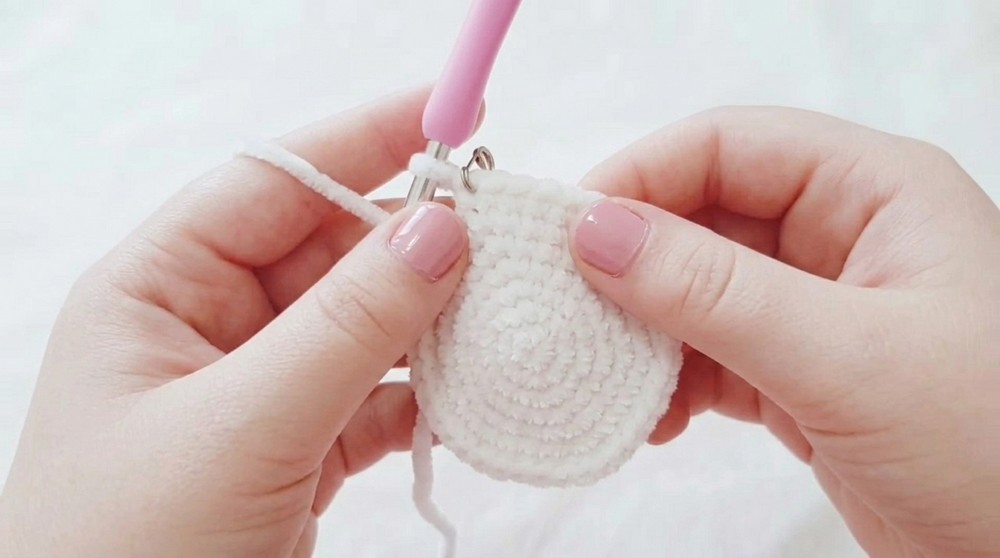
Head and Upper Torso (Skin Tone Yarn)
-
Round 1: Magic ring, 6 sc. (6 sts)
-
Round 2: Inc in each st around. (12 sts)
-
Round 3: [1 sc, inc] 6 times. (18 sts)
-
Round 4: [2 sc, inc] 6 times. (24 sts)
-
Round 5: [3 sc, inc] 6 times. (30 sts)
-
Round 6: [4 sc, inc] 6 times. (36 sts)
-
Round 7: [5 sc, inc] 6 times. (42 sts)
-
Rounds 8-12: Sc in each st around (5 rounds). (42 sts)
-
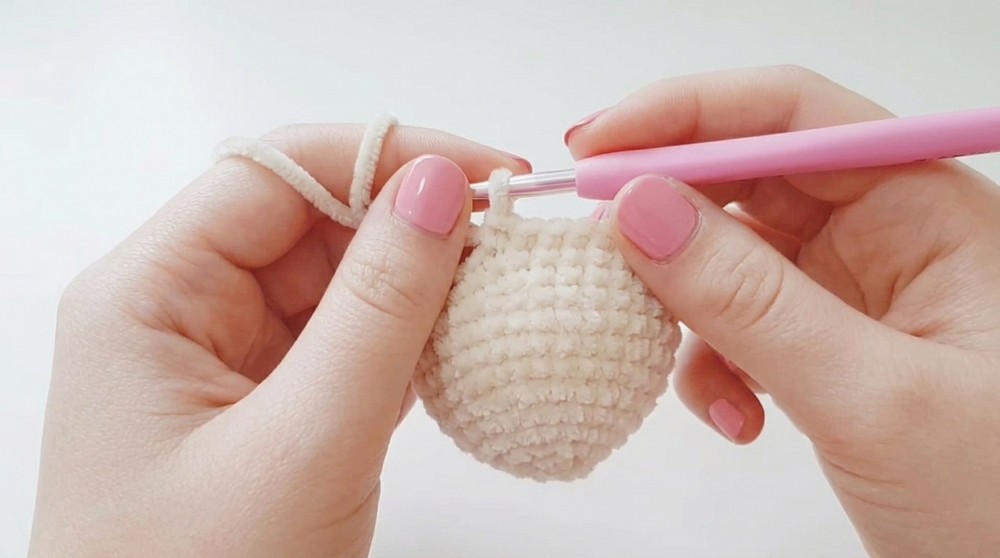
Round 13: [5 sc, dec] 6 times. (36 sts)
-
Round 14: [4 sc, dec] 6 times. (30 sts)
-
Round 15: [3 sc, dec] 6 times. (24 sts)
-
Round 16: [2 sc, dec] 6 times. (18 sts)
-
Round 17: [1 sc, dec] 6 times. (12 sts)
-
Rounds 18-20: Sc in each st around (3 rounds). (12 sts)
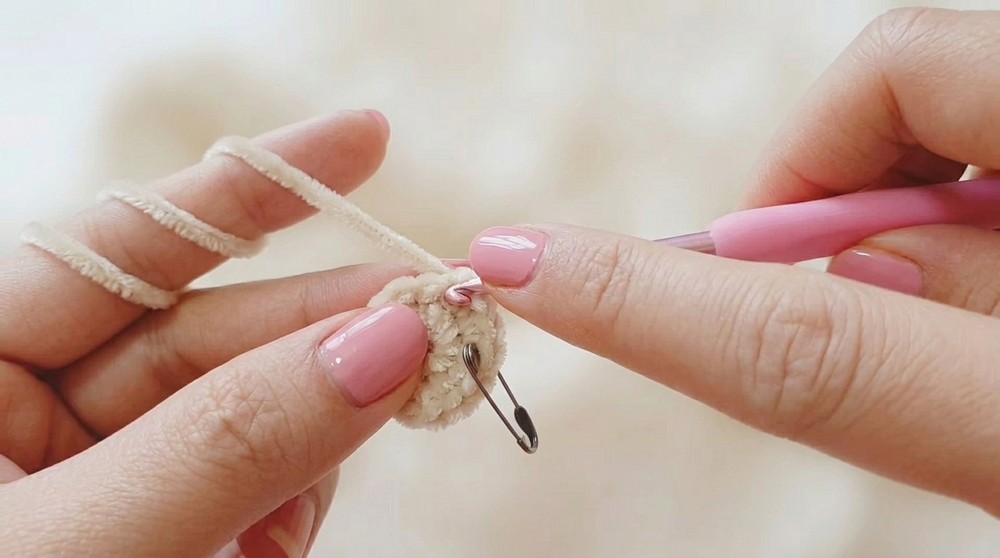
Torso (Light Blue Yarn)
-
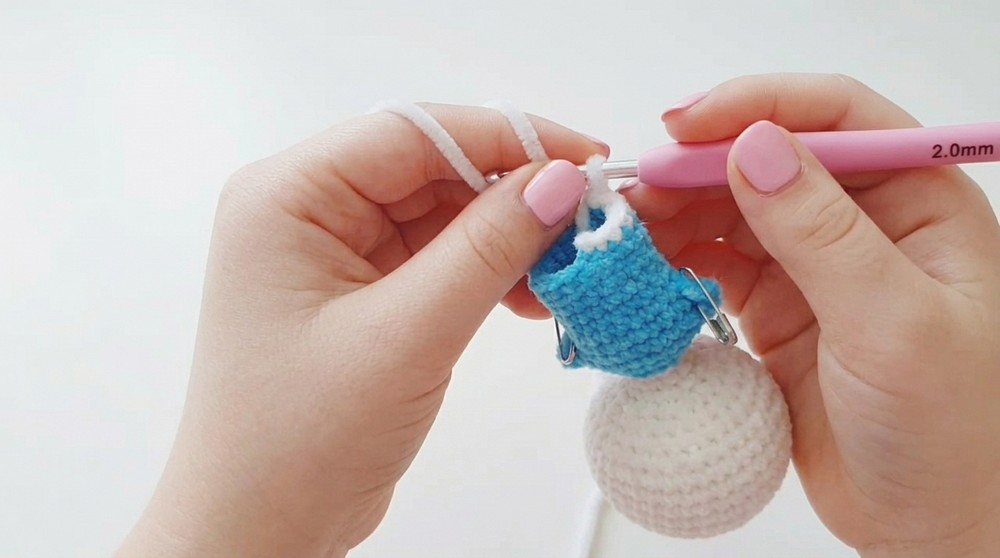
Round 21: [1 sc, inc] 6 times. (18 sts)
-
Round 22: [2 sc, inc] 6 times. (24 sts)
-
Round 23: [3 sc, inc] 6 times. (30 sts)
-
Round 24: [4 sc, inc] 6 times. (36 sts)
-
Round 25: Fold work; count 20 sts across the front. Sc 20 sts. (20 sts)
-
Rounds 26-29: Sc in each st around (4 rounds). (20 sts)
-
Round 30: Sc in back loops only around. (20 sts)
Leg Partition (White then Black Yarn)
-
Divide the 20 sts into two legs of 10 sts each.
-
Rounds 31-43: Sc in each st for 13 rounds.
-
Rounds 44-45 (Black Yarn): Sc 2 rounds for shoes. Sl st to finish and fasten off. Repeat for the second leg.
Arms (Make 2 - Skin Tone Yarn)
-
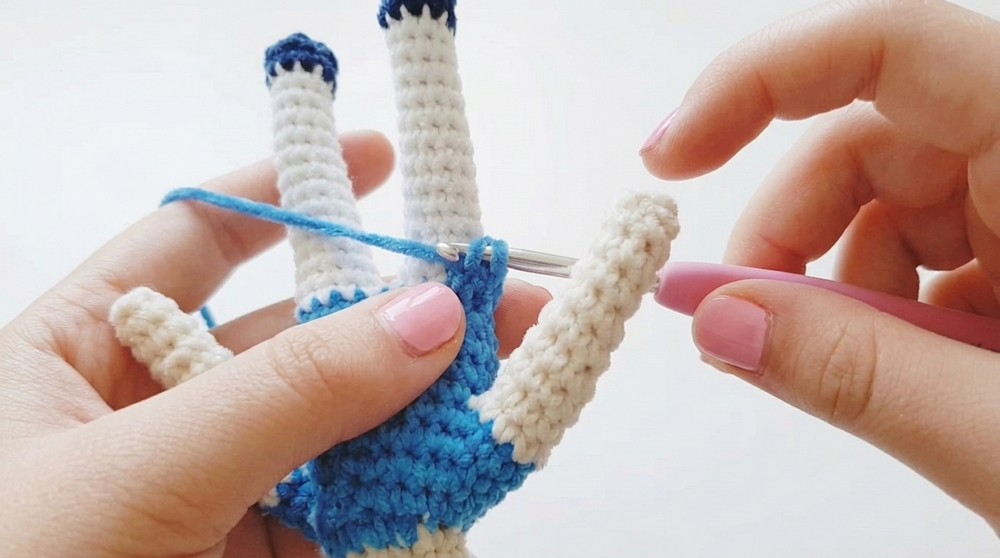
Round 1: Sc 8 sts around the arm opening. (8 sts)
-
Rounds 2-10: Sc in each st for 9 rounds. Stuff lightly or add pipe cleaner.
Skirt (Light Blue Yarn)
-
Working in the front loops of Round 30:
-
Round 1: Ch 2 (not counted as stitch). [Inc dc in each st] around. (30 dc)
-
Round 2: [2 dc, inc dc] 6 times. (40 dc)
-
Rounds 3-4: Dc in each st around. Sl st to finish. (40 sts)
Apron (White Yarn)
-
Rows 1-7: Ch 6, sc in 2nd ch from hook and across. (5 sc). Turn and repeat for 7 rows.
-
Row 8: Ch 3 (counts as dc), inc dc, 3 dc, inc dc. (7 sts)
-
Row 9: Ch 3, inc dc, 5 dc, inc dc. (9 sts)
-
Row 10: Ch 3, inc dc, 7 dc, inc dc. (11 sts)
-
Edging: Work 1 sc in every space around the edges.
-
Strap: Add ch 15 at the top corners to tie around the neck.
Assembly & Finished Size
- To assemble, ensure the pipe cleaners are trimmed and safely tucked into the limbs.
- Sew the arms securely to the torso if not worked directly into the body.
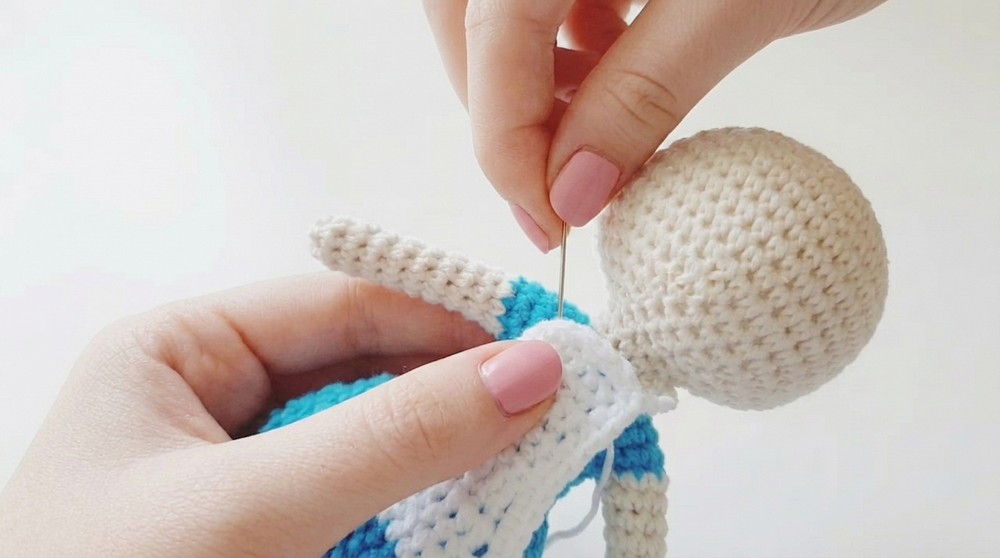
- Attach the apron by sewing the top of the bib to the chest and tying the strings at the back of the neck.
- Add the yellow yarn hair using your preferred method and sew the headband in place.
- The final figure should stand approximately 8-10 inches tall, making it a perfect decorative piece or a delightful gift.
- Ensure all ends are woven in securely and hidden inside the body.
Quick Overview Of Pattern
-
Head and Torso: Worked in one piece, transitioning from skin tone to light blue at the neck.
-
Arm Partition: Created by folding the work and working across specific stitch counts.
-
Leg Partition: Dividing the lower torso into two separate leg sections.
-
Skirt: A multi-round double crochet piece worked in the front loops of the body.
-
Apron: A separate piece crocheted in rows with increasing double crochet rows to create a flared shape.
-
Finishing: Includes constructing hair, a headband, and adding facial features.
Conclusion and ending words
By following this detailed pattern, you have successfully crocheted an intricate Alice in Wonderland doll. This project highlights the beauty of garment-building on amigurumi, such as the skirt and apron, which add depth and narrative to your work. Remember that practice is the key to mastering these finer details, from the color changes at the neck to the delicate skirt flare.
You should be proud of the effort put into each round and the final result you have created today. Keep your crochet hook close and continue exploring the vast possibilities of amigurumi.