
Free Crochet Amigurumi Chimmy Pattern For Cute Toy
See how the Free Crochet AMIGURUMI CHIMMY Pattern helps you build your skills and enjoy crocheting an irresistibly cute character with straightforward steps.
There’s something so satisfying about making small, cute stuffed toys that you can hold in your hand or keep on your desk. Recently, I fell in love with a super fun project—the free crochet AMIGURUMI CHIMMY pattern. This adorable amigurumi is inspired by the playful character Chimmy, and it’s perfect for anyone who enjoys making and collecting soft, handmade toys.
Free Crochet Amigurumi Chimmy Pattern Kids Will Love
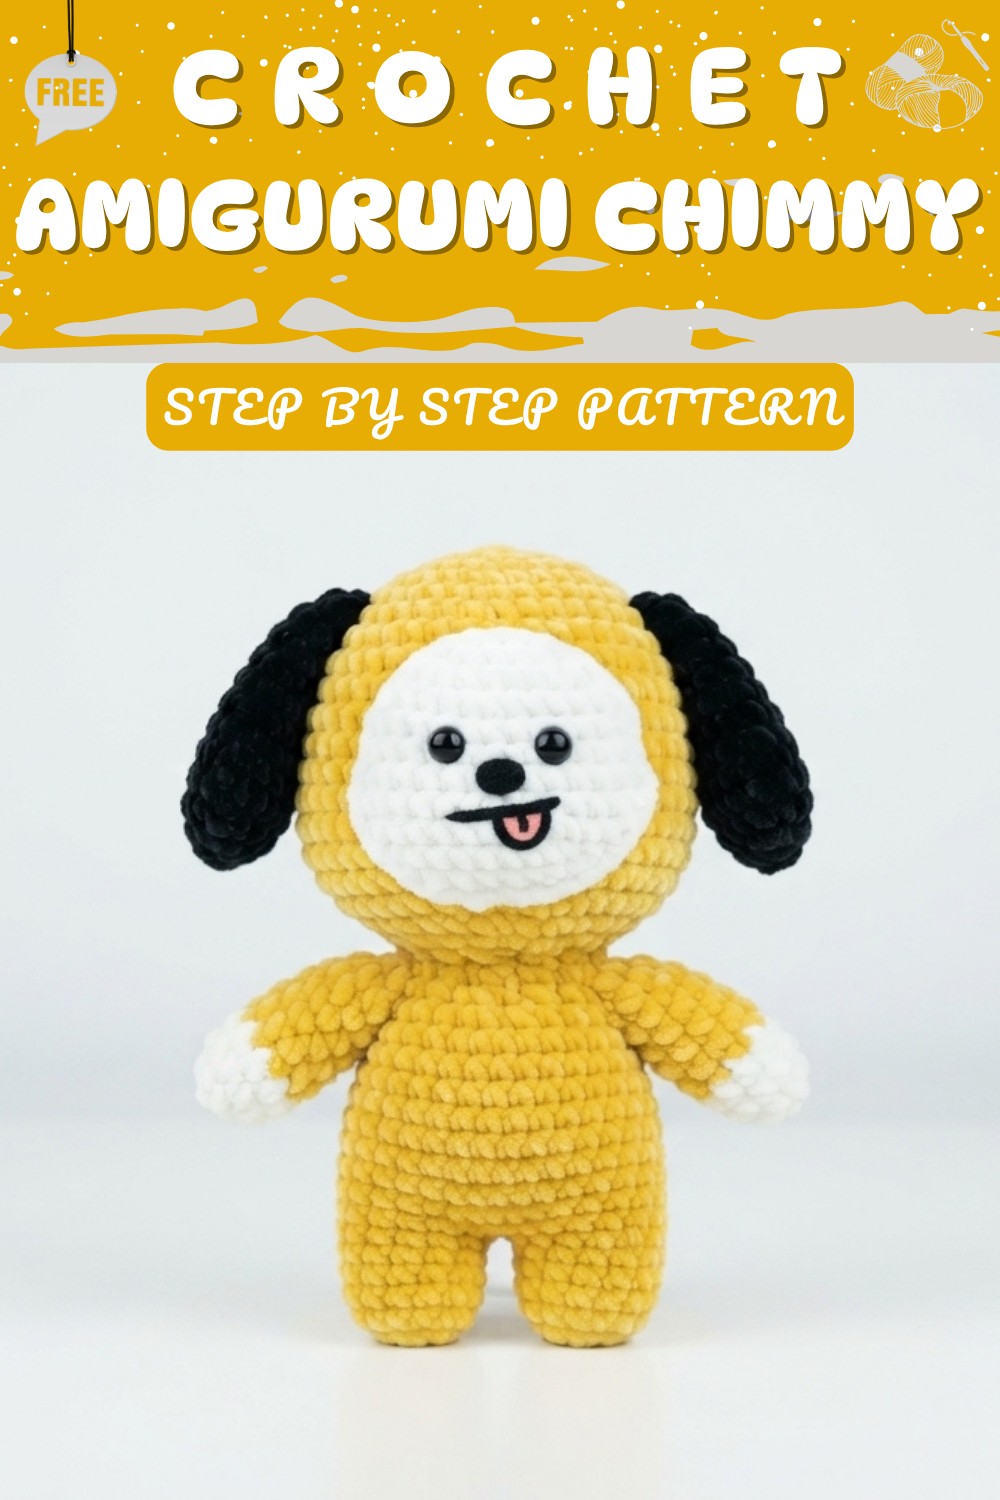
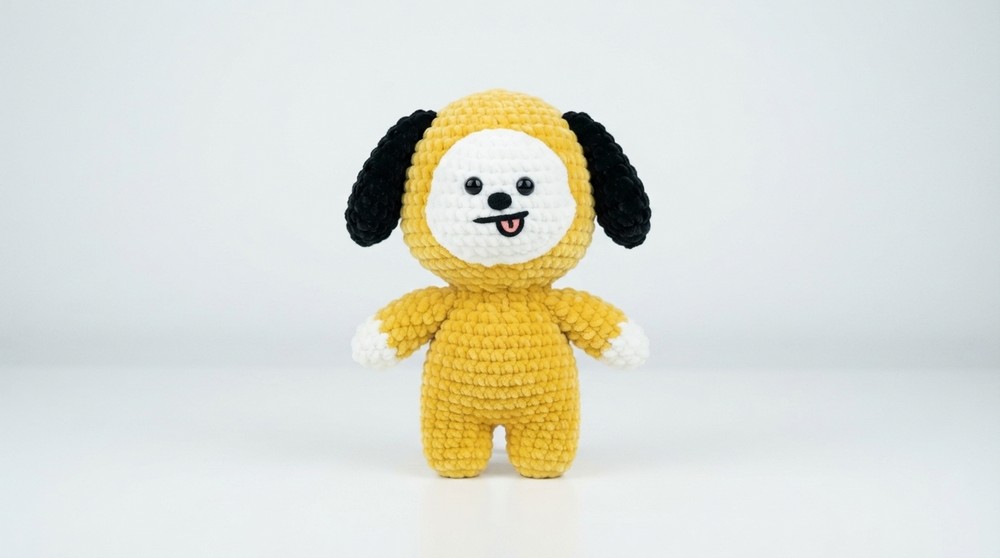
The Chimmy amigurumi is really charming with its bright yellow color and sweet little face that makes you smile right away. It has a soft and smooth texture that feels nice to touch, and its rounded shape makes it look cuddly and friendly. One of the coolest features is Chimmy’s floppy ears and cute hoodie, which give the doll a special style. Whether you want to keep this little guy on your shelf, use it as a keychain, or gift it to a friend, this amigurumi stands out with its fun and playful look.
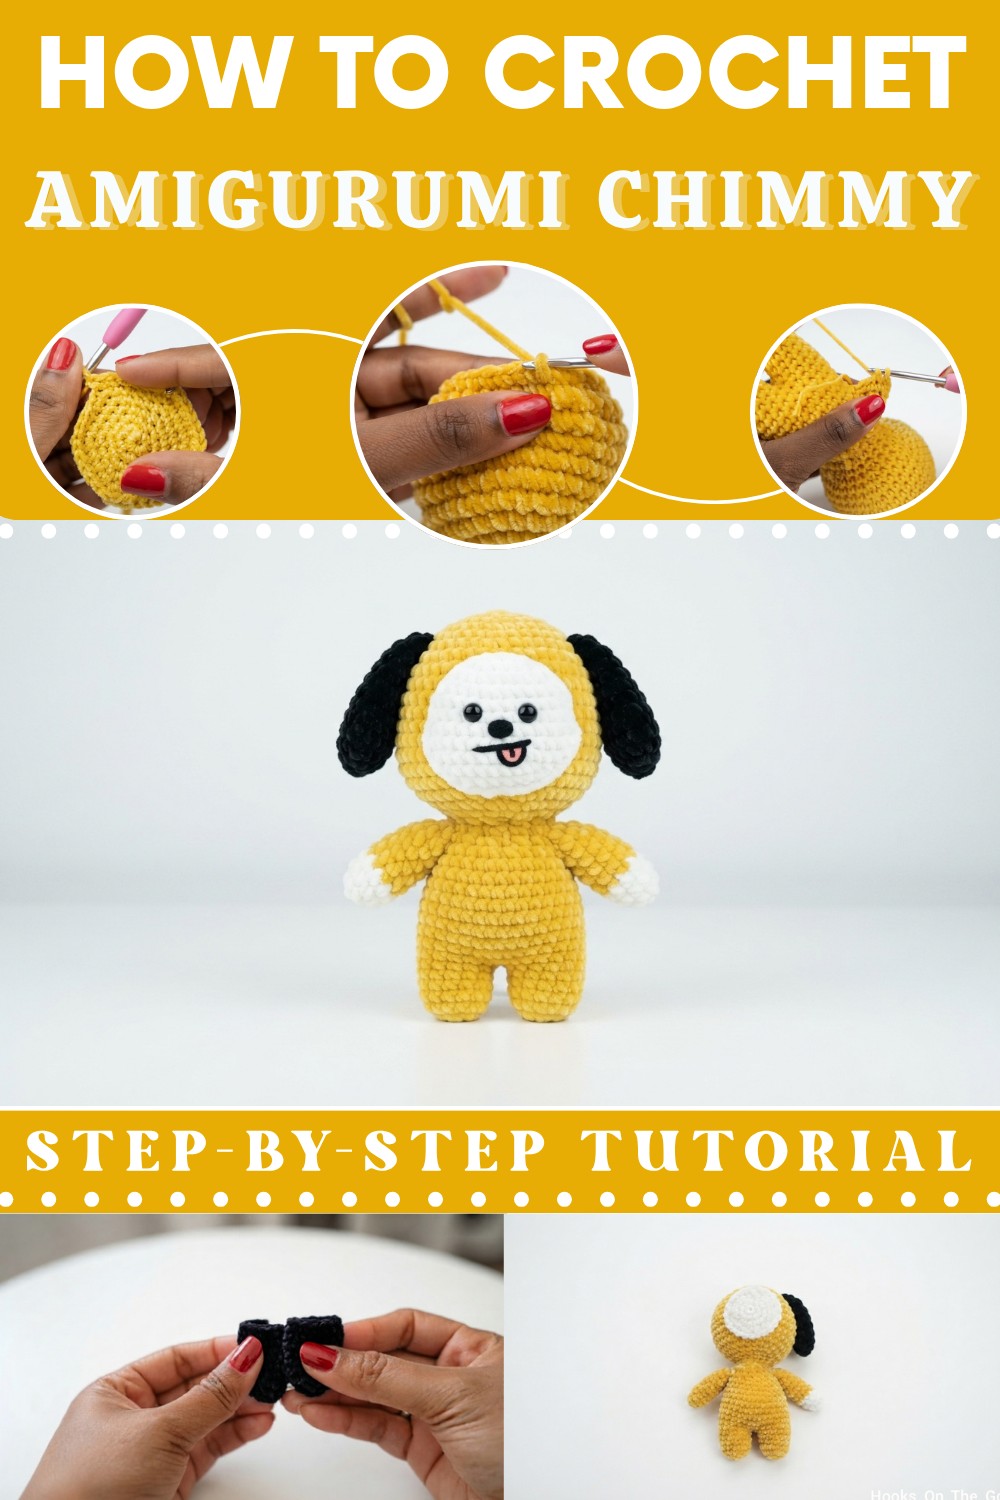
This pattern is beginner-friendly and easy to follow, making it a great choice for those new to crochet or amigurumi. The main stitch used is the single crochet, worked in rounds to shape Chimmy’s body and features. The instructions guide you clearly through each step, including how to make little details that bring Chimmy to life.
If you’re searching for a sweet handmade gift or a cute decoration to brighten your day, the free crochet AMIGURUMI CHIMMY pattern is a wonderful pick. It’s quick, fun, and perfect for creating a lovable friend you’ll treasure.
Free Crochet AMIGURUMI CHIMMY Pattern
Fashioning an amigurumi version of Chimmy is a delightful creative endeavor that allows you to bring this charming character into your home. This project captures the essence of Chimmy—his iconic yellow hoodie, his expressive face, and his playful demeanor—through meticulous circular crochet and careful assembly.
By following this guide, you will be able to produce a high-quality, plush representation that mirrors the character’s authentic design. This pattern emphasizes fundamental amigurumi techniques, making it an excellent choice for those looking to practice circular construction, color transitioning, and refined embroidery. The following instructions provide a meticulous, step-by-step path to achieving the perfect aesthetic for this lovable, yellow-hooded character. We will walk through every round, every color change, and every assembly technique necessary to ensure your project is a resounding success.
Quick Overview Of Pattern
-
Technique: Primarily worked in continuous spiral rounds utilizing a magic ring foundation.
-
Construction: The body is crocheted in a single piece, with limb partitioning to create the arms and legs.
-
Skill Level: Intermediate (due to limb partitioning and color changes).
-
Key Detail: Focuses on maintaining tight, consistent tension to ensure the stuffing does not protrude.
-
Assembly: Involves embroidering the face using black and white details and sewing on the signature ear shapes.
Notes
-
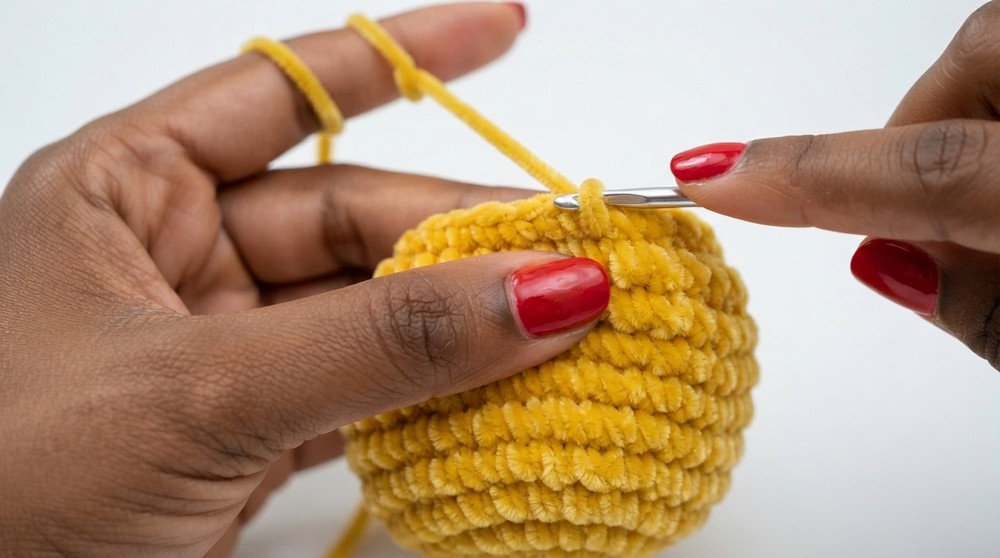
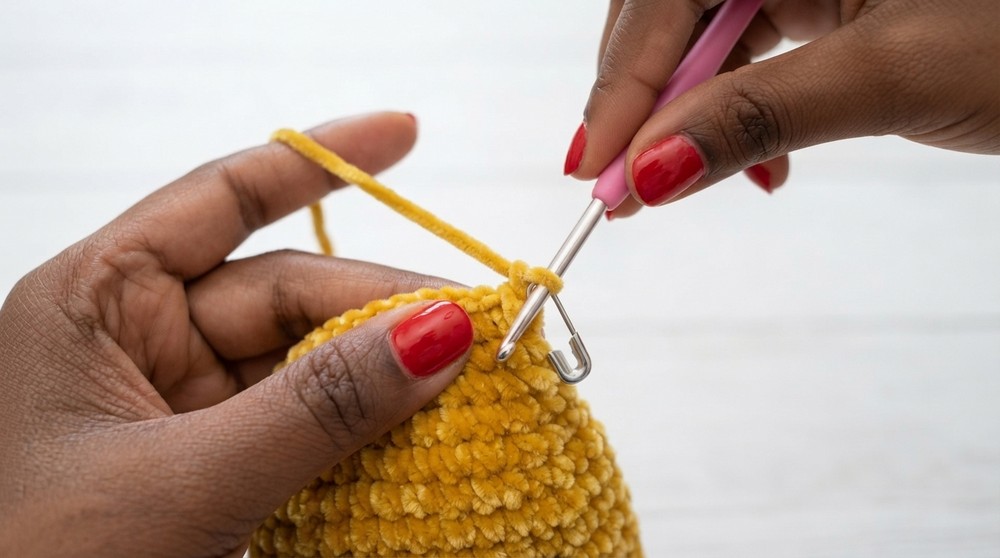
Continuous Rounds: This pattern is worked in continuous rounds. This means you do not join with a slip stitch at the end of each round unless otherwise specified. It is essential to use a stitch marker or a safety pin to track the first stitch of every round to keep your pattern aligned.
-
Stitch Tension: In amigurumi, maintaining a consistent and tight tension is paramount. If your tension is too loose, the fiberfill used for stuffing will show through the gaps between your stitches. To achieve the best result, ensure your stitches are uniform. If you notice gaps, consider dropping down one hook size from what the yarn label recommends.
-
Stuffing: As you progress toward the final rounds of the body and legs, ensure you stuff the pieces firmly. A well-stuffed toy maintains its intended shape and prevents it from appearing deflated or lumpy. Add stuffing as you close the rounds.
-
Invisible Decrease: We recommend using the "invisible decrease" technique. Insert your hook only through the front loops of the next two stitches, yarn over, pull through those two loops, yarn over, and finish your single crochet. This creates a much cleaner, more professional finish compared to a standard decrease.
-
Color Changes: When switching yarn colors, pull the new color through the final loops of the previous stitch to ensure the transition is seamless and smooth.
Skill Level
Intermediate. While this pattern uses standard stitches, the partitioning of limbs and the specific sequence of color changes require concentration and careful counting.
Materials
-
Yarn: Yellow, Black, White, Orange (or Red), and a small amount of Light Pink (for details). Use worsted or cotton yarn for a crisp, defined look.
-
Crochet Hook: 3.0mm.
-
Stuffing: Polyester fiberfill (toy stuffing).
-
Face Details: Two small black beads for the eyes, needle, and thread.
-
Tools: Yarn needle for assembly, stitch marker or safety pin, scissors for trimming, and optional pipe cleaners for arm/leg stability.
Measurements / Sizing
The finished Chimmy plush typically measures approximately 4 to 5 inches in height, depending on your individual tension and the specific weight of yarn utilized. This size makes it an ideal companion for desks, shelves, or as a small, thoughtful gift.
Gauge
For the best results, aim for a dense, fabric-like finish. There should be no visible holes between your stitches when the work is gently pulled. If you find your gauge is too loose, decrease your hook size.
Stitch Abbreviations
-
MR: Magic Ring
-
Ch: Chain
-
SC: Single Crochet
-
Inc: Increase (2 single crochet stitches in the same stitch)
-
Dec: Decrease (Invisible decrease)
-
SS: Slip Stitch
-
St/Sts: Stitch/Stitches
Special Stitches
-
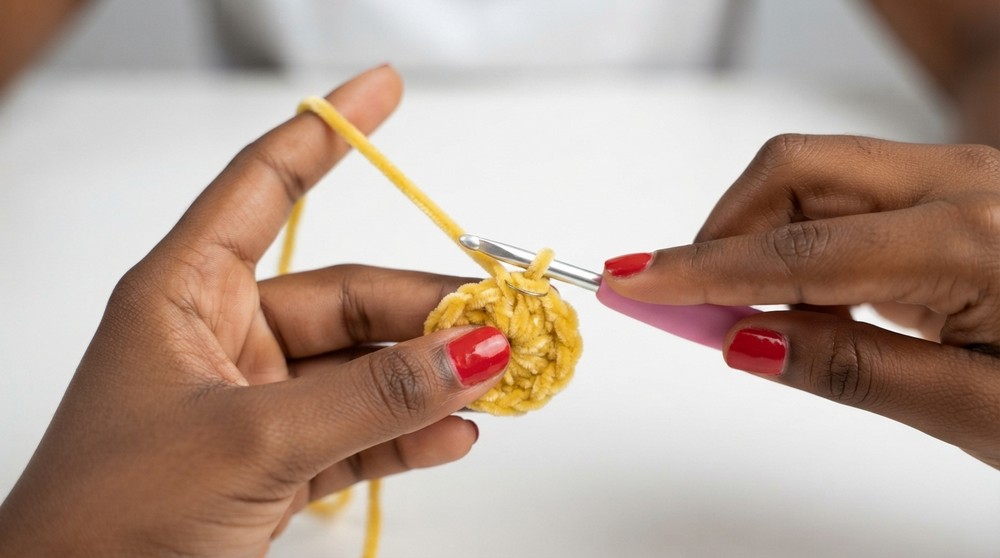
Magic Ring (MR): The standard starting point for amigurumi. It creates an adjustable loop that pulls tight to close the center hole, preventing a gap.
-
Invisible Decrease: Reduces the stitch count while creating a smooth surface that matches the rest of the single crochet stitches.
The Crochet Pattern!
Head (Yellow Yarn)
-
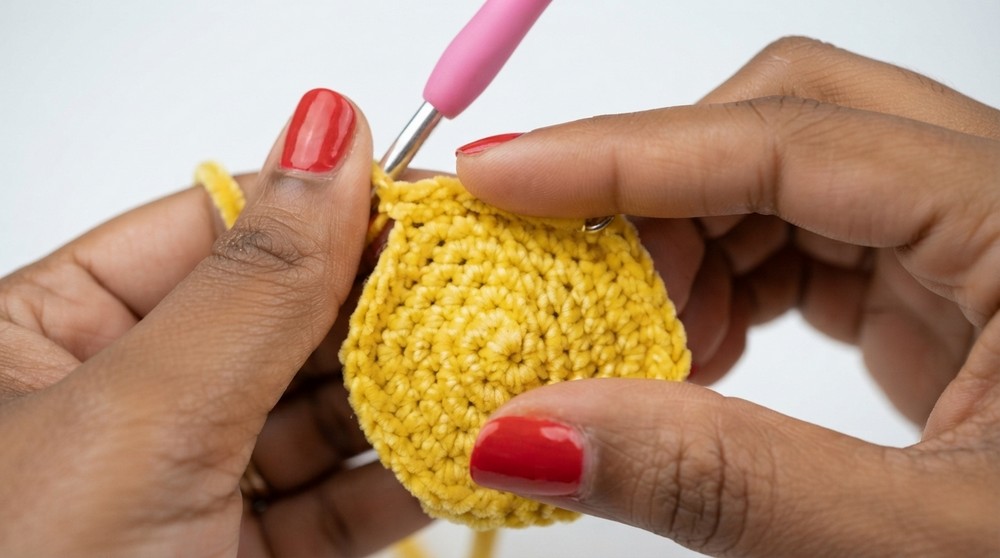
Round 1: Make a Magic Ring. Ch 1. Work 6 SC into the ring. Pull tight to close. Place your stitch marker. (Total: 6 sts).
-
Round 2: Inc in every stitch. (Total: 12 sts).
-
Round 3: 1 SC, Inc. Repeat 6 times. (Total: 18 sts).
-
Round 4: 2 SC, Inc. Repeat 6 times. (Total: 24 sts).
-
Round 5: 3 SC, Inc. Repeat 6 times. (Total: 30 sts).
-
Round 6: 4 SC, Inc. Repeat 6 times. (Total: 36 sts).
-
Round 7: 5 SC, Inc. Repeat 6 times. (Total: 42 sts).
-
Rounds 8–14: SC in every stitch around for 7 rounds. (Total: 42 sts).
-
Round 15: 5 SC, Dec. Repeat 6 times. (Total: 36 sts).
-
Round 16: 4 SC, Dec. Repeat 6 times. (Total: 30 sts).
-
Round 17: 3 SC, Dec. Repeat 6 times. (Total: 24 sts). Begin stuffing the head.
-
Round 18: 2 SC, Dec. Repeat 6 times. (Total: 18 sts).
-
Rounds 19–20: SC in every stitch for 2 rounds. (Total: 18 sts).
-
Round 21: 1 SC, Inc. Repeat 6 times. (Total: 24 sts).
-
Round 22: 2 SC, Inc. Repeat 6 times. (Total: 30 sts).
Changing to White Yarn (The Face Area)
-
Round 23: 3 SC, Inc. Repeat 6 times. (Total: 30 sts). Change yarn to White.
-
Round 24: 4 SC, Inc. Repeat 6 times. (Total: 36 sts). Change yarn to Dark Blue.
Arm Partition and Body Construction
-
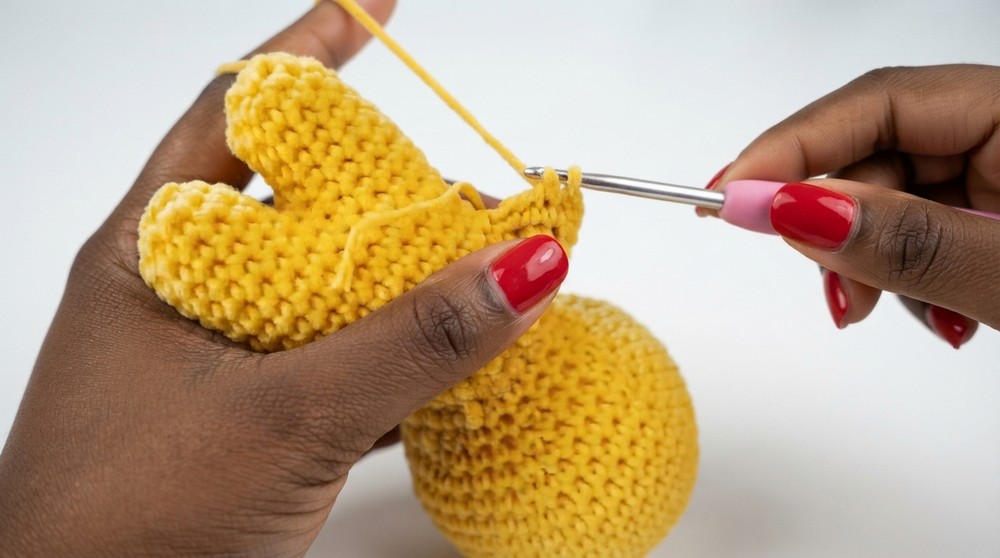
Partitioning: Fold the work. You need to isolate 10 stitches for the arms and 20 for the body. Place your stitch markers carefully to mark these sections.
-
Body Rounds (25–32): Continue working single crochet for the body. Work these 20 stitches for 7 rounds. (Total: 28 sts around the body). Note: Ensure you add stuffing as you work the body.
Leg Partition (Skin Tone Yarn)
-
Round 33 (Partitioning): Divide the 28 body stitches into two sections of 14 stitches each.
-
Leg Construction: Work 5 rounds of 14 SC for each leg.
-
Finishing Legs: After finishing the 5 rounds, sew the hole at the bottom of the foot closed using your yarn needle. Weave the yarn in and out to cinch the opening, then hide the end inside the leg.
Arms (Yellow and White Yarn)
-
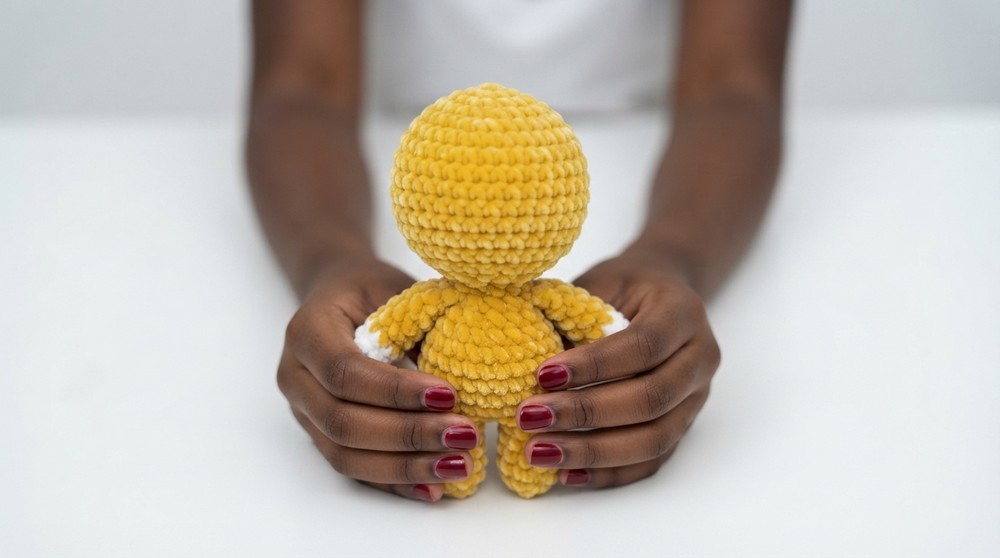
Round 1: Join Yellow yarn to the 10 stitches marked for the arms. Work 1 SC in every stitch. (Total: 10 sts).
-
Rounds 2–3: Work 2 more rounds of SC in Yellow. (Total: 10 sts).
-
Rounds 4–5: Change to White yarn. Work 2 rounds of SC. (Total: 10 sts).
-
Finishing: Slip stitch to the next stitch. Add a pipe cleaner for posability if desired. Sew the opening closed.
Ears (Black Yarn)
-
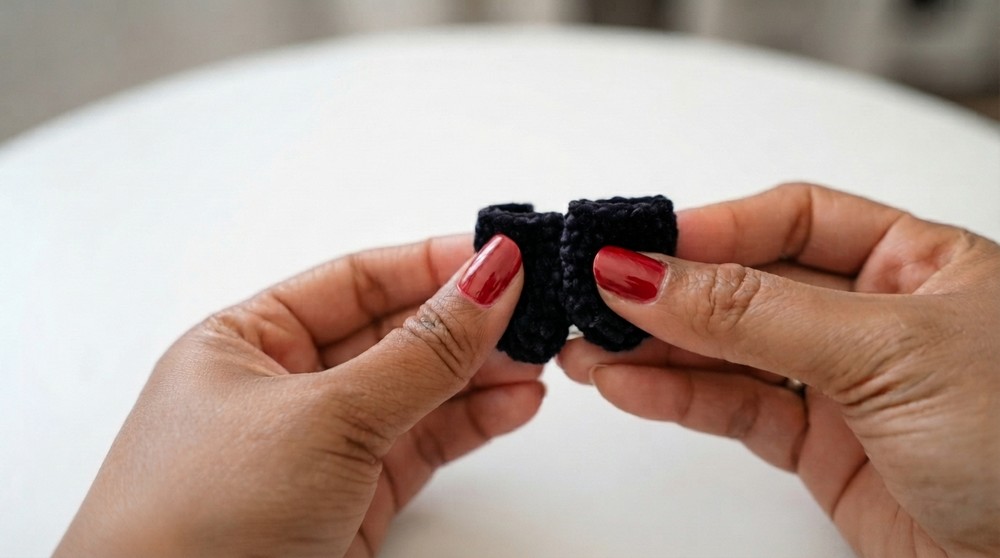
Round 1: MR, 6 SC. (Total: 6 sts).
-
Round 2: Inc in every stitch. (Total: 12 sts).
-
Rounds 3–9: SC in every stitch around for 7 rounds. (Total: 12 sts).
-
Finishing: Slip stitch, fasten off, and leave a tail for sewing. Make two ears.
Face Patch (White Yarn)
-
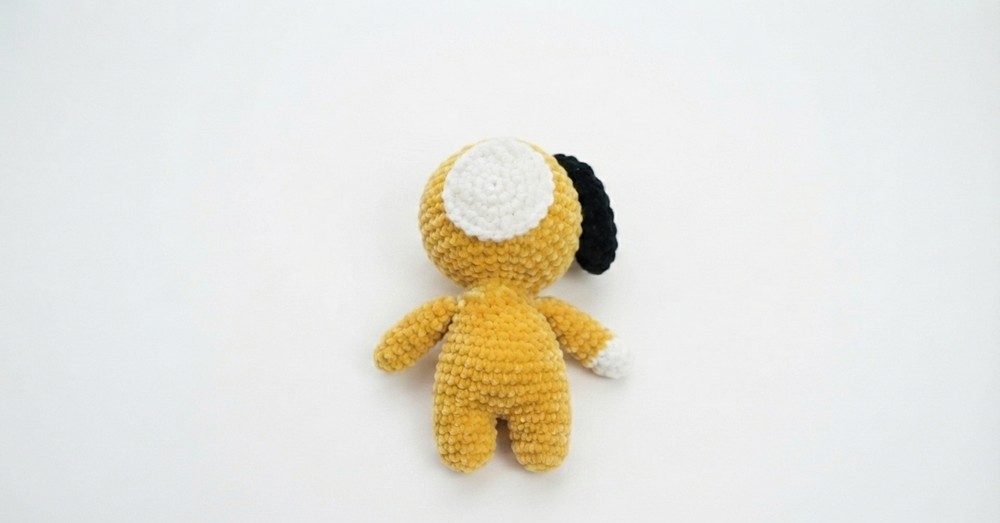
Round 1: MR, 6 SC. (Total: 6 sts).
-
Round 2: Inc in each stitch. (Total: 12 sts).
-
Round 3: 1 SC, Inc. Repeat 6 times. (Total: 18 sts).
-
Round 4: 2 SC, Inc. Repeat 6 times. (Total: 24 sts).
-
Round 5: SC all around. (Total: 24 sts).
-
Finishing: Slip stitch and fasten off.
Assembly & Finished Size
Now that your components are ready, bring Chimmy to life:
-
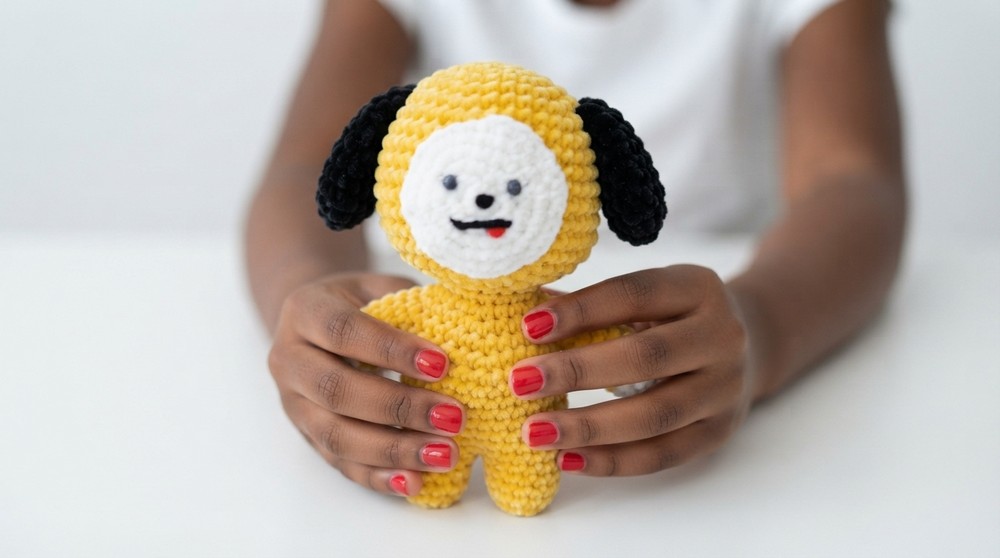
Face Embroidery: Place the white face patch on the center of the head. Sew it on neatly. Attach the two black beads for eyes onto the face patch. Use black thread to embroider the nose and mouth features, giving Chimmy his characteristic expression.
-
Attaching Ears: Sew the two black ears to the top of the head. Position them slightly forward to enhance his puppy-like appearance.
-
Final Touches: Ensure all yarn ends from your sewing are tucked deeply into the body so they are not visible. Pat your finished Chimmy doll gently to ensure the stuffing is even and the character sits nicely. The final plush should be dense, soft, and stable.
Conclusion and ending words
By following this detailed pattern, you have successfully transformed yarn into a charming, character-rich plush. This process highlights the beauty of amigurumi—that with nothing more than a hook, some yarn, and a bit of patience, you can create something truly special. Chimmy is a character defined by his simple joy, which makes this project the perfect opportunity to practice the fundamentals of consistent tension and tidy assembly. Remember, each project is a step forward in your crochet journey. Your stitches will naturally become more uniform, and your ability to bring characters to life will only improve with time.