
How To Crochet Amigurumi Turtle Free Pattern That You'll Love
Follow this Crochet Amigurumi Turtle Free Pattern to make a charming and unique little turtle that is soft fun and perfect for all skill levels to enjoy.
Spending time on a charming and simple project can be very satisfying. The Crochet Amigurumi Turtle is a small toy with a rounded shell, four short legs, a gentle head, and a tiny tail. The finished size is about 4 to 6 inches long, which makes it easy to hold or place on a shelf.
Simple Crochet Amigurumi Turtle Free Pattern For Kid's Toy
This project features a textured shell made by crocheting in spirals or sections, giving it a nice dimension. The legs and head have soft curves, adding to the turtle’s sweet appearance. The eyes are typically sewn on with yarn or attached using safety buttons, bringing a friendly look to the toy.
The Turtle is suitable for beginners or those with some crochet experience since it uses basic stitches like single crochet, increases, and decreases. The process involves making separate parts and stitching them together carefully, which is great for practicing how to join pieces and finish small details neatly.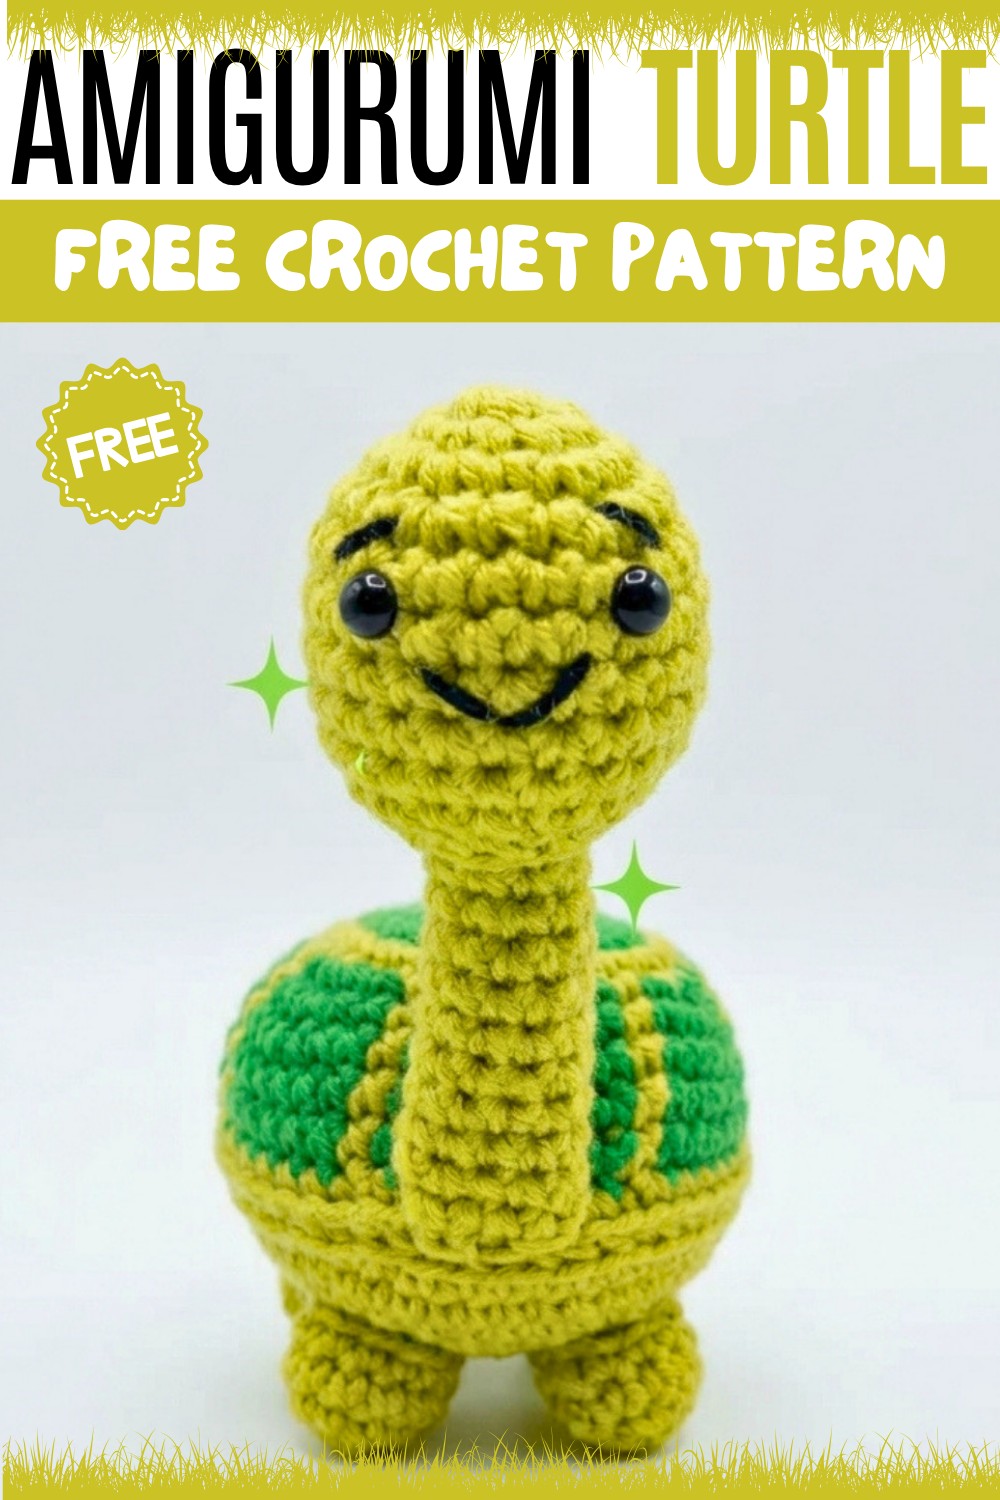
This little turtle works well as a toy, decoration, or a thoughtful gift for children or anyone fond of handmade items. The soft texture and sturdy shape make it appealing and enjoyable to have around.
In summary, this project offers a clear and rewarding process with a cute result. For a simple and fun project, try this free pattern and see how nicely your turtle turns out.
- The original tutorial by Crochet.LuNuaFvy serves as the main reference for this written pattern.
Long-Necked Tortoise Crochet Pattern
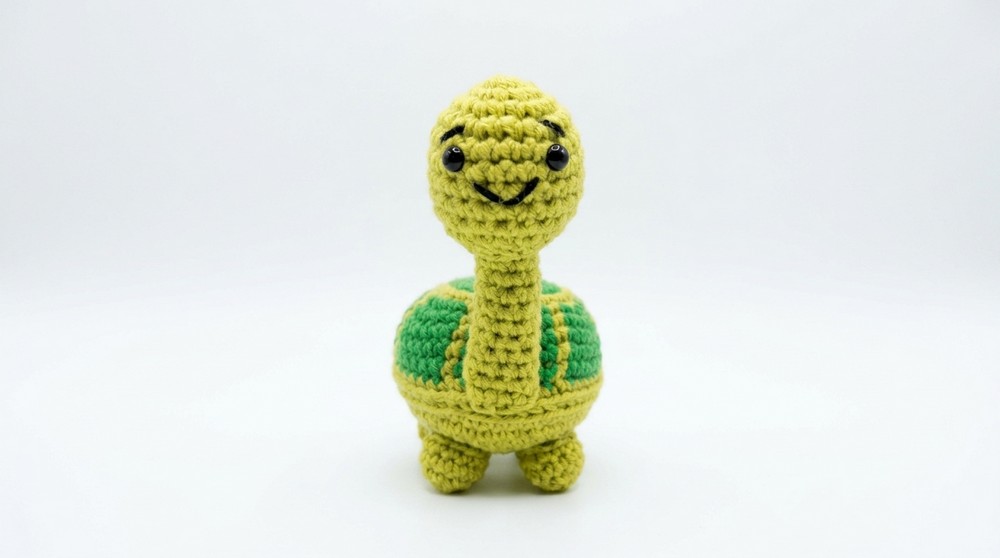
Crafting a long-necked tortoise offers the chance to learn new techniques with smooth color changes, neat round shaping, and modular assembly of distinctive head, shell, and leg pieces. This project’s instructions are broken down by body part, enabling a focus on precision during each crocheting and assembling step. The result is a whimsically gentle tortoise with a bold shell, textured belly, expressive long head and neck, and sturdy stubby legs.
Pattern Basic Points
- The shell is worked seamlessly in the round, transitioning through several color changes for a classic tortoise appearance.
- Both the top and bottom shells are created separately using circular increases to ensure a domed upper shell and a flatter base.
- The head is shaped in one piece, featuring expansion for the head and careful shaping for the elongated neck, finished flat for easy attachment.
- Legs are simple ovals, worked from a magic ring to the desired circumference for all four limbs.
- Assembly steps guide the joining and securing of all sections in a tidy, finish, with optional details for facial embroidery.
Special Notes
- Consistent stitch count is crucial for symmetry. Use a removable stitch marker to track the start of rounds.
- Color changes in the shell can be made by simply dropping the working yarn and picking up the new color, minimizing visible joins. For a cleaner color transition, use the new color to complete the final pull-through of the last stitch in the previous color.
- When sewing parts together, align carefully and pin if needed to achieve proper placement and natural posture.
- Stuff the pieces firmly but avoid overfilling, as this may stretch the stitches or distort the shell shape.
- Use embroidery thread or fine yarn for small facial features to maintain a gentle, expressive appearance.
Skill Level
Beginner to Intermediate
The pattern is ideal for advanced beginners looking to advance beyond basic spherical amigurumi. It introduces color changes, structured assembly, and shaping through increases and decreases, all while maintaining straightforward stitch patterns.
Materials
- Worsted weight yarn in at least three colors: two greens (light and dark for shell pattern) and a neutral for the belly. Optional dark yarn for facial embroidery.
- Crochet hook: 2.5 mm or 3.0 mm (adjust for your yarn and a firm gauge)
- Yarn/tapestry needle for sewing and embroidery
- Stuffing (polyester fiberfill or desired soft filling)
- Scissors
- Removable stitch marker
- Pins for assembly, optional
Measurements
- Finished tortoise is approximately 6–7 inches (15–18 cm) from the tip of the head to the end of the shell; the shell itself is about 4 inches (10 cm) across, and the head/neck extends 2–3 inches (5–7 cm).
Gauge
- Amigurumi gauge: tight stitches so stuffing does not show through. 5 rounds in SC = about 1.5 inches (4 cm) diameter.
- Adjust hook size if your pieces turn out too loose or stiff.
Stitch Pattern
- Body parts are mostly worked in the round using single crochet stitches, with increases and color changes making up the main textural shifts.
Stitch Abbreviations
- MR = Magic Ring (Loop)
- SC = Single Crochet
- INC = Increase (2 SC in same stitch)
- DEC = Decrease (single crochet 2 together)
- Ch = Chain
- Sl St = Slip Stitch
- St(s) = Stitch(es)
Special Stitches Used
- Magic Ring (MR): Adjustable ring to create a tight, seamless starting round.
- Single Crochet (SC) Increase/Decrease: For shaping, two SC in one stitch creates an increase, while drawing through two stitches at once creates a decrease.
- Color Change: Before completing the last SC of the old color, yarn over with the new color and pull through both loops, continuing in new yarn.
Shell (Top)
- Round 1:
- With main (medium or dark) green, MR, 6 SC into ring.
- Round 2:
- 2 SC in each st around (INC in each st) – 12 SC.
- Round 3:
- Repeat [1 SC, 1 INC] around – 18 SC (6 sets).
- Round 4:
- Repeat [2 SC, 1 INC] around – 24 SC (6 sets).
- Round 5:
- Switch to light green. Repeat [3 SC, 1 INC] around – 30 SC (6 sets).
- Round 6:
- Switch back to dark color. Repeat [4 SC, 1 INC] around – 36 SC (6 sets).
- Rounds 7-8:
- Continue in dark (or chosen color). SC evenly around for two rounds (36 SC per round). Add color patches or bands as preferred.
- Rounds 9-11:
- Work 3 more rounds SC, making any final color changes or textural adjustments as desired for shell detail. Fasten off leaving a long tail for assembly.

Belly/Bottom Shell
- Round 1:
- With light color for belly, MR, 6 SC into ring.
- Round 2:
- 2 SC in each st around – 12 SC.
- Round 3:
- [1 SC, 1 INC] repeat around – 18 SC.
- Round 4:
- [2 SC, 1 INC] repeat around – 24 SC.
- Round 5:
- [3 SC, 1 INC] repeat around – 30 SC.
- Round 6:
- [4 SC, 1 INC] repeat around – 36 SC.
- Round 7:
- [5 SC, 1 INC] repeat around – 42 SC.
- Round 8:
- [6 SC, 1 INC] repeat around – 48 SC.
- Finish off, leaving a long tail for sewing.

Assembly (Shell)
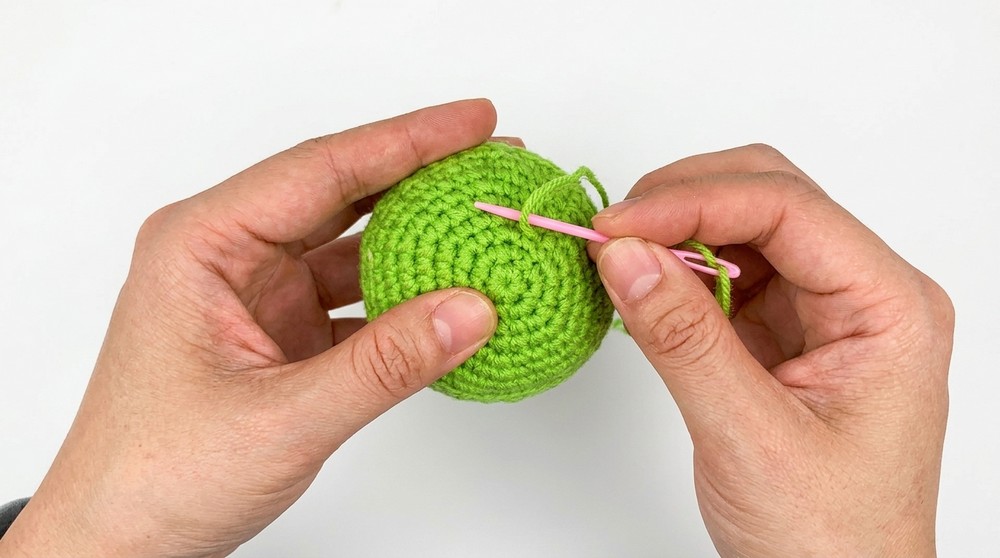
- Place the shell top and bottom together, wrong sides facing.
- Use whip stitch or mattress stitch and the long yarn tail to sew around, leaving a gap.
- Stuff the shell very firmly. Sew remaining gap closed, fasten off, and weave in ends.
Head (with Long Neck)
Round 1:
-
- With head color, MR, 6 SC into ring.
-
Round 2:
- 2 SC in each st – 12 SC.
- Round 3:
- [1 SC, 1 INC] repeat around – 18 SC.
-
Round 4:
- [2 SC, 1 INC] repeat around – 24 SC.
-
Rounds 5-9:
- SC in each st around (24 SC per round), for a rounded head shape.
- Rounds 10-15:
- DEC 4 evenly around in each round, spaced to create a narrowing for the neck. Adjust for a gentle taper – you may alternate one round of DEC with one round plain.
- Neck Tip:
- Fold the open end of the neck flat and SC through both layers across – this closes the neck and makes it ready for attachment.
- Stuff the head and neck before closing completely.
Legs (Make 4)
- Round 1:
- MR, 6 SC into ring.
-
Round 2:
- 2 SC in each st – 12 SC.
-
Rounds 3-5:
- SC in each st around (12 SC per round) for a chunky oval shape.
-
Finishing Leg:
- Leave long tail for sewing; lightly stuff.
Assembly (Construction Order)

- Stitch the head and neck securely to the front underside of the top shell (position the head’s closure over the shell's edge for strength).
- Evenly space and attach four legs around the bottom shell.
- Use extra yarn and a needle to embroider eyes and a smile onto the head if safety eyes are not used.
Assembly & Finished Size
- Entire tortoise measures around 6–7 inches (15–18 cm) in length.
- Shell diameter is about 4 inches (10 cm), finished height about 3 inches (7–8 cm) with head and leg attachment.
- The expressive neck and bright shell design give this tortoise a unique character.

Conclusion
Precise shaping, thoughtful color placement, and strong modular assembly make this a skill-building crochet project. Each section is designed to come together seamlessly, ensuring durability and a polished look. The pattern invites creative touches, from colored shell patches to custom facial expressions, allowing each tortoise to become a cherished companion. Suitable for huggable child’s play, thoughtful gifting, or playful display, the long-necked tortoise offers both challenge and charm in every stitch.