
Free Crochet Plushie Turtle Pattern for Beginners
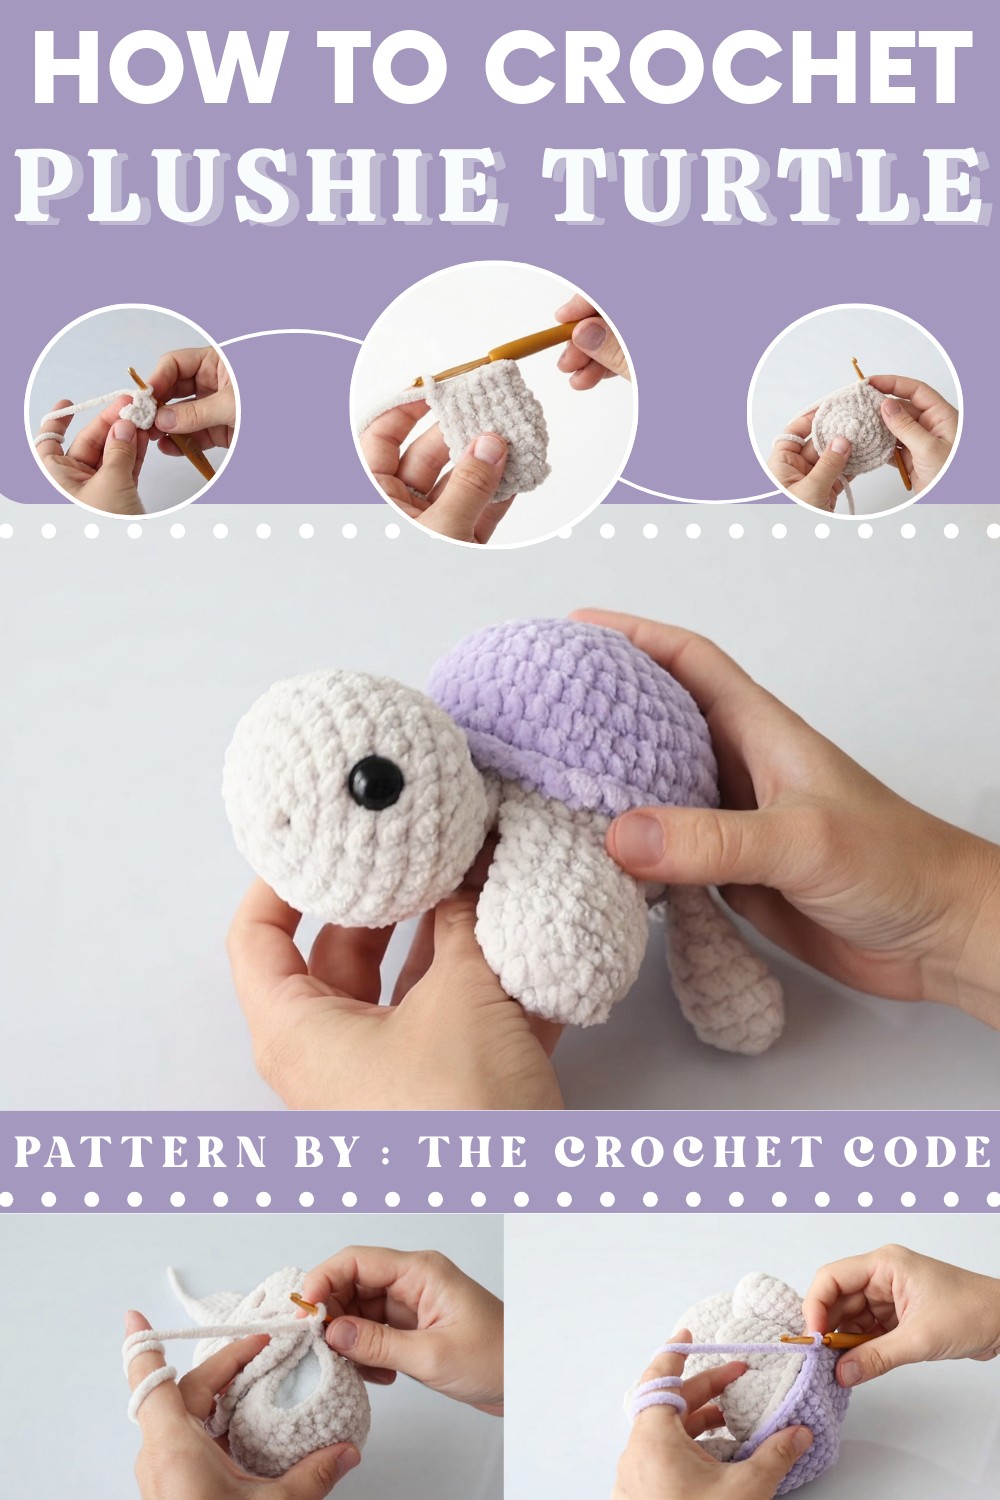
Innovative and adorable, this Crochet Plushie Turtle Pattern offers a no-sew design, perfect for creating stylish, functional, and huggable handmade treasures.
A charming little turtle that combines style, function, and the joy of handmade design—all in one adorable package. This free crochet plushie turtle pattern offers crocheters an innovative project to bring this delightful creature to life. Its seamless no-sew design ensures durability and ease of assembly, making it the perfect choice for those who love simple yet satisfying creations. Using super bulky yarn, the pattern allows for quick completion, making it ideal for both seasoned crocheters and those looking to improve their skills.
FREE Crochet Turtle Pattern Pattern
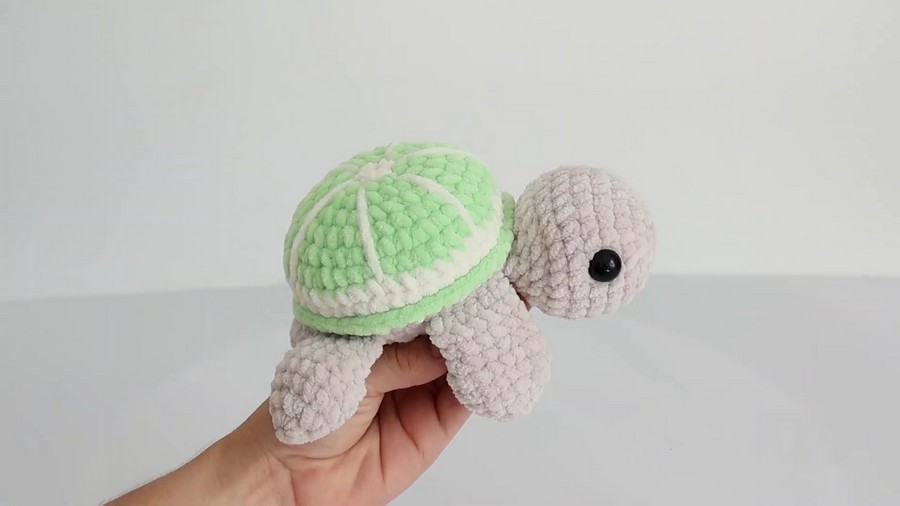
The plushie turtle isn't just a fun project—it’s also incredibly versatile. Its soft, huggable texture makes it perfect as a toy for kids, while its aesthetic appeal makes it a charming decor piece for nurseries, workspaces, or living rooms. Its thoughtful design lets you customize colors to suit your style or gift recipient, making it a splendid handmade present for any occasion.
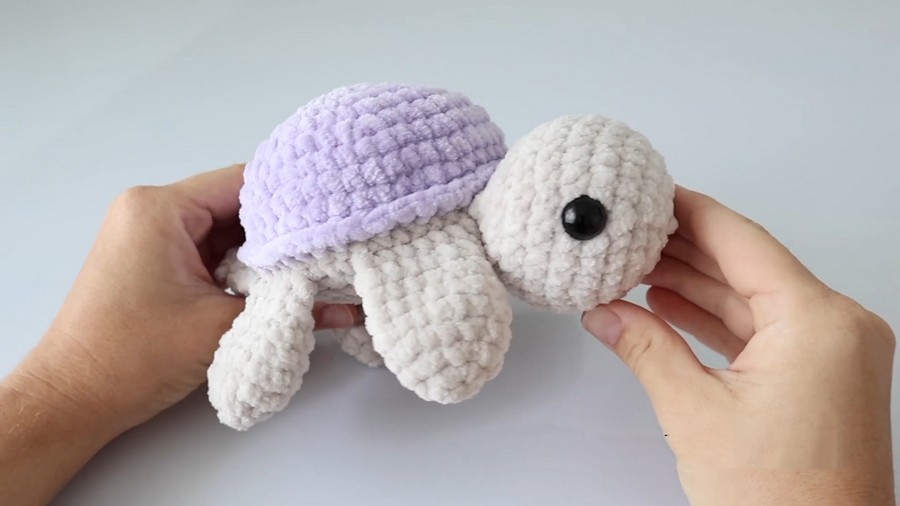
Whether you're crocheting for fun, gifting, or decorating, this turtle combines practicality and creative expression effortlessly. The straightforward pattern is easy to follow, while the finished product serves as a rewarding and tangible reminder of your artistic dedication. Soft, stylish, and functional, this crochet plushie turtle is proof that creativity can meet everyday usefulness.
Necessary Materials:
- Yarn:
- Super Bulky Chenille Yarn (Premier Yarns Parfait Chunky recommended).
- Base Color: Mushroom shade for the turtle's body.
- Shell Color: Lilac shade or any other preferred color.
- Super Bulky Chenille Yarn (Premier Yarns Parfait Chunky recommended).
- Crochet Hook: 4.5 mm
- Safety Eyes: 14 mm black safety eyes and washers to secure.
- Stuffing: Toy stuffing (Polyfill) to shape and fill the turtle.
- Accessories:
- Stitch Marker: Useful for tracking the first stitch in each round.
- Scissors & Tapestry Needle: Needed for finishing touches and hiding yarn tails.
Gauge:
- Stitch Gauge: Gauge is not critical for this plushie project as it's a small, stuffed toy created with bulky yarn. Aim for tight stitches to prevent stuffing visibility.
Finished Size:
- Approximate Dimensions: 6–8 inches long, depending on the yarn used and tension.
Special Techniques:
- Magic Ring: Begin rounds with a tight, neat center for crocheted circles.
- Increases: Work two single crochet stitches into the same stitch.
- Invisible Decreases: Crochet through the front loops of two stitches and pull through for a clean finish.
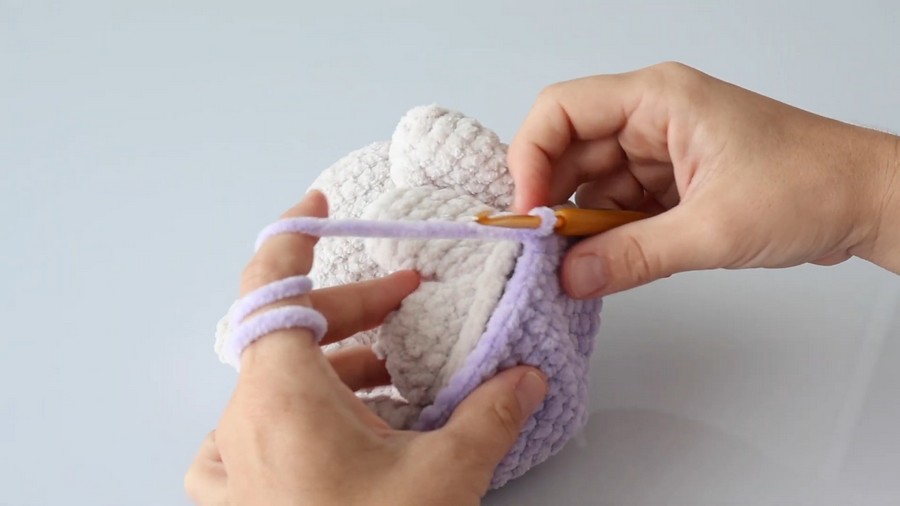
- Joining via Single Crochet: Seamlessly attach turtle pieces (flippers, tail, head) directly to the base, avoiding the need for sewing.
- Stuffing Mid-Assembly: Insert stuffing before completely closing the turtle plushie to ensure firmness.
Detailed Pattern Instructions:
Front Flippers (Make 2):
- Round 1:
- Begin with a magic ring.
- Work 6 single crochets (SC) into the ring. Pull thread tightly to close. (6 stitches)
- Round 2:
- Increase in all stitches: 2 SC in each stitch. (12 stitches)
- Round 3:
- Work SC in the next 2 stitches, then increase (2 SC in the same stitch).
- Repeat sequence 4 times. (16 stitches)
- Rounds 4-5:
- Single crochet in each stitch. (16 stitches per round)
- Round 6:
- SC in the next 2 stitches, then decrease (join the front loops of 2 stitches).
- Repeat this sequence 4 times. (12 stitches)
- Rounds 7-8:
- Single crochet in every stitch. (12 stitches per round)
- Round 9:
- Fold the flipper flat. Chain 1 and single crochet across the top edge to close the opening. (6 stitches)
- Bind off and sew in the yarn tail.
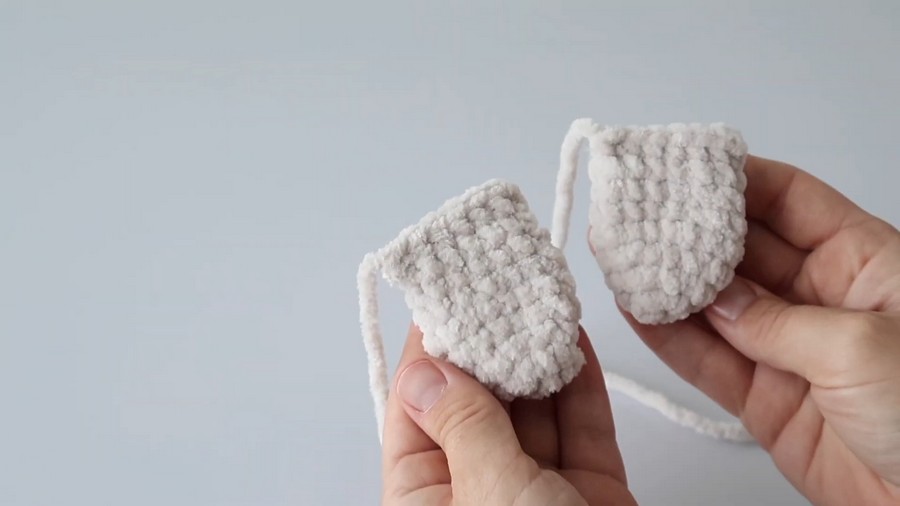
Back Flippers (Make 2):
- Round 1:
- Begin with a magic ring.
- Work 7 SC into the ring. Pull it tightly to close. (7 stitches)
- Round 2:
- Increase in all stitches: 2 SC in each stitch. (14 stitches)
- Rounds 3-5:
- Single crochet in each stitch. (14 stitches per round)
- Round 6:
- Decrease once, SC in the next 3 stitches, then decrease again.
- Repeat this sequence 2 times. (10 stitches)
- Round 7:
- Single crochet in all stitches. (10 stitches)
- Round 8:
- Fold the flipper flat, chain 1, and single crochet across the top edge to close. (5 stitches)
- Bind off and sew in the yarn tail.
Tail:
- Round 1:
- Begin with a magic ring.
- Work 6 SC into the ring. Pull tightly to close. (6 stitches)
- Round 2:
- Increase in all stitches: 2 SC in each stitch. (12 stitches)
- Round 3:
- Single crochet in each stitch. (12 stitches)
- Round 4:
- Fold the tail flat, chain 1, and single crochet across the top edge to close. (6 stitches)
- Bind off securely.
Head:
- Round 1:
- Begin with a magic ring.
- Work 8 SC into the ring. Pull tightly to close. (8 stitches)
- Round 2:
- Increase in all stitches: 2 SC in each stitch. (16 stitches)
- Round 3:
- SC 1, increase (2 SC in the same stitch). Repeat 8 times. (24 stitches)
- Round 4:
- SC 5, increase (2 SC in the same stitch). Repeat 4 times. (28 stitches)
- Round 5:
- SC 3, increase (2 SC in the same stitch). Repeat 4 times. (32 stitches)
- Rounds 6-8:
- Single crochet in each stitch. (32 stitches per round)
- Round 9:
- Decrease in the first two stitches, then SC 8, decrease. Repeat twice. (28 stitches)
- Round 10:
- SC 1, decrease. Repeat 8 times. (20 stitches)
- Round 11:
- Single crochet in every stitch. Bind off and securely weave yarn ends.
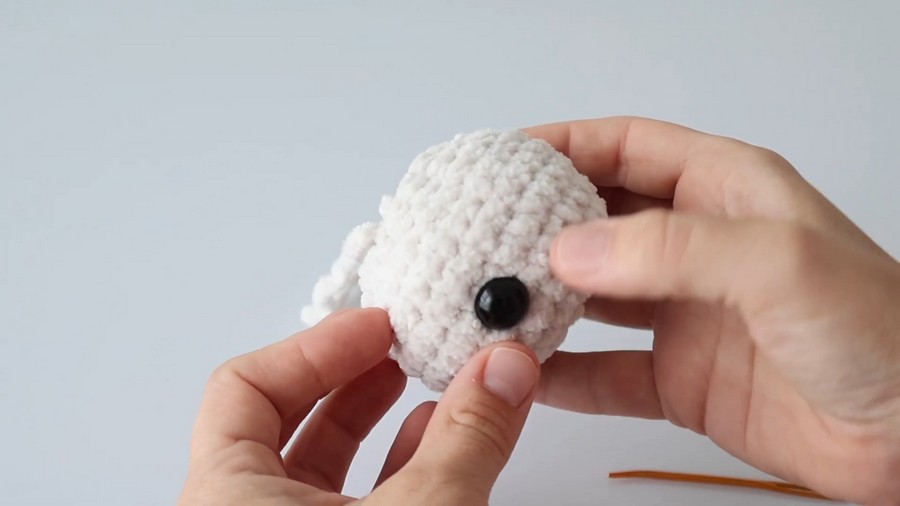
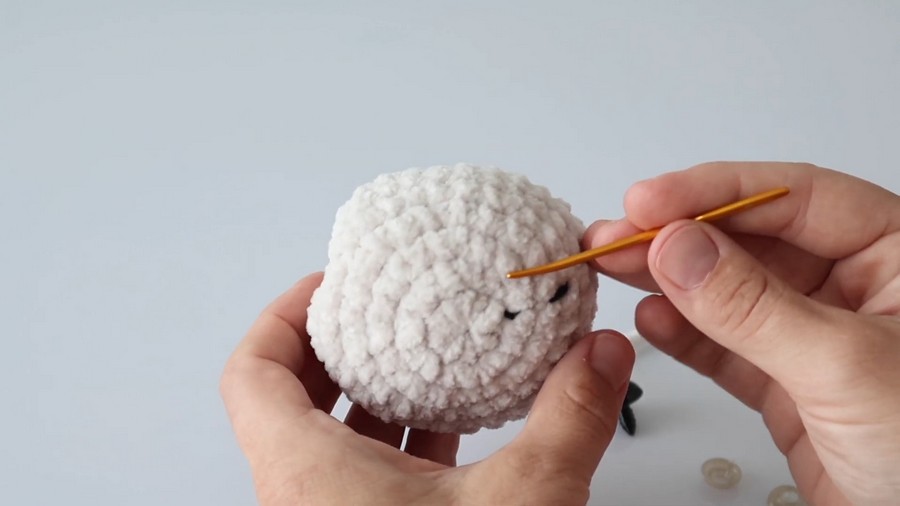
- Insert Safety Eyes: Place 14 mm safety eyes between rounds 5 and 6. Space them 14 stitches apart, adjust placement for symmetry.
Base:
- Round 1:
- Work 8 SC into a magic ring. (8 stitches)
- Round 2:
- 2 SC in each stitch. (16 stitches)
- Round 3:
- SC 1, increase. Repeat 8 times. (24 stitches)
- Round 4:
- SC 2, increase. Repeat 8 times. (32 stitches)
- Round 5:
- SC 3, increase. Repeat 8 times. (40 stitches)
- Round 6:
- SC 9, increase. Repeat 4 times. (44 stitches)
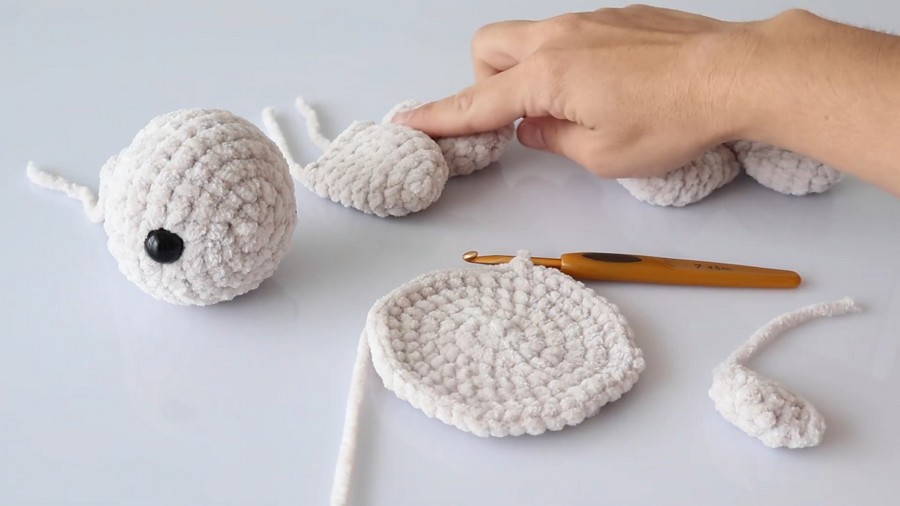
- Attach turtle pieces (tail, flippers, and head) seamlessly while crocheting round 7.
Shell:
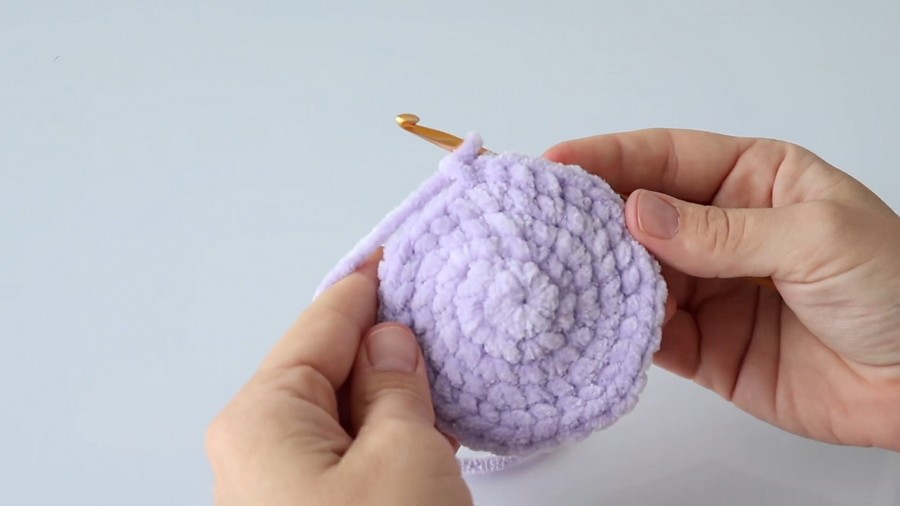
- Follow the same structure as the base, with increases in each round.
- Round 8 & 9: Single crochet in each stitch for smooth finishing.
- Attach the shell on top of the turtle's body, inserting stuffing before fully closing.
Tips & Customization Ideas:
- Colors: Customize yarn colors to create vibrant turtles or themed designs (e.g., watermelon, strawberry).
- Personal Touch: Add a scarf or small hat to the turtle for a seasonal look.
- Embroidery Details: Stitch a smile or freckles for added charm.
Conclusion:
This crochet turtle plushie is beginner-friendly, avoids tedious sewing, and results in a delightful finished product. The pattern’s modularity makes it ideal for small, creative adjustments. The sturdy assembly produces a firm plushie perfect as a gift or toy.
Final Remark:
Let your creativity flow and share your turtle projects with others.