
How to Crochet a Mini Daisy Pot With Free Pattern + Instructions
Add a bright, happy look to any room with the Crochet Mini Daisy Pot. It’s great for home decor, gifts, or table decorations and doesn’t need any care.
This pattern is based on the original YouTube video by DIY Yarn Crafts. Big thanks to them for creating and sharing the Crochet Mini Daisy Pot, a fun and easy project! I recommend watching their full tutorial and supporting their channel.
Free Crochet Mini Daisy Pot Pattern With a Decorative Style
The Crochet Mini Daisy Pot is a small, adorable yarn pot decorated with tiny daisy flowers. It looks charming and is the perfect size to place on your desk, shelf, or any small space that needs some bright and cheerful decoration. This project adds a handmade touch to your home without the worry of caring for real plants.
You will need simple supplies such as yarn in different colors, a crochet hook, stuffing, and some basic crochet knowledge. The pattern uses easy stitches, making it suitable for beginners and enjoyable for more experienced crocheters. The soft yarn flowers give a cozy and inviting feel, and the pot is neat and well-shapedThis Crochet Pot has many uses — it makes a cute decoration for home or office, brightening up any area. It is also a perfect gift idea for friends and family, especially those who love handmade items. Because it needs no watering or sunlight, it’s ideal for people who don’t have time to care for real plants. You can even use it as a creative photo prop or a cheerful centerpiece for small tables.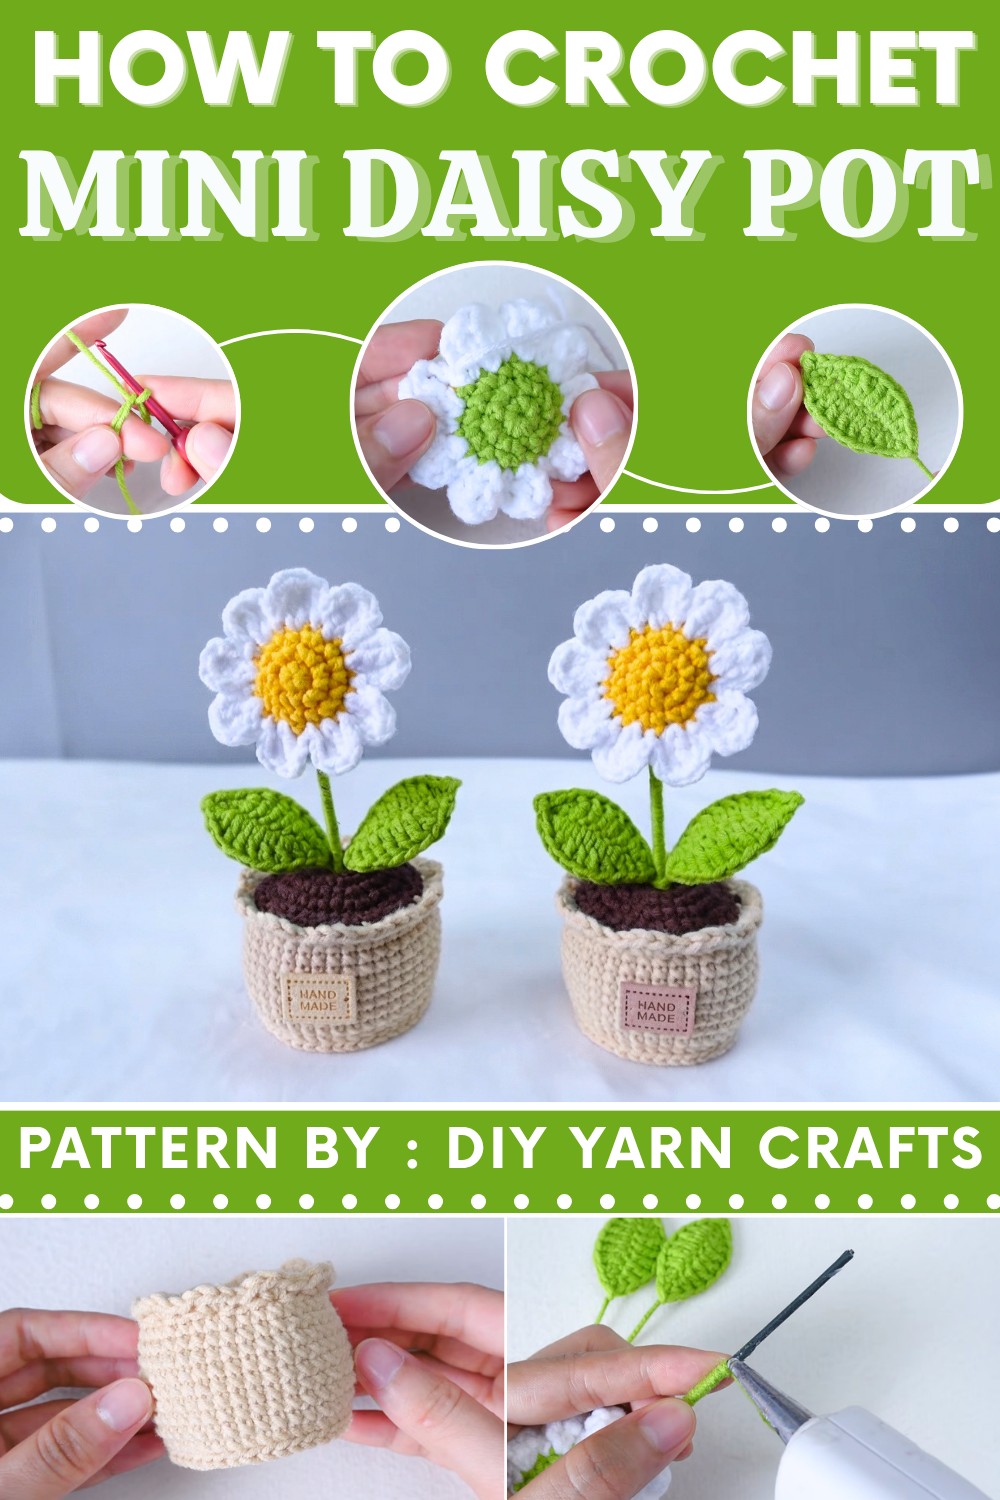

Crochet Daisy in a Pot – Full Step-by-Step Pattern
This project is designed to be easy and accessible for beginners. Follow along as we make each part of the daisy, assemble the pot with its soil and leaves, and finish with a lovely decorative flower that will brighten your space.
Pattern Highlights
The Daisy Flower
- Center consists of two pieces: A green sepal and a yellow stamen, both crocheted in the round and joined together.
- Petals: Crocheted in one go, joining the center pieces using white yarn and triple crochet stitches to create elongated petals.
Leaves
- Structured with wire: Crocheted around a 0.5 mm wire base for realistic shape and stability.
- Tapered shape: Shaped gradually with a mix of stitches for a natural look.
Pot & Soil
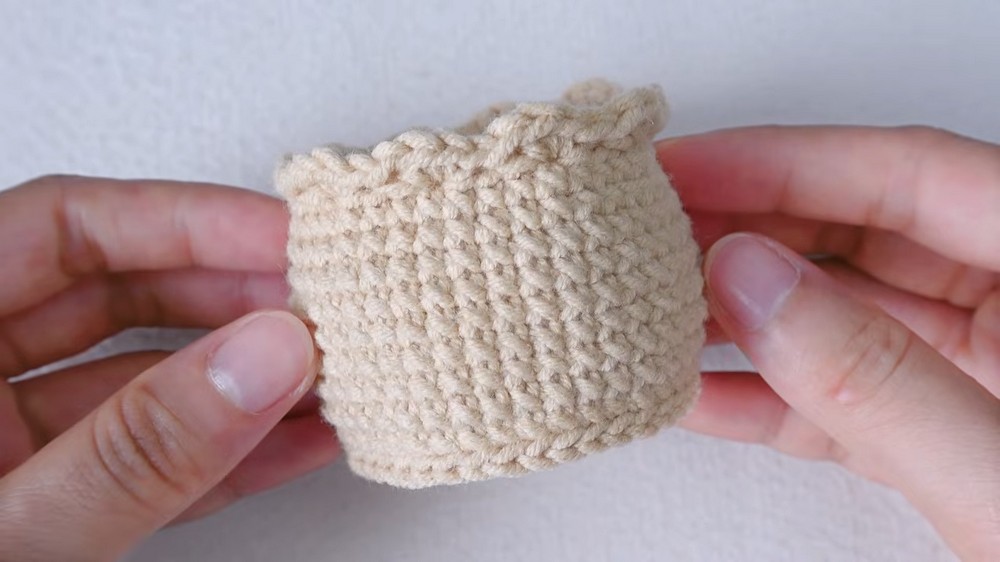
- Pot: Worked in continuous rounds, expanded with structured increases, sides are worked in back loops, and finished with a decorative rim.
- Soil: A flat circle, worked separately and sewn into the top of the pot.
Assembly
- Sturdy construction: Pot is stuffed and weighted (optional) for stability.
- Flower branch: Made from a stick wrapped with green yarn and attached with hot glue.
- Leaves and flower: Assembled securely for a long-lasting, realistic finish.
Notes
- Mark the first stitch of each round with a stitch marker for easier counting and to keep your rounds even, especially for the sepal, stamen, and pot.
- When making the magic ring, make sure to pull the tail tightly to close, except for the soil where a hole is needed.
- For the leaves, use floral wire and work stitches tightly around the wire for best control and shape.
- Use a hot glue gun carefully to avoid burns and keep the assembly neat.
- Adjust the size of your hook or number of rounds as needed based on your yarn weight or preferred final size.
Skill Level
Beginner to Advanced Beginner
- Basic crochet stitches (single, half double, double, and triple crochet)
- Magic ring
- Increasing stitches
- Working in rounds and back/front loop only
- Simple slip stitching and assembly
Materials
- Yarn: Susan's Family 5 brand or similar (worsted weight)
- Green (sepal, leaves, branch wrap)
- Yellow (stamen)
- White (petals)
- Brown or black (soil)
- Pot color of your choice
- Hook: 2.5 mm
- 0.5 mm floral wire: 16cm per leaf (x2)
- Stick: About 10 cm (for stem)
- Fiberfill stuffing
- Small gravel stones (optional, for extra weight)
- Hot glue gun and glue sticks
- Darning needle, stitch markers, scissors
Measurements / Sizing (Optional Schematic)
- Overall height: ~12–15 cm (pot to flower tip)
- Pot diameter: ~5–6 cm
- Leaf length: ~7–8 cm each
- Flower diameter: ~6–7 cm
Gauge (and Stitch Pattern if applicable)
Gauge is not critical for this project but aim for tight, even stitches to ensure stuffing does not show through. Use single crochet as the main stitch, with triple crochet for petals.
Stitch Abbreviations
| Abbreviation | Description |
|---|---|
| ch | chain |
| sc | single crochet |
| hdc | half double crochet |
| dc | double crochet |
| tr | triple crochet |
| st | stitch |
| sl st | slip stitch |
| inc | increase (2 sc in one st) |
| FLO | front loops only |
| BLO | back loops only |
Special Stitches
- Magic ring: Create an adjustable ring to begin working in the round.
- Increase (inc): 2 sc in one stitch.
- Triple Crochet (tr): Yarn over twice, insert hook, pull up a loop (4 on hook), [yarn over, pull through 2] three times.
- Working around wire: Lay wire along chain foundation and crochet over it, enclosing it in the stitches.
- Back Loop Only (BLO)/Front Loop Only (FLO): Insert hook through only the back or front loop of the indicated stitch.
Simple Crochet Pattern
Sepal (Green Part)
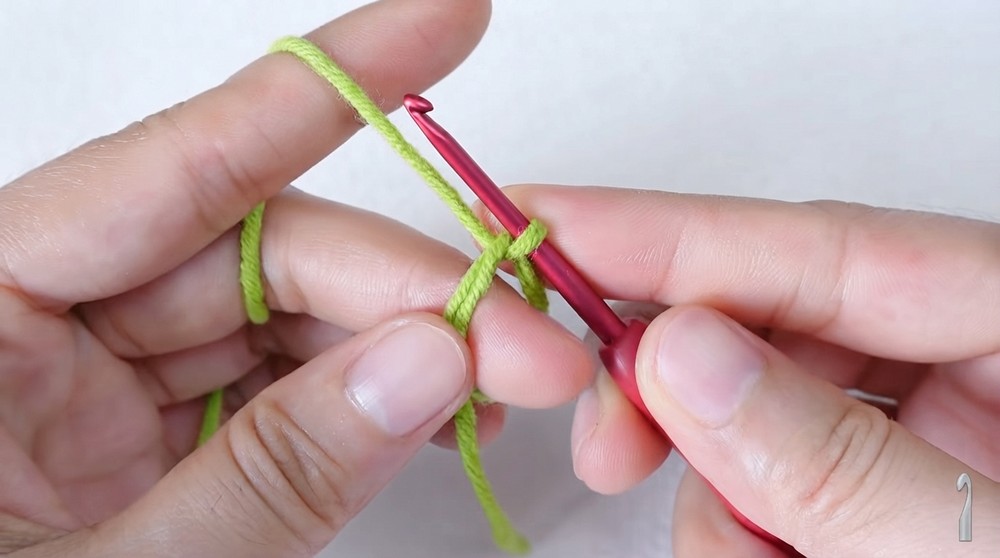
- Magic ring.
- Round 1: 6 sc in magic ring. Mark the first st. (6 sts)
- Pull tail to close.
- Sl st in first st to join.
- Round 2: Ch 1. 2 sc in each st around (inc in each st). (12 sts)
- Sl st in first st to join.
- Round 3: Ch 1. Sc in next st, inc in next st around (18 sts)
- Sl st in first st to join.
- Fasten off, weave end.
Stamen (Yellow Part)
- Repeat Sepal pattern exactly, using yellow yarn.
Petals
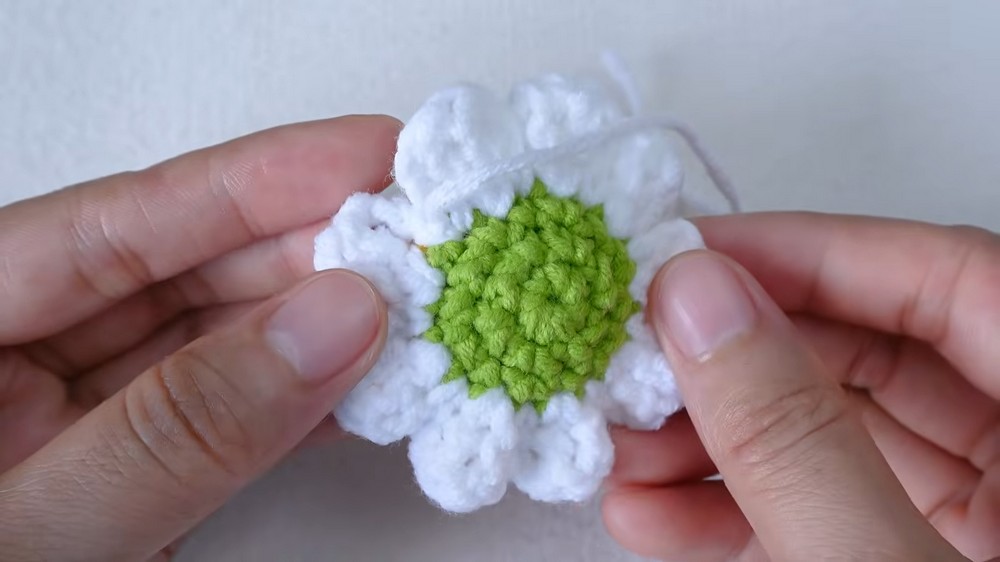
- Place green sepal and yellow stamen together, wrong sides facing each other.
- Using a slipknot in white, insert hook through first stitch of both layers and pull through the slipknot.
- Hide yarn tails inside fillers.
- Petal Sequence (worked through both layers):
- [Ch 3. 2 tr in next st. Ch 3. Sl st in next st] Repeat for a total of 9 petals, working around the flower.
- After finishing the final petal, sl st in the first st where you joined.
- Cut yarn, weave in tail through flower.
Leaves (Make 2)
- With green, ch 10.
- Prepare 16cm wire, bend softly.
- Skip 1st ch, sc in next ch (insert hook under wire).
- hdc in next ch.
- dc in each of next 5 ch.
- hdc in next ch.
- sc in last ch.
- ch 2, sk first ch, sl st in second ch, sc in same st.
- Turn work, crochet on other side of chain (into free loops):
- hdc in next st,
- dc in each of next 5 sts,
- hdc in next st,
- sc in last st.
- Sl st to first st, ch 1, cut yarn, weave in tail, wrap excess yarn around base of wire.
- Repeat to make 2 leaves.

Pot
- Magic ring.
- Round 1: 8 sc in ring. Pull closed. Sl st to join. (8 sts)
- Round 2: Ch 1. 2 sc in each st (inc in each st). (16 sts)
- Sl st to join.
- Round 3: Ch 1. Sc in next st, inc in next st around. (24 sts)
- Sl st to join.
- Round 4: Ch 1. Sc in next 2 sts, inc in next st around. (32 sts)
- Sl st to join.
- Round 5: Ch 1. Sc in next 3 sts, inc in next around. (40 sts)
- Sl st to join.
- Round 6 (BLO): Ch 1. sc in BLO of each st around. Mark first st.
- Sl st to join.
- Rounds 7–14: Ch 1, sc in each st in both loops around. Sl st at end of round.
- Round 15 (FLO ruffle): Ch 1, (sc x4 in FLO of next st, sk 3 sts) repeat around.
- Sl st to first sc, ch 1. Cut yarn & weave in tail.
- Bottom round: Join yarn to any st remaining from Round 6, ch 1. Sl st in each st around bottom edge. Join, cut yarn, and pull tails inside.
- Tie to secure.
Soil
- Repeat Pot Rounds 1–5 to make an insert disk, using the soil color.
- Leave a hole in the center by not tightening ring fully.
- At the end, sl st to join, ch 1, cut yarn with a long tail (40cm) for sewing.
Assembly & Finished Size
- Stuff pot with cotton filling; add gravel for extra weight.
- Place soil disk atop pot, lining up edges. Using darning needle, sew soil to inner top of pot.
- Push needle throughout soil to the bottom of the pot 2–3 times to secure before pulling through and trimming.
- Attach Daisy to Stem:
- Take 10 cm stick, apply glue to the top, and insert into center of flower.
- Next, wrap stick with green yarn, adding glue for the first and last few centimeters.
- Continue wrapping for about 5 cm, then glue leaves in place, and finish wrapping and gluing to the bottom of the stick.
- Assembly:
- Insert stem through the hole in the soil, glue in place if needed for security.
- Adjust leaves and flower orientation as desired.


Conclusion
This crochet daisy in a pot With detailed petals, wire-shaped leaves, a sturdy soil insert, and a lovely flower stem, this project is sure to brighten any room or make a delightful gift. Remember that you can customize the colors, size, and even the pot shape to suit your style.