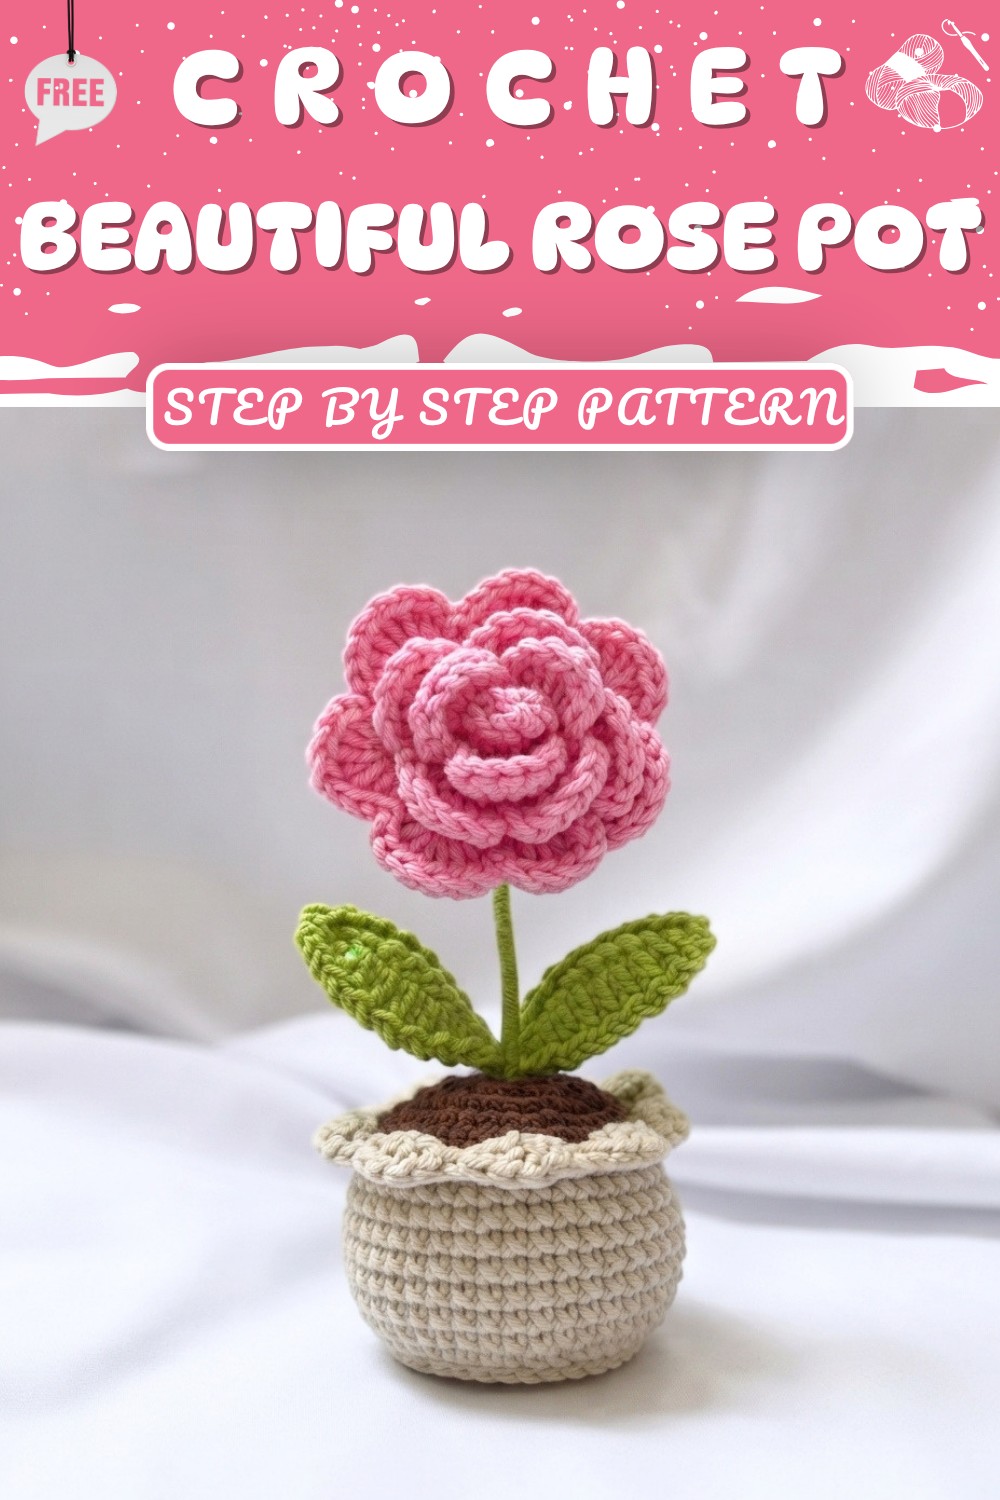
Free Rose Pot Crochet Pattern with Simple Steps
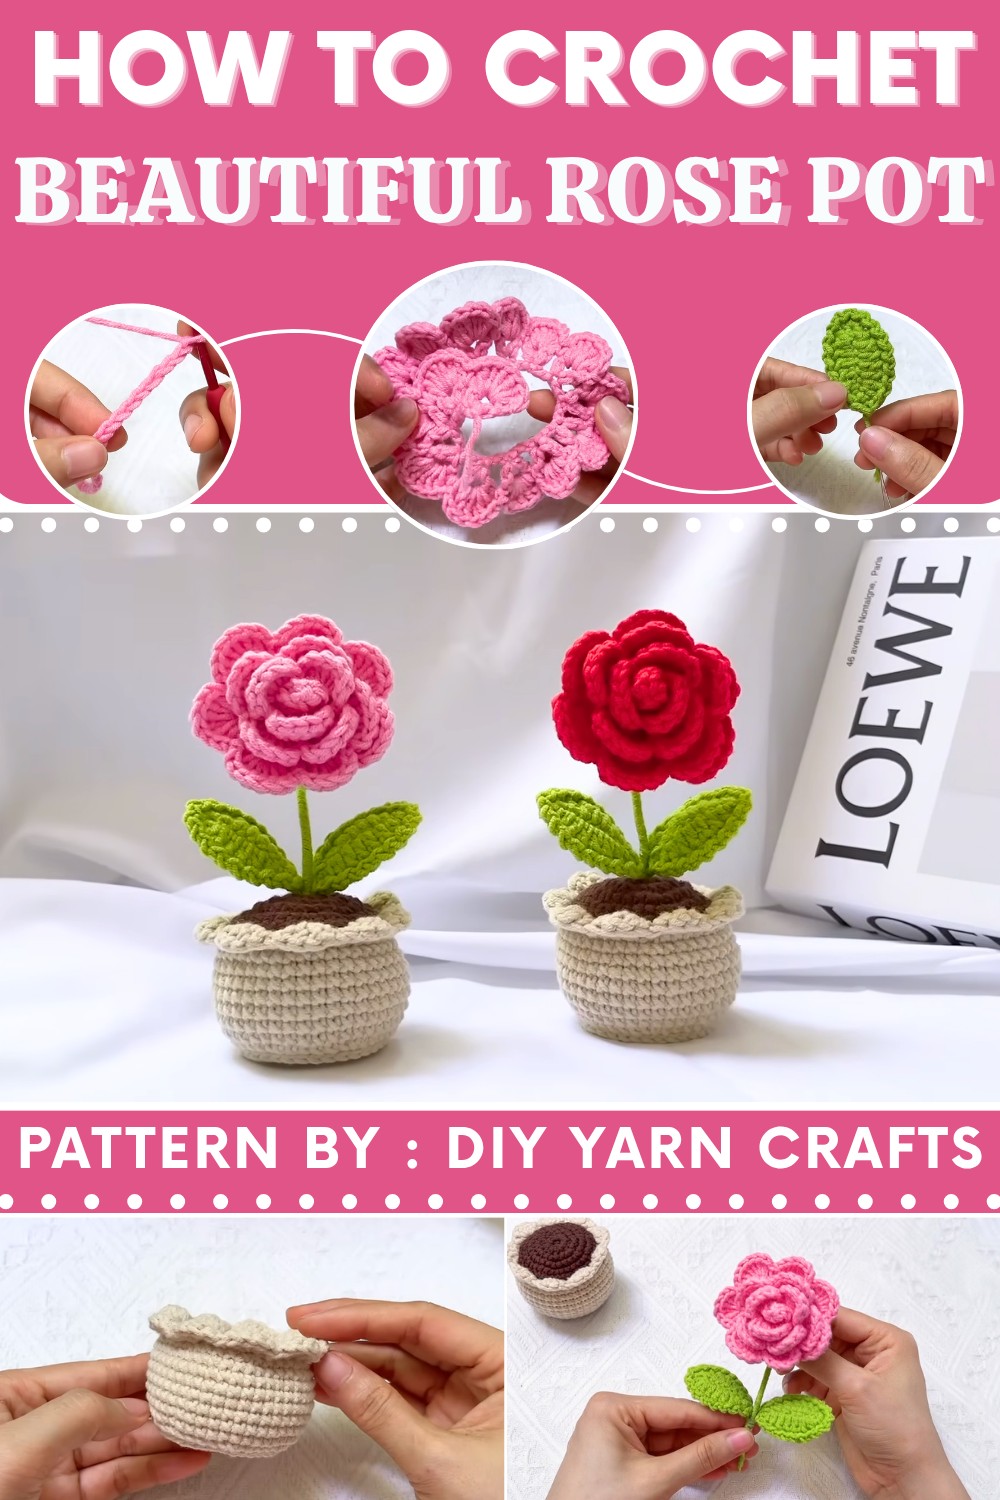
With a smooth, soft texture and carefully crocheted design, this rose pot gives off a friendly and inviting vibe. It’s the perfect size to brighten up a desk, shelf, or windowsill, bringing a touch of nature’s elegance into your everyday life. The design is simple yet stylish, making it a lovely fit with a wide range of home décor styles.
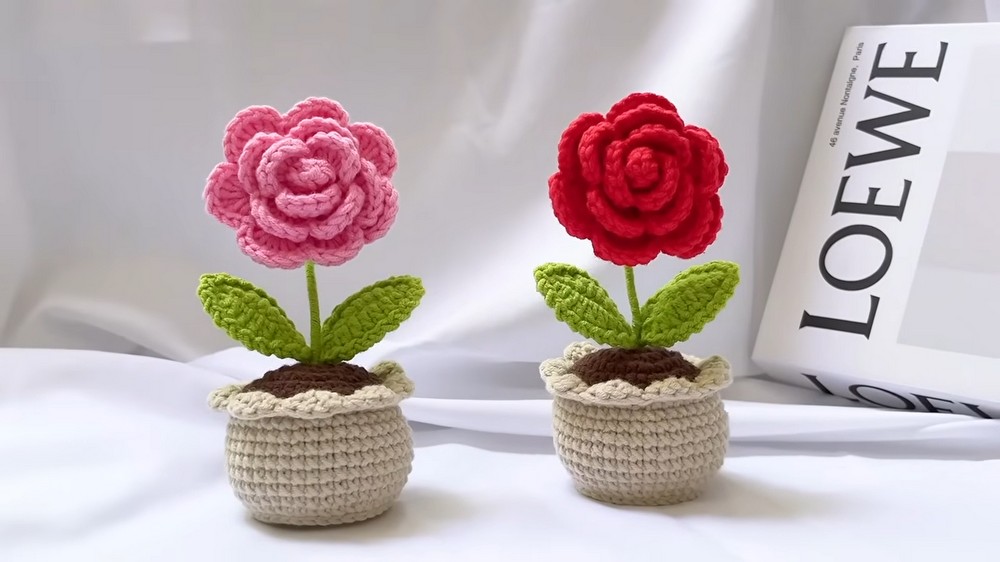
This pattern, created by the talented designer, is made for crocheters of all skill levels. Whether you’re just starting or are a seasoned crocheter, you’ll find joy in making this sweet project. It’s quick to finish and offers a rewarding way to spend your time while crocheting something beautiful. A handmade crochet rose pot like this one makes a wonderful gift too, perfect for showing someone you care with a lasting, decorative keepsake.
Crochet Rose in a Pot Pattern
This comprehensive pattern guides you through creating a delicate crochet rose blossoming in a pot. The project combines basic crochet stitches with crafting techniques, including a magic ring foundation and working in rounds and rows, to deliver an elegant flower accent. Detailed instructions cover rose petals, sepals, leaves with wire reinforcement, the pot, soil, and final assembly.
Quick Overview Of Pattern
- Rose Petals: Long foundation chain worked in rows using V-stitch, double crochet (dc), single crochet (sc), and slip stitch (slst) for shaping petals.
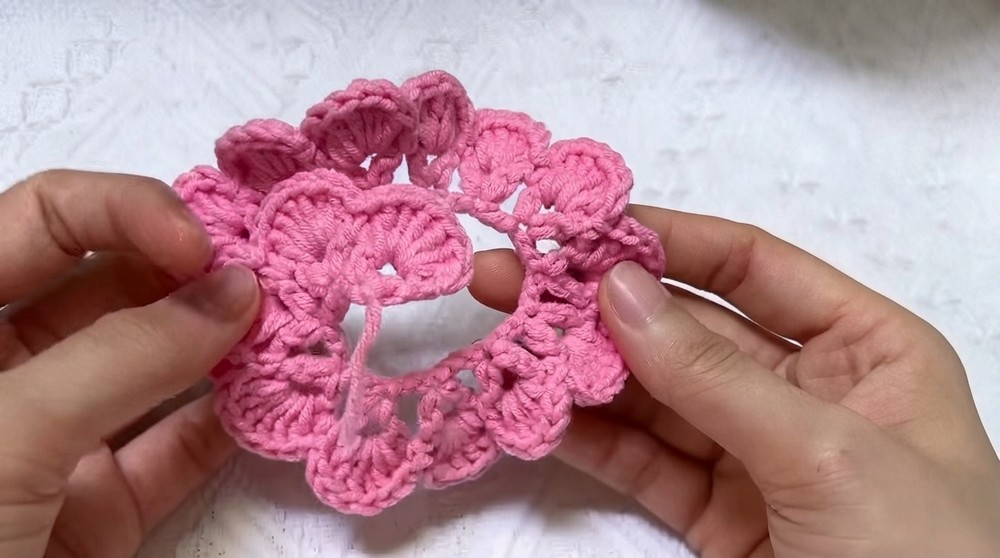
- Sepal: Magic ring based rounds with chain-work, sc, half double crochet (hdc), and dc clusters to form pointed sepals.
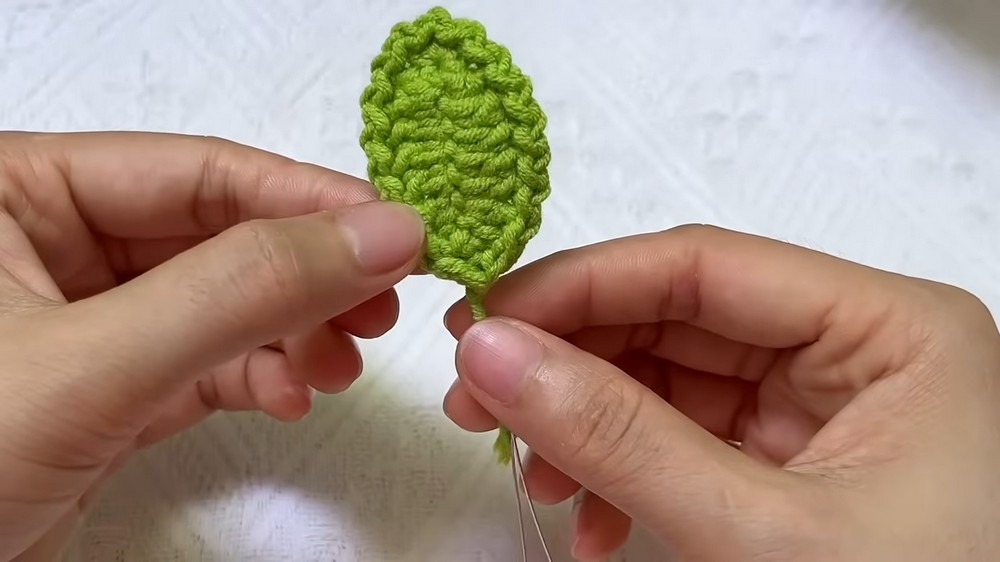
- Leaves: Shaped around an 18 cm wire for structure using sc, hdc, dc, and finishing with yarn wrapping.
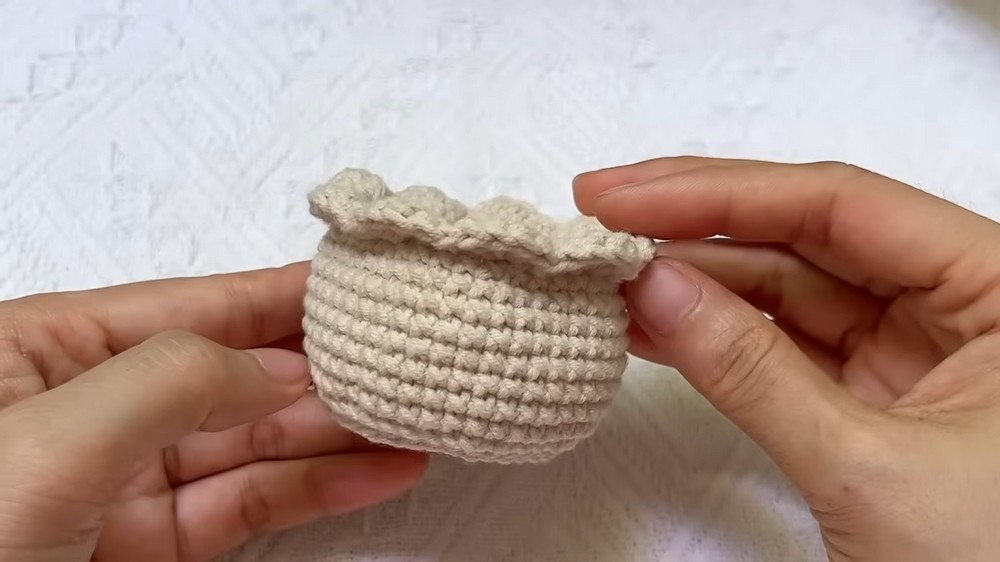
- Pot: Worked in rounds employing increases, back loop only stitches, front loop stitches for rim shaping, and decreases to close.
- Soil: Magic ring rounds mimicking pot base with increasing single crochet rounds.
- Assembly: Stuffing pot, sewing soil in place, attaching petals, sepals, leaves, and wrapping stem for neat finish.
Notes
- Consistency in stitch tension is important for shaping and smooth assembly.
- Wire in leaves adds realistic flexibility; wrap with yarn to secure and enhance aesthetics.
- Petals are worked flat and shaped by combining multiple crochet stitches.
- Back loops only (BLO) and front loops only (FLO) rounds add texture and dimension to pot.
- Hot glue or fabric glue may be used for fixing petals, sepals, and leaves onto the stem.
- Leave long yarn tails for sewing and wrapping during assembly.
Skill Level
Intermediate
Requires understanding of magic ring, working in rows and rounds, increases and decreases, back/front loop stitches, wire crafting basics, and finishing techniques.
Materials
- Worsted or DK yarns in:
- Rose color (e.g., red, pink) for petals and sepals
- Green for leaves
- Brown or terracotta for pot
- Soil color (e.g., dark brown)
- Crochet hook suited for yarn weight, e.g., 3.5 mm or 4 mm
- 18 cm floral wire for leaves
- Yarn needle for sewing and weaving ends
- Fiberfill for stuffing
- Hot glue or fabric glue
- Scissors
Measurements / Sizing
- Rose petals strip approx. 52 chains long, producing a sizeable flower when rolled.
- Leaves approximately 9–10 cm long with wire support.
- Pot diameter about 5 cm, height ~5–6 cm.
- Soil fits snugly inside the pot.
Gauge and Stitch Pattern
- Gauge is flexible but consistent tension recommended.
- Petals: V-stitch base row with dense cluster work in second row.
- Leaves: Crochet around wire for shape retention.
- Pot: Single crochet rounds with increase and decrease shaping, using specific loops to define texture.
- Soil: Simple continuous single crochet rounds.
Stitch Abbreviations
- ch = chain
- sc = single crochet
- dc = double crochet
- hdc = half double crochet
- slst = slip stitch
- mr = magic ring
- inc = increase (2 stitches in one)
- dec = decrease (crochet two together)
- BLO = back loops only
- FLO = front loops only
Special Stitches
- V-Stitch: Usually (dc, ch 2, dc) worked in same stitch or space, creates chain-spaced “V” shapes.
- Working Around Wire: Crochet stitches inserted carefully alongside the wire for shaping and stability.
- Back Loops Only (BLO): Stitching through the back loop for ridged texture.
- Front Loops Only (FLO): Stitching through front loop for edge shaping.
The Pattern — Step by Step
1. Rose Petals
Chain Foundation:
- Chain 52 stitches to begin.
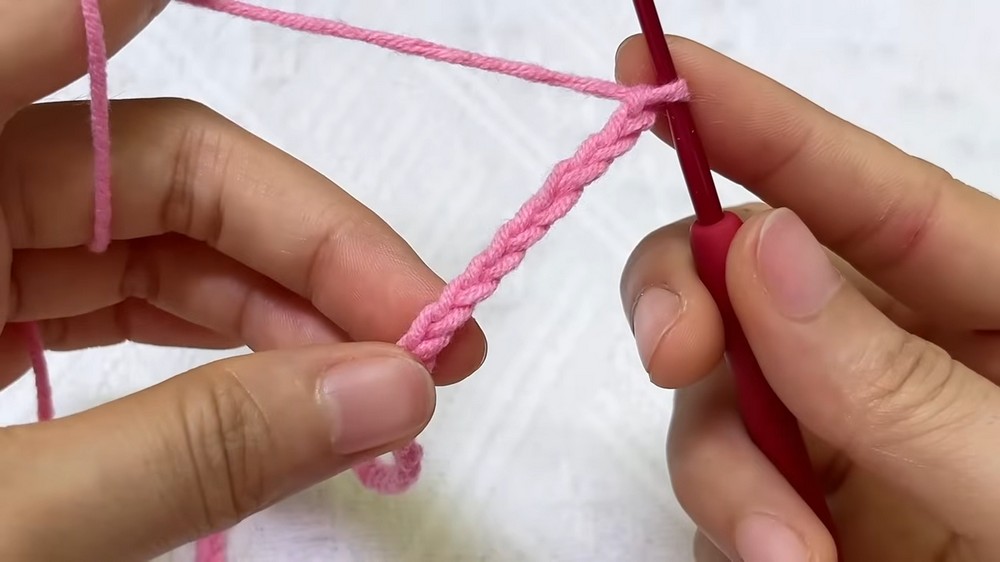
Row 1 (V-Stitch Base):
- Start in 7th chain from hook.
- Make a double crochet (dc), chain 2, and another dc in the same stitch (this forms the first V-stitch).
- Skip 2 chains, then repeat the V-stitch pattern across the row, making 15 total V-stitches.
Row 2:
- Chain 1 and turn.
- In each chain-2 space of the V-stitches, work 6 double crochets (dc), chain 1, then 1 single crochet (sc) in the space between the V-stitches.
- For the final petal, finish with a slip stitch (slst) in the space and fasten off.
(This creates the fullness and rounded petal shape.)
2. Sepal
Round 1:
- Create a magic ring.
- Chain 2 (counts as first dc), then work 10 double crochets (dc) into the ring.
- Join with a slip stitch (slst).
Round 2 (Petal Points):
- Chain 6.
- In the chain, work the following: slip stitch into 2nd chain from hook, 1 single crochet (sc), 1 half double crochet (hdc), then 2 double crochets (dc) into the remaining stitches.
- Skip one stitch on the ring, then slip stitch into the next stitch.
- Repeat this petal point sequence 5 times total.
- Fasten off leaving a long tail for sewing.
3. Leaves
Foundation Chain:
- Chain 9.
Round 1 (Working with Wire):
- Using an 18 cm wire placed under the hook, crochet upon it as follows:
- 1 single crochet (sc) in the 2nd chain from the hook.
- 1 half double crochet (hdc).
- 1 double crochet (dc).
- 3 double crochet (dc) in the next three chains.
- 1 half double crochet (hdc).
- 3 single crochet (sc) in the last chain.
- Turn your work and crochet down the other side of the chain: 1 hdc, 4 dc, 1 hdc, 1 sc.
- Join with a slip stitch.
Round 2:
- Chain 1.
- Work (slip stitch, chain 1) pattern repeatedly around to create a subtle edge.
- Fasten off, and neatly wrap yarn around the exposed wire tail to finish.
4. Pot
Round 1:
- Begin with 7 single crochets (sc) in a magic ring. Join with slip stitch.
Round 2:
- Increase in every stitch around (2 sc in each stitch), totaling 14 sc. Join.
Round 3:
- (1 sc, 1 inc) repeat around, creating 21 sc total. Join.
Round 4:
- (2 sc, 1 inc) repeat around for 28 sc. Join.
Round 5:
- (3 sc, 1 inc) repeat around for 35 sc. Join.
Round 6 (Back Loops Only):
- Work (4 sc, 1 inc) repeat using back loops only (BLO), joining with slip stitch.
Round 7:
- Work 1 sc in each stitch around, joining after each round.
Round 8:
- Work 1 sc in each stitch around, joining after each round.
Round 9:
- Work 1 sc in each stitch around, joining after each round.
Round 10:
- Work 1 sc in each stitch around, joining after each round.
Round 11:
- Work 1 sc in each stitch around, joining after each round.
Round 12:
- Work 1 sc in each stitch around, joining after each round.
Round 13:
- Work 1 sc in each stitch around, joining after each round.
Round 14:
- (4 sc, 1 decrease) repeat to shape the pot opening.
Round 15 (Rim, Front Loops Only):
- In front loops only (FLO): Work 4 double crochets (dc) in one loop, skip one loop, 1 single crochet (sc) in next loop, skip one.
- Repeat 9 times to create decorative rim.
Bottom Rim:
- Work slip stitches around the remaining loops from Round 6 for a neat finish.
5. Soil and Assembly
Soil:
- Work a magic ring with 14 single crochets (sc).
- Continue rounds 2-4 following the same increase pattern as the pot to fit inside.
Assembling:
- Stuff the pot firmly.
- Place the soil piece inside the pot and sew together securely.
- Glue or sew petals forming the rose to the top of a wire stem.
- Pull the sepals up around the base of petals and glue in place.
- Attach leaves on the stem and wrap the stem neatly with yarn for a polished look.
Assembly & Finished Size
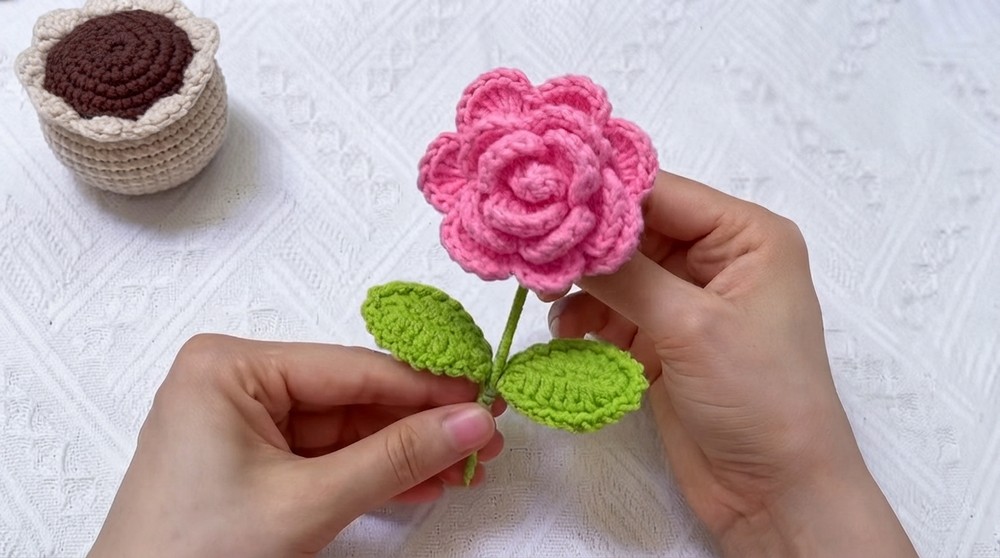
- The fully assembled rose should present as a beautiful bloom approximately 10–12 cm tall, with balanced petals and leaves.
- The pot provides a sturdy base about 5–6 cm tall and wide enough to accommodate the flower and soil snugly.
- Wire-reinforced leaves add realism and support, allowing gentle adjustment of foliage positioning.
Conclusion
This crochet rose in a pot project elegantly marries intricate stitch work with creative shaping and assembly techniques. Starting with the petal base, crafted through a clever V-stitch pattern that builds lushness in rows, it progresses into delicate sepals echoing natural forms through magic ring rounds.
Wire-supported leaves provide structure and dynamic appeal, making the cruising eyes linger on their lifelike appearance. The pot, formed with careful increases, decreases and textured stitches, grounds the floral centerpiece with solid charm.
Completing the piece with soil and meticulous assembly, this design suits intermediate crocheters ready to elevate their floral amigurumi skills via combining crochet with floral wire manipulation and construction finesse. We trust this pattern offers not just a project but an experience — cultivating patience, skill, and creative satisfaction. The finished rose pot makes a perfect gift or bespoke decoration, symbolizing the timeless appeal of handmade artistry.