
Free Crochet Hatsune Miku Pattern – Cute Anime Amigurumi
Bring Hatsune Miku to life with this free crochet pattern, offering a fun and rewarding way to create a detailed and lovable version of the iconic character.
When I first set out to crochet a beloved character, I was thrilled to find this Free Crochet Hatsune Miku pattern that lets you create an adorable doll version of the famous virtual singer. This project offers a delightful way to bring Hatsune Miku to life as a soft hand stitched figure rather than a wearable item. If you enjoy making cute amigurumi or collectible dolls, this pattern is a wonderful choice.
Free Crochet Pattern for Hatsune Miku Plush Toy
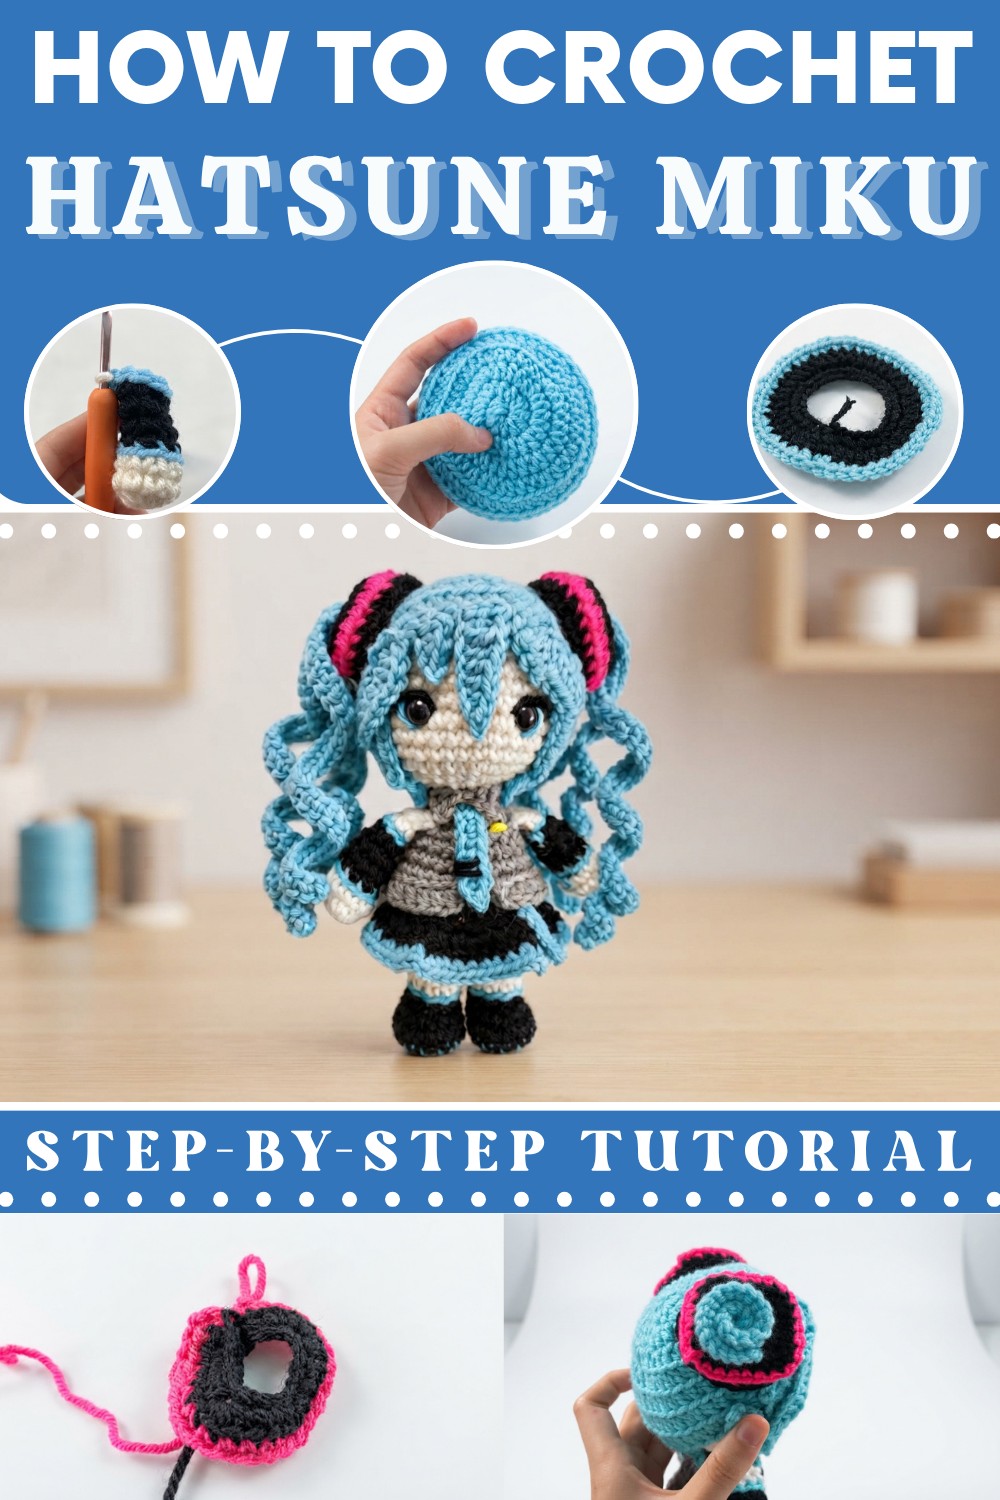
The finished doll boasts vibrant teal hair styled in Miku's iconic twin tails along with her signature outfit details carefully recreated in yarn. The texture is plush and soft, perfect for cuddling or displaying on a shelf. The doll’s shape is proportionate and charming with attention paid to the small features that make Miku so recognizable such as bright eyes a tiny mouth and delicate accessories. This simple yet detailed style gives the doll a cheerful and lively personality.
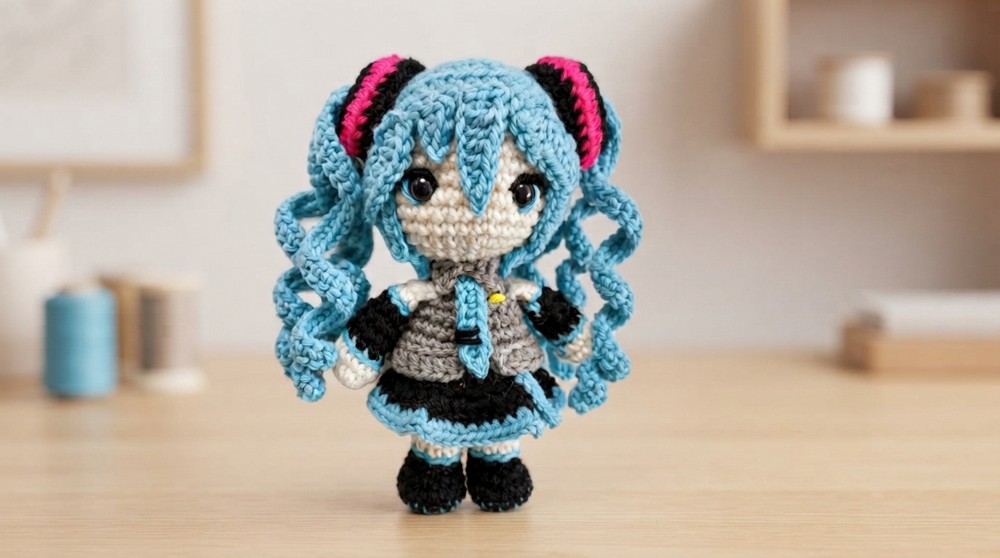
This pattern is great for crocheters with beginner to intermediate skills. It mainly uses basic stitches like single crochet and slip stitches making it easy to follow. The instructions guide you step by step to shape the doll and add its standout features with clear explanations so it is enjoyable even if you are new to amigurumi.
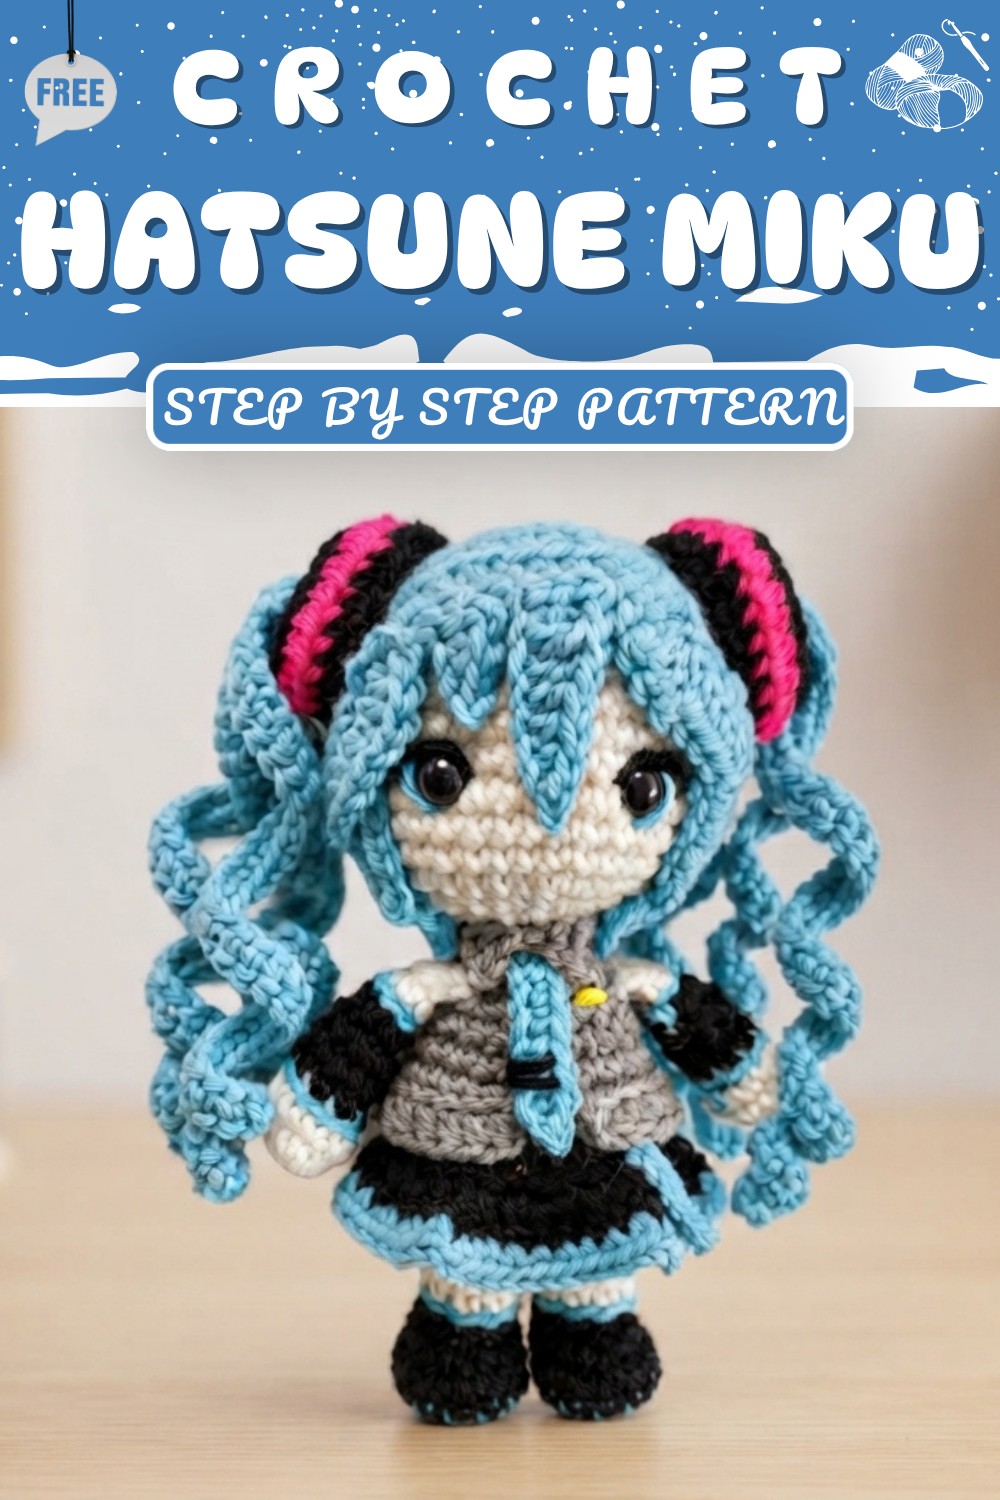
Hatsune Miku Amigurumi Doll Crochet Pattern
Quick Overview Of Pattern
- Uses Laura's T Little Weebie Doll base for the body (follow original pattern for basic shaping).
- All accessories and details (collar, arms, skirt, tie, hair, pigtails, hair ties) are made separately and then sewn or glued onto the doll.
- Many color changes and basic stitches.
- Basic US crochet terminology applies.
- Hair customization: Options for freestyle or using provided hair tutorial.
- All pieces are assembled to replicate Hatsune Miku’s distinctive look.
Notes
- This pattern assumes knowledge of the main body base (Laura’s T Little Weebie Doll).
- All pieces are worked separately and attached with sewing or fabric glue.
- Yarn colors can be switched for personal customizations.
- For color changes, use the “invisible single crochet color change” for cleaner transitions.
- Hair placement is customized by pinning and sewing strands to the hair cap—refer to images or use the original doll as a model.
- Keep loose yarn ends for sewing pieces securely.
- Pattern is organized for step-by-step construction, starting with accessories, moving to limbs, assembling, and finishing with hair.
Skill Level
- Intermediate.
- Comfortable with basic stitches (sc, hdc, dc, slip stitch), color changes, crocheting in rows and rounds, sewing and assembly, and reading US crochet terms.
Materials
- Yarn:
- Magnolia Way Crafter Secret (skin)
- Gray Beard (I Love This Yarn) (shirt/collar)
- Turquoise (I Love This Yarn) (hair/tie/boots)
- Black (any brand—details and skirt)
- Neon Pink (I Love This Yarn—hair tie accents)
- Yellow (I Love This Yarn—accessory details)
- White (body accent)
- Crochet Hooks:
- 3.5 mm (general body and most pieces)
- 2 mm or smaller (for weaving tiny strands/hair pieces)
- Notions:
- Bent tip yarn needle (for sewing details)
- Stitch markers
- Fabric scissors
- Fabric glue (3-in-one Beacon/Fabac or similar)
- 12 mm safety eyes (for face)
- Compression gloves (optional for comfort)
- Broken felt tip needle (optional for glue details)
- Yarn needle with straight/bent tip
- Stuffing (polyfill)
- Tools:
- Pins for hair placement
Measurements / Sizing
- Final doll height matches original Weebie Doll base (may vary based on hook/yarn; sample shows a height check next to my first doll).
- Pigtail length and body proportions can vary based on preference.
Gauge
- Gauge is not critical; focus on tight stitches for amigurumi so stuffing does not show through.
- If following the Weebie Doll base, match gauge to ensure all parts fit proportionally.
Stitch Abbreviations
- ch: chain
- sc: single crochet
- hdc: half double crochet
- dc: double crochet
- sl st: slip stitch
- BL: back loop
- st(s): stitch(es)
Special Stitches
- Invisible Single Crochet Color Change:
Method for transitioning colors cleanly at round changes (look up tutorials for visuals). - Back Loop Only (BL):
Work stitch only in back loop to create lines/details.
The Crochet Pattern
Use Laura’s T Little Weebie Doll base for main body. Follow below to customize for Hatsune Miku:
Accessories and Extra Pieces
Tiny Yellow Strip
- With yellow yarn, make a small strip to use as an accessory. (No specific row count—just a small straight piece.)
Turquoise Skirt Strap
- With turquoise yarn:
Chain 19, leaving extra length at each end for sewing/attaching.
Hair Strands
- Make:
- 1 strand with chain 4
- 1 strand with chain 8
- 6 side strands
- 1 tiny triangle piece
- Use turquoise for all.
Pigtails (make 2)
- With turquoise yarn:
Chain 51, sc across leaving last 2 chains unworked.
Repeat for second strand.
Make a third strand the same way and join at end. - Leave short tails for sewing on, or longer for added security.
Tie
- With turquoise yarn:
Chain 9.
In next ch, sl st.
Next ch, 1 dc.
In remaining chains, sc across.
Sl st across to close tie ends. - Take black yarn, with needle, sew lines across tie at ch 4 and ch 5 for accent.
Collar
- With Gray Beard yarn:
Chain 3.
Sl st in next ch, sc in next ch.
Chain 15.
At end, repeat: sl st in next ch, sc in next ch, ch 1, leave tail.
Bottom of Shirt
- With gray yarn:
Chain 28.
Hdc across entire row, leave tail.
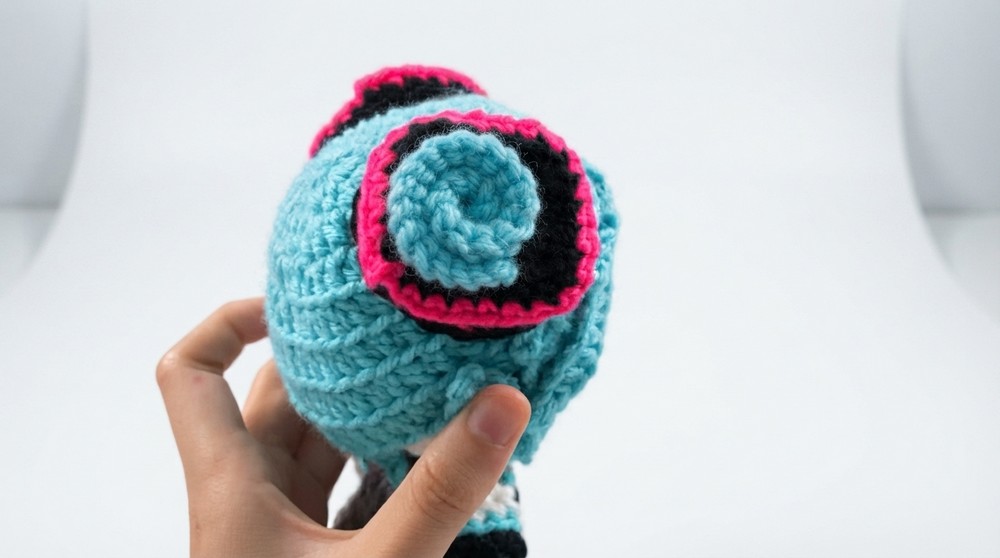
Hair Ties (make 2)
- With black yarn:
Chain 17.
In next ch, 3 sc.
Then, every fourth chain: add 2 extra sc (for corners). - Change color to neon pink using hook and loop method:
- Insert hook into first chain, pull through pink yarn, ch 2.
- SC in BL around the square, join.
- Change back to black:
- Insert hook into second chain, pull black yarn, ch 1, SC in BL around, join.
- Leave tail for sewing; top part remains open—wrap and join for shape.

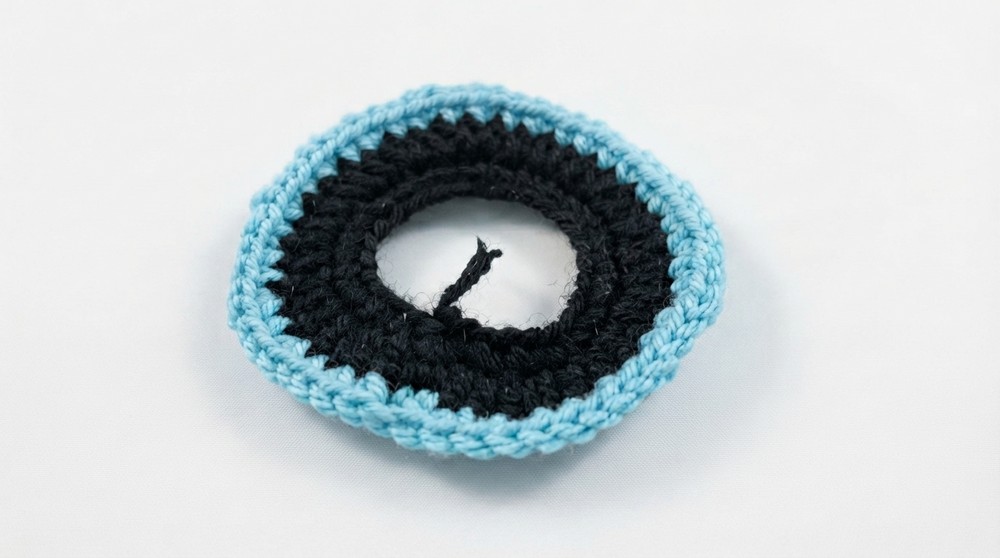
Skirt
- With black yarn:
Chain 28, join to work in the round. - Round 1: Sc around.
- Round 2: hdc in next st, 2 hdc in following st. Repeat (ab pattern).
- Round 3 (change to turquoise): sc in next st, 2 sc in following st. Repeat (ab pattern), join, finish and close.
Arms (make 2)
- Rounds 1–2: Magnolia Way (skin color)
- Round 3: Invisible color change to turquoise for strip.
- Rounds 4–6: BL sc in black.
- Stuff lightly as you go.
- Round 7: Invisible color change to turquoise.
- Round 8: BL sc in Magnolia Way.
- Round 9: Sc across top to close (unique to Miku).
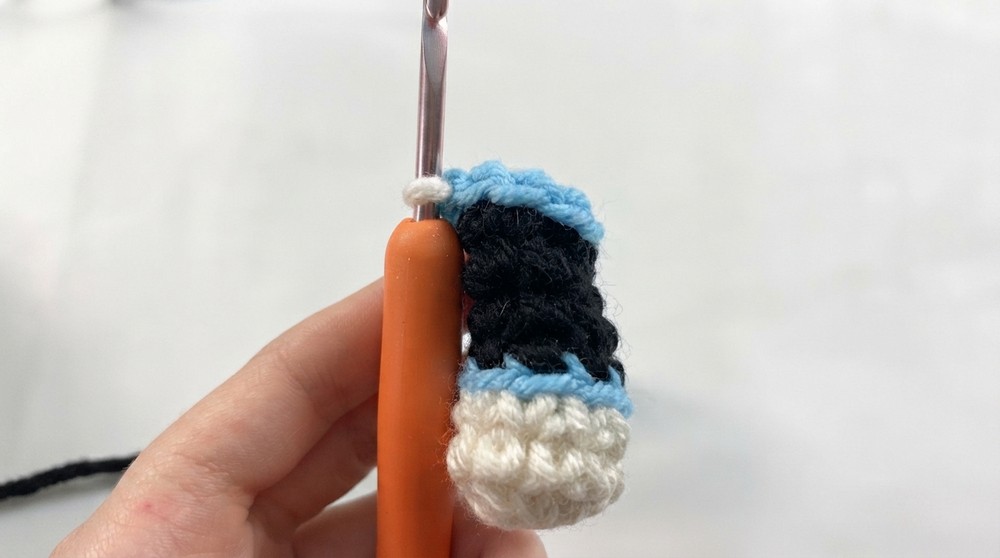
Legs (make 2)
- Rounds 1–2: Turquoise
- Rounds 3–5: Black
- Round 6: Invisible color change to turquoise
- Rounds 7–10: Magnolia Way
- Round 7: BL sc (creates line for detailing thigh-high boots)
Body and Assembly
- Join both legs at end of round 10.
- Rounds 11–12: White
- Rounds 13–14: Black
- Round 14: Attach the skirt and single crochet around.
- Rounds 15–22: Gray Beard
- Round 23 and above: Magnolia Way (rest is all skin color).
Face
- At round 30, attach 12 mm safety eyes, spacing 5 stitches apart.
- Embroider turquoise accents and black eyelids.
- Attach back washers for eyes and glue eyelids in place.
Final Assembly
- Attach arms to sides.
- Attach hair cap (4 inner rounds, 4 outer rounds).
- Glue tie in place.
- Sew collar around neck, tuck tie strands beneath.
- Wrap and glue skirt strap around waist/skirt.
- Attach shirt bottom and glue in place.
- Pin and sew triangle and hair strands to hair cap.
- Glue and sew side strands for bangs and hair framing.
- Attach and sew hair ties, pin for even placement.
- Attach pigtails into hair ties, sewing securely.
Assembly & Finished Size
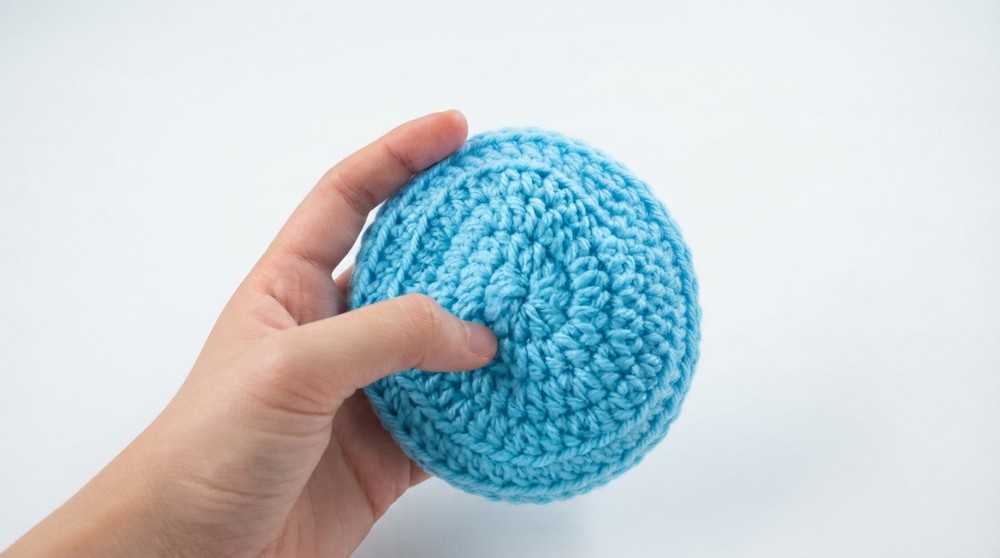
- Final assembled doll has all signature details: Miku’s turquoise hair, long pigtails, boots, tie, and skirt.
- Doll stands at similar height to base Weebie Doll (compare for reference).
- All ends are sewn/glued for security.
Conclusion and Ending Words
Congratulations! Your Hatsune Miku amigurumi is complete. Thank you for supporting this milestone and for following along with this detailed tutorial. Customization is encouraged—make your own adjustments and use your favorite materials. This process demonstrates why full written hair patterns are rare, as the hair placement is often customized per doll, but with patience and the step-by-step guide, you can create your own one-of-a-kind Miku.