
Free Crochet BUNNY AMIGURUMI Pattern for Easter Fun
Make your own adorable friend with this free crochet BUNNY AMIGURUMI pattern that guides you to create a soft lovable toy perfect for heartfelt gifts and cozy decor.
I’ve always loved making cute little stuffed animals, and this crochet project quickly became one of my favorites. It’s a sweet bunny doll that you can whip up with just a bit of yarn and a hook. By making minor changes—like adjusting ears or adding a tail, you can even create a tiny chick or a playful puppy using the same pattern base. The free crochet BUNNY AMIGURUMI pattern is a fun and versatile project that brings a lot of joy, whether you’re gifting or keeping it for yourself.
Free Crochet BUNNY AMIGURUMI Pattern You Will Love
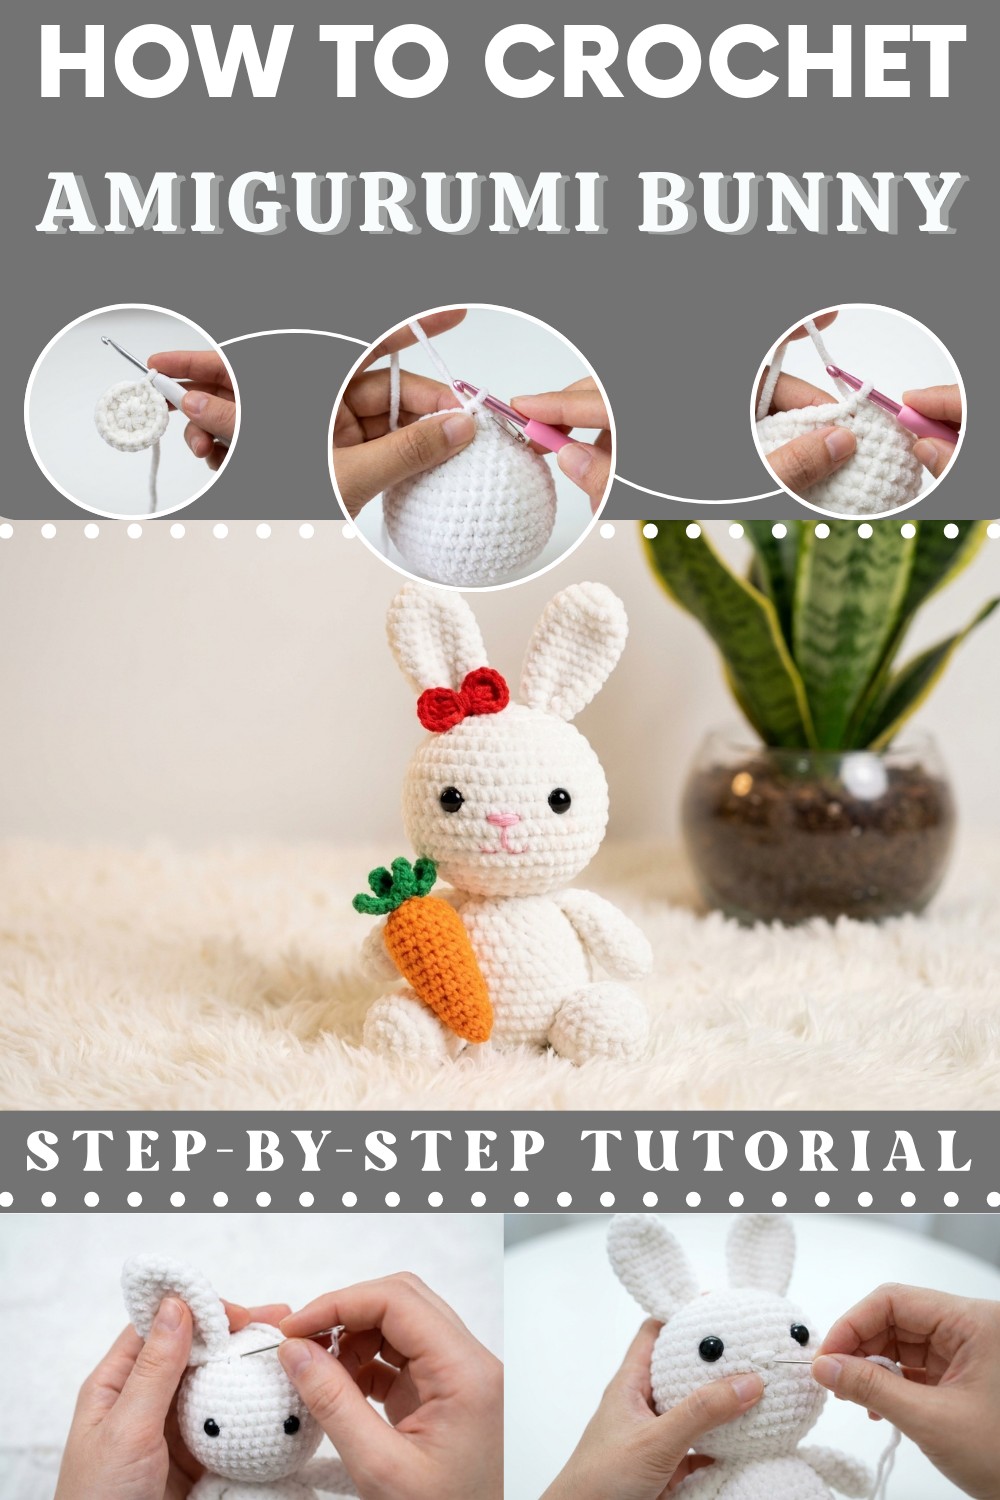
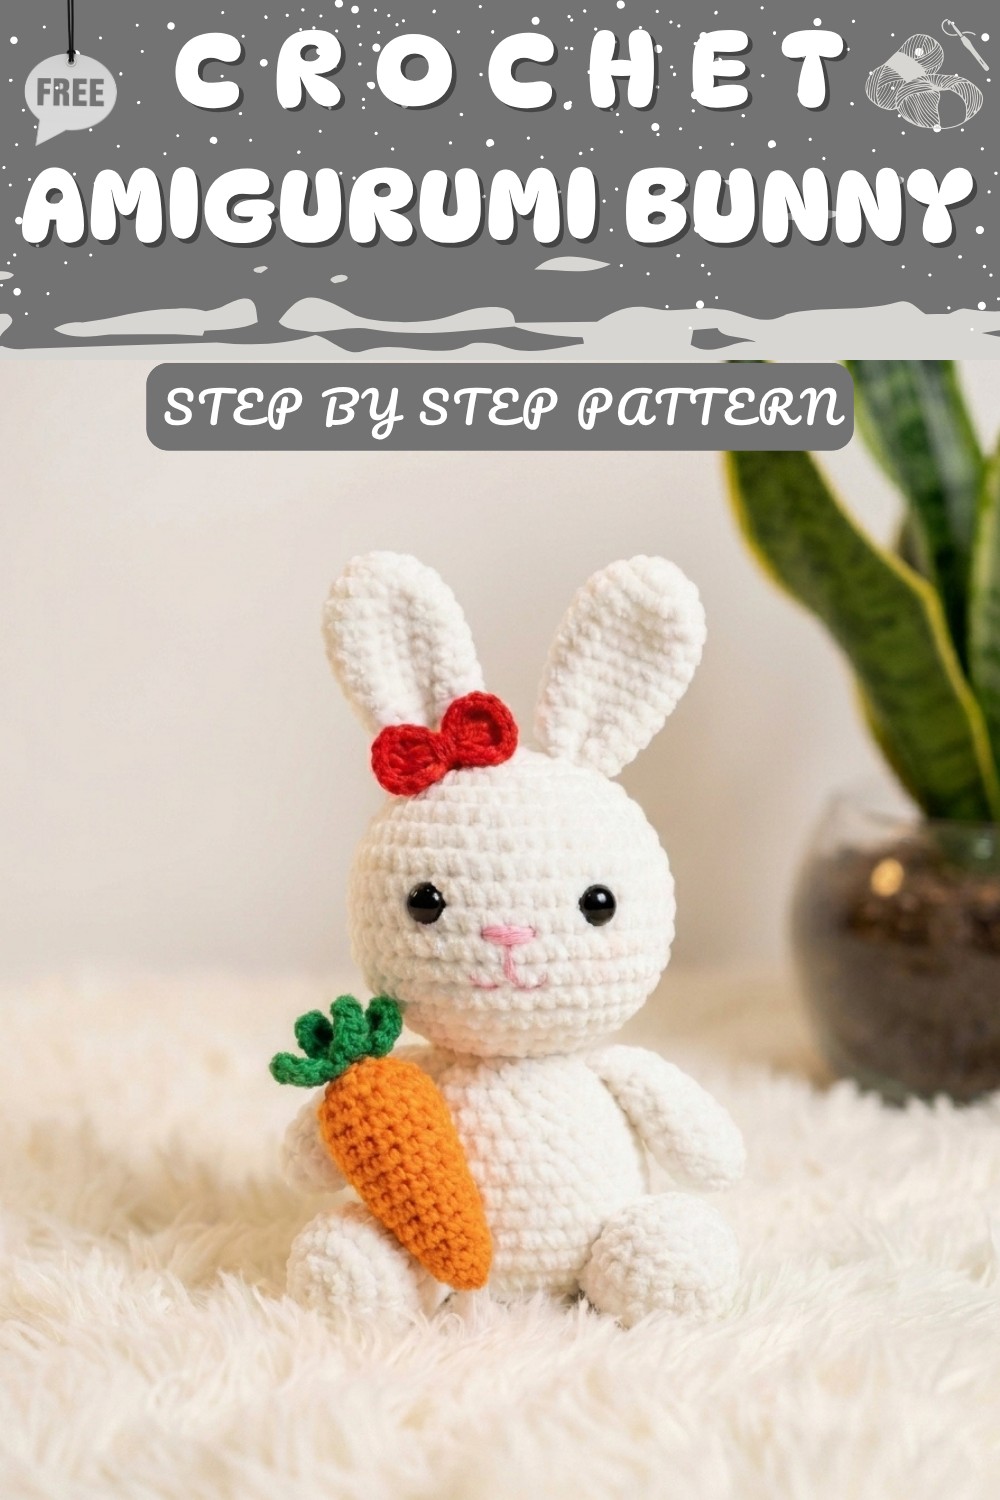
What I really adore about this bunny amigurumi is its soft and cuddly texture, thanks to using smooth yarn and tight stitches. It has a round, plump body and big floppy ears that give it an adorable, friendly style. The pattern captures the bunny’s sweet personality with simple details like embroidered eyes and a tiny nose, making it perfect as a gentle companion. Its small size fits perfectly in your hands or on a shelf, adding a charming handmade touch wherever it’s placed.
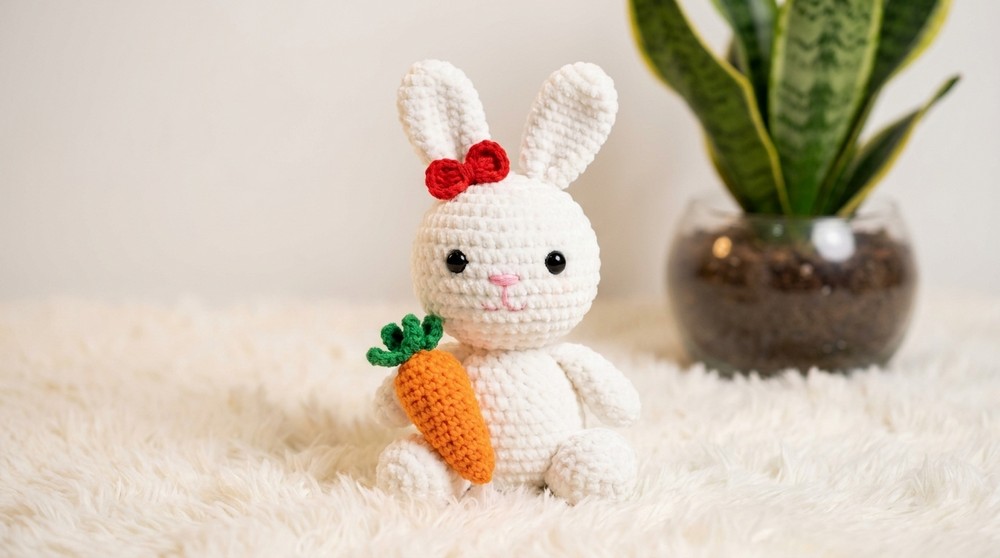
This project is great for beginners and intermediate crocheters alike. The main stitch used is the single crochet, worked in continuous rounds—a staple technique in amigurumi that helps keep the shape nice and even. If you’re new to crocheting toys, this pattern is a wonderful way to practice shaping and simple embroidery. You’ll find that keeping your tension consistent and stuffing lightly but firmly makes all the difference in how the bunny looks and feels.
Amigurumi Bunny – Step-by-Step Crochet Pattern
This amigurumi bunny pattern creates a cute, huggable bunny with classic long ears and simple stitched facial features. The body and head are worked as one seamless piece, with separate arms, legs, and ears that are attached afterward. Using only basic crochet stitches and techniques, you’ll follow clear, counted rounds for consistent amigurumi shaping. Finish with embroidered features or safety eyes for maximum charm!
Pattern Notes
- All rounds are worked in a continuous spiral (do not join or turn unless otherwise noted). Always use a stitch marker or safety pin to keep track of the last stitch of each round.
- Stuff pieces as you go for smooth shape.
- All increases are (2 sc in same stitch), all decreases are invisible decreases unless otherwise stated.
- When switching colors (if you choose), pull through new yarn on the last loop of the last stitch of the old color.
- Ears, arms, and legs are made separately and sewn to the body for security and poseability.
- If using safety eyes, always attach them before the head opening becomes too small.
Skill Level
Beginner to Advanced Beginner.
You’ll need to know how to do a magic ring, single crochet, increase, invisible decrease, fastening off, and basic sewing/assembly.
Materials
- White yarn (worsted, chunky or preferred weight; bunny body, arms, legs, ears)
- Black yarn (embroidery for nose and lips)
- Toy stuffing (polyester fiberfill)
- 5 mm crochet hook
- Safety eyes (any size, 8–12 mm suggested)
- Scissors
- Yarn needle (tapestry needle)
- Stitch marker or safety pin
- Fabric glue (optional, for attaching eyes)
- Pins (for assembly)
Measurements / Sizing
- Finished bunny is approximately 20–25 cm (8–10 in) tall when made with chunky yarn and 5.0 mm hook.
- Size varies by yarn/hook; use thicker yarn for larger bunny, thinner for smaller.
Gauge
- Stitch and row counts are more important than size; for reference:
10 sc = 6 cm (2.4 in) with 5 mm hook and chunky yarn.
Stitch Abbreviations
- sc = single crochet
- inc = increase (2 sc in same st)
- dec = invisible decrease
- MR = magic ring
- ch = chain
- sl st = slip stitch
- FO = fasten off
Special Stitches
Invisible Decrease:
Insert hook into the front loop of next two stitches, yarn over and pull through both front loops, yarn over and pull through both loops on the hook.
The Crochet Pattern
Head & Body (Worked as One)
Using White yarn and 5 mm hook:
Head Increases
- MR, ch 1, 6 sc in ring (6)
- Inc in each st around (12)
- (Sc in next st, inc) repeat around (18)
- (Sc in next 2, inc) repeat around (24)
- (Sc in next 3, inc) repeat around (30)
- (Sc in next 4, inc) repeat around (36)
- (Sc in next 5, inc) repeat around (42)
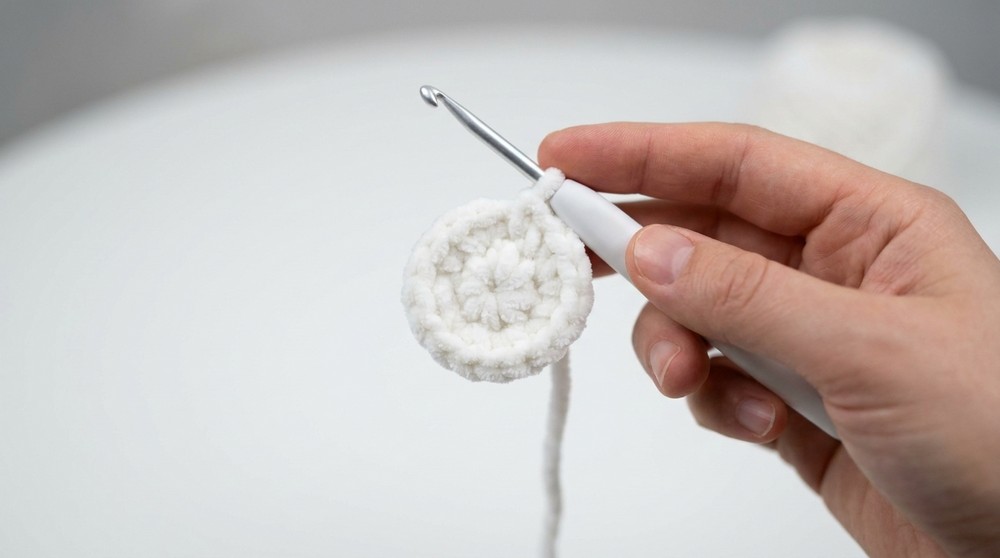
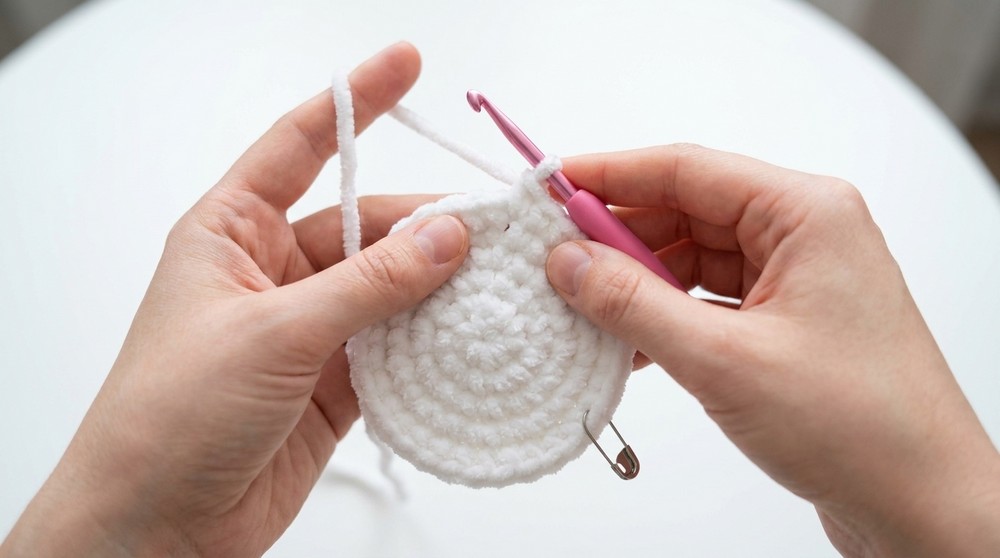
Head Rounds
8–14. Sc in each st around (42 per round, 7 rounds)
Head Decreases
15. (Sc in next 5, dec) repeat around (36)
- (Sc in next 4, dec) repeat around (30)
- (Sc in next 3, dec) repeat around (24)
Stuff the head firmly.
- (Sc in next 2, dec) repeat around (18)
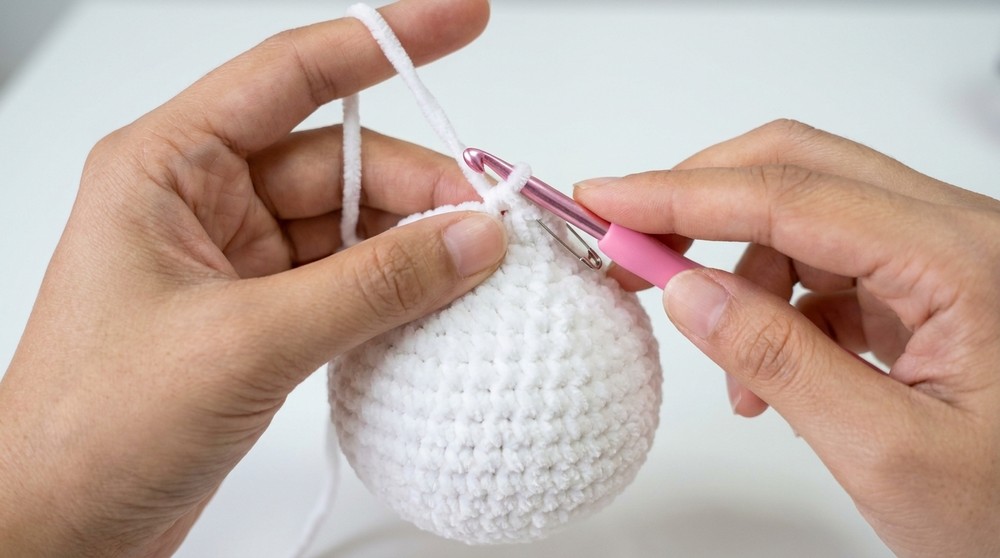
Neck/Body
19–20. Sc in each st around (18 per round, 2 rounds)
Body Increases
21. (Sc in next 2, inc) repeat around (24)
- (Sc in next 3, inc) repeat around (30)
- (Sc in next 4, inc) repeat around (36)
- (Sc in next 5, inc) repeat around (42)
- (Sc in next 6, inc) repeat around (48)
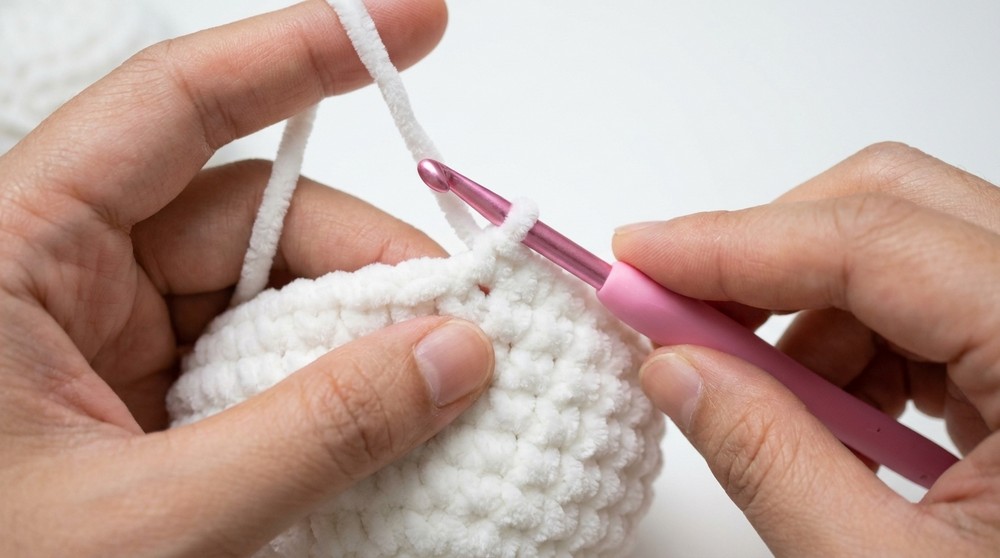
Arm & Leg Partitions
Arm Partition
- Fold your work flat to identify the sides.
- Mark 10 stitches on each side for arms with stitch markers.
- There will be 28 stitches left for the body (between arm sections, front and back).
Body/Torso
26–32. Sc in each of the 28 body sts for 7 rounds. (28 per round)
- Stuff body as you go for smooth shaping.
Leg Partition & Legs (Make 2)
- Divide the 28 torso sts into two groups of 14 sts for each leg.
- Use working yarn, beginning in the first leg's first st:
- Sc in each st around (14)
2–5. Sc in each st around for 4 more rounds (5 rounds total, 14 per round)- Stuff firmly before finishing.
- FO, leave long tail, and sew the opening closed using back loop only by weaving in/out.
- Repeat for second leg.
Arms (Make 2)
- Join yarn in first armhole, ch 1.
- Sc in same st as join. Sc in remaining 9 sts of armhole (total 10 per round).
3–7. Sc in each st around for 7 rounds (10 per round).- Stuff lightly for flexibility.
- FO, sew closed as for legs.
Ears (Make 2)
- MR, ch 1, 6 sc in ring (6)
- Inc in each st around (12)
3–12. Sc around (12 per round, 10 rounds)- FO, leave a long yarn tail for sewing.
- Do not stuff; ears should be floppy.
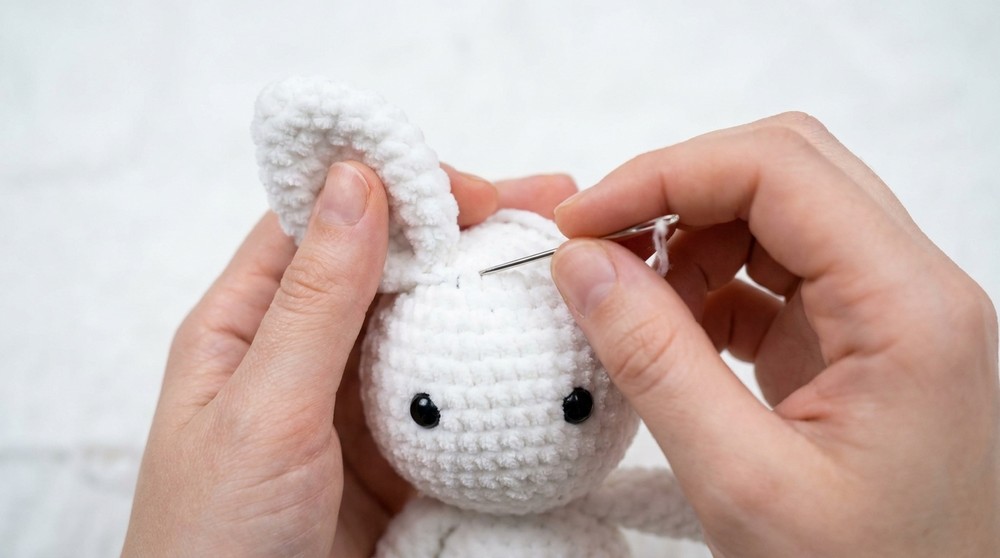
Assembly & Finished Size
- Stuff the body, head, and limbs as you finish them.
- Sew closed the holes at the bottoms of the legs/arms using back loop only.
- Pin and sew the arms to each side of the body (in the marked armholes).
- Pin and sew ears to the top sides of the head, positioned slightly outwards.
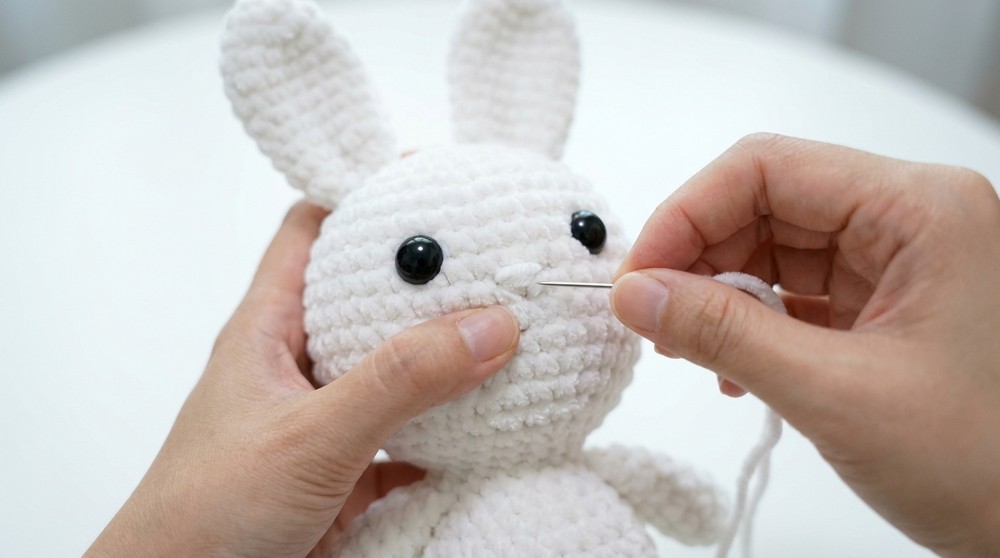
- Attach safety eyes (or embroider) between Rounds 10–12, approx. 7 stitches apart.
- With black yarn, embroider a small triangular nose just below the eyes. Stitch a small line down and add a simple ‘V’ or curve for a smile or lips as desired.
- Weave in all yarn ends securely.
- Finished bunny stands 20–25 cm high.
Quick Pattern Overview for Beginners
- Work the head/neck/body as one piece, increasing and decreasing where instructed.
- Divide for arms and legs as marked, and crochet each limb directly onto the body.
- Make and attach floppy, non-stuffed ears.
- Stuff as you go, close all ends securely.
- Sew limbs and ears in place; embroider simple facial details with black yarn, or add safety eyes before closing the head.
- Hide all yarn tails, and enjoy your amigurumi bunny!