Cute Crochet Frog Keychain Pattern That’ll Charm Everyone
Hook this amazing Crochet Frog Keychain right now and create a bouncy, velvet companion that brings a lucky smile to every journey.
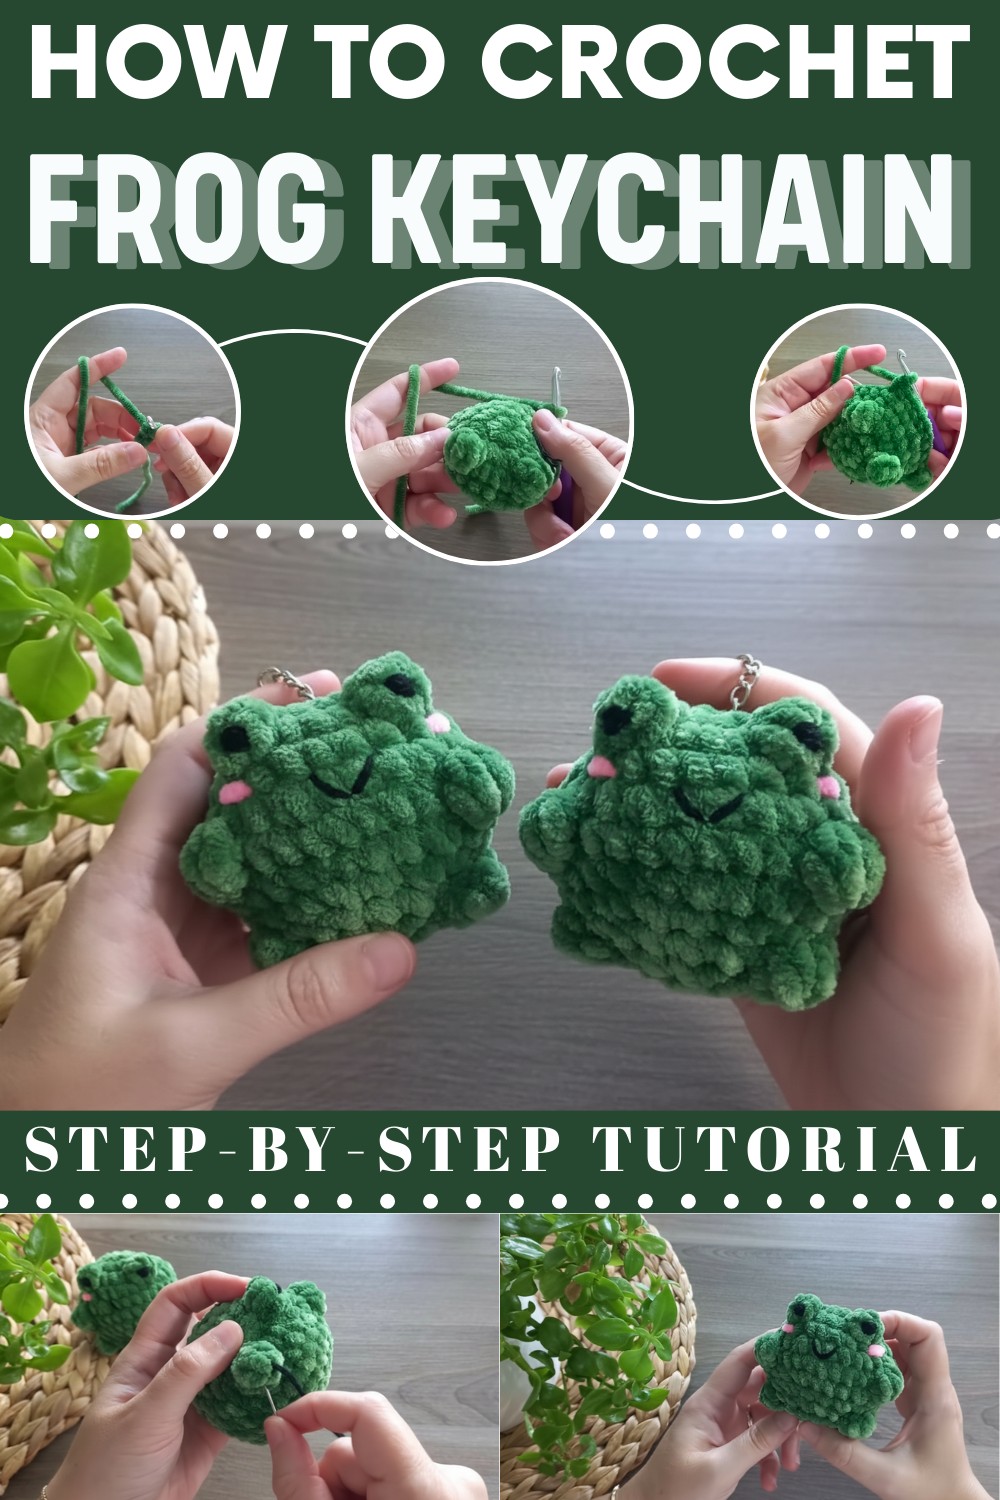
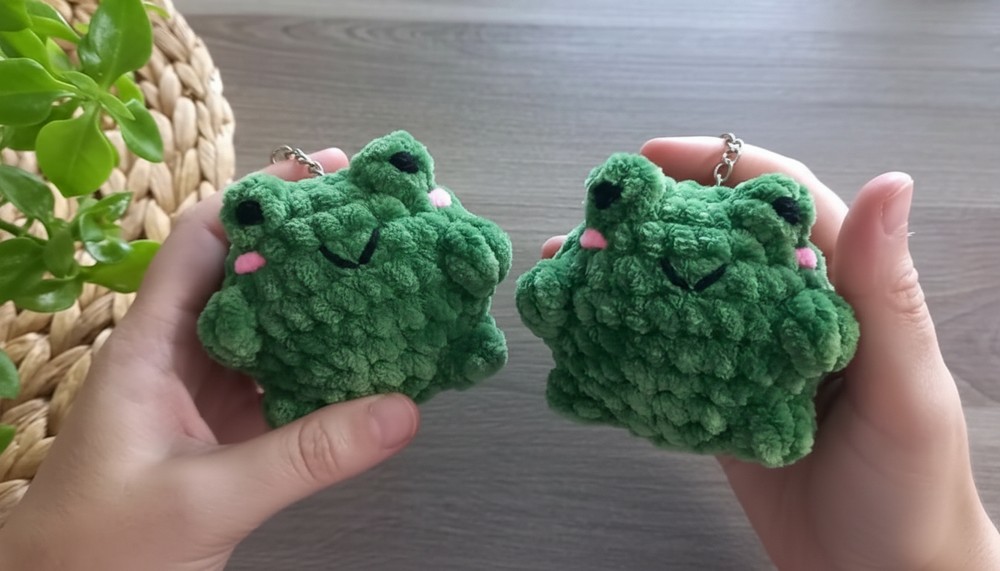
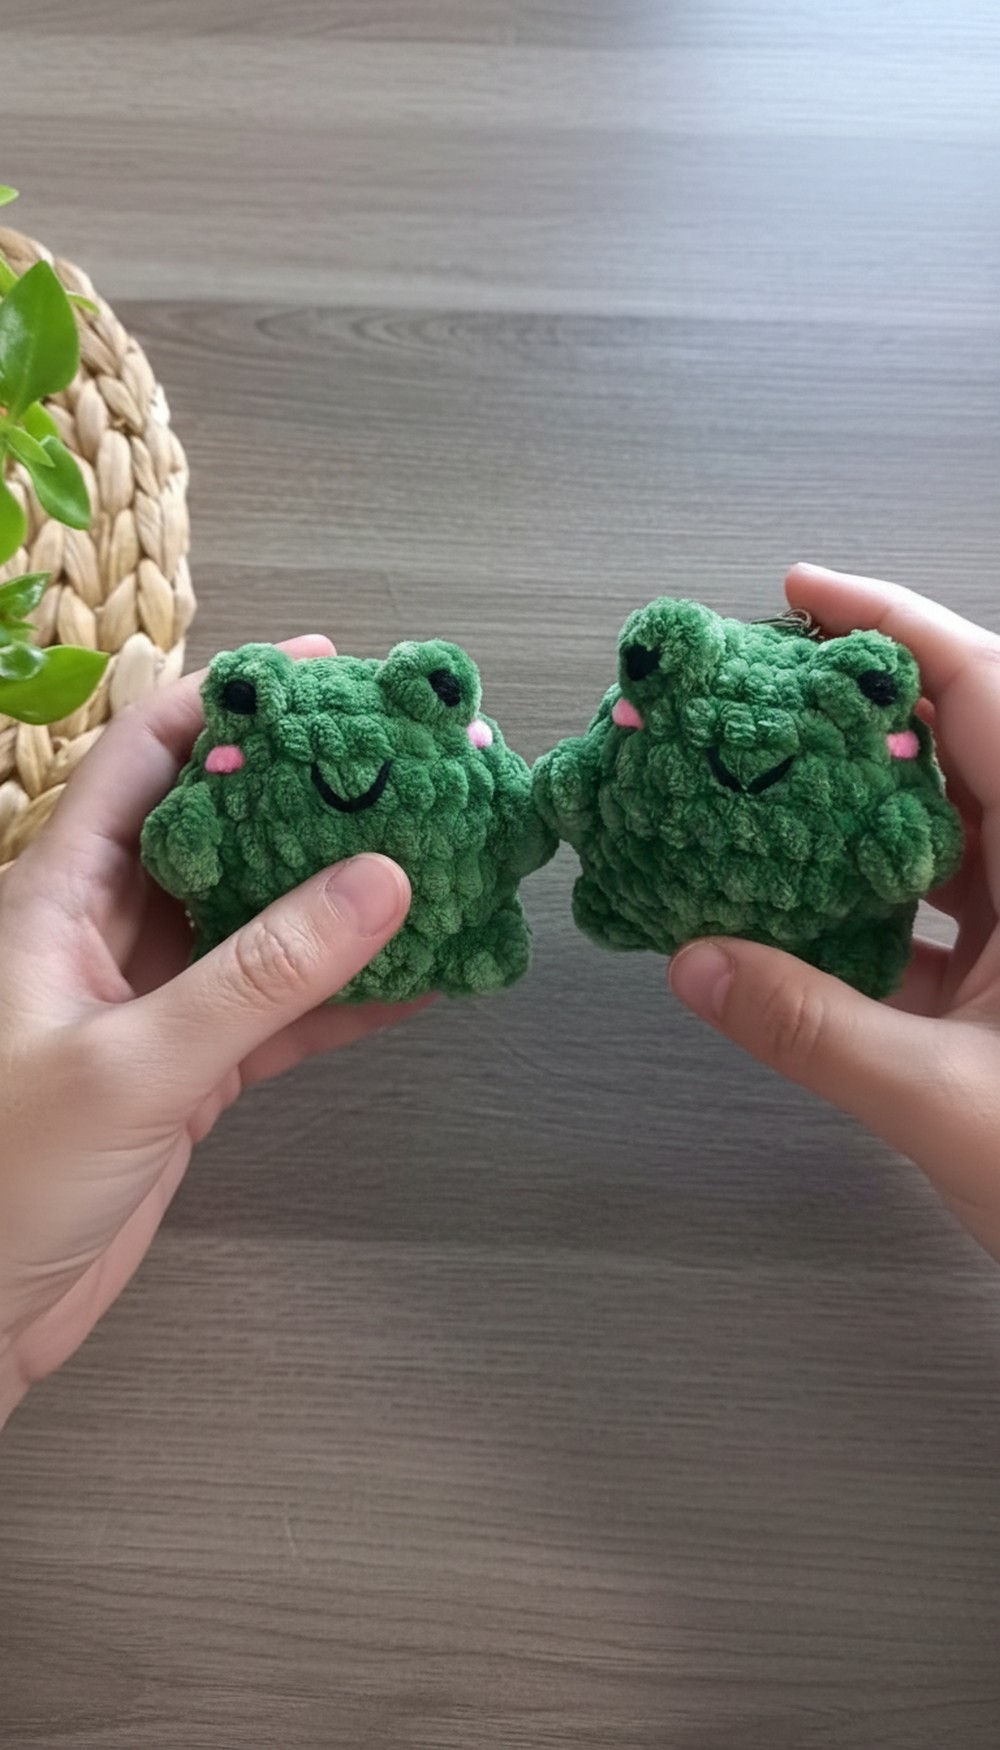
It’s amazing how something so small can bring so much joy! This crochet frog keychain adds a playful pop of fun to your everyday essentials, making even a simple keyring feel special. Its compact size makes it perfect to carry wherever you go, while its vibrant green color and cheerful smile catch the eye instantly. Whether you clip it onto a backpack, purse, or your keys, this adorable frog adds character and charm, turning any item into something unique and creative.
Featuring a tiny round body, charming little legs, and quirky raised eyes, this Pattern brings its own lively personality to life. The playful expression and thoughtful design make it more than just a craft; it’s a way to create meaningful moments.
Crochet Frog Keychain Ideas That Will Spark Your Creativity
Light, cheerful, and easy to complete, this frog project helps you build confidence while creating something that feels both useful and adorable.
Crochet Frog Keychain Detailed Pattern
Special Features
- Compact Design: The small size makes it perfect as a keychain or decorative accessory.
- Soft Texture: Uses YarnArt Dolce velvet yarn for a plush and inviting feel.
- Easy to Customize: You can use different colors, add expressions, or even attach the frog to other items.
- Multifunctional: Can be used as a keychain, a bag charm, or as a little toy.
Skill Level
Beginner to Intermediate
If you are new to crochet or amigurumi, this is a great project to build your skills. The stitches are simple (single crochets, increases, decreases), and the process of stuffing and attaching parts is explained clearly.
Materials Needed
- Yarn: YarnArt Dolce in green (120m/100g) for the frog body. Optional yarn for embroidery:
- Black yarn (non-fuzzy and thin) for the eyes and mouth.
- Pink velvet or similar yarn for the cheeks.
- Hook Size: 5mm crochet hook (adjust as needed for your tension).
- Fiber Fill (Stuffing): For stuffing the frog.
- Keychain Ring/Keyring Attachment.
- Needles: Tapestry needle for assembly and embroidery.
- Stitch Marker/Piece of Yarn: To keep track of rounds.
- Scissors.
Pattern Instructions
Base and Body:
- Start with a magic ring (alternatively, use the starting chain if magic rings are tricky with velvet yarn).
- Chain 2 and make 8 single crochets (SC) into the magic ring. Pull to tighten. [8 SC]
- Round 2: Work 2 SC in each stitch (increase in each stitch). [16 SC]
- Round 3: (1 SC, 1 INC) — repeat 8 times. [24 SC]
- Round 4: Work 1 SC into each stitch around (no increases). [24 SC]
- Round 5: (3 SC, 1 INC) — repeat 6 times. [30 SC]
At this point, you will make the frog’s features (eyes, arms, and legs) while continuing body rounds.
Eyes:
- In the third round of the body (visible at the top), create two puffed eyes:
- In the designated stitch, yarn over and perform 4 half-finished double crochets (DC) without completing them.
- You should leave loops on your hook and, at the last step, close all loops together. This creates the “bulging” eye effect.
- Repeat the same process for the second eye, leaving a gap for symmetry.
- After adding the puff stitches for the eyes, continue the remaining stitches of the round.
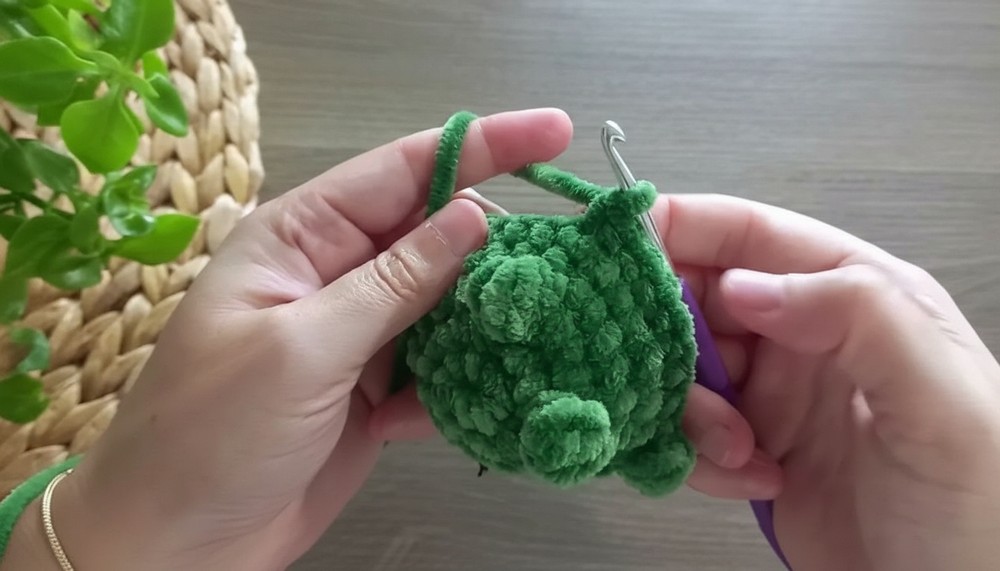
Arms:
After the 6th round, create two froggy arms at opposite sides of the body:
- Crochet 4 double crochets (DC) into one stitch; close them all together (similar to the eye technique).
- Repeat this for the second arm.
Legs:
- Designate two positions below the body for the legs.
- In each position, crochet 4 puff stitches; close them for each foot.
- Repeat on the opposite side.
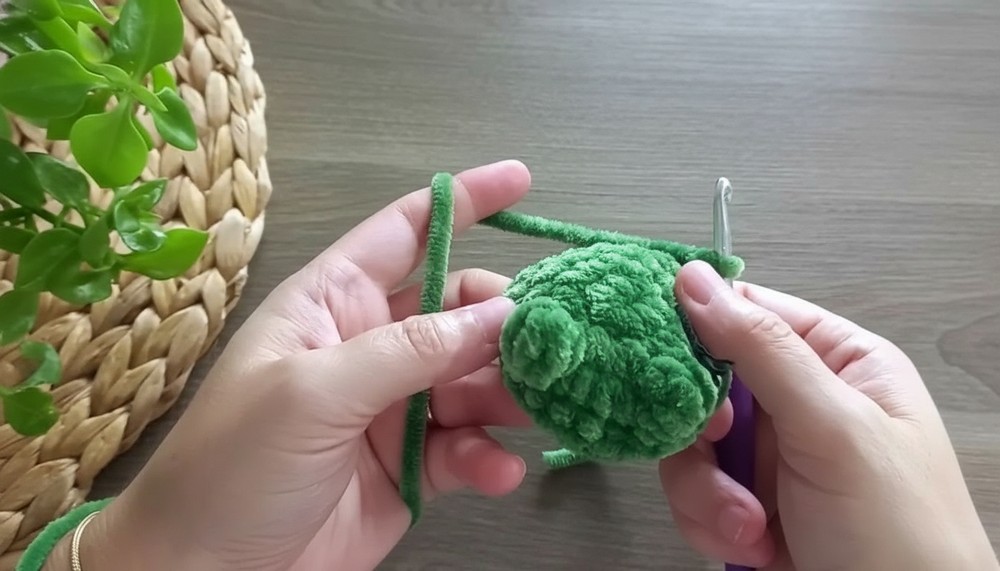
Continue and Close the Body:
- Round 6: (3 SC, 1 DEC) — repeat 6 times. Check the stitch count after this round is 24 SC.
- Round 7: (2 SC, 1 DEC) — repeat 6 times. [18 SC]
- Stuff the body tightly with fiberfill.
- Round 8: (1 SC, 1 DEC) — repeat 6 times. [12 SC]
- Final Round: Perform decreases only to reduce to 6 SC. Tie off with a longer tail to sew the remaining stitches together and close the body.
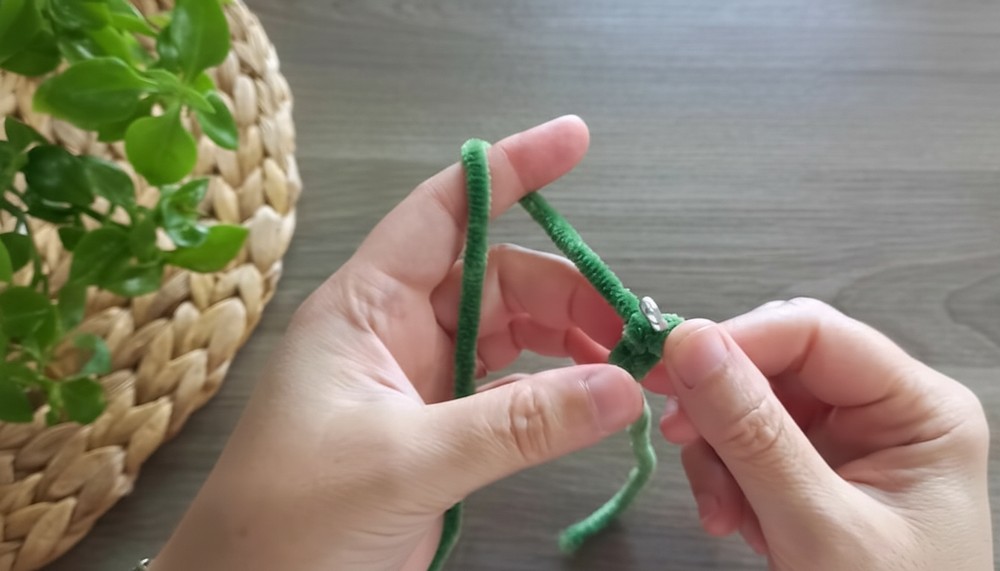
Adding the Keychain Ring:
- Place the keychain ring at the top of the frog.
- Use a needle and yarn thread to secure the ring tightly to the body using a few stitches.
- Ensure it is placed symmetrically above the "eyes" for a balanced look.
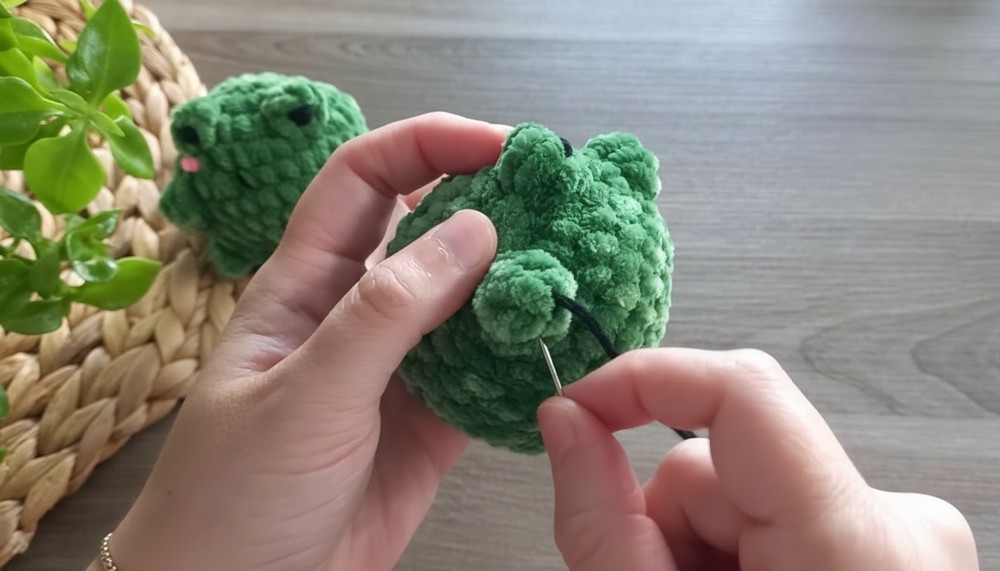
Details and Face Embroidery
Eyes Embroidery:
- Use black yarn and a needle.
- Define the center of the puff stitches (eye bumps) and embroider oval eye shapes using simple backstitches.
- For additional cuteness, add a white speck for a “twinkle” effect inside the eye.
Mouth:
- Using black thread or yarn and a tapestry needle, stitch a simple semi-circle shape for a smile. Adjust the size based on look preference.
Cheeks:
- Add pink detail as blush by stitching two small oval or circular shapes near the corners of the mouth.
- Use pink velvet yarn or a thin embroidery thread for this part.
Tutor’s Suggestions
- If you are a beginner, start by practicing the magic ring technique using other yarns first, as velvet yarn can be tricky.
- Always place a stitch marker or a piece of yarn at the beginning of each round to avoid losing track of your pattern.
- Count your stitches at the end of each round to ensure accuracy.
- Feel free to customize by changing the facial expressions, adding wider smiles, or sewing extra embellishments like a tiny bow!
Uses for the Frog Keychain
- As a Gift: Perfect handmade gift for friends, family, or kids.
- Keychain Charm: Attach to keys, purses, or school backpacks.
- Desk Decor: Use as a decorative piece on your workspace.
- Kids' Toys: Makes a small, adorable toy for kids' pretend play.
Tip for Velvet Yarn
When working with velvet yarn, make sure not to pull your stitches too tightly, as this can cause the yarn to shed or distort. Additionally, keep the yarn tension loose and consistent for a smoother result.
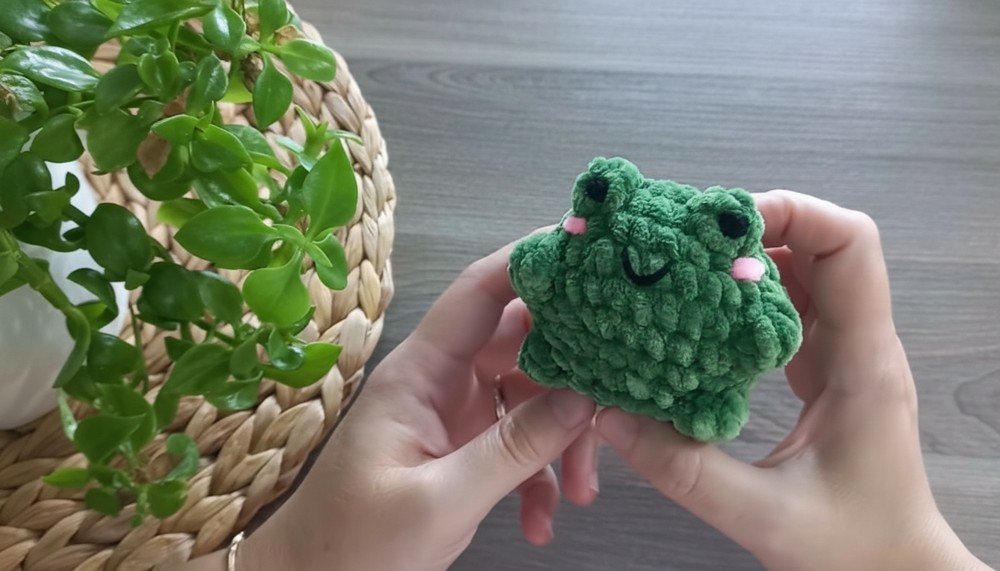
Conclusion
This cute frog keychain is a simple and satisfying project that mixes creativity and functionality. From its puffed little eyes to its blushing cheeks, this frog is bound to brighten anyone’s day. Beginners will appreciate how simple stitches can turn into something adorable, and experienced crocheters can enjoy customizing the design.