
Cute Crochet Doll Graduation Accessories Free Pattern + Tutorial
Celebrate your special day with unique Crochet Doll Graduation Accessories that add charm and joy to your graduation gifts and decorations.
My friend recently graduated, so I decided to give a memorable gift that truly celebrates this special achievement. The Crochet Doll Graduation Accessories, created by Shelen Crochet, are the perfect way to add charm and joy to any crochet doll. These tiny, colorful pieces—including a cap, gown, and a little diploma—transform a simple doll into a proud graduate. The finished accessories look bright and festive, making the doll a delightful celebration symbol.
Free Crochet Doll Graduation Accessories Pattern to Complete Your Doll Outfit
Making these accessories is simple and fun. You crochet each part with care, watching the miniature cap and gown come alive with every stitch. Adding these pieces to your doll feels like dressing it up for its own graduation ceremony. The design is easy to follow, making it a great project even for beginners who want a meaningful craft.

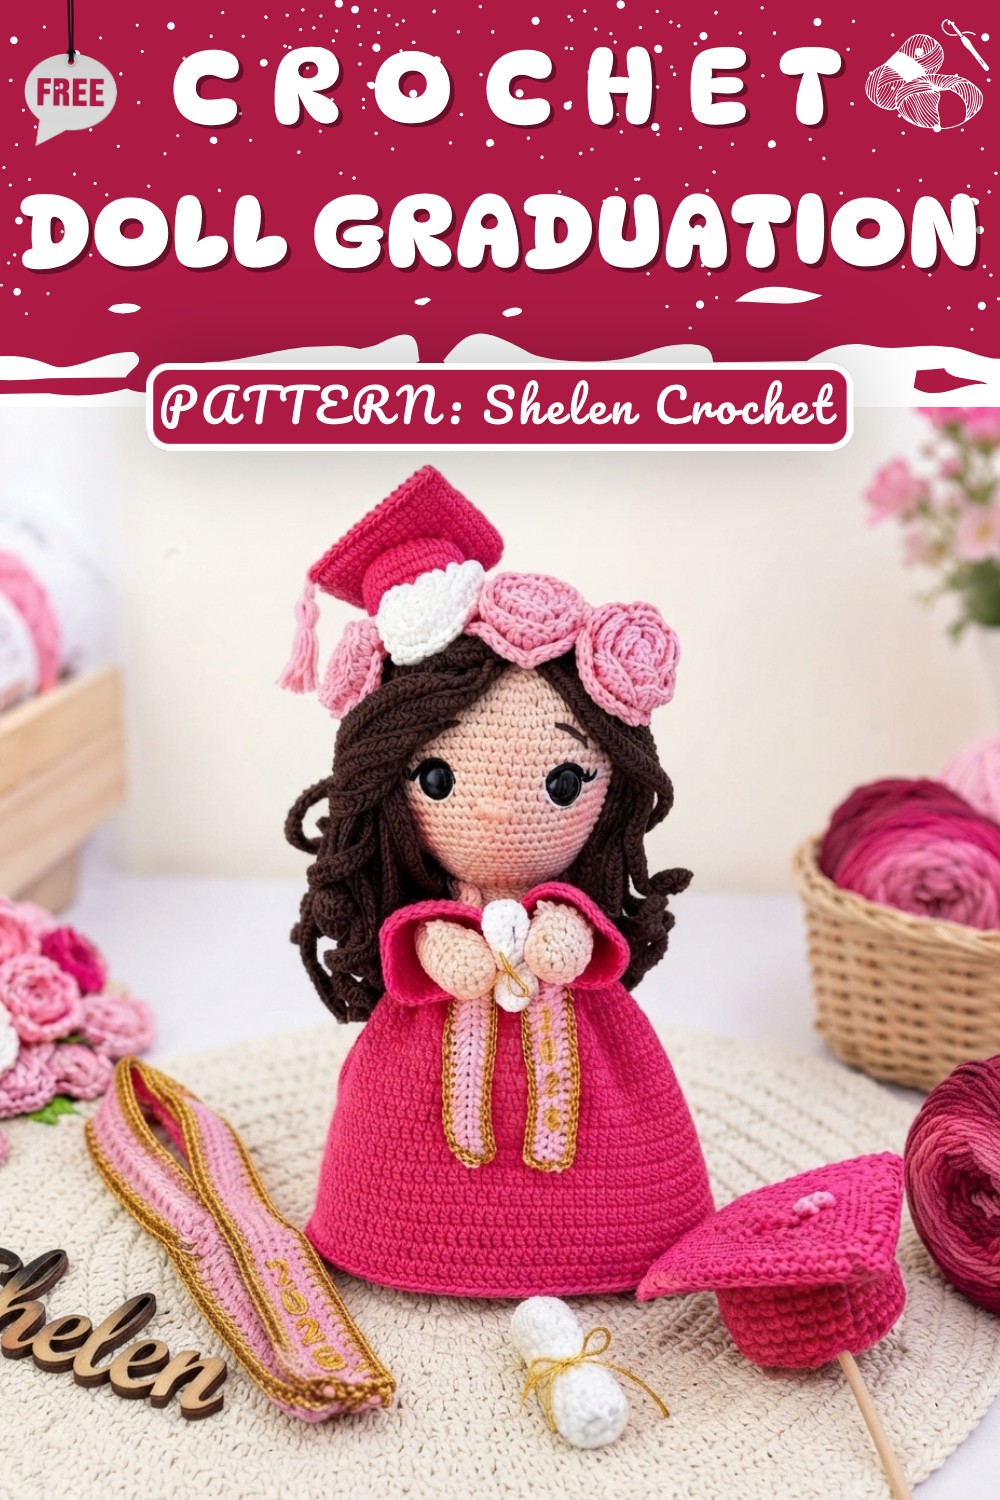
If you want to create this special gift, take a look at the free pattern by Shelen Crochet. The instructions are clear and easy to follow, so you’ll be able to craft a beautiful graduation doll accessory that’s full of heart and celebration.
Bouquet Doll Graduation Accessories Pattern
In today’s pattern, we will create a complete set of graduation accessories for your 20 cm bouquet doll: a mortarboard (graduation cap), classic stole, and rolled diploma. These elegant details are entirely crocheted (except for felt/foam letters and numbers) and assembled with thoughtful touches for a refined and beautifully presented graduate.
Pattern Highlights
- Realistic Mortarboard: Crochet cover for a sturdy cardboard insert, with a dimensional base and classic tassel.
- Elegant Stole: Long, gold-edged sash with space for embellishments or personalization.
- Rolled Diploma: Firm, rolled “parchment” with a golden bow.
- Professional Assembly: All pieces integrated cleanly on your bouquet doll with removable, sturdy construction.
- Customizable: Add foam letters, numbers, or names for your special graduate.
Notes
- Mortarboard is worked in two parts: a flat, square top (crocheted around an 8x8cm cardboard box) and a small round base.
- The stole is worked flat, edged with single crochet in gold for elegance.
- Personalization is optional; add school name/year with foam, felt, or embroidery.
- Diploma is rolled and finished with a golden bow or lace.
- Cold silicone glue is used to connect the accessories to your doll and for all embellishments.

Skill Level
Confident Beginner – Intermediate:
Familiarity with basic amigurumi stitches (magic ring, increases), working flat (rows) and in the round, and basic assembly with glue is helpful.
Materials
- Yarn:
- Main colors (your choice – e.g., sweet rose for stole and mortarboard, white for diploma)
- Gold thread or yarn for stole border and bow
- Cardboard box: 8 x 8 cm (for mortarboard structure)
- 3.0 mm Hook (or to match yarn)
- Yarn Needle
- Foam/felt Letters & Numbers (2 cm high, for personalization)
- Scissors
- Cold silicone glue
- Measuring Tape
- Measurements / Sizing
- Mortarboard: Top 8 x 8 cm, round “cap” base sized to fit snugly on doll’s head, 17 rounds.
- Stole: Approx. 40 cm long, 3 cm wide.
- Diploma: Rectangle prior to rolling, 12 ch x 6 rows.
- Foam Letters/Numbers: 2 cm tall.
Gauge
- Not critical; ensure pieces fit doll and cardboard.
- Adjust hook/yarn as needed for firm, neat fabrics.
Stitch Abbreviations
| Abbreviation | Meaning |
|---|---|
| ch | chain |
| sc | single crochet |
| sl st | slip stitch |
| hdc | half double crochet |
| inc | increase (2 sc in same st) |
| MR | magic ring |
Special Stitches
- Invisible join: For a clean edge, finish final round by pulling yarn through first stitch and weaving in.
- Border join (mortarbord closure): With work folded over edge, insert hook into front stitch, then matching stitch at back, draw up loop, sc both together.
- Tassel: Wrap gold thread around cardboard/fingers, tie at top, cut at bottom, wrap/tie for head; attach to mortarboard.
Crochet Process
Graduation Mortarboard
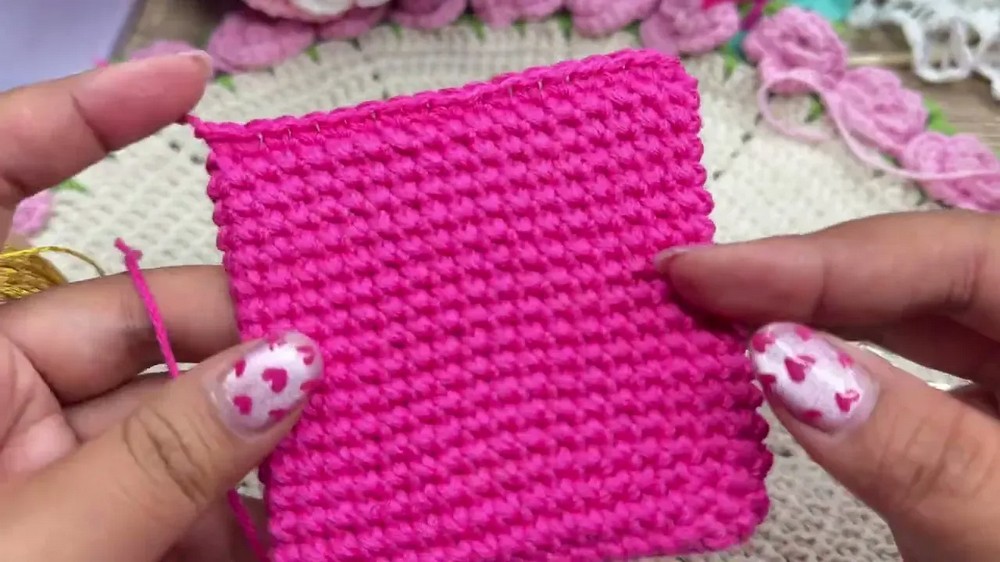
Top Panel (Square, worked in rounds):
- With main color, ch 17.
- Row 1: Sc in 2nd ch from hook, sc across (16 sc).
- Row 2: Ch 1, turn. Sc in each st across. (16 sc)
- Repeat Row 2 for a total of 15 rows.
- Edges:
- Around the rectangle, make 3 sc in last st, continue along next edge: sc in each ch row, 3 sc in corner, continue, until reaching first st; sl st to join. (Should have 35 sc around).
- If working as a loop: Ch 1 does not count as a st.
- Round 2–17: Ch 1, sc in each st around (35). Join each round with sl st.
- Work until work covers 8x8 cardboard box (approximately 17 rounds or until square is covered).
- Insert 8x8 cm cardboard panel centered inside.
- Closure: Fold edges down, joining front with back (see “Border join”). Sc through front and back together; continue all the way around. Sl st, fasten off.
- Weave in all ends for a neat finish.
Base ("Cap" – worked in rounds):
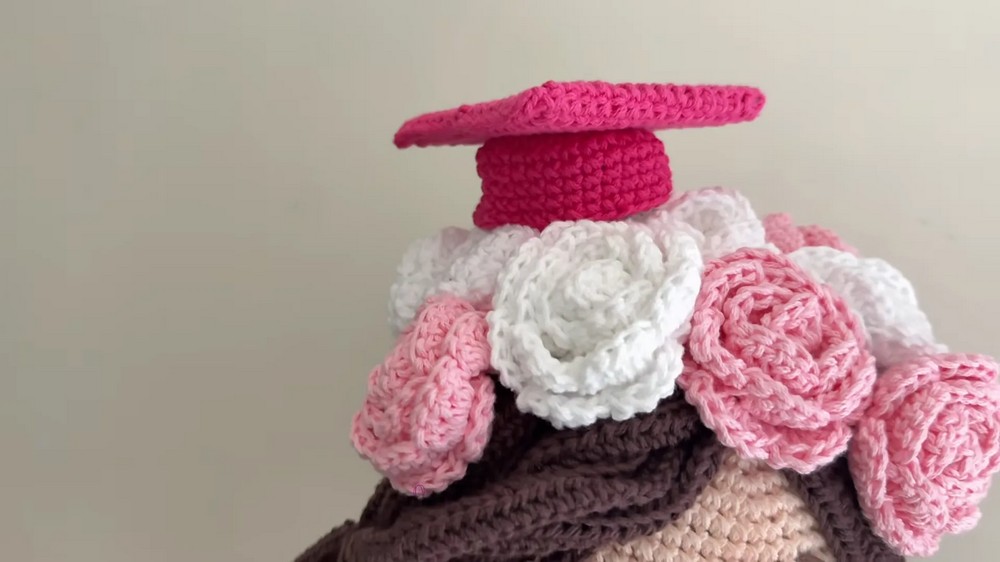
- MR, ch 1, 6 sc in ring. Join with sl st. (6)
- Ch 1, 6 inc (12 sc). Sl st.
- Ch 1, (sc, inc) around (18). Sl st.
- Ch 1, (2 sc, inc) around (24). Sl st.
- Ch 1, (3 sc, inc) around (30). Sl st.
- Ch 1, sc in each st around (30). Sl st.
- Rounds 7–10: Repeat [Ch 1, sc in each st] (30 in each round). Sl st to join.
- Fasten off and weave in end.

Assembly:
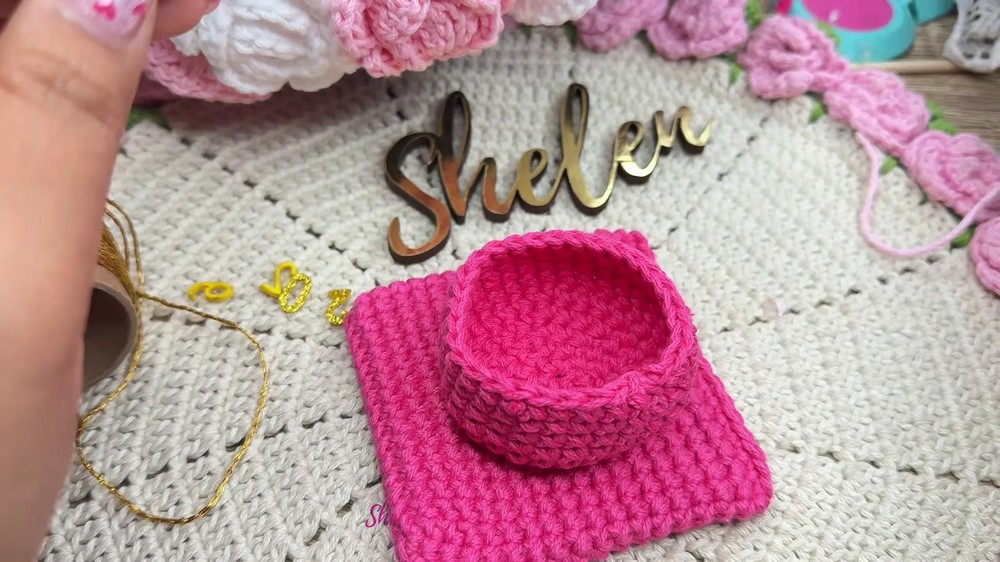
- Center and glue round base cap to middle of the underside of the square panel.
- Let dry thoroughly.
Tassel
- Cut a short piece of gold thread.
- Wrap gold thread 12 times around a small piece of cardboard or two fingers.
- Tie at one end, slide off and tie about 1 cm from top to form "tassel head."
- Trim bottom, even ends.
- Attach to center of mortarboard square.
- Optional: Make a chain of 20, attach one end to cap, tie or glue.
- Secure and weave in all ends.

Graduation Stole
- With stole color, ch 90.
- Row 1: Hdc in 2nd ch from hook, hdc in each st across (89 hdc).
- Row 2: Ch 1, turn. Hdc in each st across (89 hdc).
- Fasten off, weave in ends.
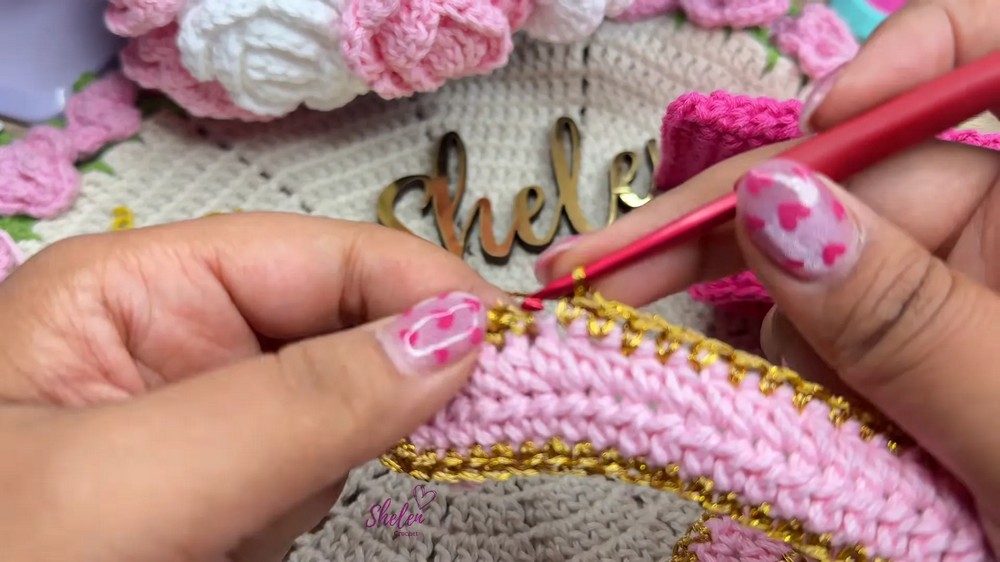
Gold Border:
- With gold, join at one short end. Ch 1, sc in each st across.
- At corners, work 2 sc in same st to prevent curling.
- Continue evenly along long edge (sc in each row end), work 2 sc in corner, across short edge, and repeat until all edges are bordered.
- Sl st, fasten off. Tidy and hide all ends.
Personalization:
- Add foam/felt numbers or letters to one end (simulate embroidery if desired).
- Attach with cold silicone glue.
Diploma

- With white and 3.0 mm hook, ch 12.
- Row 1: Hdc in 2nd ch from hook, hdc across (11 hdc).
- Rows 2–6: Ch 1, turn. Hdc in each st (11 per row). Fasten off.
Finishing:
- Roll rectangle tightly.
- Secure closed edge with a line of cold silicone glue (apply a few drops as you roll).
- Cut a piece of gold thread. Tie into a neat bow around rolled diploma.
- Trim ends and carefully melt/singe with lighter if using synthetic thread (avoid damage).
Assembly & Finished Size
- Dress your bouquet doll. Drape the stole elegantly around shoulders/neck.
- Place rolled diploma into the doll’s hand, securing with a drop of silicone glue as needed.
- Attach mortarboard on head (insert stick or wire for removable option) or glue lightly for display.
- Adjust all pieces for symmetry and neatness.
- Mortarboard: 8x8 cm flat, with ~2cm deep round cap.
- Stole: ~40 cm long, 3 cm wide.
- Diploma: ~5 cm wide when rolled.

Conclusion
You have now completed a beautiful set of graduation accessories for your bouquet doll. Each piece brings an authentic touch, from the sturdy, professional mortarboard and gold-accented stole to the finely rolled diploma. With thoughtful assembly and options for personalization, your graduate will shine in every display. Thank you for choosing Chellen Crochet for your crafting journey. Wishing you joyful creativity and heartfelt celebrations on every special occasion!