
Crochet Belle Amigurumi Free Pattern for Fairy Tale Playtime
Keep your creativity flowing with a Free Crochet BELLE AMIGURUMI Pattern, featuring simple steps to craft a stunning Disney-inspired doll everyone will adore.
When it comes to creating charming handmade dolls, the free crochet BELLE AMIGURUMI pattern is an excellent project to dive into. This pattern offers a beautifully crocheted Belle doll inspired by the beloved fairy tale heroine, featuring a smooth and tight stitch texture that ensures a sturdy yet cuddly figure. Her recognizable yellow gown and elegant hairstyle are standout features that bring out her timeless charm, making this amigurumi both stylish and delightful.
Simple Crochet Belle Amigurumi Pattern You Will Love
Ideal for crocheters with some experience in amigurumi, this project is approachable yet engaging. The pattern is designed to be worked primarily in the round, shaping the body and limbs seamlessly, with details like hair and dress added in separate sections. Depending on your choice of yarn and hook size, you can customize Belle’s size—from petite collectibles to larger, plush companions. For best results, using smooth cotton or cotton-blend yarns enhances stitch clarity and offers a nice balance of firmness and softness.
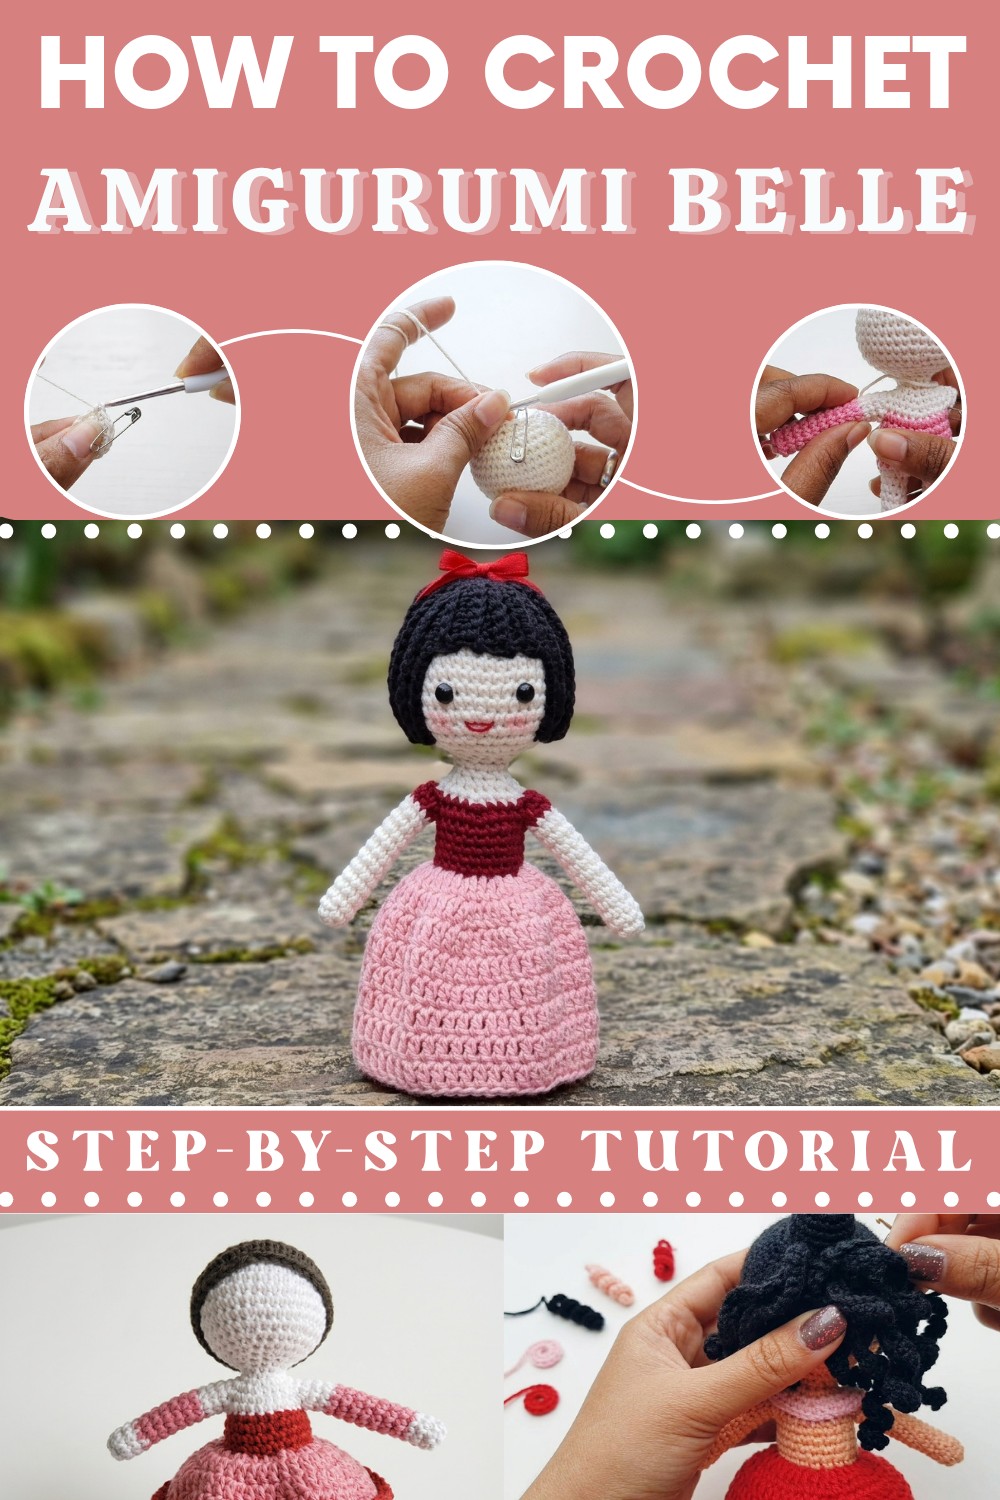
The inspiration behind this design comes from the classic Beauty and the Beast story, celebrating Belle’s grace and kindness through a handmade creation. This amigurumi makes for a thoughtful gift on birthdays, holidays, or special occasions. Plus, it invites creativity—adding embroidered accents or personal touches can make your Belle truly unique and heartfelt. Whether for yourself or a loved one, this pattern is a delightful way to bring a bit of storybook magic into the crochet world.

Amigurumi Belle Crochet Pattern
This detailed pattern guides you through making an Amigurumi Belle doll (Beauty and the Beast inspired) from scratch, using basic shapes, color changes, and simple facial and hair detailing. The finished project is a delightful keepsake, perfect for fans and as a beginner-friendly gift. Use this pattern to crochet your own magical princess with a classic golden dress, brown locks, and sparkling diamond accessories.
Pattern Notes
- Work in continuous rounds unless stated otherwise.
- Mark the beginning of each round with a stitch marker.
- Color changes are needed for dress, shoes, and hair.
- Some details (bun, ribbon, strands, skirt lace) are worked separately and sewn on.
- Safety eyes and diamond stickers are optional; can embroider features if preferred.
Skill Level
Advanced Beginner
The pattern uses US crochet terms, with single crochet, increases, decreases, double crochet, treble crochet, and slip stitches. Assembly includes sewing and gluing small details.
Materials
- Cotton or acrylic yarn: skin tone, reddish brown, pink & black
- Toy stuffing
- 3 mm crochet hook
- Safety eyes (doll size)
- Pipe cleaner (optional, for shaping legs)
- Safety pin/stitch marker
- Needle & scissors
- Diamond stickers (optional)
- Hot glue (for embellishments)
- Optional: schematic sketch (for arms, legs, skirt).
Measurements / Sizing
- Finished doll: varies by yarn, approx. 7–9" (18–23 cm) tall.
- Skirt reaches below doll’s knees.
- Arm and leg lengths: see crochet pattern.

Gauge (and Stitch Pattern if applicable)
- Gauge: 10 sc x 10 rows = 2" (5 cm) with 3 mm hook and chosen yarn.
- Stitch pattern: Mostly single crochet in continuous rounds; double and treble crochet for embellishments.
Gauge Swatch Tips
Complete several rounds of the head/body and check size against stuffing and desired finished appearance. Adjust hook or yarn thickness if necessary.
Stitch Abbreviations
- sc – single crochet
- inc – increase (2 sc in same st)
- dec – decrease (single crochet two sts together)
- sl st – slip stitch
- ch – chain
- dc – double crochet
- tr – treble crochet
- st(s) – stitches
Special Stitches
- Magic Ring: Create a loop, work stitches into ring, then pull tail tightly to close.
- Invisible decrease: Insert hook in front loops of next two stitches, yarn over, pull through both loops, yarn over, pull through remaining loops.
- Increase: 2 sc (or 2 dc) in the same stitch.
THE CROCHET PATTERN!
HEAD & BODY (Skin tone yarn)
- Magic ring, ch 1.
- Rnd 1: 6 sc in ring.
- Pull tail tight, mark last stitch.
- Rnd 2: inc in each st (12 sc)
- Rnd 3: 1 sc, inc around (18 sc)
- Rnd 4: 2 sc, inc around (24 sc)
- Rnd 5: 3 sc, inc around (30 sc)
- Rnd 6: 4 sc, inc around (36 sc)
- Rnd 7: 5 sc, inc around (42 sc)
- Rnds 8–12: sc in each st (5 rounds, 42 sc)
- Rnd 13: 5 sc, dec around (36 sc)
- Rnd 14: 4 sc, dec around (30 sc)
- Rnd 15: 3 sc, dec around (24 sc)
- Add stuffing as you go.
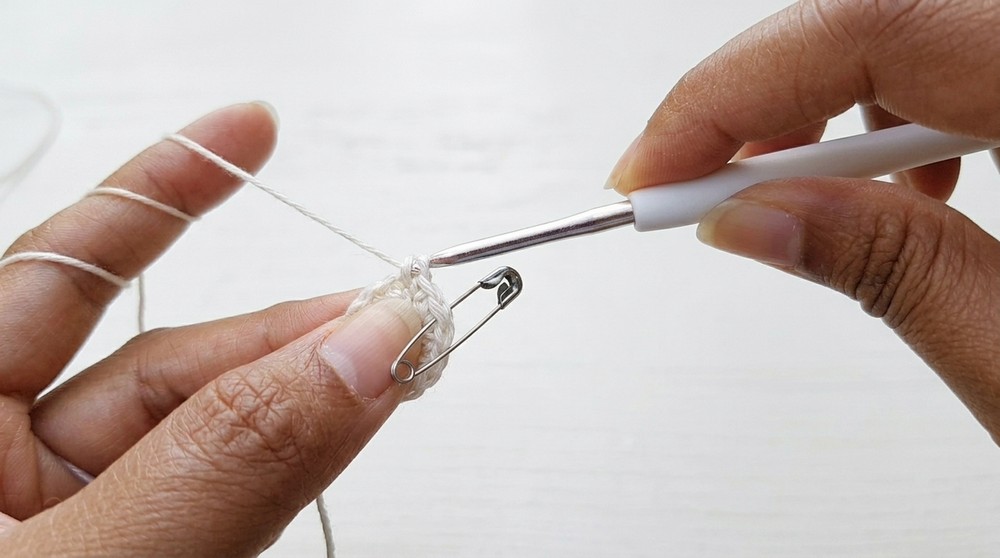
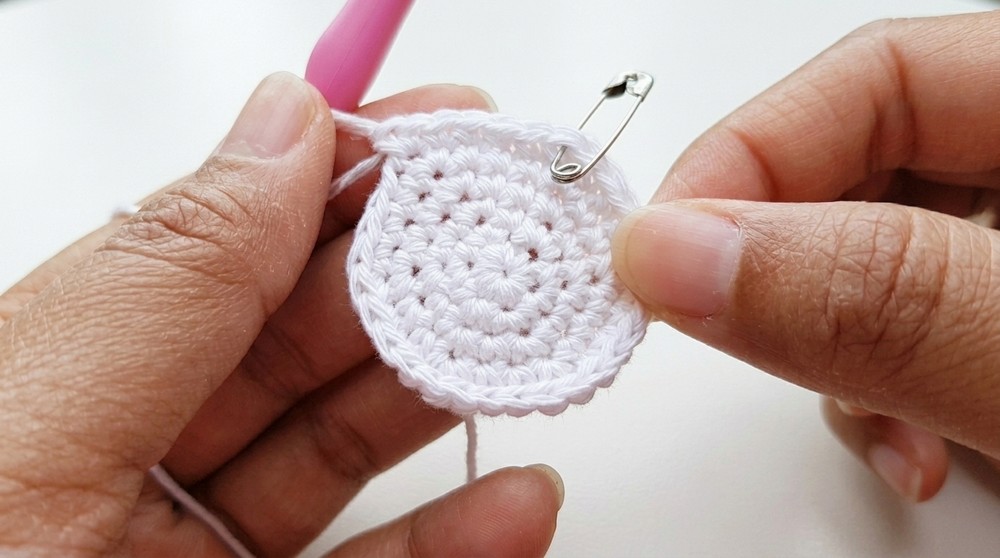
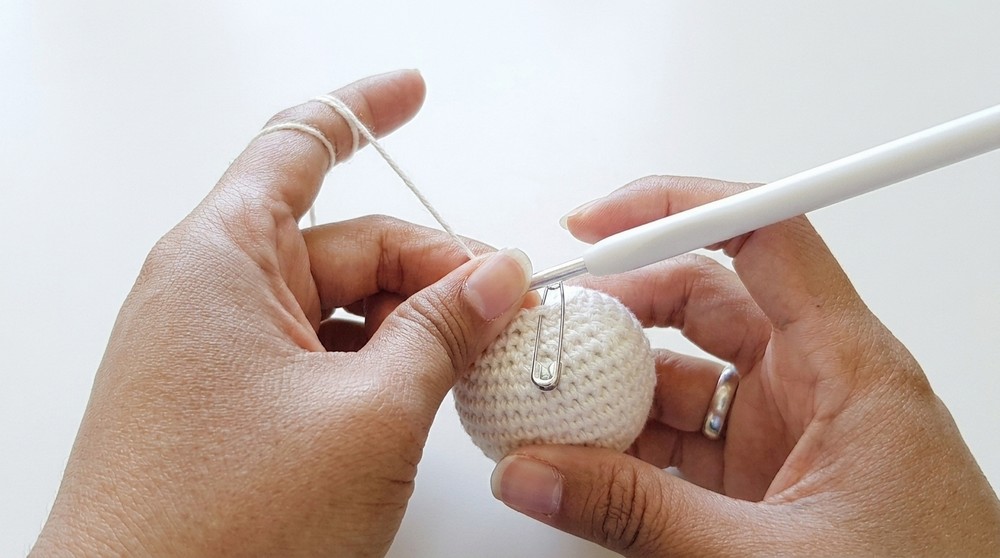
After this section, your head is firmly shaped. No need to slip stitch; keep working in spirals.
NECK & BODY CONTINUED
- Rnd 16: 2 sc, dec around (18 sc); add more stuffing.
- Rnd 17: 1 sc, dec around (12 sc); stuff firmly.
- Rnds 18–20: sc in each st (12 sc), (3 rounds).
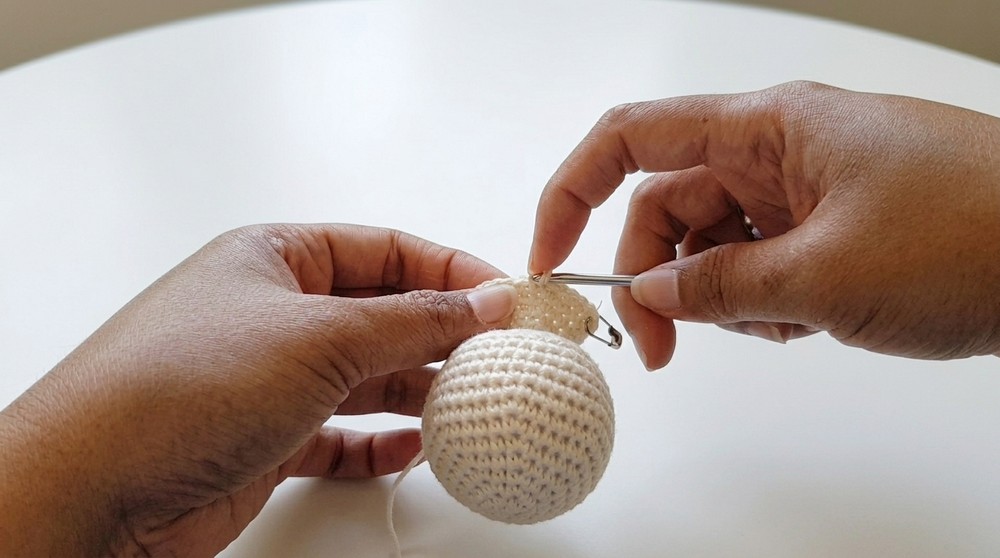
Body tapers at neck, then transitions to torso.
BODY/BODICE (pink yarn)
- Rnd 21: 1 sc, inc around (18 sc)
- Rnd 22: 2 sc, inc around (24 sc)
- Rnd 23: 3 sc, inc around (30 sc)
- Rnd 24: 4 sc, inc around (36 sc); stuff.
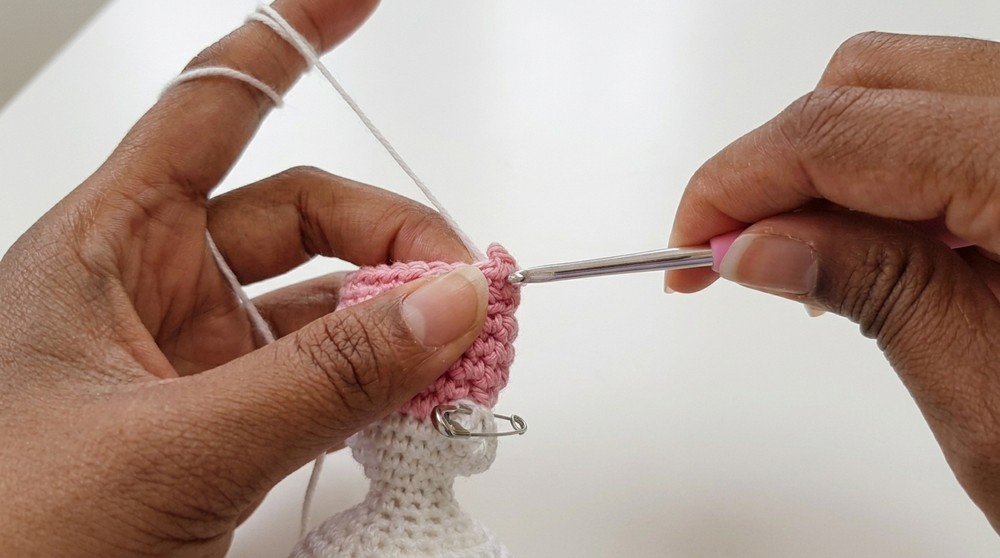
Change color at neck; gold/yellow forms bodice.
- Fold work in half, mark 8-st partitions for arms on each side (using increases as anchor points).
- Attach gold yarn, sc in each st around (20 sc).
- Rnds 25–29: sc in each st (5 rounds, 20 sc); stuff.
SKIRT
- Rnd 30: sc in back loop only (20 sc).
- Change to skin tone yarn for legs.
- Divide stitches in half (10 per leg).
LEGS (Skin tone, then skin tone for shoes)
- Each leg: sc in both loops (10 sc) for 15 rounds.
- Change to yellow yarn, sc in each st for 2 rounds (10 sc).
- Optionally, insert pipe cleaner for structure; stuff lightly.
- End leg by sewing closed, weave in ends.
Repeat for second leg.
ARMS (Make 2)
- At arm partition, join skin tone yarn.
- Chain 1 (not counted), sc in same stitch & next 7 (8 sc per round).
- Rnds 1–2: sc in each st (8 sc).
- Change to yellow yarn, sc in each st for 10 rounds.
- Sew closed, weave in ends.

SKIRT RUFFLE & LACE
- At front loops left from body/skirt, join yellow yarn.
- Ch 2 (not a st), dc in same st, inc (2 dc) in next, 1 dc, inc around (30 dc).
- Rnd 2: Ch 2, 2 dc, inc around (40 dc).
- Rnd 3: 3 dc, inc around (50 dc).
- Rnds 4–8: dc in each stitch (5 rounds); fasten off.
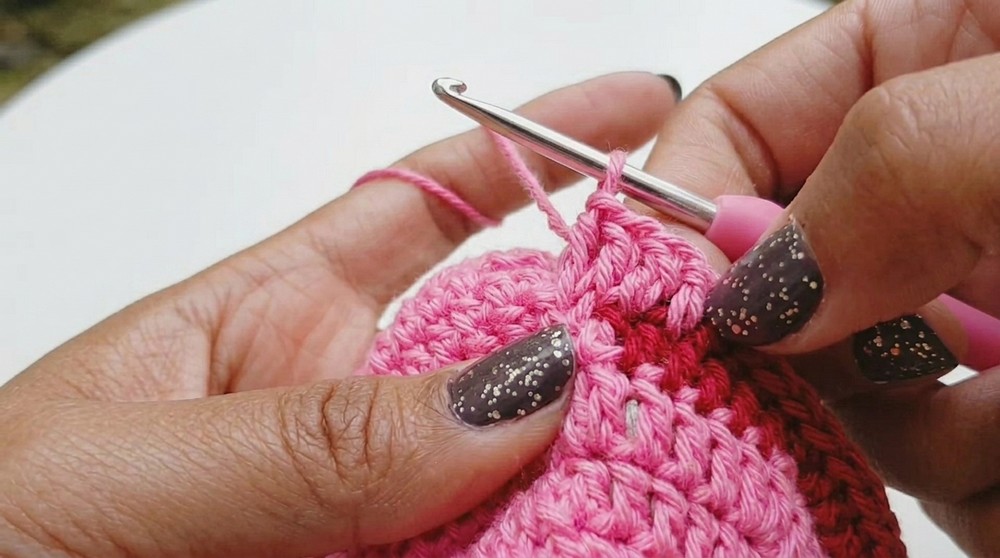
For lace detail, join gold yarn at round 4, work decorative set: sc, hdc, dc, tr, dc, hdc, sc, sl st—continue this set around, making gentle waves.
HAIR CAP & BUN (Brown or Black yarn)
- Hair cap: magic ring, 6 sc.
- Rnd 2: inc in each st (12 sc)
- Rnd 3: 1 sc, inc around (18 sc)
- Rnd 4: 2 sc, inc around (24 sc)
- Rnd 5: 3 sc, inc around (30 sc)
- Rnd 6: 4 sc, inc around (36 sc)
- Rnd 7: 5 sc, inc around (42 sc)
- Rnds 8–16: sc in each st (9 rounds); finish with slip stitch, 40 dc around edge; fasten off.
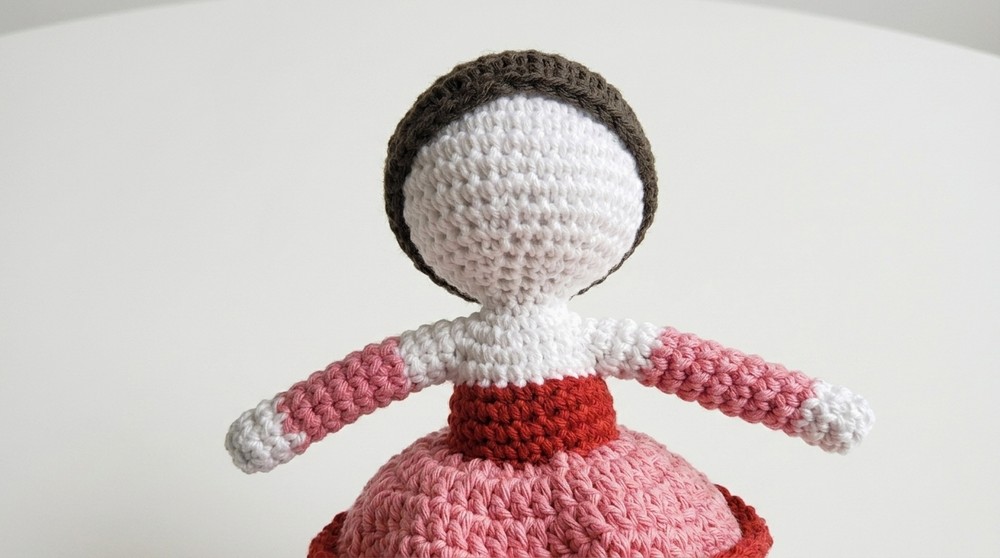
Bun: magic ring, 6 sc; inc round; 1 sc, inc round; then 4 rounds sc; fasten off. Sew to top of head.
HAIR STRANDS & RIBBON BOW
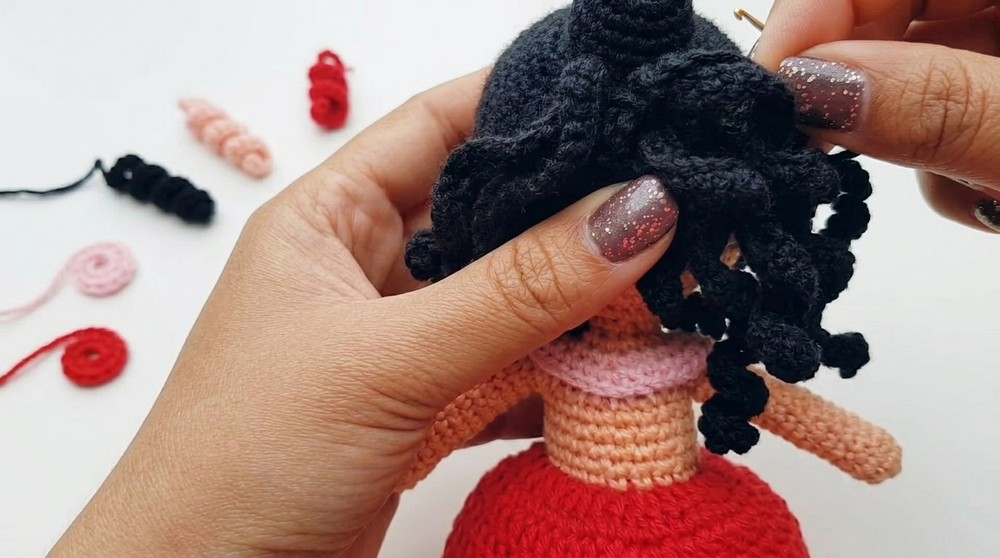
- Chain 31, sc from 2nd ch and across (30 sc)—make 10 strands total.
- Sew strands onto cap; weave top end into bun, bottom end to below bun.
- Bow: Chain 14, sc from 2nd ch across (13 sc); sew around bun as ribbon.
Assembly & Finished Size
- Stuff body and limbs firmly as you assemble.
- Sew hair cap, bun, strands, and bow to head.
- Attach skirt, lace, and bodice edges for neat finish.
- Sew safety eyes (or embroider features), add diamond stickers as desired.
- Finished doll: approx. 7–9" tall, arms ~2" long, skirt reaches knees.
Conclusion and Ending Words
Congratulations, you’ve crocheted your own Amigurumi Belle! This project blends classic amigurumi with princess details—skirt ruffles, hair strands, and a pretty bun. Personalize with face embroidery, add diamond glitter, or gift her to a Disney-loving friend. With clear steps and beginner-friendly stitchwork, you’ve gained skills for many dolls to come.