
How to Crochet Doll Amigurumi Pattern That Feels Alive
Bring charm to life with the Free Crochet Dolls Amigurumi Pattern, a cute handmade companion that adds personality, fun, and cozy vibes to any space.
Curling up in a cozy corner with a small ball of yarn, the first little form of a charming doll begins to emerge, tiny limbs, a soft head, and the promise of an adorable companion. With the Free Crochet Dolls Amigurumi Pattern, you have everything to bring a handmade friend into being from shaping the seamless body, rounding out the features with smooth stitch transitions, to adding personality with an expressive face and soft hair.
Free Crochet Dolls Amigurumi Pattern Perfect for Gifts
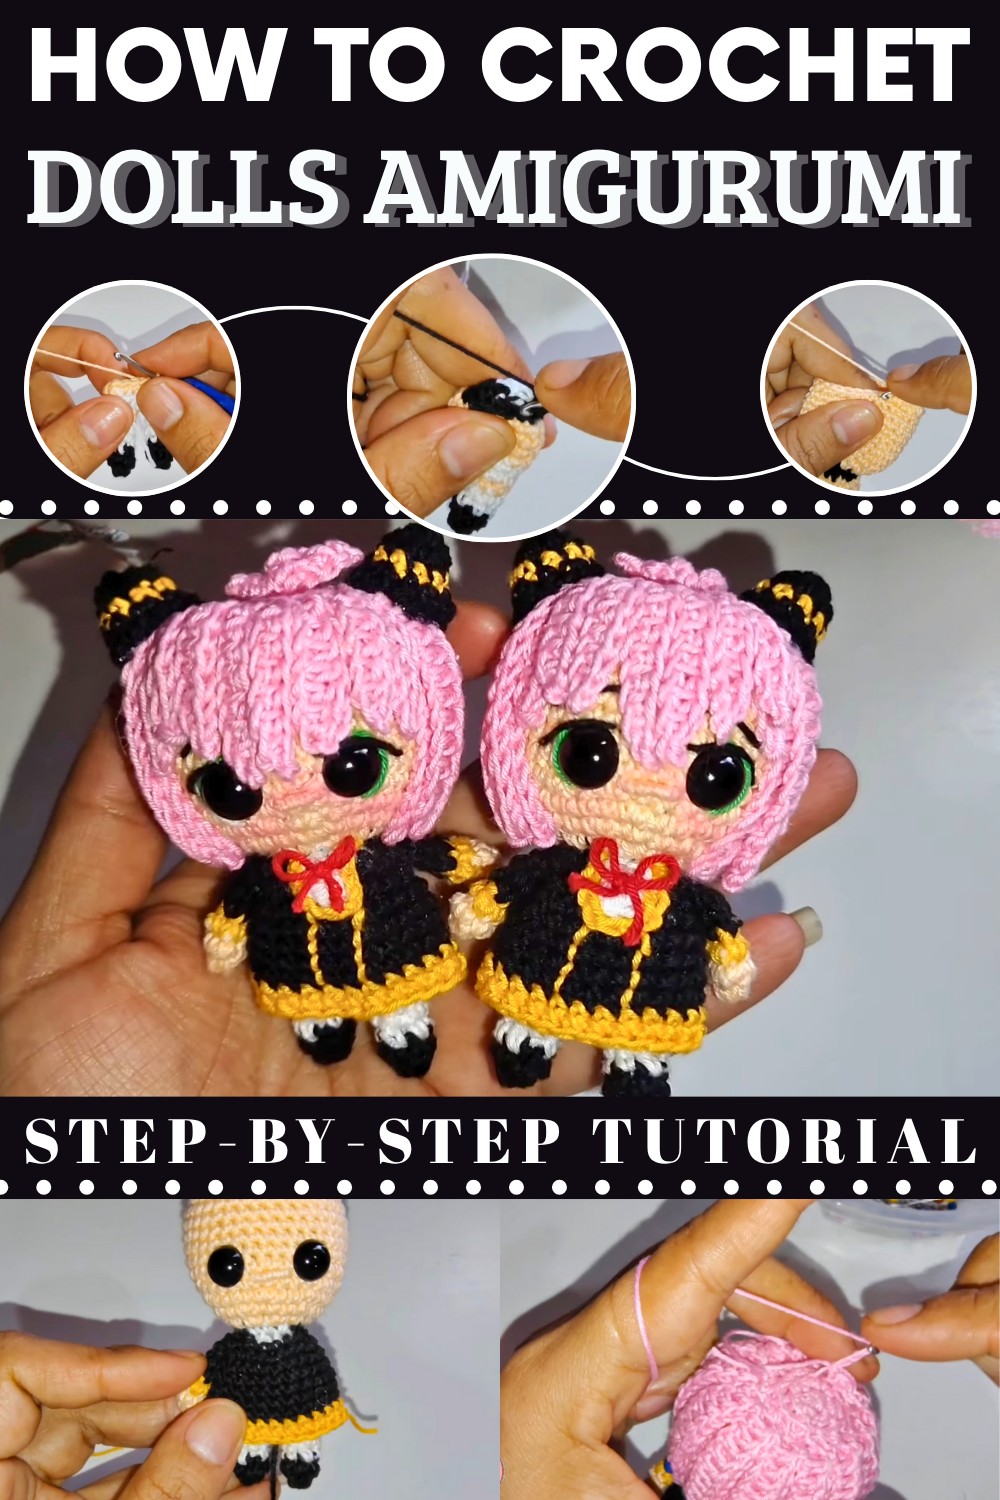
The modular sequence supports customization: choose bold color changes, gentle pastels, or accessories like a bow or a tiny dress to suit your style. This pattern encourages working in continuous rounds for fewer joins and a sleeker finish, making it ideal for gifting or building a collection. The under‑five‑inch size is perfect for little hands, shelf displays, or as a travel project in your bag.
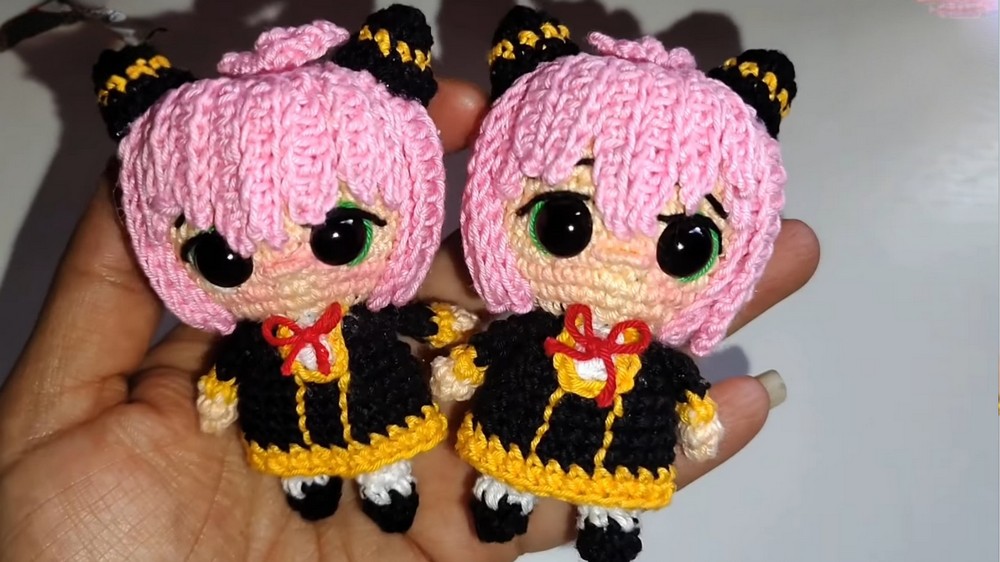
Since the construction uses the same yarn for body and clothing, stash‑busting becomes part of the fun—no extra special supplies needed. Plus, the finished doll wipes clean and holds shape well, making it both charming and practical. Whether made for a young friend, a collector, or simply for the joy of stitching something small and detailed, this amigurumi delivers satisfaction from start to finish—and a cuddly little companion at the end.
Free Crochet Doll Amigurumi Pattern
Materials
- Yarn:
- Black (shoes, horns)
- White (legs, arms, collar, dress, hair accent)
- Skin color (body, face)
- Pink (hair)
- Yellow (dress accent, bow)
- Red (dress bow)
- Green (eye accent - optional embroidery)
- Hook: 2.0 mm or 2.5 mm (adjust size for your yarn)
- Polyester fiberfill
- Safety eyes (or embroidery/thread/paint, 6–8 mm)
- Stitch markers
- Yarn needle
- Scissors
- Pins (for arranging hair layers)
- Hot glue gun (optional, for assembly)
- Red chalk/blush (for cheeks)
Key Abbreviations
| Abbreviation | Meaning |
|---|---|
| MR | Magic Ring |
| ch | Chain |
| sc | Single Crochet |
| hdc | Half Double Crochet |
| dc | Double Crochet |
| sl st | Slip Stitch |
| inc | Increase (2 sc in same st) |
| dec | Decrease (sc 2 together) |
| BLO | Back Loop Only |
| st(s) | Stitch(es) |
Special Notes
- Continuous rounds: Work in spiral rounds; use stitch markers to track round start.
- Color changes: Make color change on the last yarn-over of previous stitch for clean transitions.
- BLO rounds: Work specified rounds in Back Loop Only for hair cap.
Step-By-Step Pattern
1. Legs (Make 2)
Start with Black:
- Round 1: 6 sc in MR (6)
- Round 2: sc in each st (6)
- Round 3: Change to White, sc in each st (6)
- Round 4: sc in each st (6)
- Round 5: Change to Skin color, sc in each st (6)
- Round 6: Change to White, (sc 2, inc) around (8)
- Fasten off.
Repeat for second leg.
2. Body
Join legs as follows:
- Hold both legs and join with ch 1 between legs, forming a small bridge.
Round 7: Work around both legs and chains, sc in each leg st and side of chain (total 18 sc).
Round 8: Change to Skin color, sc in each st (18)
Round 9: (sc 7, dec) twice (16)
Round 10: sc in each st (16)
Round 11: (sc 4, dec, change to White, sc 3 in White, change to Skin color, dec, sc 5 in Skin color)
[Maintains colorwork pattern]

Round 12: Change to Black, (sc 3, dec, change to White, sc 3 in White, change to Black, dec, sc 4)
(12 sc total)

Round 13: Work BLO. (sc 5, sc 3 in White, sc 4)
(12)
Stuff body and legs before closing.
3. Head
Continue in Skin color:
Round 14: inc in each st (12 inc = 24)
Round 15: (sc 3, inc) around (30)
Round 16: (sc 4, inc) around (36)
Rounds 17–24: sc in each st (36)
Round 25: (sc 4, dec) around (30)
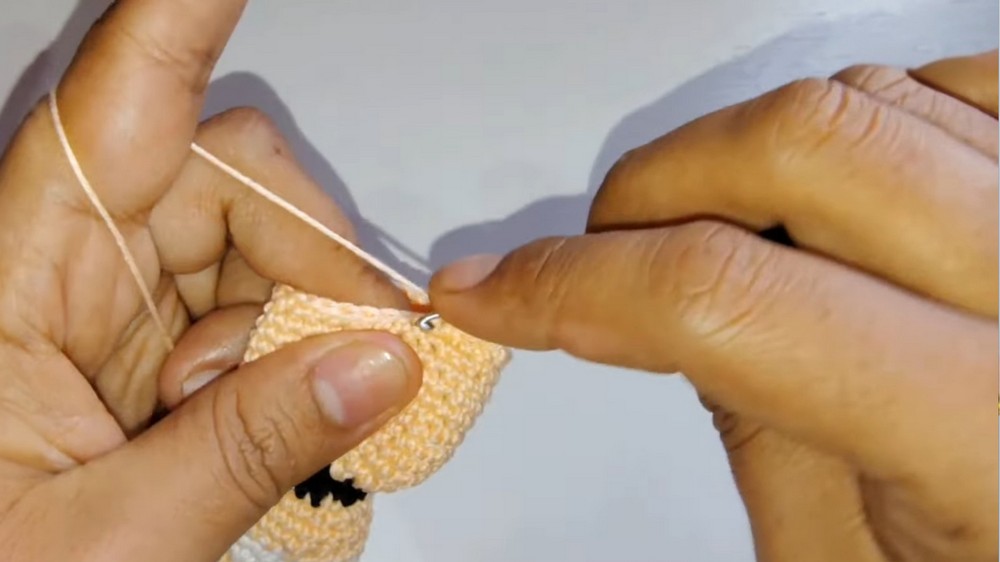
Insert safety eyes (or embroider/paint) between rounds 6 and 7, about 5 sts apart.
Round 26: (sc 3, dec) around (24)
Round 27: (sc 2, dec) around (18)

Fill head with fiberfill.
Round 28: (sc 1, dec) around (12)
Finish with 6 decreases, use yarn needle to neatly close hole.
4. Nose
- Use leftover skin color yarn.
- Embroider nose between eyes, wrap thread twice, cover a small area.
5. Arms (Make 2)
Start with Skin color:
- Round 1: 6 sc in MR (6)
- Round 2: sc in each st (6)
- Round 3: Change to Yellow, sc in each st (6)
- Rounds 4–5: Change to Black, sc in each st (6)
- Round 6: Fold tube, sc through both sides (flat), closing arm.
- Fasten off, leave tail for sewing.
6. Dress
Start with White:
- Round 1: (sc 1, inc) around (18)
- Round 2: (sc 2, inc) around (24)
- Rounds 3–7: sc in each st (24), switch to Black.
- Rounds 8–9: Change to Yellow, sc in each st (24)
- Fasten off.
7. Hair Cap
With Pink:
- Round 1: 6 sc in MR (6)
- Round 2: inc in each st (12)
- Round 3: (sc 1, inc) around, BLO (18)
- Round 4: (sc 2, inc) around, BLO (24)
- Round 5: (sc 3, inc) around, BLO (30)
- Round 6: (sc 4, inc) around, BLO (36)
- Fasten off.
Hair Strands/Locks
- First layer: Attach yarn to BLO loops of cap, ch 11, return with sc, hdc, dc across.
- Repeat, skip one st between locks.
- Second layer: Attach to next round of loops, ch 13, return as above.
- Front Forelocks:
- Chain 7, sl st, sc, hdc across.
- Next: Chain 8, repeat with sl st, sc, hdc.
- Next: Chain 9, repeat with sl st, sc, hdc; work 2 of these.
- Final: Chain 8, then Chain 7 as first lock.
- Top Tufts:
- Chain 4–5, sl st, sc back across.
- Make 3 tufts.

8. Horns (Make 2)
With Black:
- Round 1: 6 sc in MR (6)
- Round 2: (sc 1, inc) around (9)
- Round 3: Change to Yellow, sc in each st (9)
- Round 4: Change to Black, (sc 1, inc) around (14, add 2 more increases as needed)
- Round 5: sc in each st (14)
- Stuff lightly, fasten off, leave tail for sewing.
9. Collar
With White:
- Chain 3, return with 2 hdc.
- Chain 3, return with 4 hdc.
- Fasten off. Glue or sew at the base of the neck.
10. Yellow Dress Ribbon
With Yellow:
- Chain 9, fasten off. Attach as a sash around the dress.
11. Red Bow
With Red:
- Make a small bow (chain and wrap center as desired).
- Attach at the neck with glue or stitches.
12. Assembly and Finishing
- Sew/glue arms to body.
- Attach dress and ribbon.
- Sew/glue hair cap and arrange strands/layers.
- Embroider green and white accents in eyes, then add black eyeliner and eyebrows.
- Attach horns to sides of head.
- Attach collar and red bow.
- Apply rosy cheeks as desired.
- Weave in all loose ends.
Conclusion
You have now completed your Anya amigurumi doll! This pattern uses colorwork and loop techniques for hair, along with layered accessories and simple embroidery for features, closely resembling the anime character. Adjust color choices for personal flair.
Pattern Correction
- Always change colors on last yarn-over of previous stitch.
- BLO instructions for hair cap strands: From round 3 onward, work in Back Loop Only.
- Horn tip: Add 2 increases to reach 14 sts, as per transcript.
- Dress: Continue black rounds up to round 7, then switch to yellow for rounds 8–9.
Tips
- Use stitch markers for precise rounds.
- Stuff head and body before closing to preserve shape.
- Glue is convenient but sewing is recommended for durability, especially for toys handled by children.
- Use pins for arranging hair layers before sewing/gluing.
- For smaller size, use finer yarn and a smaller hook.
- Personalize eye, blush, and hair highlight placement for your Anya!