
Crochet Amigurumi Sailor Moon Free Pattern with Simple Steps
Make your crochet projects magical with the Free Crochet AMIGURUMI SAILOR MOON Pattern, an enchanting way to stitch your favorite iconic character effortlessly.
Few things spark joy quite like creating a favorite character with your own hands through crochet. For anyone enchanted by classic anime heroes, the free crochet AMIGURUMI SAILOR MOON pattern offers an exciting way to bring this iconic figure into a soft, cuddly form. This delightful amigurumi doll combines creativity and fandom into one charming crochet project.
Free Crochet Amigurumi Sailor Moon Pattern for Handmade Gifts
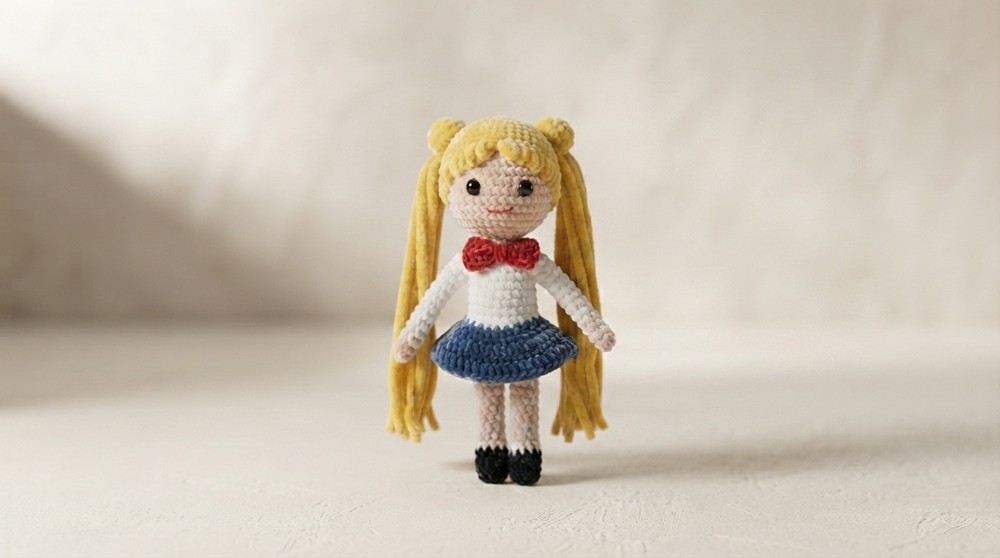
The finished Sailor Moon amigurumi stands out with its vibrant colors, detailed sailor outfit, and signature long hair crocheted with careful stitching. Its compact, rounded shape is soft to the touch and perfect for display or gentle play. The design highlights recognizable features such as the crescent moon tiara and sailor collar, making the doll instantly identifiable and full of character. This project’s neat style and fine details make it a lovely keepsake or a cheerful addition to any collection.
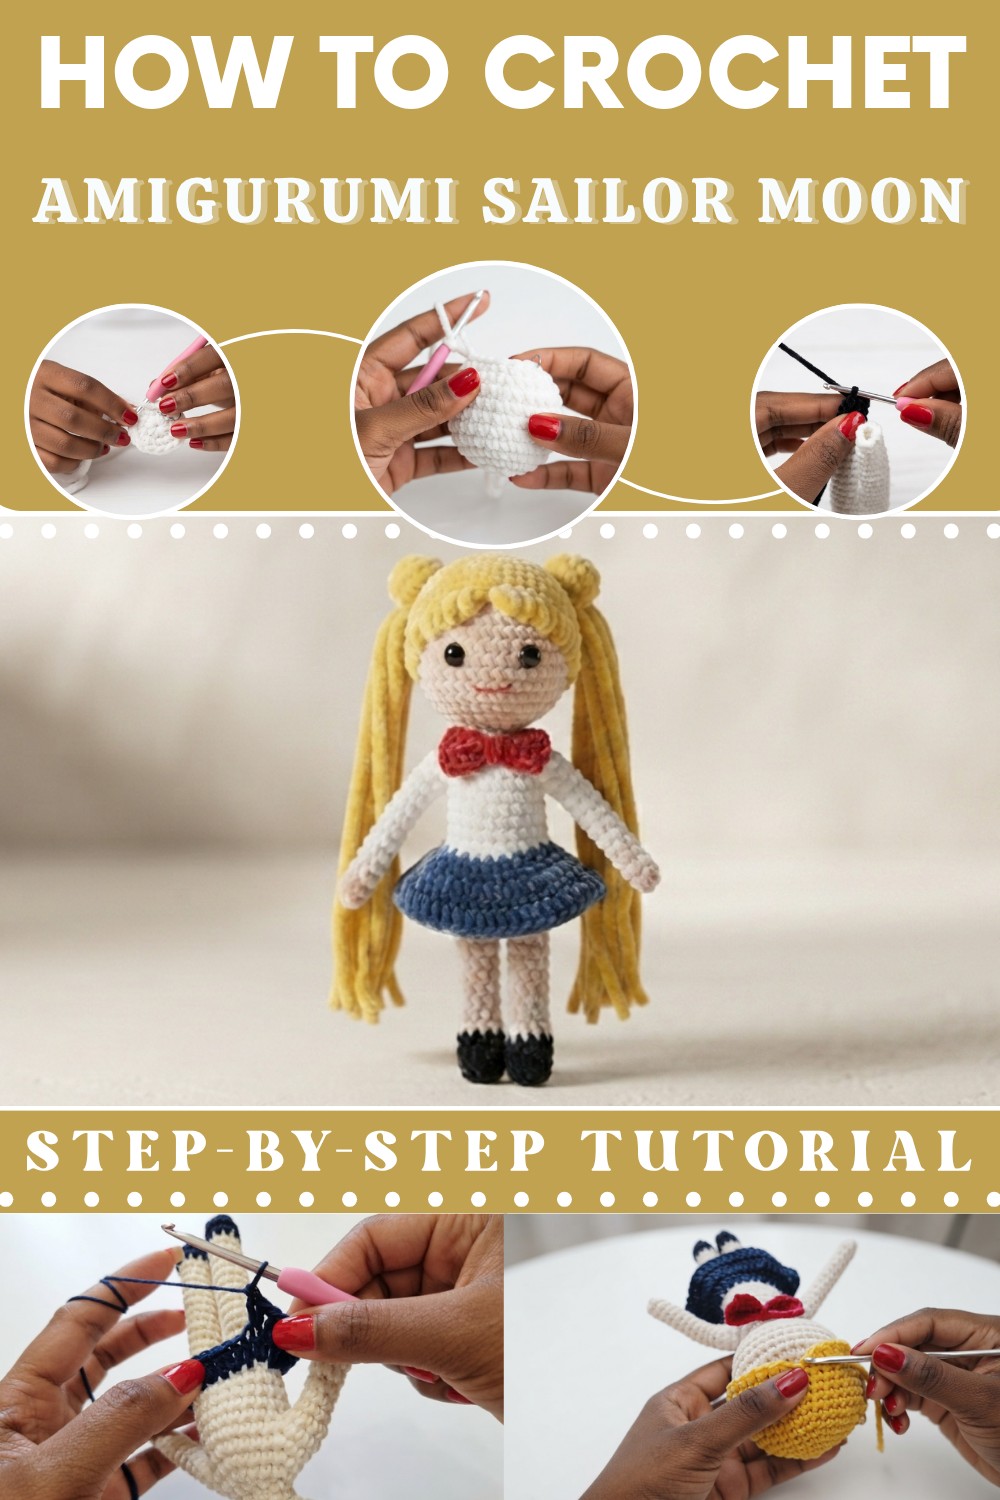
Ideal for those with basic crochet skills, this pattern mainly uses the single crochet stitch worked in continuous rounds. Some simple color changes and assembly are required, providing a rewarding challenge without being overwhelming. The clear, step-by-step instructions help guide you smoothly through the process.
Whether you want a meaningful gift, a whimsical decoration, or a cute collectible, the free crochet AMIGURUMI SAILOR MOON pattern is a fantastic choice. It combines fun, skill-building, and fandom into a project you’ll be proud to complete.
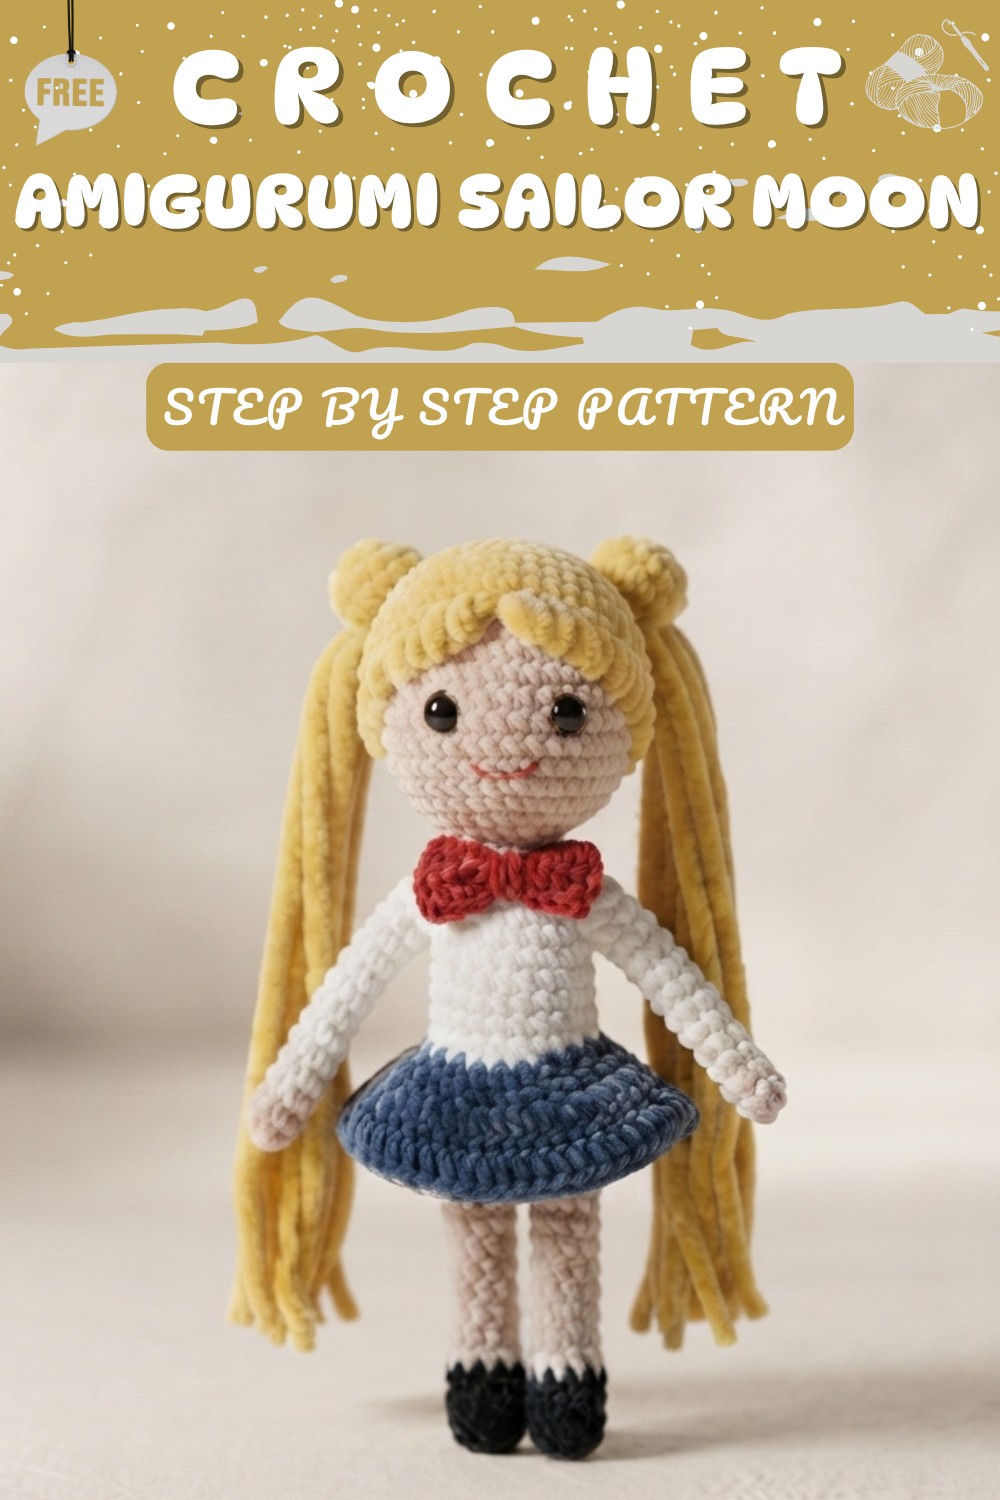
AMIGURUMI SAILOR MOON Free Crochet Pattern
Welcome to this detailed guide for creating your own Sailor Moon amigurumi doll. This project is a wonderful way to combine crochet techniques with character creation, resulting in a beautiful, plush representation of the iconic magical girl. We will walk through the construction of the doll’s head, body, and limbs, and finish with the delicate details like the skirt, hair, and ribbon.
This pattern is written in a simple, step-by-step format, ensuring that you can follow along easily without feeling overwhelmed. By the end of this project, you will have created a charming, soft doll that is perfect for display or as a thoughtful, handmade gift. Let’s get started on this creative journey—happy hooking!
Quick Overview Of Pattern
-
Technique: Worked in continuous spiral rounds (no joining at the end of rounds).
-
Construction: The doll is crocheted from the head down to the feet, with arms and skirt added separately.
-
Skill Level: Beginner-friendly to Intermediate.
-
Key Detail: Transitions between skin tone, white, and dark blue colors are managed during the assembly phase.
-
Assembly: Involves sewing on the hair buns, creating a ribbon, and simple embroidery for the face.
Notes
-
Continuous Rounds: You will be spiraling your work. Please use your stitch marker in the last stitch of every round so you do not lose your place.
-
Tight Stitches: For amigurumi, we want a "tight" look. Aim for small, dense stitches so that your white toy stuffing does not show through the gaps.
-
Stuffing: Add your stuffing as you go! It is much easier to stuff the doll while the body is open than to try and squeeze it into tiny spaces at the end.
-
Invisible Decreases: When the pattern calls for a "decrease," use the invisible decrease technique (insert your hook under the front loops of the next two stitches only). This keeps your doll looking professional.
Skill Level
Beginner to Intermediate. This pattern is great for those who understand basic stitches but want to practice shaping and color changes.
Materials
-
Cotton Yarn: You will need Red, White, Black, Dark Blue, Skin Tone, and Yellow.
-
Crochet Hook: 3.0mm size.
-
Stuffing: Polyester toy stuffing.
-
Tools: Yarn needle, scissors, and a safety pin/stitch marker.
-
Extras: Safety eyes (small) and pipe cleaners (optional, for posable limbs).
Measurements / Sizing
The finished Sailor Moon doll stands approximately 7 to 8 inches tall. This size is ideal for a handheld plush or a desk companion.
Gauge
Your gauge should be tight. If you see light through your work, try tightening your tension or going down a hook size.
Stitch Abbreviations
-
MR: Magic Ring
-
Ch: Chain
-
SC: Single Crochet
-
Inc: Increase (2 SC in one stitch)
-
Dec: Invisible Decrease
-
DC: Double Crochet
-
St/Sts: Stitch/Stitches
Special Stitches
-
Invisible Decrease: Insert hook into the front loops only of the next two stitches, yarn over, pull through those two loops, yarn over, pull through remaining two loops. This creates a seamless look.
The Crochet Pattern!
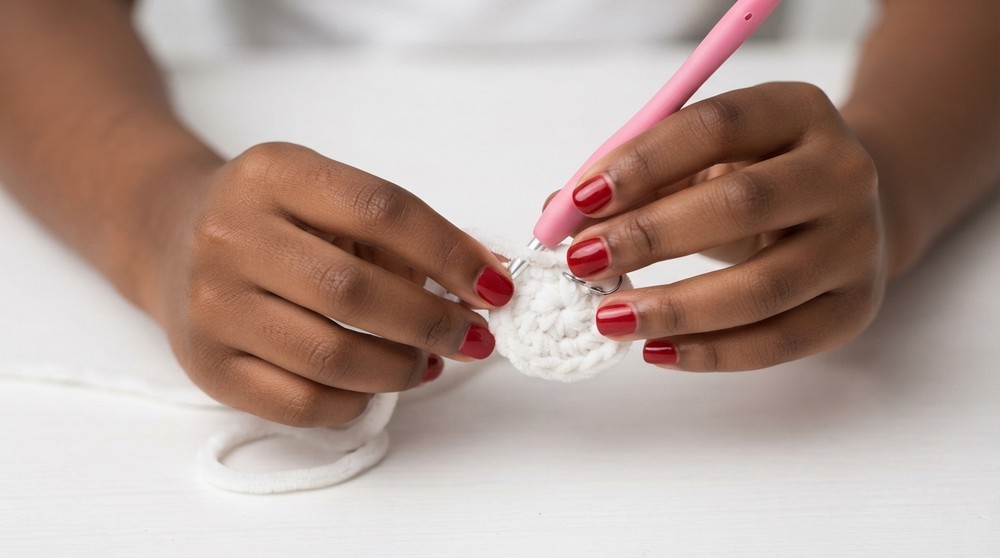
Head & Neck (Skin Tone Yarn)
-
Round 1: MR, 6 SC. (6)
-
Round 2: Inc in each stitch. (12)
-
Round 3: 1 SC, Inc. Repeat 6 times. (18)
-
Round 4: 2 SC, Inc. Repeat 6 times. (24)
-
Round 5: 3 SC, Inc. Repeat 6 times. (30)
-
Round 6: 4 SC, Inc. Repeat 6 times. (36)
-
Round 7: 5 SC, Inc. Repeat 6 times. (42)
-
Rounds 8–12: 1 SC in each stitch around for 5 rounds. (42)
-
Round 13: 5 SC, Dec. Repeat 6 times. (36)
-
Round 14: 4 SC, Dec. Repeat 6 times. (30)
-
Round 15: 3 SC, Dec. Repeat 6 times. (24)
-
Round 16: 2 SC, Dec. Repeat 6 times. (18)
-
Round 17: 1 SC, Dec. Repeat 6 times. (12)
-
Rounds 18–20: SC in each stitch for 3 rounds. (12)
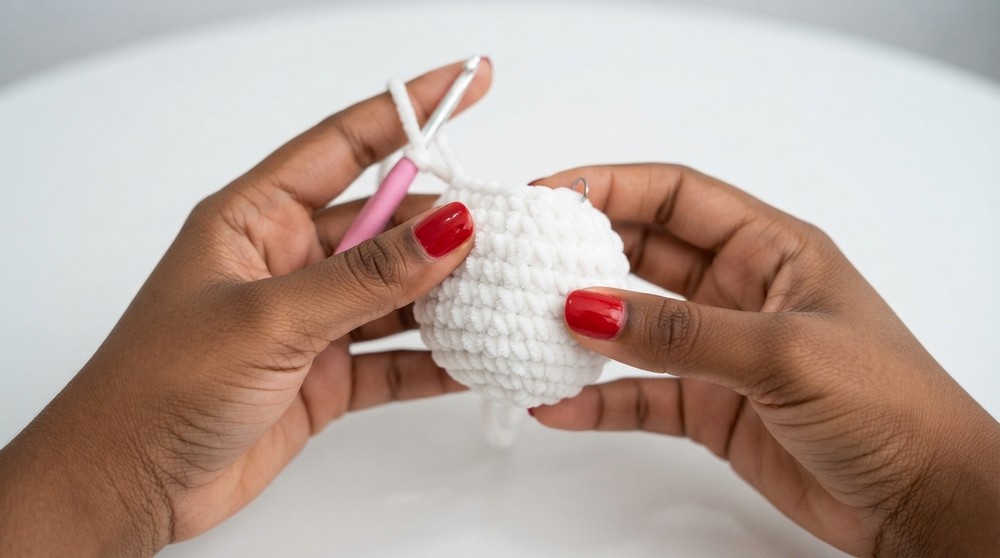
Body (Change to White Yarn)
-
Round 21: 1 SC, Inc. Repeat 6 times. (18)
-
Round 22: 2 SC, Inc. Repeat 6 times. (24)
-
Round 23: 3 SC, Inc. Repeat 6 times. (30)
-
Round 24: 4 SC, Inc. Repeat 6 times. (36)
-
Rounds 25–29: SC in each stitch for 5 rounds. (36)
-
Round 30: SC in the back loops only for this round. (36)
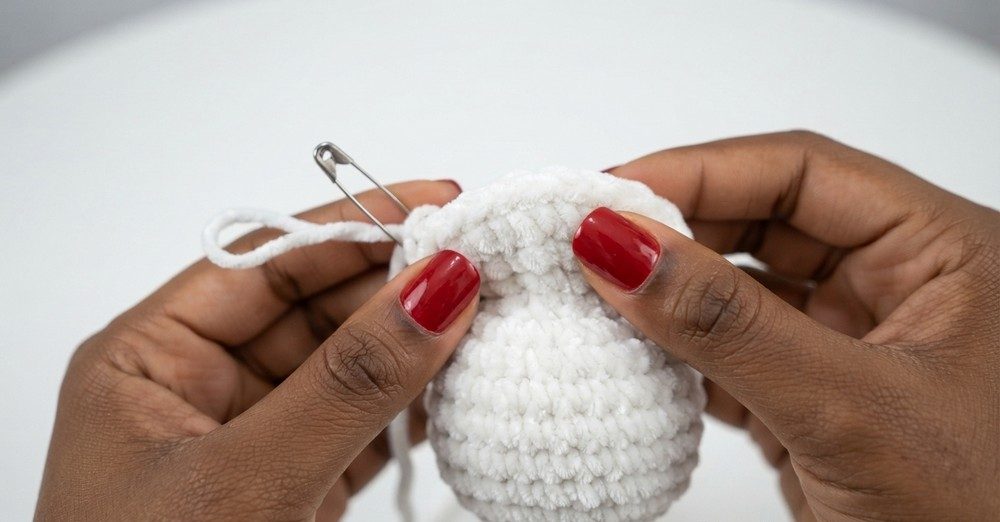
Legs (Change to Skin Tone)
-
Partitioning: Divide the 36 stitches to create two legs (10 stitches each, with space between).
-
Leg Rounds 1–15: Work 10 SC in rounds for 15 rounds.
-
Shoes (Black): Work 3 rounds of 10 SC for each shoe. Fasten off and sew shut.
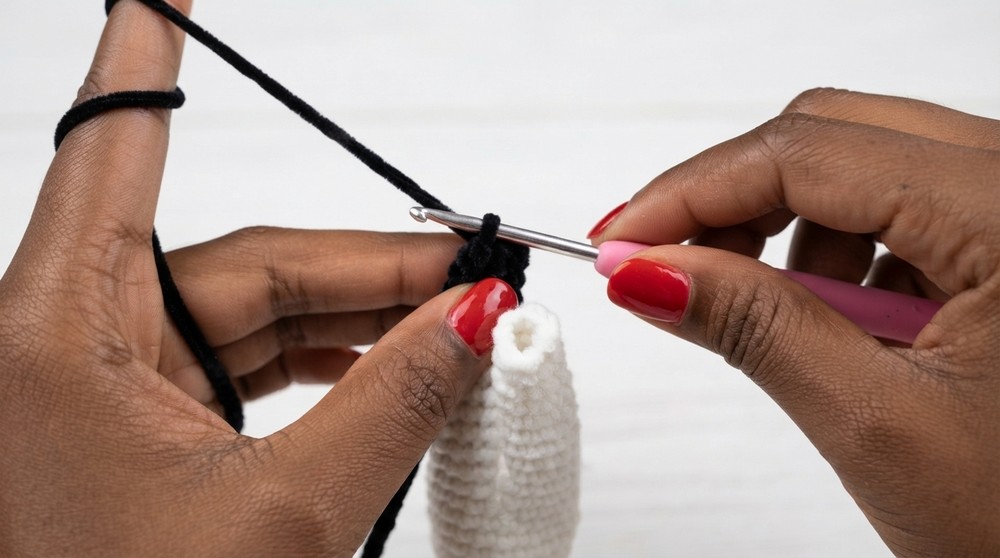
Arms (Make 2 - Skin Tone)
-
Foundation: Use 8 stitches on the side of the body.
-
Rounds 1–12: Work 8 SC in rounds for 12 rounds. Fasten off.
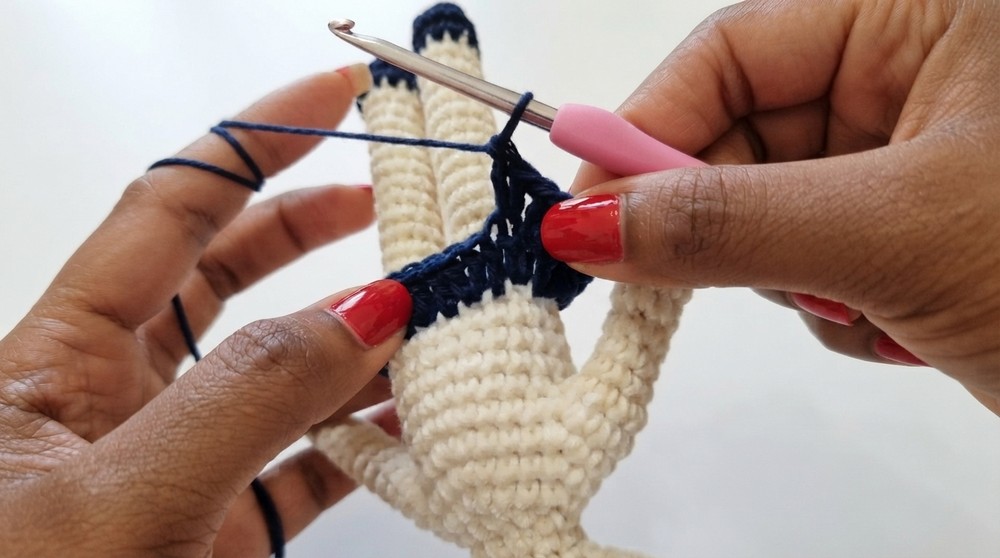
Skirt (Dark Blue Yarn)
-
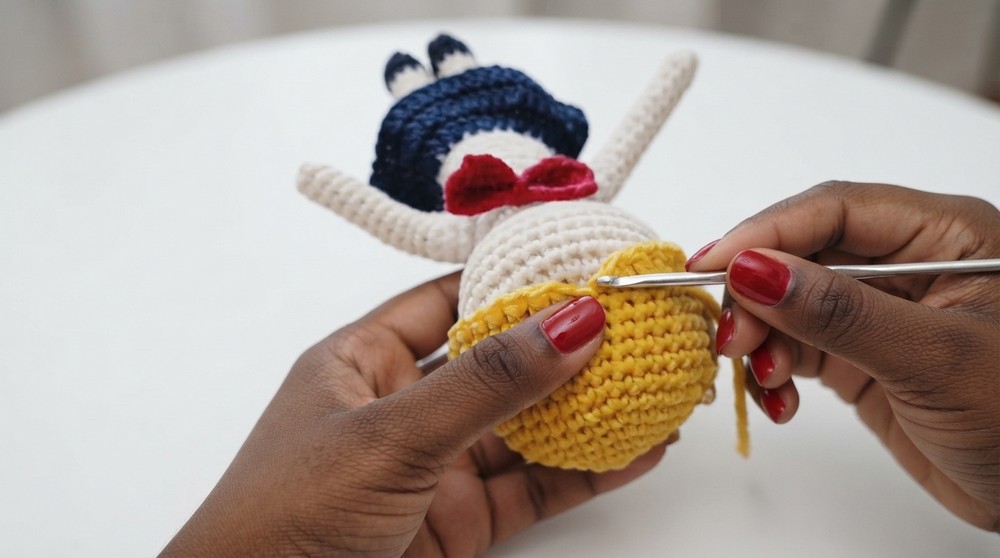
Base: Attach dark blue yarn to the front loops left over from Round 30.
-
Round 1: Ch 2 (does not count as stitch). Work 1 DC, 1 DC Inc in every stitch around. (30 sts)
-
Round 2: Ch 2. Work 2 DC, 1 DC Inc in every stitch around. (40 sts)
-
Round 3: Ch 2. Work 1 DC in each stitch around. Fasten off. (40 sts)
Hair & Accessories (Yellow Yarn)
-
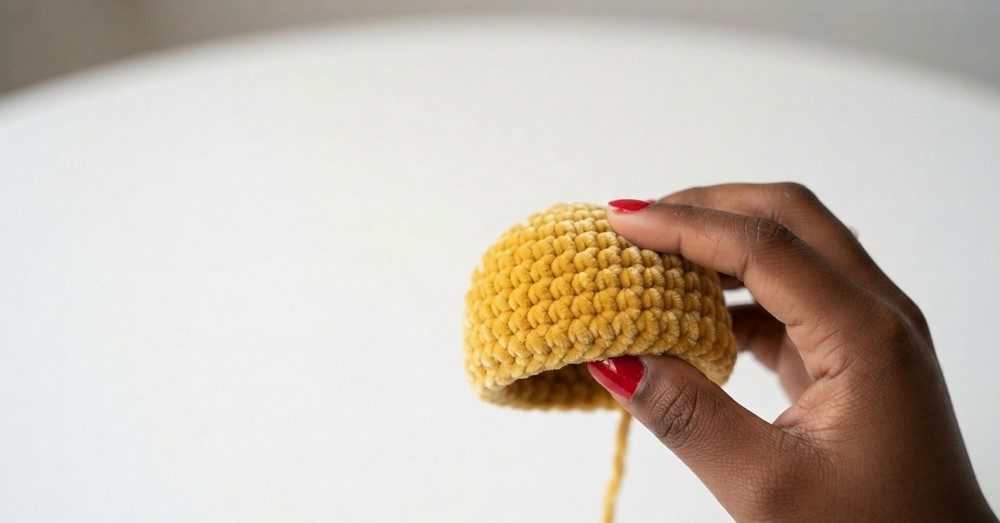
Hair Cap: Follow the same increase pattern as the head (Rounds 1–7), then work 6 rounds of SC. Work 40 double crochets around the edge.
-
Buns (Make 2): MR, 6 SC. Round 2: Inc in each (12). Work 2 rounds of SC. Sew onto hair cap.
-
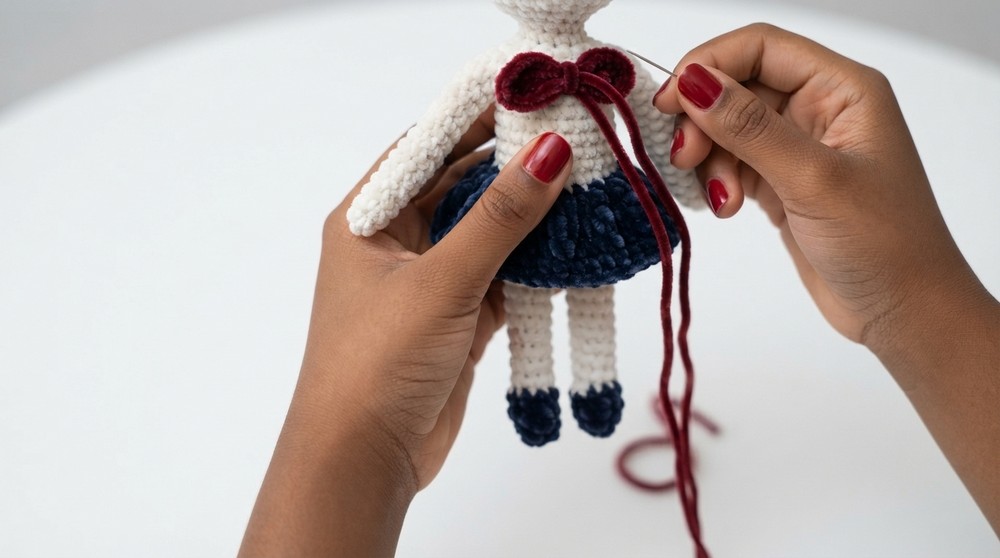
Ribbon: Ch 10. SC across for 4 rows. Pinch the center and wrap yarn around to create a bow shape. Sew onto the chest.
Assembly & Finished Size
To finish your Sailor Moon doll, follow these steps:
-
Stuffing: Ensure all limbs are stuffed firmly before sewing the ends closed. Use your yarn needle to weave the remaining tails into the body so they are invisible.
-
Hair: Pin the hair cap onto the head before sewing it down to ensure it is centered. Attach the two buns on either side of the head.
-
Facial Features: Sew on the small safety eyes securely. Use thin black thread to embroider simple eyelashes and a small mouth.
-
Ribbon: Attach the bow to the center of the chest using a few small, neat stitches.
-
Final Touches: Check the overall shape of your doll. Pat the fabric gently to distribute the stuffing so the doll feels firm and looks smooth. Your doll should be able to sit or be displayed easily on a flat surface.
Conclusion and ending words
By following this detailed pattern, you have successfully transformed yarn into a beautiful amigurumi Sailor Moon. This process, while requiring patience and attention to detail, is the best way to master circular crochet. Don't worry if your first doll isn't perfect—every single round you completed helped you build your skills and muscle memory. We hope you enjoyed this guide! If you found it helpful, please give this video a thumbs up, like, and subscribe for more projects.