
Adorable Crochet Cat Pattern Free Every Animal Lover Needs
Shine up your décor with this free crochet cute cat pattern, a soft lovable toy perfect for shelves, gifts and cozy spaces.
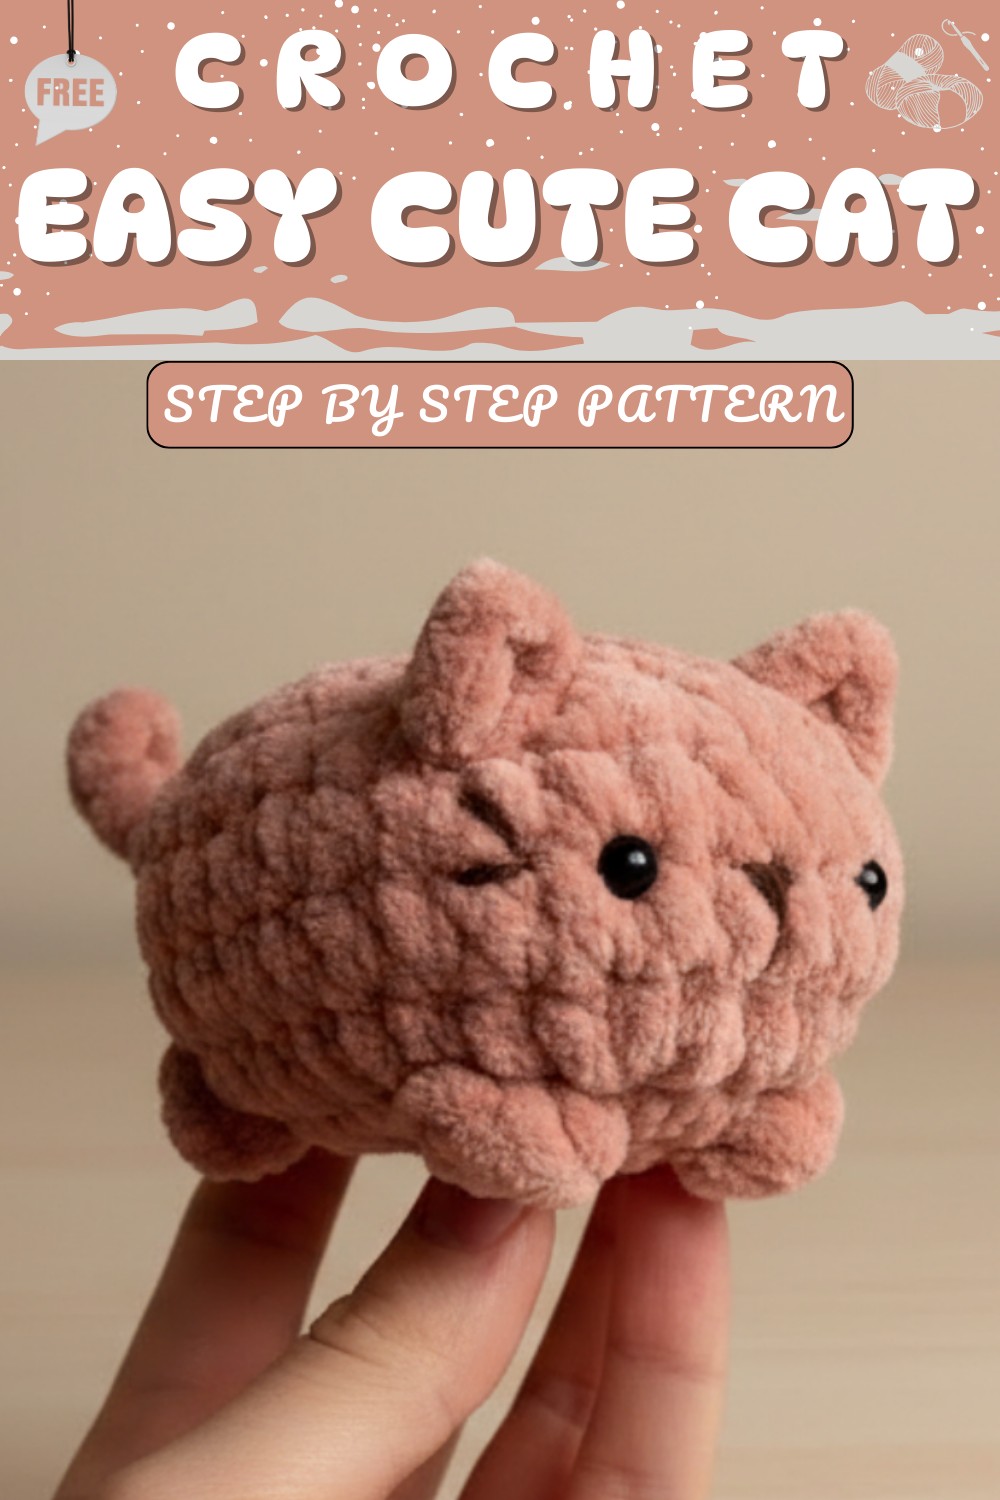
In this pattern, you'll find how to make an incredibly cute and huggable crochet cat using soft plush yarn and sturdy cotton thread. This easy to follow guide is perfect for both beginners and those with some crocheting experience, allowing you to create a delightful design step by step. With floppy ears, tiny paws, and a cute little tail, this crochet cat will bring a smile to anyone’s face.
Crochet A Tiny Cat Free Pattern For Daily Joy And Fun
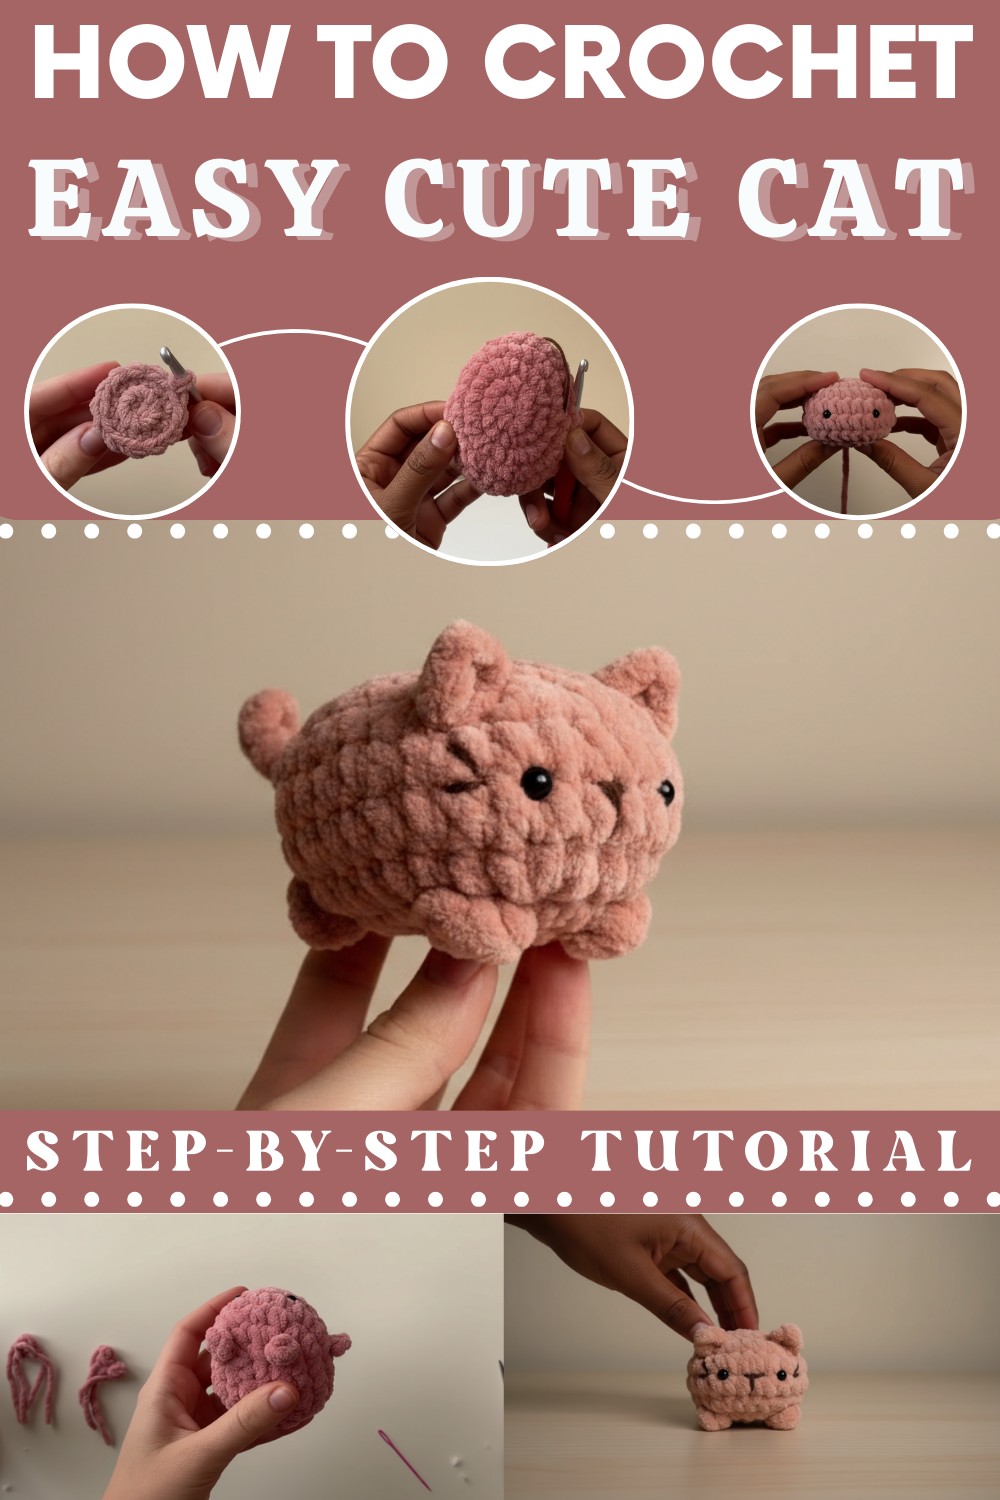
The pattern is especially great because it is beginner friendly. It is designed with simple techniques such as single crochet, increase, and decrease stitches. This crochet cat can be used as a toy for children, a gift for friends, or even as home decor. Its softness and cuteness make it the perfect bedtime companion for kids. You can also make it in different colors to suit your style or to match the preferences of the person you're making it for. This makes the pattern very customizable and fun to work with.
You can add your own personal touch, like giving the cat a scarf, a bow, or embroidering a sweet smile. By using the recommended plush yarn and cotton thread, your crochet cat will feel both soft and durable. With this pattern, you will enjoy creating something meaningful, beautiful, and huggable. It’s not just a crochet—it’s a thoughtful creation filled with love and happiness.
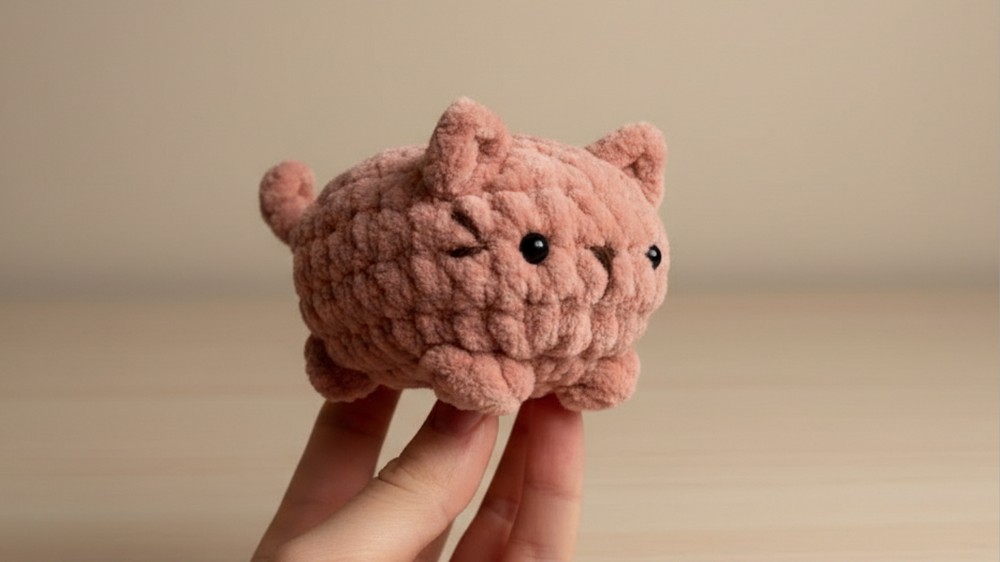
Crochet Cat Pattern
Finished Size
Depending on the specific yarn brand and hook size used, the finished size will measure approximately 8-10 cm (3-4 inches) in height. If you use a smaller yarn or larger hook, the size may vary proportionally.
Materials
To successfully complete this project, gather the following materials:
- Plush (Chenille) Yarn (Chunky): Suggested brand: Himalaya Dolphin Baby, Bernat Blanket, or similar. Light-color shades work best.
- Dark Cotton Yarn: Used for finer details, such as embroidery. Ensure it's colorfast.
- Hook Size: Recommended size is 4.0 mm for plush yarn; for embroidery yarn, use a finer hook if needed.
- Safety Eyes: Size 8 mm or smaller, depending on desired look.
- Yarn Needle: For sewing and embroidery details.
- Fiberfill/Stuffing: Polyester stuffing works well to fill the toy evenly.
Gauge
As this is an amigurumi project, achieving exact gauge is not crucial. However, the stitches should be tight enough to prevent any stuffing from showing through. To avoid gaps:
- Crochet tightly without straining your hands.
- Use the hook size best suited for your yarn thickness.
Pattern Overview
This pattern is worked in continuous rounds unless otherwise noted. Use a stitch marker to keep track of your rounds.
Abbreviations (US Terms)
- sc = Single crochet
- inc = Increase (2 single crochets in the same stitch)
- dec = Decrease (single crochet 2 stitches together)
- st = Stitch
- sl st = Slip stitch
- ch = Chain
Pattern Instructions
Body
- Round 1: Start with a magic ring. Crochet 6 sc into the ring. (6 sts)
- Round 2: Inc in each stitch around. (12 sts)
- Round 3: Work 4 increases, 2 sc, 4 increases, 2 sc. (20 sts)
- Round 4: [1 sc, 1 inc] x4, 2 sc, [1 sc, 1 inc] x4, 2 sc. (28 sts)
- Round 5: Work 28 sc around without increases. (28 sts)
- Round 6: Repeat 28 sc around. (28 sts)
- Round 7: Begin decreasing: [1 sc, 1 dec] x4, 2 sc, [1 sc, 1 dec] x4, 2 sc. (20 sts)
- Round 8: Dec 4 times, 2 sc, Dec 4 times, 2 sc. (12 sts)

At this point, pause your work. If you're using safety eyes, attach them between Rounds 5 and 6, about 6 to 7 sts apart.
This ensures they are well positioned before you start closing the piece. Once attached, continue to the next round.
- Round 9: Dec 2 times, 2 sc, Dec 2 times, 2 sc. (8 sts)
Stuffing: Gently but firmly stuff the body with fiberfill before the hole becomes too small. Avoid overfilling, as this may deform the toy.

- Final Round: Use Dec around to close. Use a yarn needle to weave the yarn through the remaining stitches and pull tight to close completely. Secure the yarn and weave in the ends.
Tail
- Using plush yarn, ch 5.
- Work 4 sl st back down the chain. This creates a small, stubby tail.
- Sew the tail securely to the back of the body using a yarn needle.
Ears (Make 2)
- Using plush yarn, ch 3.
- Work 1 sc into the first chain. This creates a small ear shape.
- Fasten off, leaving a long tail for sewing. Position ears on the top sides of the body and sew them securely with a yarn needle.
Legs (Make 4)
- Ch 3 with plush yarn.
- Work a sl st into the first chain to form a small loop.
- Ch 3 again, then work back down with 3 sl st to create a stubby leg shape.
- For a firmer shape, you can wrap the yarn around itself slightly while sewing the legs to the body.
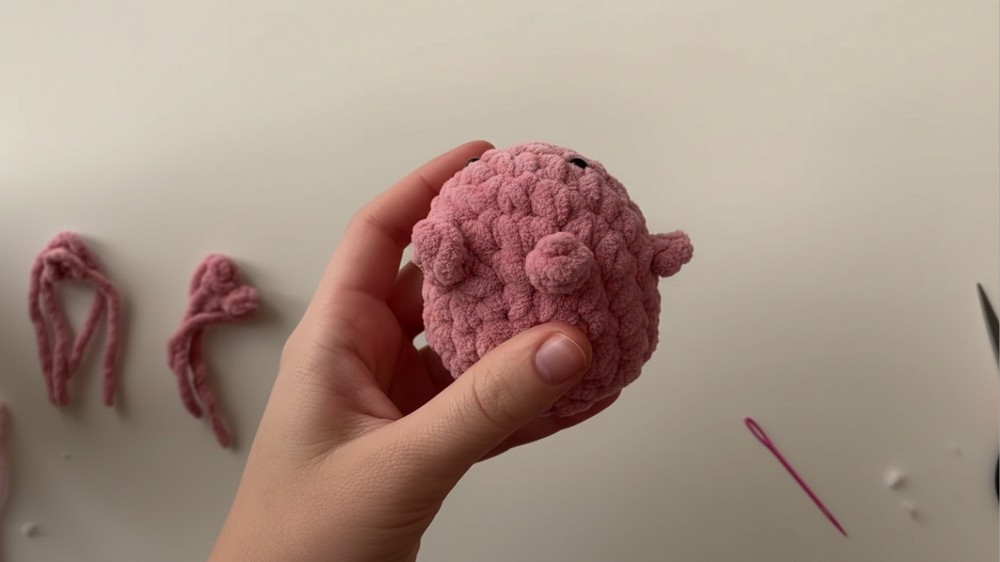
Position two legs on the bottom front and two on the back. Sew them securely with a yarn needle.
Face & Details (Optional)
To add personality:
- Use dark cotton yarn to embroider a small nose, mouth, or other details as desired.
- Ensure all knots and embroidery stitches are secure, as small children may play with the toy.
- For a blush effect, lightly dab pastel chalk or pink fabric paint on the cheeks.

Customization Ideas
- Colors: Try alternating between light and pastel tones for different effects. For example, make the ears and legs a different color to add contrast.
- Expression: Experiment with different placements of safety eyes. Alternatively, embroider sleepy or surprised eyes for variety.
- Accessories: Add a small crocheted scarf, bow, or felt heart for a seasonal or playful twist.
Tips & Special Techniques
- Starting with a Magic Ring
To avoid a visible hole at the center of your work, ensure your magic ring is tight. If you're unfamiliar with this technique, use a slip knot and chain 2, then crochet into the second chain. - Safe Usage of Fiberfill
Ensure fiberfill is evenly distributed to avoid lumpiness. Always knead the stuffing gently into the shape for a uniform look. - Stitch Markers Are Your Best Friend
Amigurumi projects are worked in continuous rounds, so a stitch marker will help you track where each round begins.
Finishing Touches
- Double-check all sewn parts (legs, ears, and tail), ensuring they’re securely fastened.
- Trim and tuck all yarn ends neatly to avoid fraying or unraveling.
- Lightly stuff the finished amigurumi shape to maintain proportions.
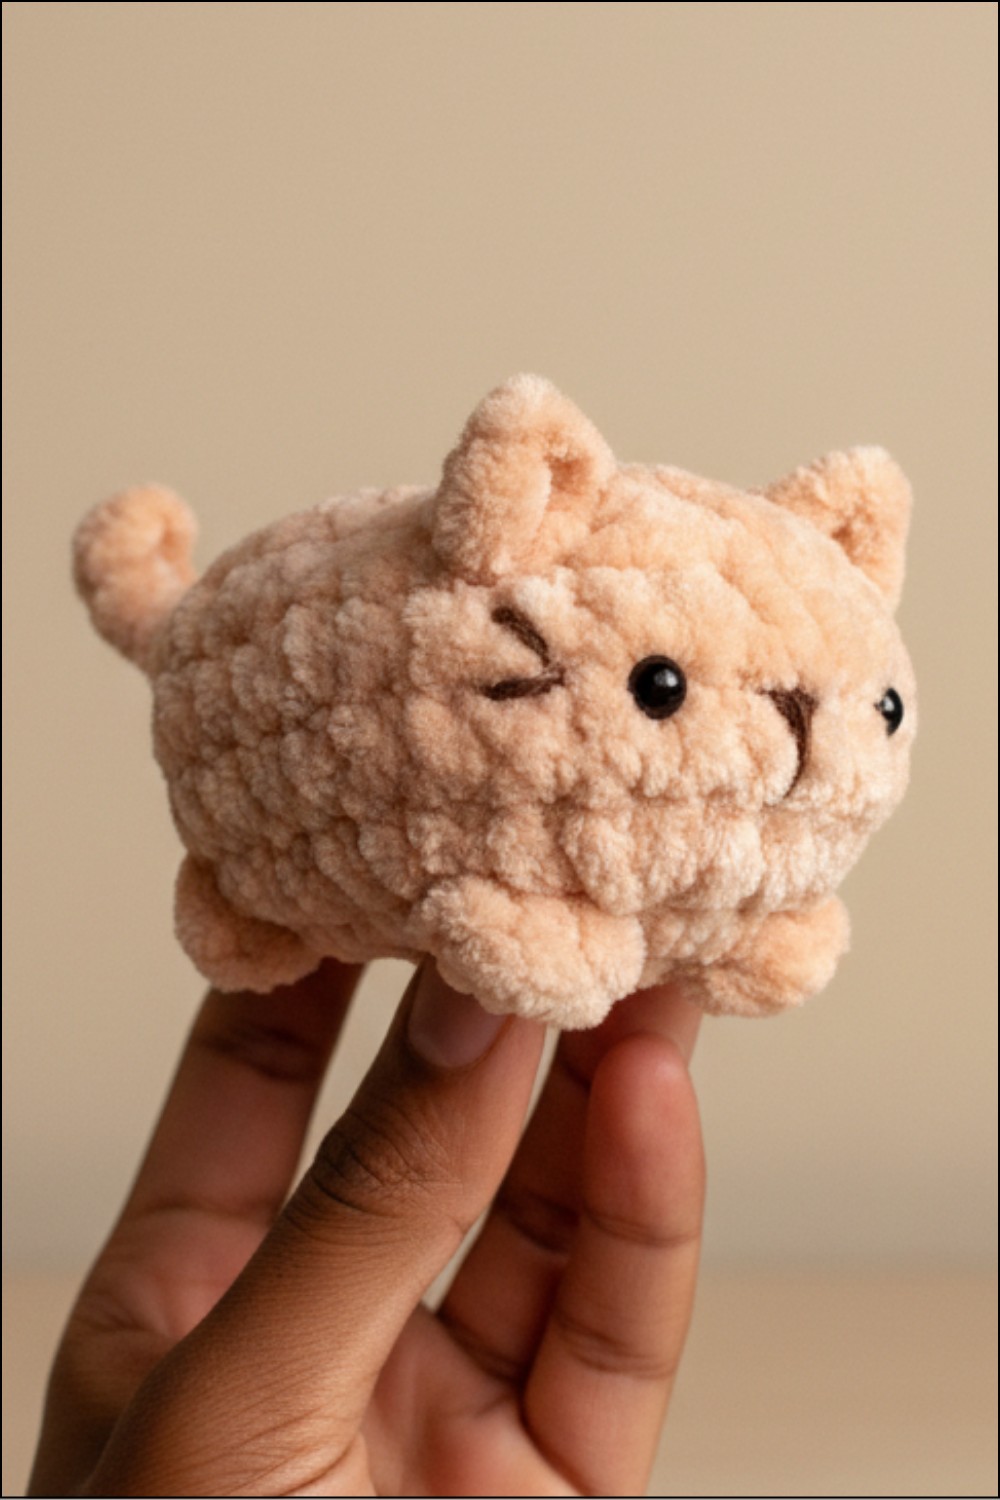
When completed, this crochet animal will feature soft, plush textures perfect for children and adults alike. Its minimal, adorable design makes it ideal as a gift, keychain charm, or collectible decoration.
Conclusion
This plush crochet animal is a fantastic project for all skill levels, focusing on simple repeats and fun detailing. Once complete, the finished piece will stand out with its soft texture, cute design, and handmade charm. Practice makes perfect, so don’t be afraid to experiment with colors, sizes, or variations. Feel free to add your twist to create something truly unique.