
Cute Free Crochet Hello Kitty Doll Pattern You’ll Adore
Bring cuteness to life with the Free Crochet Hello Kitty Doll Pattern, a charming handmade companion perfect for gifts, play, or display anywhere.
A simple creative session can bring to life an instantly recognizable and charming companion with the Free Crochet Hello Kitty Doll Pattern. This guide leads you step by step to make a soft, well-proportioned doll featuring her round face, signature bow, and gentle smile. Perfect for gifting, play, or display, the doll combines practicality and charm in one delightful piece.
Mini Free Crochet Hello Kitty Doll Pattern That Pops
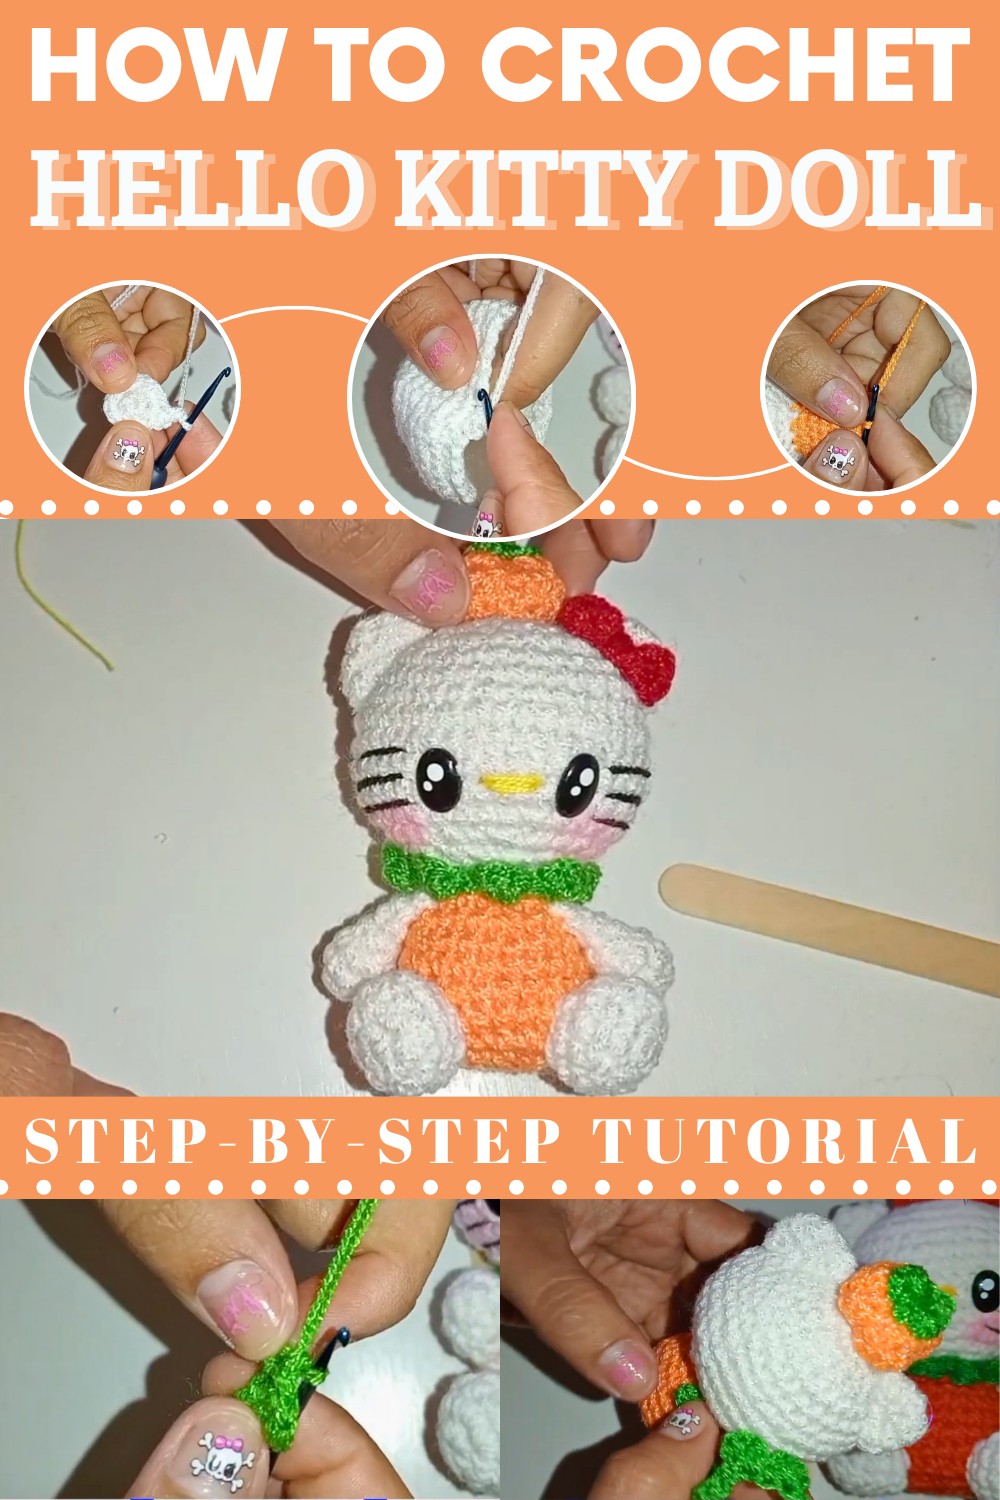
Whether it becomes part of a handmade collection, a thoughtful gift, or a playful keepsake, this crochet doll delivers a sense of accomplishment along with a charming result that brings personality and joy to any space. Compact and lightweight, it is ideal for beginners seeking a manageable project or experienced makers looking for a quick, satisfying creation.
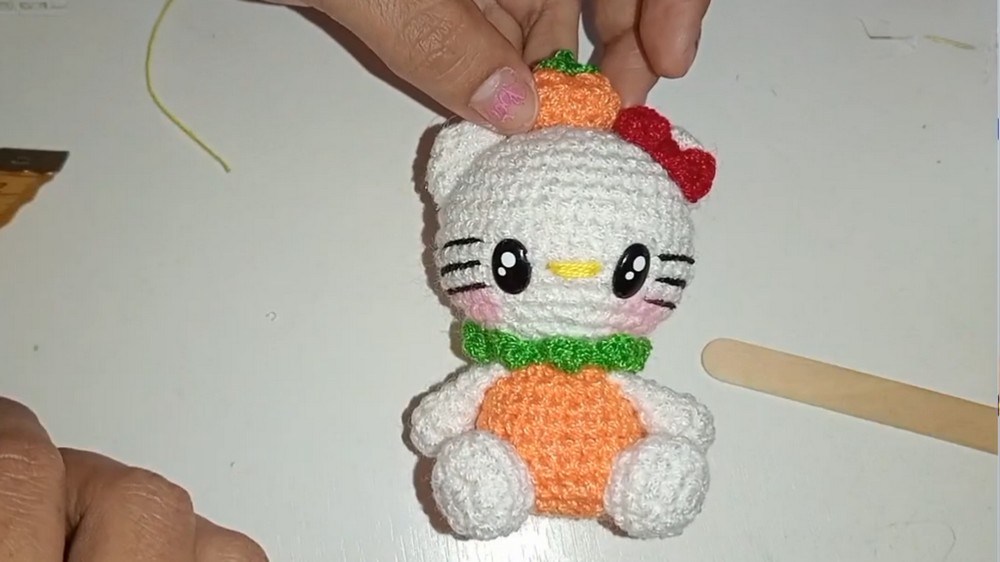
The finished doll keeps its shape, is soft to the touch, and works well as a collectible, a child’s play companion, or a decorative accent. Beyond its cuteness, this pattern enhances attention to detail and helps refine stitching skills, from shaping to finishing touches.
Free Crochet Hello Kitty Doll Pattern
Materials
- Yarn: Acrylic or cotton
- White (main: head, body, limbs, ears, tail)
- Orange (pumpkin body, hat)
- Green (leaves)
- Red (bows)
- Yellow (nose)
- Black (embroidery, mustache, eyes if not using safety eyes)
- Thread Types: "Chainette" yarn, fine “crystal” yarn, or your choice of amigurumi yarn
- Hook: Size 2.0 mm for fine yarn or up to 3.0 mm for standard (adjust to your yarn thickness)
- Stuffing: Polyester fiberfill
- 12mm Safety Eyes (or oval eyes, embroidered/felt as alternative)
- Yarn Needle
- Stitch Marker
- Scissors
- Hot Glue Gun (optional, for assembly)
- Blush/chalk for cheeks (optional)
Key Abbreviations
| Abbreviation | Meaning |
|---|---|
| MR | Magic Ring |
| ch | Chain |
| sc | Single Crochet |
| hdc | Half Double Crochet |
| dc | Double Crochet |
| sl st | Slip Stitch |
| inc | Increase (2 sc in same st) |
| dec | Decrease (sc 2 together) |
| st(s) | Stitch(es) |
| rep | Repeat as instructed |
Special Notes
- Worked in continuous rounds unless otherwise noted. Use a stitch marker to mark the start of each round.
- For size variation, use different yarn or hook thickness.
- All measurements and part placement are approximate—adjust as desired.
Pattern
Head
With white:
- Round 1: 6 sc in MR (6)
- Round 2: inc in each st around (12)
- Round 3: (sc 1, inc) around (18)
- Round 4: (sc 2, inc) around (24)
- Round 5: (sc 3, inc) around (30)
- Round 6: (sc 4, inc) around (36)
- Rounds 7–8: sc in each st around (36)
- Round 9: (sc 5, inc) around (42)
- Rounds 10–11: sc in each st around (42)

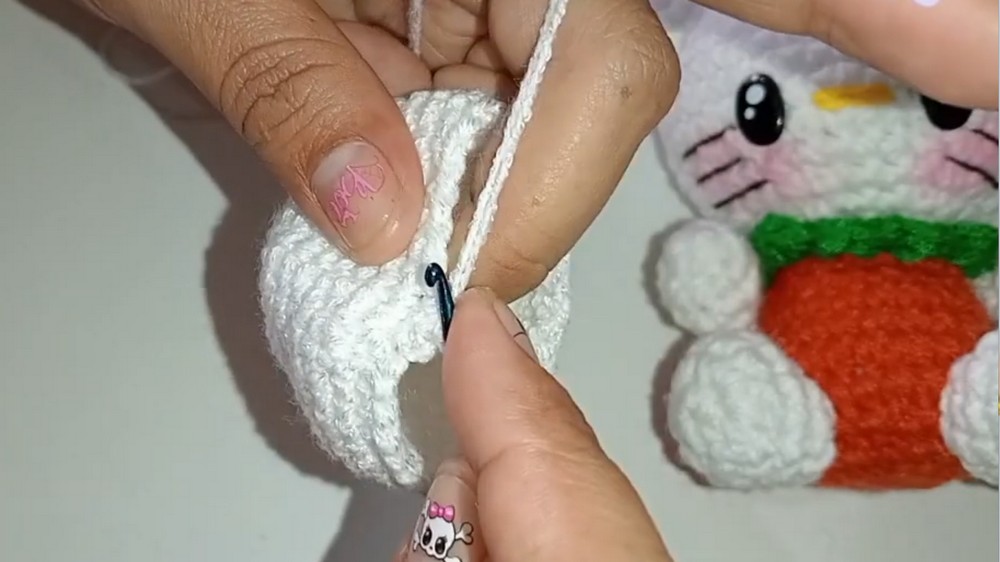
Insert safety eyes or embroider between Rounds 11–12, approximately 6 stitches apart.
Begin Decreases
- Round 12: (sc 5, dec) around (36)
- Round 13: (sc 4, dec) around (30)
- Round 14: (sc 3, dec) around (24)
- Round 15: (sc 2, dec) around (18)
- Round 16: (sc 1, dec) around (12)
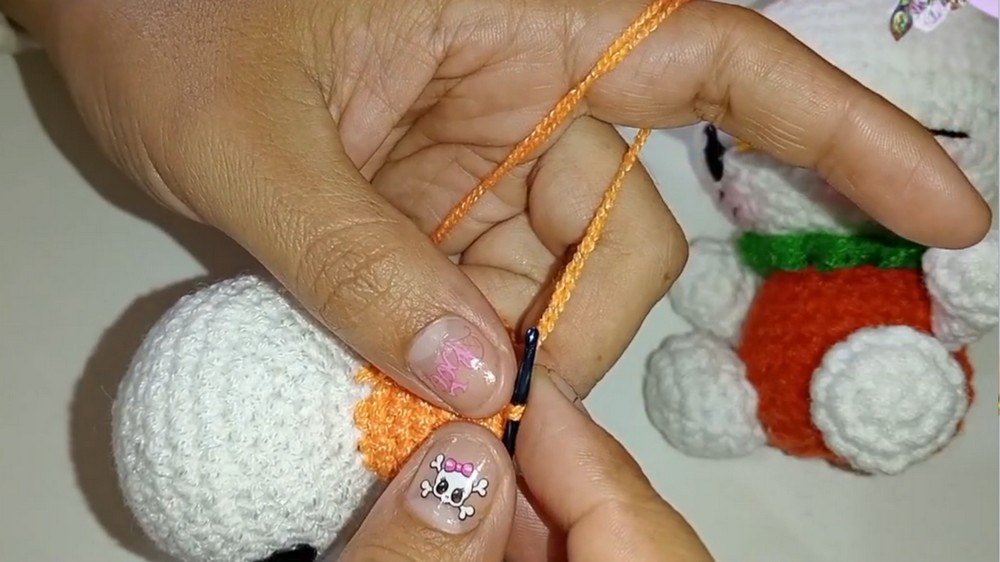
- Do not fasten off. Begin body with orange. Stuff the head.
Body
Change to orange yarn:
- Round 17: (sc 1, inc) around (18)
- Round 18: sc in each st around (18)
- Round 19: (sc 2, inc) around (24)
- Rounds 20-21: sc in each st around (24)
- Round 22: (sc 3, inc) around (30)
- Round 23: sc in each st around (30)
- Round 24: (sc 3, dec) around (24)
- Round 25: (sc 2, dec) around (18)
- Round 26: (sc 1, dec) around (12)
- Fasten off, stuff, and close using a yarn needle, making 6 decreases until closed.
- Weave in end.
Pumpkin Hat
With orange:
- Round 1: 6 sc in MR (6)
- Round 2: inc in each st around (12)
- Round 3: (sc 1, inc) around (18)
- Round 4: sc in each st around (18)
- Round 5: (sc 1, dec) around (12)
- Stuff lightly.
- Round 6: dec in each st around (6)
- Fasten off, close, and use tail to embroider 4 pumpkin “lines” down the sides for detail.
Arms (Make 2)
With white:
- Round 1: 6 sc in MR (6)
- Round 2: (sc 1, inc) around (9)
- Round 3: sc in each st around (9)
- Round 4: (sc 1, dec) around (6)
- Round 5: sc in each st around (6)
- Fold flat, close opening by slip stitching through both sides.
- Fasten off, leaving tail for sewing.
Legs (Make 2)
With white:
- Round 1: 6 sc in MR (6)
- Round 2: inc in each st around (12)
- Rounds 3–4: sc in each st around (12)
- Round 5: sc 3, dec 3, sc 3 (9)
- Fasten off, stuff, and leave tail for sewing.
Ears (Make 2)
With white:
- Round 1: 6 sc in MR (6)
- Round 2: (sc 1, inc) around (9)
- Round 3: (sc 2, inc) around (12)
- Fasten off, leave tail for sewing.
Pumpkin Hat Bow
With red:
- MR, ch 2, 2 dc, ch 2, sl st in ring (repeat twice for two loops)
- Tighten ring, fasten off, leaving a long tail.
- Use tail to wrap the center several times to form "knot", then sew or glue to pumpkin.
Head Bow
With red:
- MR
- Ch 3, sl st in ring (repeat 5 times total)
- Tighten ring and fasten off, leaving a tail for sewing.
Leaves (for pumpkin collar)
With green:
- Ch 17
- (In next st: sl st, ch 2, 2 dc, ch 2, sl st), repeat across for each “leaf” along the chain.
- Fasten off, sew around neck or base of pumpkin.

Tail
With white:
- 7 sc in MR
- Join with sl st.
- Fasten off, leave tail to sew.
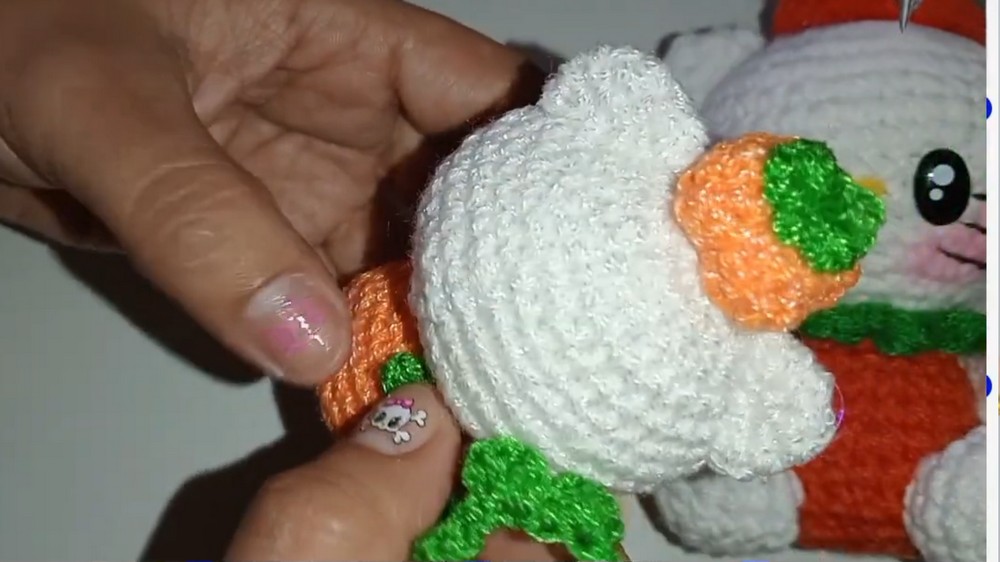
Facial Features
- Nose: Embroider a small oval or bar with yellow yarn/thread between and below the eyes.
- Mustache: With black yarn/thread, embroider three short lines each side of nose, 2–3 stitches long.
- Cheeks: Apply red or pink blush/chalk.
- Eyes: Add felt or embroidered lashes if desired.
Assembly
- Sew (or glue) pumpkin hat to head. Add bow.
- Sew or glue ears to sides of head.
- Attach green leaf collar around neck/base of pumpkin.
- Sew arms to sides of body, at shoulder.
- Sew legs to lower body, spaced evenly.
- Sew or glue tail to back.
- Add facial details (nose, mustache, cheeks, eyes).
- Add bow to ear or pumpkin as desired.
Conclusion
Your Pumpkin Kitty is now complete! The size of the finished toy will vary per yarn and hook choice:
- 11–13 cm with chainette yarn and 3 mm hook;
- 10 cm with crystal yarn and 2 mm hook.
Pattern Correction
- Increases (inc) and decreases (dec) are always 2 sc in 1 st or sc2tog respectively.
- Leg shaping in Round 5: sc 3, dec 3, sc 3 clarifies transcript intent.
- Use stitch markers to keep track of rounds.
Tips
- Stuff as you go to maintain shape.
- Always change color in the last yarn over of the previous stitch for clean stripes.
- Sew parts for security; hot glue can be used for display pieces.
- Adjust bow/leaf placement and facial expressions for personalization.