
Free Crochet Pennywise Pattern for Spooky Decorations
Bring a spooky charm to your collection with this Free Crochet Amigurumi Pennywise Pattern that’s perfect for horror fans and Halloween enthusiasts alike.
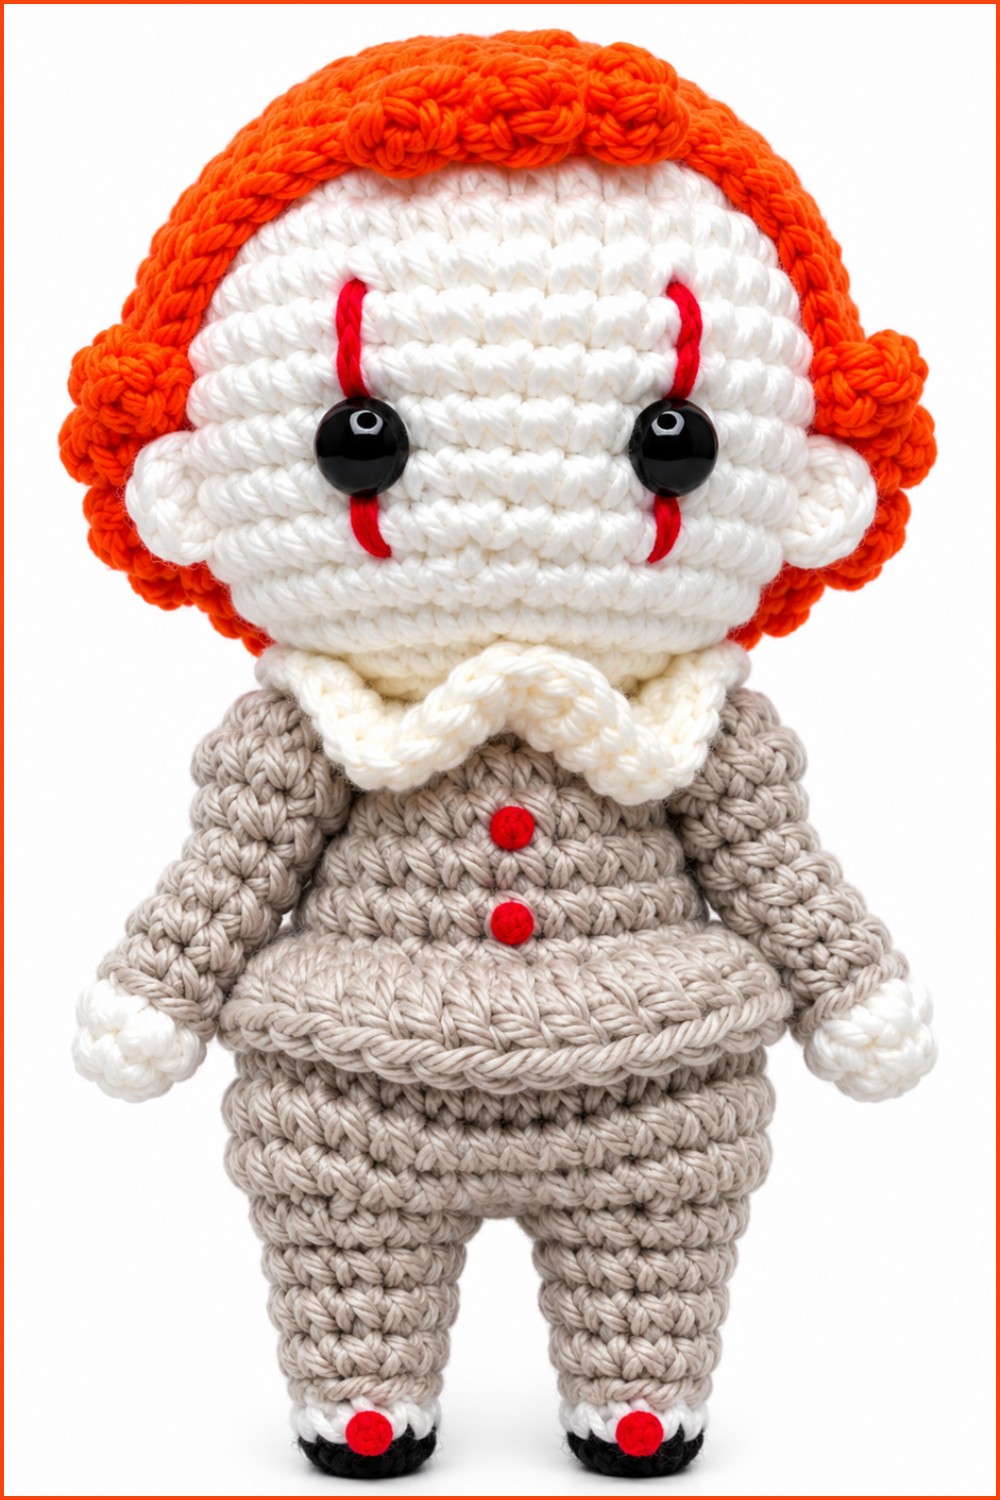
If you're a fan of spooky and playful project, this adorable amigurumi doll inspired by the infamous clown from It is a must-add to your crochet project list! In a fun and beginner-friendly video shared by Lana Factory, the Free Crochet Amigurumi Pennywise Pattern brings this horror character to life with an irresistibly cute chibi design. This little Pennywise boasts vibrant orange hair, a bright red nose, eerie facial marks, and his classic gray outfit, making him a perfect mix of creepy and charming. At approximately palm size, this handmade doll is ideal for adding spooky flair to your Halloween décor.
Free Crochet Pennywise Pattern for Halloween Gifts
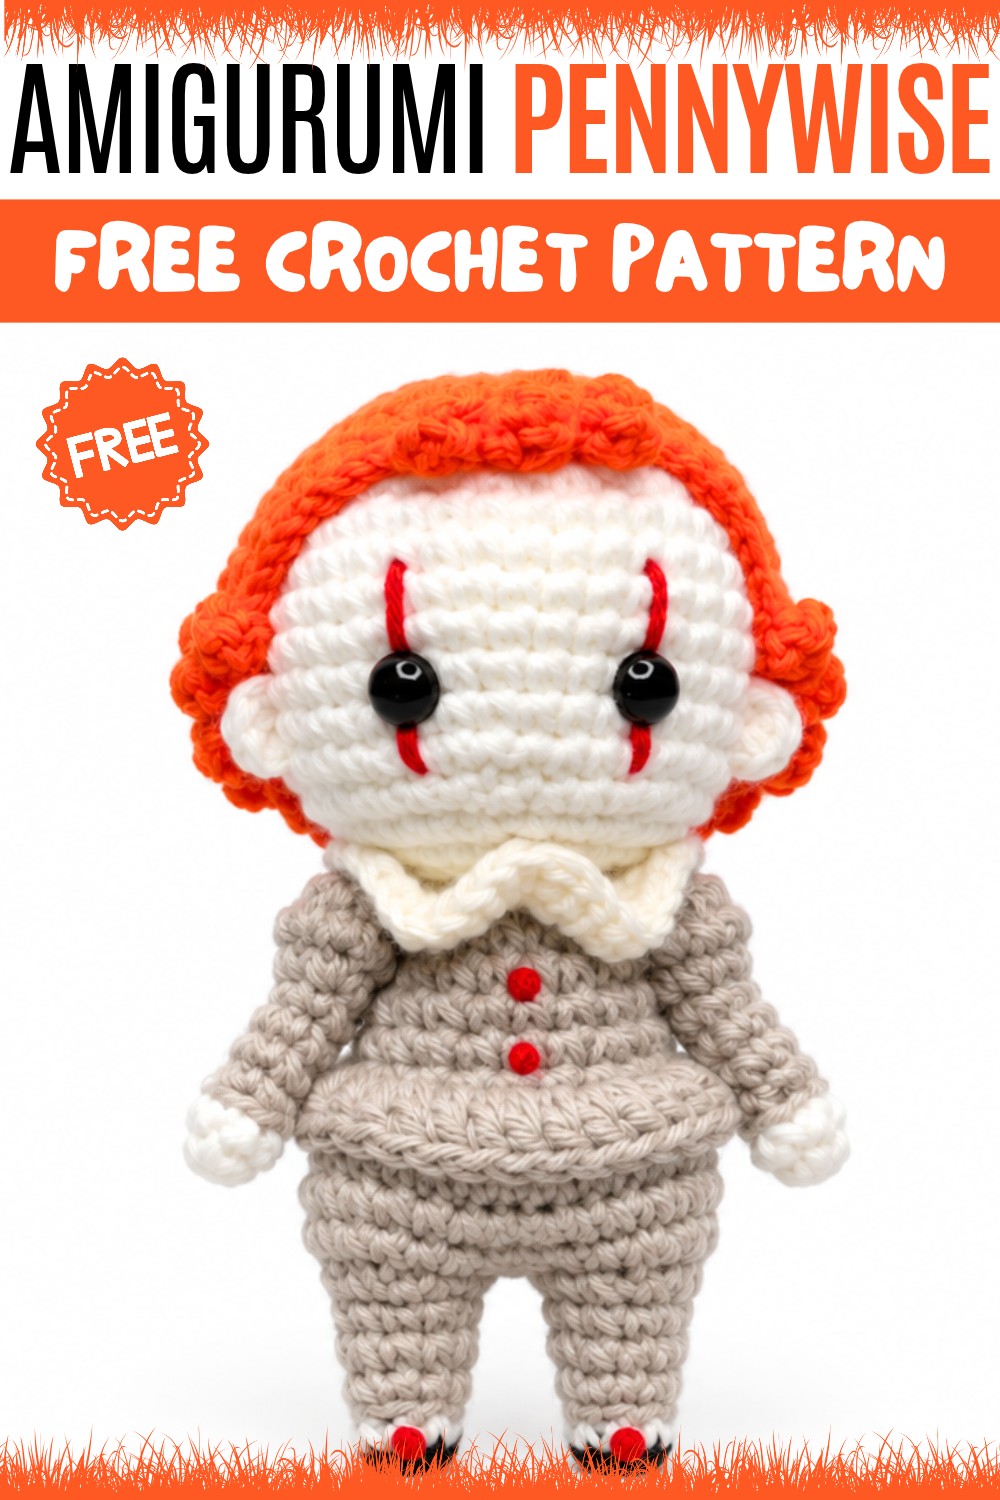
With its intricate details, like the signature neck ruffle and button accents, this amigurumi shines as a collectible display item or a unique handmade gift for fans of horror movies. Its small size also makes it a versatile creation; it could even be used as a playful keychain or bookshelf companion. The pattern balances simplicity and detail, making it approachable for confident beginners while still offering engaging elements for experienced crocheters.
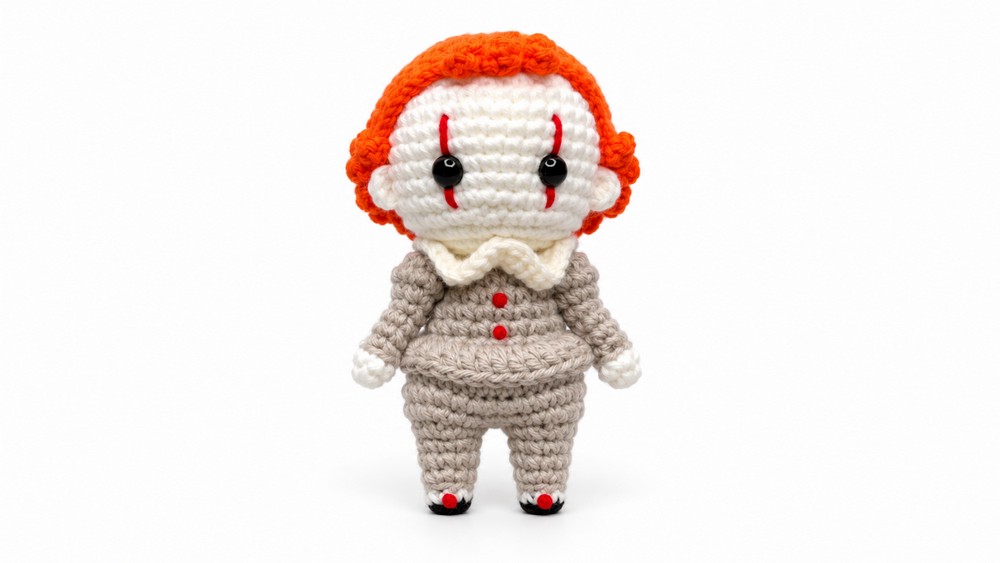
This project not only lets you flex your amigurumi skills, but it also results in a delightful decoration or conversation starter. With such attention to detail, creating Pennywise allows you to bring a beloved (and slightly spooky) character to life in a whole new way!
Pennywise Chibi Amigurumi Crochet Pattern
Welcome to this detailed step-by-step crochet pattern for creating a chibi Pennywise amigurumi doll. Using Silvia brand Silv-gurumi yarn in multiple colors, you will crochet the iconic scary clown's head, body, limbs, and hair with clearly defined shaping and finishing details. This pattern follows a precise stitch count and includes important techniques such as working in rounds, color changes, back loops only instructions, embroidery for facial details, and hair assembly. The finished amigurumi is a compact, expressive doll perfect for fans and collectors.
Pattern Highlights
- Neck ruffle in bone color yarn
- Head and body mostly in white and grey yarn colors
- Legs and feet formed with shaping techniques using decreases
- Arms made in two yarn colors with increases and decreases
- Facial details using safety eyes and red wool embroidery
- Hair crocheted separately using orange yarn with special increases and slip stitches
Notes
- Use tight tension for firm stitches.
- Make sure to count stitches carefully in every round.
- Safety eyes should be tested using pins before attaching permanently.
- Use back loop only (BLO) stitches when instructed.
- Embroider red facial marks gently and secure with glue.
- Leave long yarn tails for sewing pieces together.
Skill Level
- Beginner to Intermediate
- Familiar with basic crochet stitches: chain, single crochet (sc), increase (inc), decrease (dec), and slip stitch (sl st).
Materials
- Silvia Silv-gurumi yarn: White, Bone, Orange, Red, Grey, Black
- Crochet hook: 2.5 mm (US size 4)
- Safety eyes size 7 mm
- Embroidery needle, tapestry needle, pins
- Scissors, glue
- Stuffing material (polyester fiberfill)
Measurements / Sizing
- The finished doll is approximately the size of your palm.
- Neck ruffle circumference starts with 14 foundation chains.
- Detailed shaping creates balanced head, body, limbs.
Gauge & Stitch Pattern
- Main stitches: single crochet (sc) in continuous rounds.
- Increases (inc): 2 sc stitches worked in one stitch.
- Decreases (dec): 2 stitches crocheted together.
- Some rounds worked through back loops only (BLO).
Stitch Abbreviations
| Abbr. | Stitches | Explanation |
|---|---|---|
| ch | Chain | Yarn over, pull through loop |
| sc | Single crochet | Insert hook, yarn over, pull through both loops |
| inc | Increase | 2 sc stitches in one stitch |
| dec | Decrease | Crochet 2 stitches together |
| sl st | Slip stitch | Yarn over, pull through stitch and loop |
| BLO | Back loop only | Work stitch through back loops only |
The Crochet Pattern
Neck Ruffle (Bone yarn)
- Make a slip knot and chain 14.
- Join with a sl st to form a ring.
- Round 2: Make 14 inc (2 sc in each stitch) = 28 stitches.
- Round 3: 1 sc, 1 inc around = 42 stitches. Finish and fasten off.
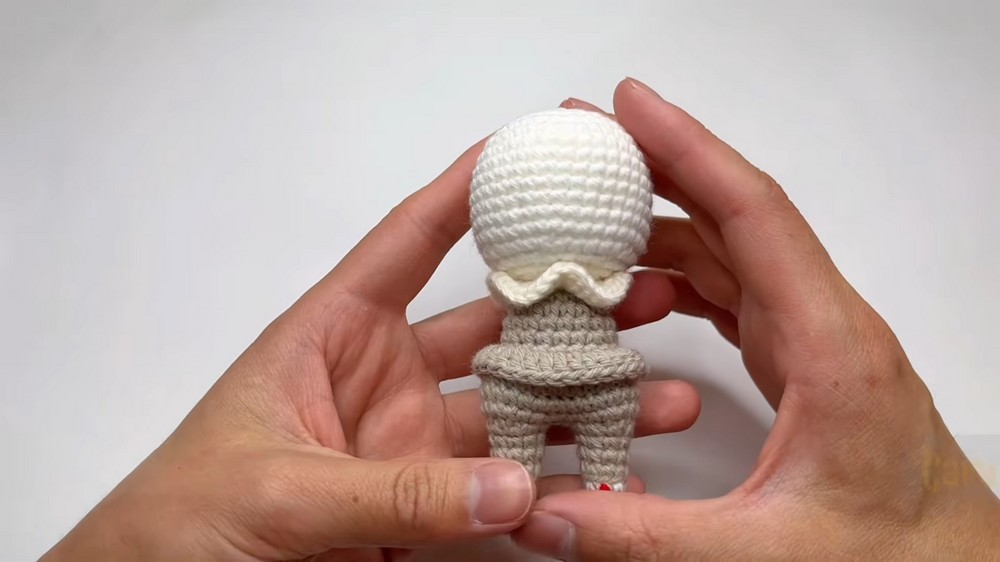
Head (White yarn)
- Follow the base head pattern for 18 rounds of single crochet (sc) (continuous rounds).
Body (Grey yarn)
- Attach grey yarn to last stitch round 18; knot securely.
- Round 19: 2 sc, 1 inc around = 12 stitches.
- Round 20: 1 sc, 1 inc around = 18 stitches.
- Rounds 21-22: 18 sc evenly.
- Round 23: 1 inc, 8 sc repeat = 20 stitches.
- Round 24: 20 sc.
- Round 25 (BLO): 1 sc, 1 inc through back loops only = 30 stitches.
- Rounds 26-28: 30 sc. Fasten off leaving a long tail.
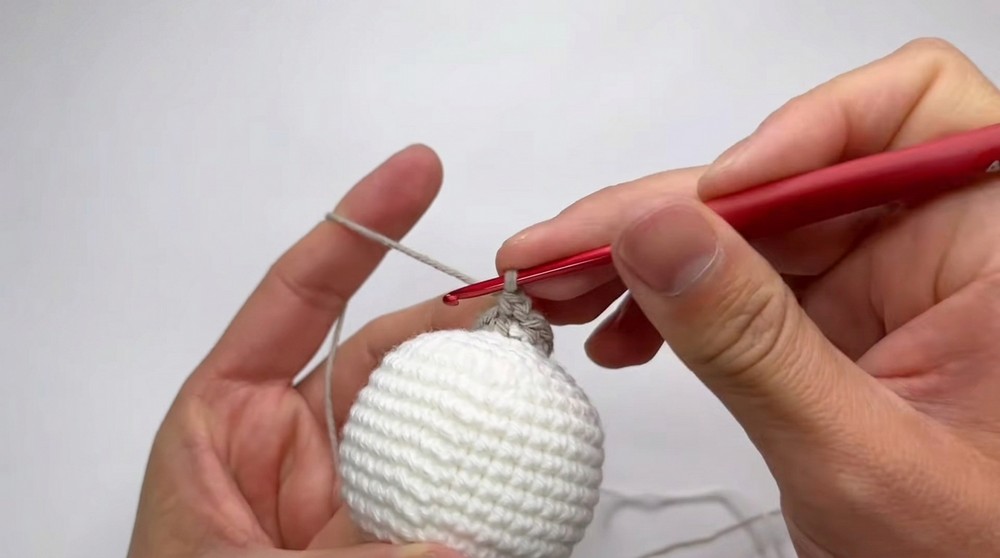
Legs (Grey/Black yarn)
- Attach grey yarn at first stitch round 28.
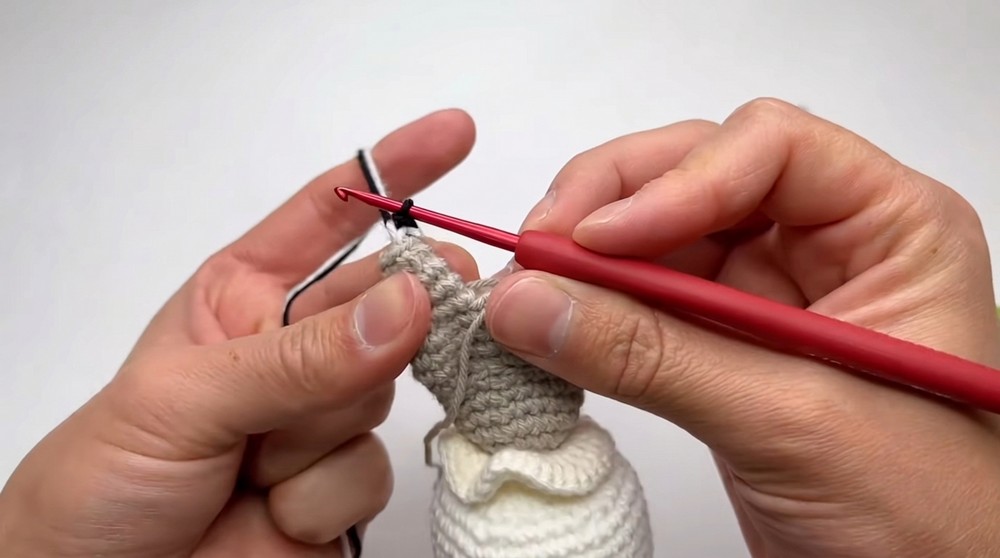
- Round 29: 2 sc, 2 dec, 1 sc, 2 dec, 2 sc = 9 stitches.
- Cut yarn leaving a tail; close leg opening with a sl st in first stitch.
- Rounds 30-31: 9 sc each round.
- Round 32: 1 sc, 1 dec, 6 sc = 8 stitches.
- Switch to white and black yarn for feet. Crochet 7 sc through back loops only.
- Knot and hide ends using tapestry needle. Repeat for second leg with 2 stitch gap.
Boot Button
- Tie a small knot in red wool. Use a needle to sew knot through leg center and secure with glue. Trim excess wool.
Body Finishing
- Work a round on the front loops of Round 24: 1 double crochet, 1 double crochet increase around.
Arms (White/Grey yarn)
- Start white yarn: magic ring with 6 sc.
- Round 2: Attach grey yarn; crochet 6 sc.
- Round 3: 6 sc through back loops only.
- Rounds 4-6: 6 sc per round.
- Round 7: 1 sc, 4 inc, 1 sc = 10 stitches.
- Round 8: 10 sc.
- Round 9: 1 sc, 4 dec, 1 sc; close with sl st. Stuff lightly. Repeat for second arm.
Facial Details and Hair
- Mark eye placement on 11th round from magic ring using pins 8 and 6 stitches apart.
- Mark ears 5 stitches from eyes.
- Attach safety eyes temporarily with pins to check. Secure permanently.
- Mark 3 rounds above eyes for red wool face markings with pins.
- Use red wool and embroidery needle to sew markings carefully; secure with glue.
- Crochet ears in magic ring with 4 sc stitches; sew to head at marked places.
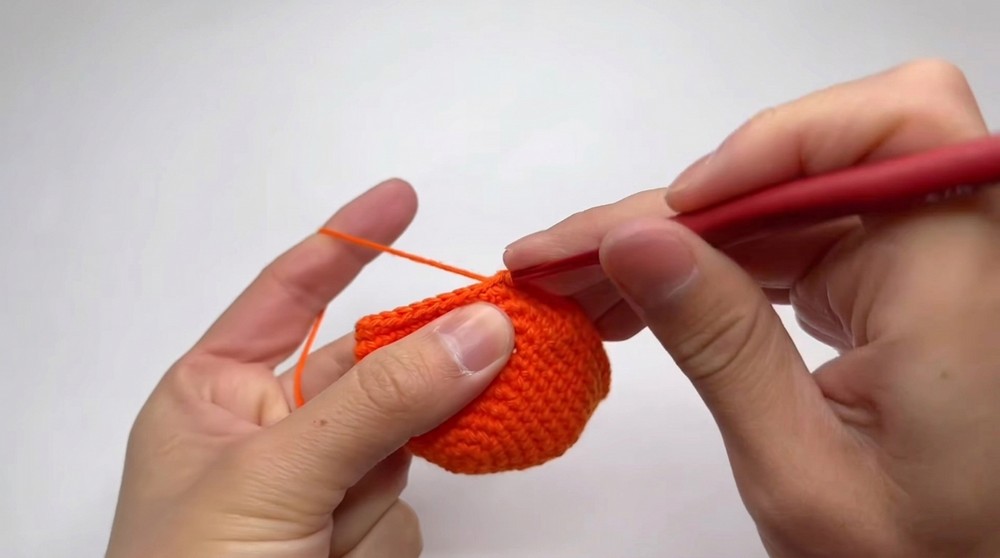
Hair (Orange yarn)
- Start with base circle to 42 stitches by round 8.
- Crochet rounds with sequences: Chain 1, 20 sc, 1 triple increase (3 sc in one), then 21 sc.
- Follow pattern of slip stitches, increases, and decreases between rounds 9 to 14, shaping hair texture.
- Fasten off leaving long tail for sewing.
Assembly & Finished Size
- Position hair centered on head and sew in place.
- Attach ears, arms, and legs securely to body, weaving in loose ends.
- Stuff all parts firmly but gently for good shape retention.
- The finished doll is compact, approximately palm-sized, with neat details and realistic expressions.
Conclusion
You have made an adorable yet spooky Pennywise chibi amigurumi using basic stitches combined with simple shaping and embroidery. This step-by-step pattern guides you through smooth color changes, increases/decreases, and finishing techniques to create a neat, professional-looking doll. Practice will improve your skills in amigurumi and colorwork.