
Easy Crochet Bee Keychain Free Pattern with Simple Instructions
Hang your keys with a cute and unique Crochet Bee Keychain that is easy to make and perfect for adding a handmade charm to your everyday items.
DIY Yarn Crafts offers a simple way to make a Keychain. This Crochet Bee Keychain has bright yellow and black stripes, tiny wings, and big eyes. It can be attached to keys, bag, or backpacks, adding a cheerful touch to everyday things.
Lovely Crochet Bee Keychain Free Pattern for Handmade Gifts
You can use different yarn colors to give your bee a unique look. Adding small details like little flowers or name tags can make the keychain extra special. These simple touches help turn the bee into a thoughtful gift for friends or family members.
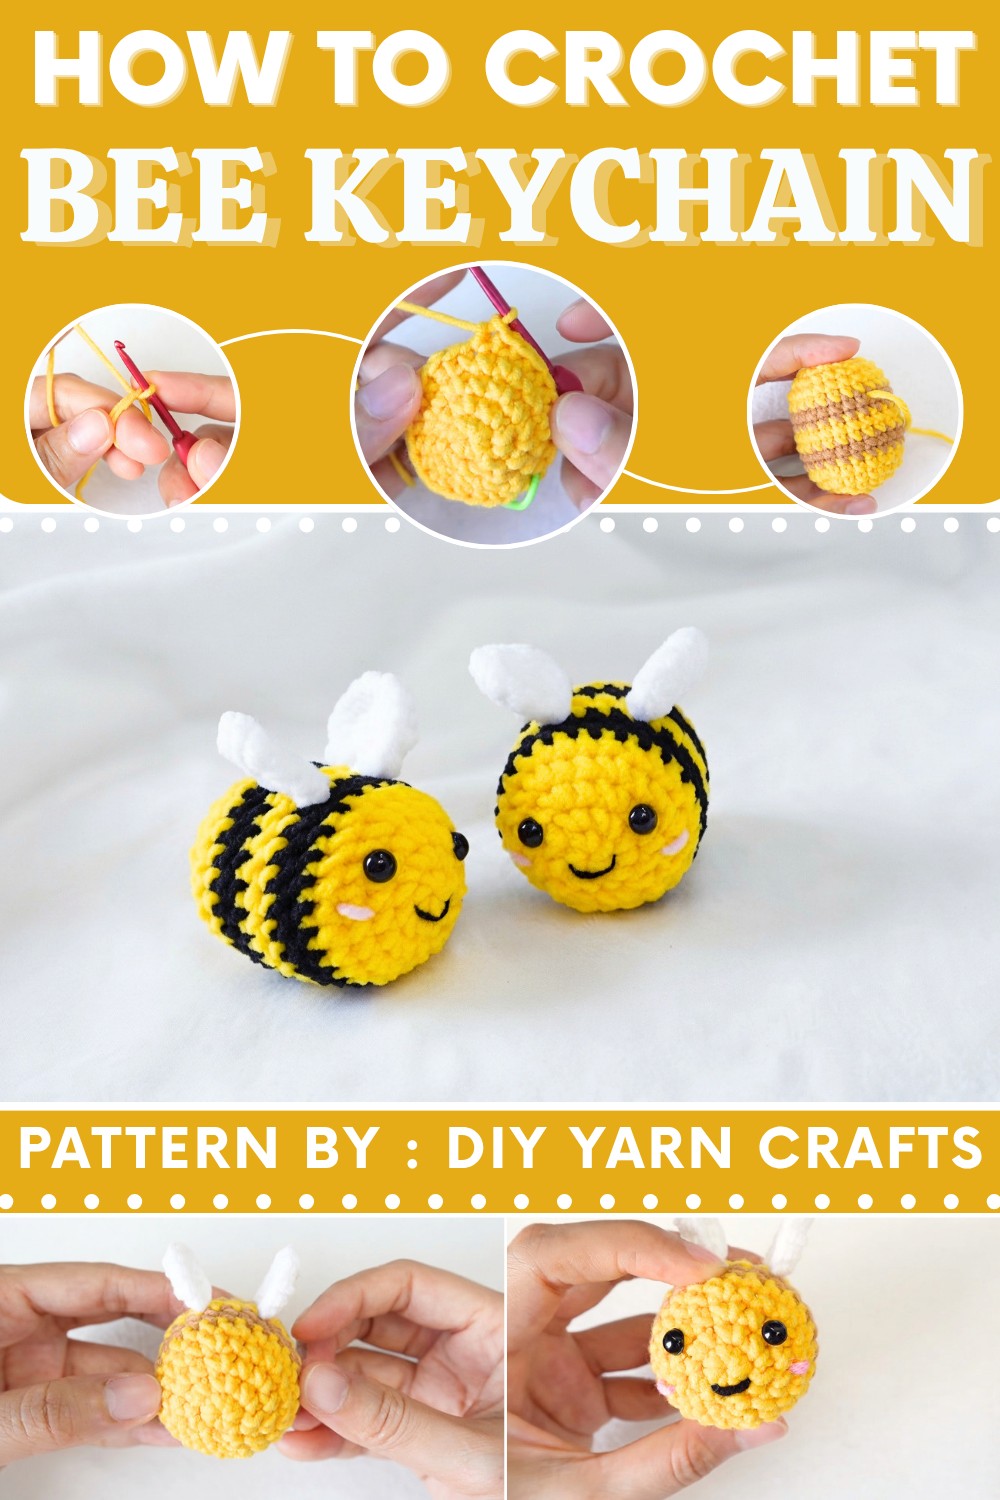
The keychain is light and small, so it is easy to carry around. It fits comfortably in a pocket or hangs nicely on a bag or purse. This tiny accessory makes daily items look friendlier and more fun. It can also start conversations or show your care when given as a gift.
Making the Crochet Bee Keychain is a fun and relaxing activity. You do not need many materials, and the steps are easy to follow. This project offers a nice way to practice working with yarn while ending up with a useful item. The small bee adds personality and charm wherever it goes.
Overall, this keychain is a sweet and simple idea that can brighten your day or someone else’s. It is a pleasant way to add color and happiness to daily belongings without much effort.
Crochet Bee Keychain Pattern
In this pattern, I’m going to show you how to crochet an adorable bee keychain in a very simple and easy way. Let’s get right into the materials and pattern.
Pattern Basic Points
Body
- Worked in the round using yellow and black yarn for stripes.
- Shaped with increases and decreases for a neat oval bee body.
- Simple round color changes for clean stripes.
Wings
- Crocheted in a magic ring and increased to form a small, round wing shape.
- Two wings made and sewn to each side of the bee.
Features
- Safety eyes are glued on.
- A small mouth is embroidered, and pink cheeks are added for cuteness.
Special Notes
- Mark the first stitch of each round to keep your place.
- Rounds are joined with a slip stitch and started with a chain, which does not count as a stitch.
- Keep color changes tight and do not cut yarn until the last switch to avoid unnecessary ends.
- Stuff the bee firmly but do not overstuff.
- Adjust the safety eye placement on round 3 for the cutest look.
Skill Level
Beginner
- Basic knowledge of single crochet, slip stitch, magic ring, increasing and decreasing.
- Simple color changes.
- Minimal sewing/assembly.
Materials
- Yarn: Worsted weight acrylic or cotton (yellow, black, white, pink)
- Hook: 2.5 mm crochet hook
- Safety eyes: 6 mm plastic eyes
- Fiberfill stuffing
- Darning needle
- Scissors
- Glue (for eyes)
- Pink yarn (for cheeks)
- Black embroidery thread (for mouth)
- Stitch marker
Measurements / Sizing
- Bee Body: Approx. 4-5 cm long
- Wings: About 2.5 cm diameter
- Finished Bee Size: About 5 cm long including wings (excluding keychain hardware)
Gauge (and Stitch Pattern if applicable)
- Gauge is not critical for this project.
- Use single crochet (US terms) in the round for a tight, neat fabric that holds stuffing.
Stitch Abbreviations
| Abbreviation | Meaning |
|---|---|
| ch | chain |
| sc | single crochet |
| sl st | slip stitch |
| inc | increase (2 sc in 1 st) |
| dec | decrease (sc2tog) |
| st(s) | stitch(es) |
Special Stitches
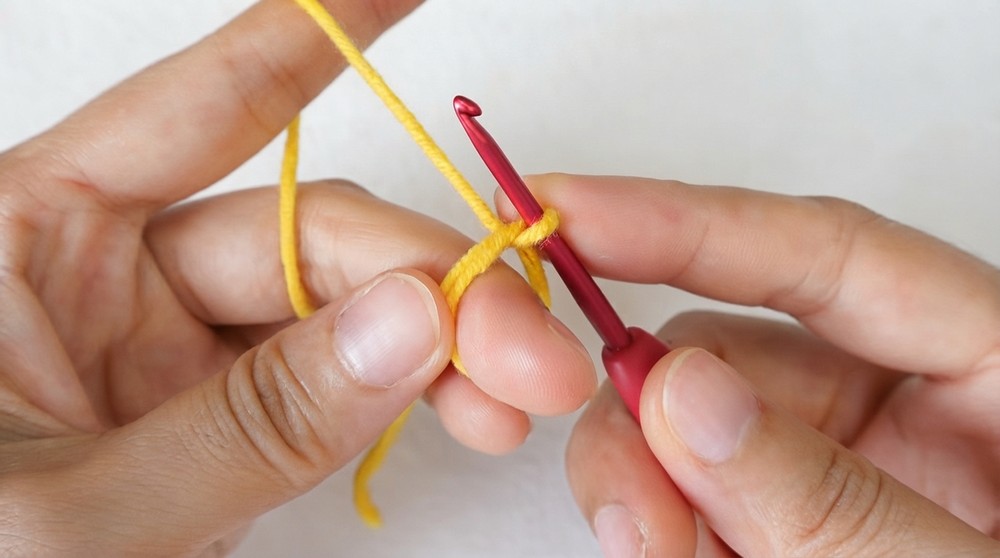
- Magic Ring: Wrap the yarn around your middle finger to create a loop, pull up your first loop and work subsequent stitches into the ring, then pull the tail tight.
- Invisible Decrease: Insert hook into front loop of next 2 stitches, yarn over and pull through both loops, yarn over and pull through both loops remaining.
- Color Change: Change color on the last yarn-over of the final stitch before the new color.
Crochet Guide
Body
With yellow yarn:
- Round 1:
- Make a magic ring.
- 6 sc in magic ring. (6)
- Mark first stitch.
- Pull yarn tail to close.
- Sl st in first stitch.
- Round 2:
- Ch 1.
- Inc in each st around (2 sc in each st). (12)
- Sl st in first st.
- Round 3:
- Ch 1.
- (1 sc in next st, inc in next st) repeat around. (18)
- Sl st in first st.
- Round 4:
- Ch 1.
- (1 sc in next 2 sts, inc in next st) repeat around. (24)
- Sl st in first st.
- Round 5:
- Ch 1.
- 1 sc in each st around for 23 sc.
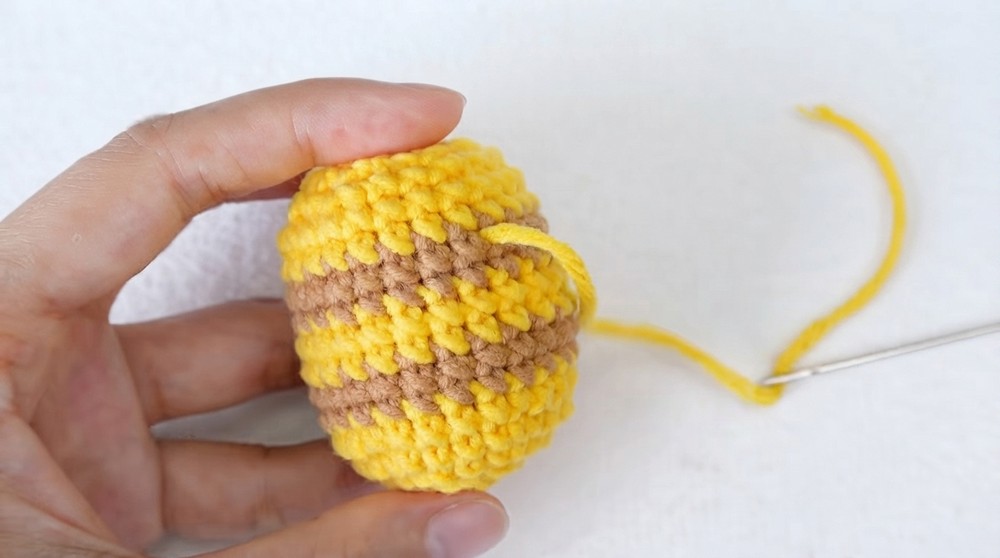
- On the 24th st: Begin sc as normal (insert hook, pull up a loop), then bring in black yarn and finish the sc with black, (leaving yellow attached).
- Sl st to first st with black.
- Round 6:
- Ch 1.
- 1 sc in each st in black yarn. (24)
- Sl st in first st with black.
- Round 7:
- Ch 1.
- 1 sc in each st in black yarn. (24)
- At last sc, finish the stitch with yellow yarn from round 5 (do not cut black, leave attached).
- Sl st in first st with yellow.
- Rounds 8–9:
- Ch 1.
- 1 sc in each st with yellow yarn for two rounds (24 each round).
- At end of round 9, finish last sc with black yarn.
- Sl st in first st with black.
- Rounds 10–11:
- Ch 1.
- 1 sc in each st with black yarn for two rounds (24 each round).
- At end of round 11, finish last sc with yellow.
- Sl st in first st with yellow.
- Rounds 12–13:
- Ch 1.
- 1 sc in each st with yellow yarn for two rounds (24 each round).
- Round 14:
- Ch 1.
- (1 sc in next 2 sts, dec in next 2 sts) repeat around. (18)
- Sl st in first st.
- Start stuffing the body.
- Round 15:
- Ch 1.
- (1 sc in next st, dec in next 2 sts) repeat around. (12)
- Sl st in first st.
- Round 16:
- Ch 1.
- Dec in next 2 sts 6 times. (6)
- Sl st in first st.
- Chain 1, cut yarn leaving a long tail for sewing.
- Finishing Body:
- Stuff firmly but do not overstuff.
- Using darning needle, weave tail through the front loops of the last round and pull tight to close the hole.
- Insert needle into center and out a few more times to secure yarn before fastening off.

Wings (Make 2)
- With white yarn, make a magic ring.
- Round 1: 6 sc in magic ring. (6)
- Pull tail to close.
- Round 2: 2 sc in each st around (6 inc = 12).
- Cut yarn leaving a long tail for sewing.
- Make another wing the same way.
Assembly & Features
- Wings: Use darning needle and long tail to sew each wing on either side of the bee’s body, centered on the wide yellow stripe, leaving 3 stitches between wings.
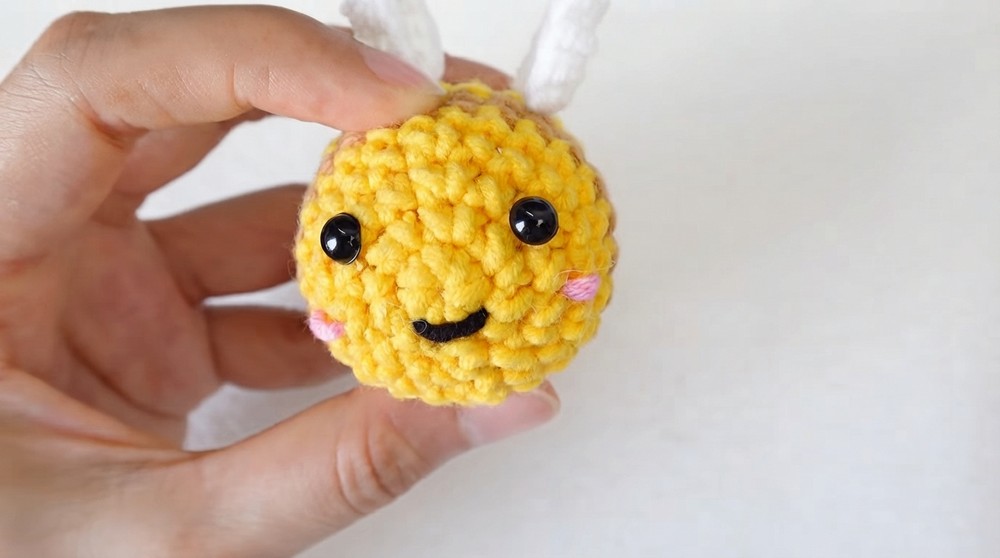
- Eyes: Use glue to adhere 6 mm safety eyes between rounds 3 and 4, evenly spaced on the front of the head.
- Mouth: Using black embroidery thread or thin black yarn, embroider a small smile on round 1 between the eyes.
- Cheeks: Embroider on small circles or dabs using pink yarn just below and to each side of the mouth.

Assembly & Finished Size
- Your bee should measure about 4–5 cm long. Add a split ring or keychain hardware, if desired, to make it into a keychain.
- The wings should protrude equally on either side and the facial features should be centered for an adorable, balanced appearance.
- All yarn tails should be carefully sewn in or hidden inside the bee.

Conclusion
This crocheted a sweet little bee keychain perfect for bags, gifts, or your own keys. This pattern is great for using up yarn scraps while practicing essential amigurumi techniques such as the magic ring, increases, decreases, and switching colors. Enjoy your new handmade bee, and share the joy by making more for your friends and family!