
Free Crochet Kitten Keychain Pattern Small Sweet Accessory
Spark smiles instantly as this Crochet Kitten Keychain Pattern that's adds pocket cute charm, and playful flair to bags, gifts, anywhere.
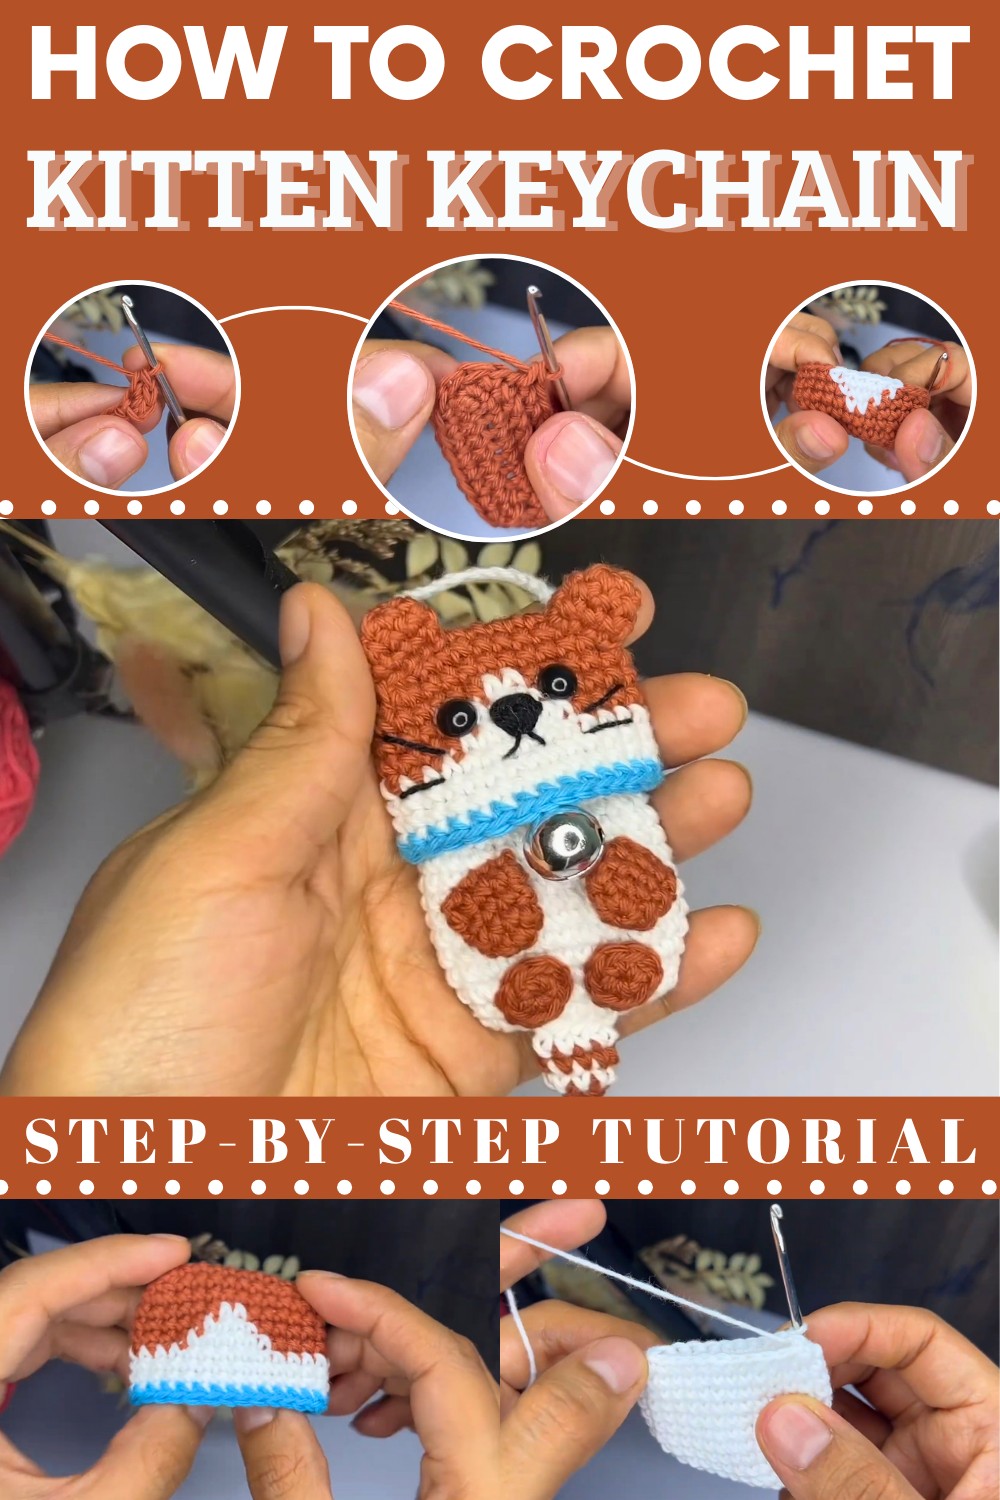
Collectible Crochet Kitten Keychain Pattern Cute Bag Decor
small and playful feline companion is a wonderful way to keep your coins safe and your keys stylish at the same time. Crochet Kitten Keychain pattern This clever project serves as both a soft mascot and a tiny pouch, making it perfect for holding spare change while hanging from your backpack.

Its main specialty is the built-in storage space, which allows the kitten's body to stretch and hold several coins without losing its cute shape. Because it is only about 9 cm tall, it is a lightweight and durable accessory that adds a splash of color and a friendly face to your daily routine.
Crochet Mini Kitten Keychain Pattern
Finished Size
- The resulting kitten keychain measures approximately 9 cm (3.5 inches) tall when made with the suggested materials and hook sizes.
Materials Required
- Yarn:
- Cotton thread, 2 mm thickness, brown (main body color) and white (accent color).
- Black thread (for embroidering facial features like nose and whiskers).
- Hooks:
- 2.0 mm crochet hook (for main body and head).
- 1.5 mm crochet hook (for smaller parts like arms, legs, tail, and ears).
- Notions:
- 8 mm safety eyes.
- Small bell (optional, for additional charm).
- Stitch marker.
- Yarn needle (for sewing and embroidery).
- Scissors.
- Stuffing: Polyester fiberfill.
Gauge
- Gauge is not critical for this project. The finished size will depend on how tightly you crochet and the materials used.
- For reference:
- 10 sc x 10 rows = 2.5 cm x 2.5 cm using a 2.0 mm hook and 2 mm cotton thread.
- For reference:
Abbreviations
(All terms are in US crochet terminology.)
- MR – Magic ring
- ch – Chain
- sc – Single crochet
- sl st – Slip stitch
- inc – Increase (2 sc in the same stitch)
- dec – Decrease (single crochet two stitches together)
- st(s) – Stitch(es)
- (...) – Instructions in parentheses to repeat as directed
- x N – Repeat the instructions within parentheses N times
Special Techniques
- Magic Ring (MR):
Create a tightly closed center for crocheting in the round by forming a loop, working the specified number of stitches into the loop, and then pulling the tail tight to close. - Invisible Decrease (Recommended for Seamless Look):
To create smoother decreases with no visible gaps, work through the front loops only of the stitches being decreased. - Color Changes:
Switch colors cleanly by working the final yarn-over and pull-through of the last stitch in the new color. Secure and weave in the tail of the old color for a neat transition.
Construction Overview
The kitten keychain consists of the following components:
- Head (with a small spot/patch detail in white).
- Body (worked in matching colors).
- Arms, Legs, Tail, and Ears (separately crocheted and sewn on).
- Face details (embroidered).
Pattern Instructions
Head
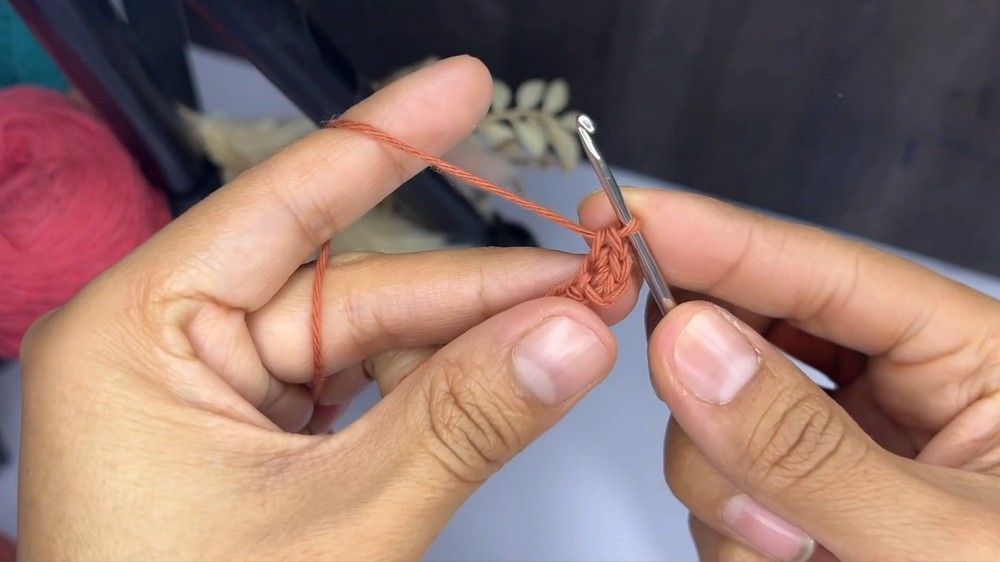
- Start with a brown yarn:
- Make a magic ring (MR), ch 1.
- Round 1: Work 6 sc into the MR. (6 sts)
- Pull the tail to close the ring tightly.
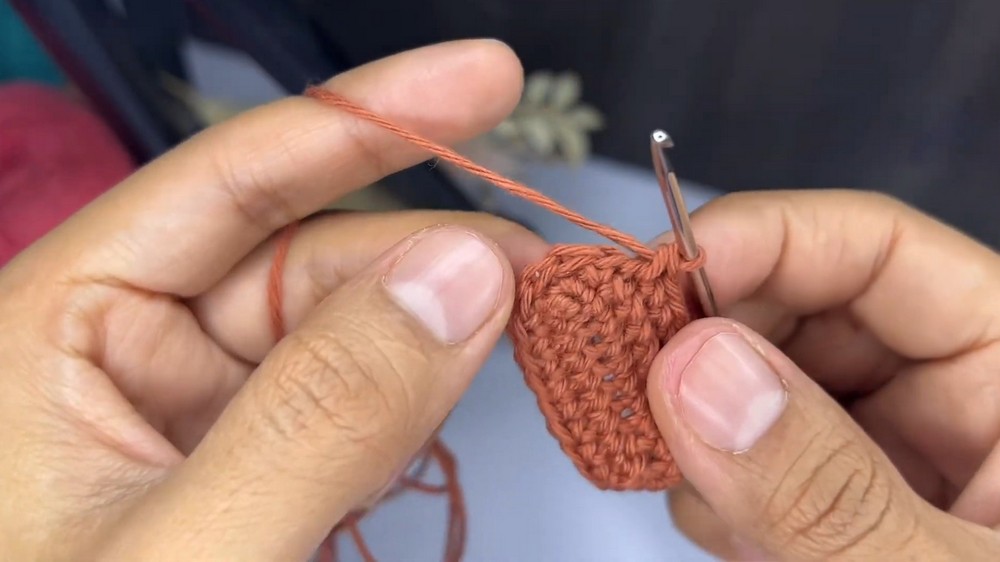
- Round 2: (sc inc x 6). (12 sts)
- Round 3: (sc, inc) x 6. (18 sts)
- Round 4: (2 sc, inc) x 6. (24 sts)
- Round 5: (sc in next 7 sts, inc) x 3. (27 sts)
- Round 6: (3 sc, inc) x 6. (36 sts)
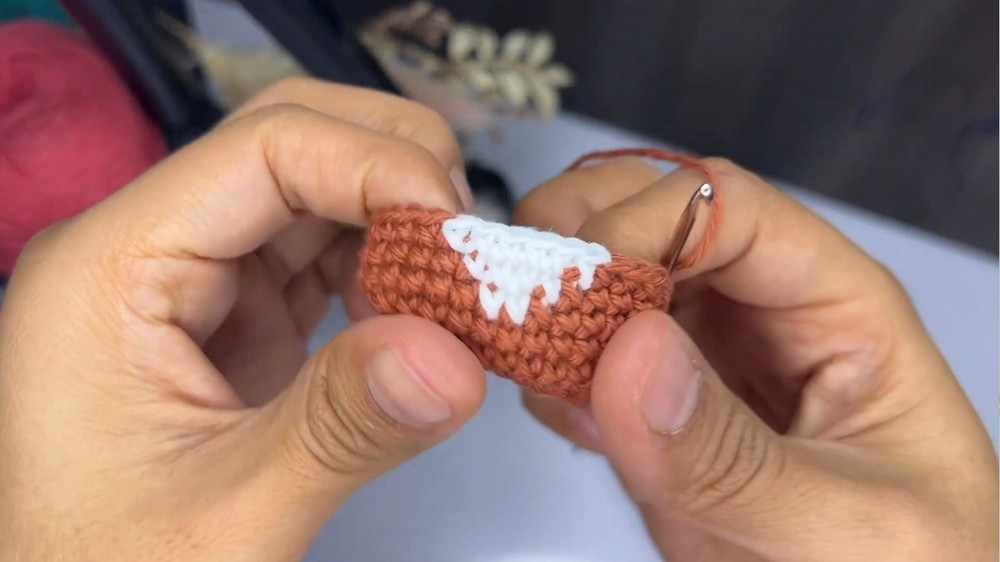
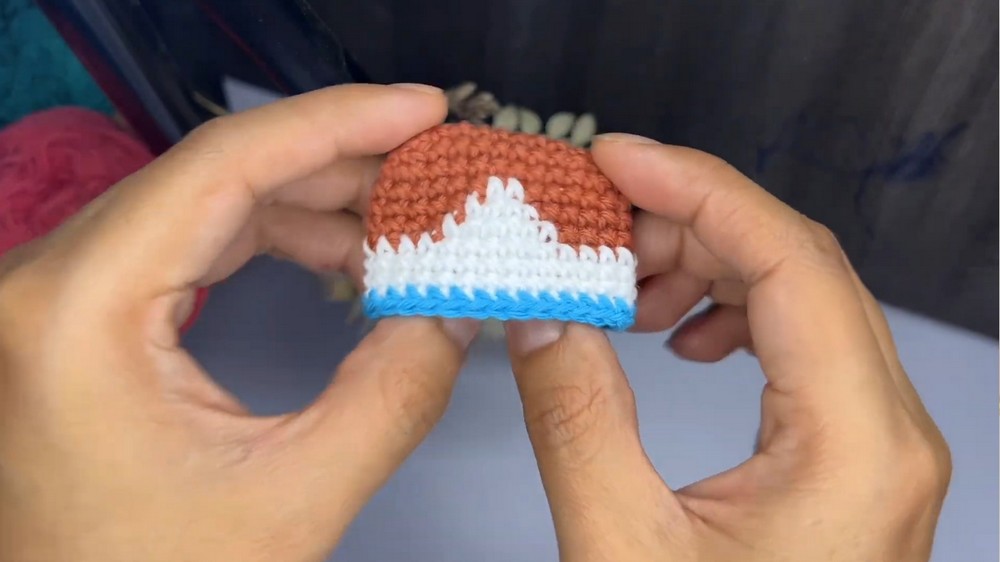
- Round 7 (add white patch):
- Work 9 sc in brown.
- Pull up white yarn and work 2 sc in white.
- Switch back to brown and continue sc to end. (36 sts)
- Round 8–9: Work even (1 sc in each st around), continuing color pattern from Round 7. (36 sts)
- Round 10: Transition to white yarn for entire round. Work 1 sc in each stitch around. (36 sts)
Fasten off, leaving a long tail for sewing.
Body
The body follows the same shape as the head, with slight tapering toward the bottom.
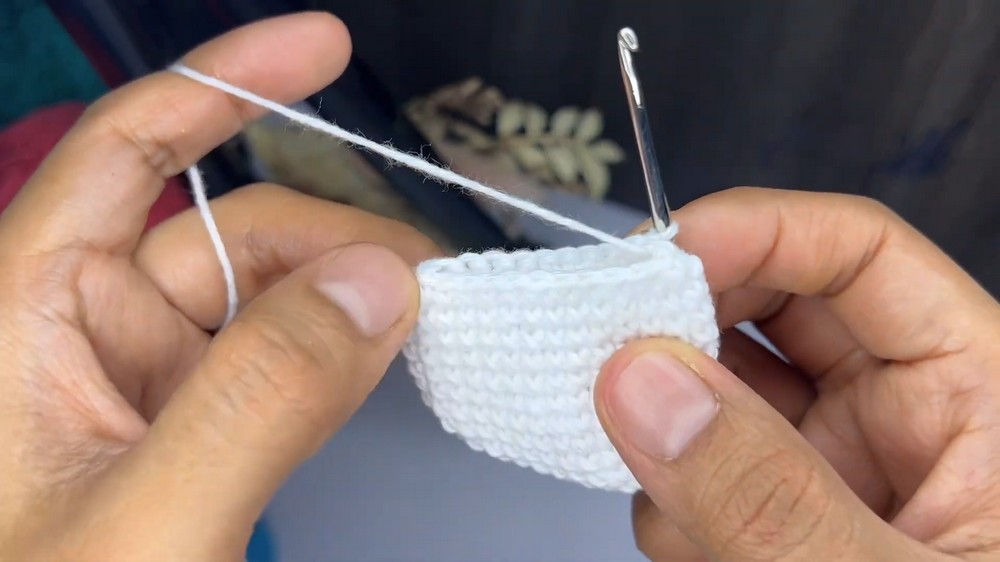
- Start with white yarn:
- Make a magic ring (MR), ch 1.
- Round 1: 6 sc into MR. (6 sts)
- Round 2: (sc inc x 6). (12 sts)
- Round 3: (sc, inc) x 6. (18 sts)
- Continue Increasing Rounds:
- Round 4: (2 sc, inc) x 6. (24 sts)
- Round 5: (3 sc, inc) x 6. (30 sts)
- Round 6: (4 sc, inc) x 6. (36 sts)
- Rounds 7–10: Work even (1 sc in each st around). (36 sts)
- Round 11 (Taper for Body):
- (4 sc, dec) x 6. (30 sts)
- Round 12–14: Work even (1 sc in each st around). (30 sts)
Fasten off, leaving a long tail.
Arms, Legs, and Tail
Switch to a 1.5 mm crochet hook for these smaller parts.
Arms/Front Legs (Make 2):
- Round 1: Make a MR, work 6 sc into the ring.
- Round 2: (sc, inc) x 3. (9 sts)
- Rounds 3–5: Work even (1 sc in each st around).
Fasten off, leaving a tail for sewing.
Hind Legs (Make 2):
- Round 1: Make a MR, work 8 sc into the ring.
- Rounds 2–4: Work even (1 sc in each stitch).
Fasten off, leaving a tail.
Tail:
- Round 1: Make a MR, work 6 sc.
- Round 2: (sc, inc) x 3. (9 sts)
- Rounds 3–5: Work even.
- Add stripes by changing colors (as described in the video).
Fasten off.
Ears (Make 2):
- Round 1: Make a MR, work 6 sc.
- Round 2: (sc, inc) x 3. (9 sts)
- Round 3: Work even.
Fasten off.
Assembly
- Stuff the Head, Body, and Other Parts.
- Use fiberfill to ensure a plush, rounded shape.
- Attach Parts to Body:
- Sew the head to the body securely.
- Position and sew the arms just below the neck.
- Sew the hind legs at the bottom, slightly toward the sides.
- Sew the tail at the back.
- Add the Ears:
Place the ears symmetrically on the head and sew securely. Make sure edges are neat. - Insert Safety Eyes:
Position above the white patch on the face. Insert the eyes and secure. - Embroider Details:
- Nose: Use black thread to embroider a small triangular nose in the center.
- Whiskers: Embroider 3 whiskers on each side of the face.
- Add the Bell:
Attach the bell to the collar or body for a playful finishing touch.
Customization Tips
- Colors: Experiment with different color combinations for the kitten.
- Accessories: Add a small bow, collar, or ribbon for a personal touch.
- Functionality: Add a snap or zipper at the back to turn this into a miniature coin pouch.
Conclusion
This fun mini kitten keychain is perfect for gifts, personal use, or even selling at craft fairs. With its adorable design and charming details like the bell and embroidered features, it’s sure to be a hit. Whether used as a coin pouch or keychain, it’s both practical and eye-catching. Follow this pattern carefully, and enjoy crocheting your precious mini kitten keychain!