
Easy Crochet Amigurumi Bunny Cactus Free Pattern For Small Gifts
Try the Crochet Amigurumi Bunny Cactus Free Pattern for a sweet plant-inspired rabbit that looks cute on bookshelves and in gift baskets.
Looking for a cute and easy crochet project? The Crochet Amigurumi Bunny Cactus designd by mikimeloco is a perfect choice. This delightful little creation combines the charm of a bunny with the quirky look of a cactus, making it a unique and fun decoration or gift. Its soft, rounded shape and adorable facial features give it a friendly personality that feels almost alive.
Cute Crochet Amigurumi Bunny Cactus Free Pattern With Long Ears
In terms of looks, the Bunny Cactus has a warm, inviting appearance thanks to its carefully chosen yarn colors. Typically, soft greens for the cactus body pair beautifully with gentle pastels or white for the bunny accents, creating a pleasing and calming color palette. Plus, the texture adds dimension and interest, making it enjoyable both to crochet and to display.
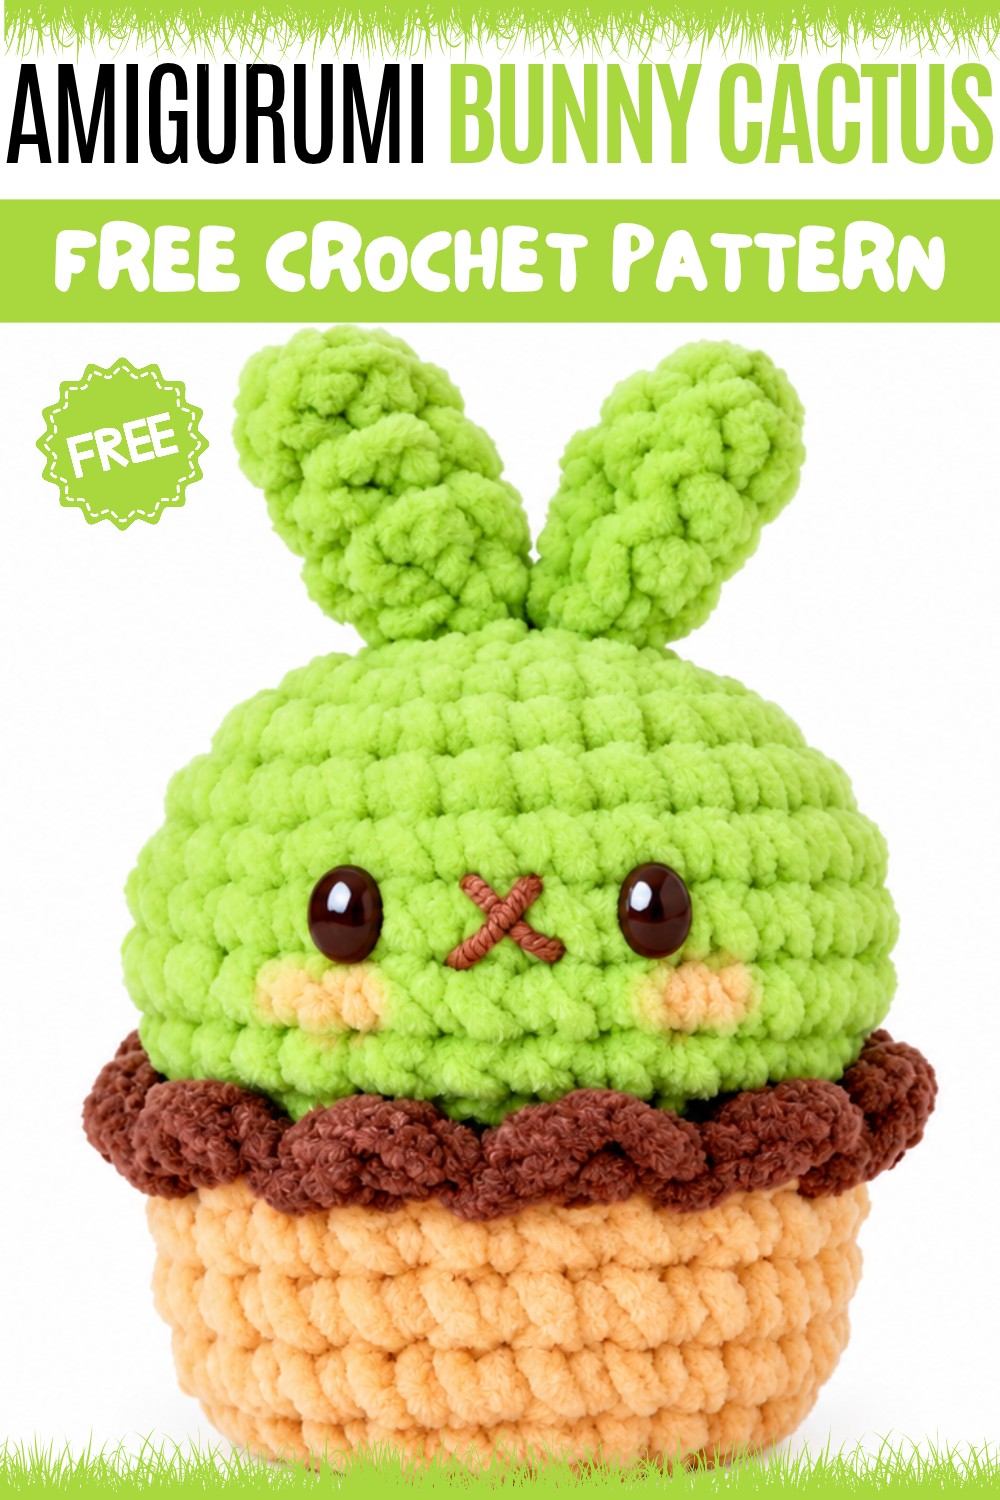
Moreover, the Crochet Amigurumi Bunny Cactus is not only visually appealing but also beneficial. It can brighten up your room, act as a stress-reliever while you crochet, or become a thoughtful handmade gift that spreads joy. In short, it’s a charming little companion that’s easy to make and hard not to love!
About the Pattern
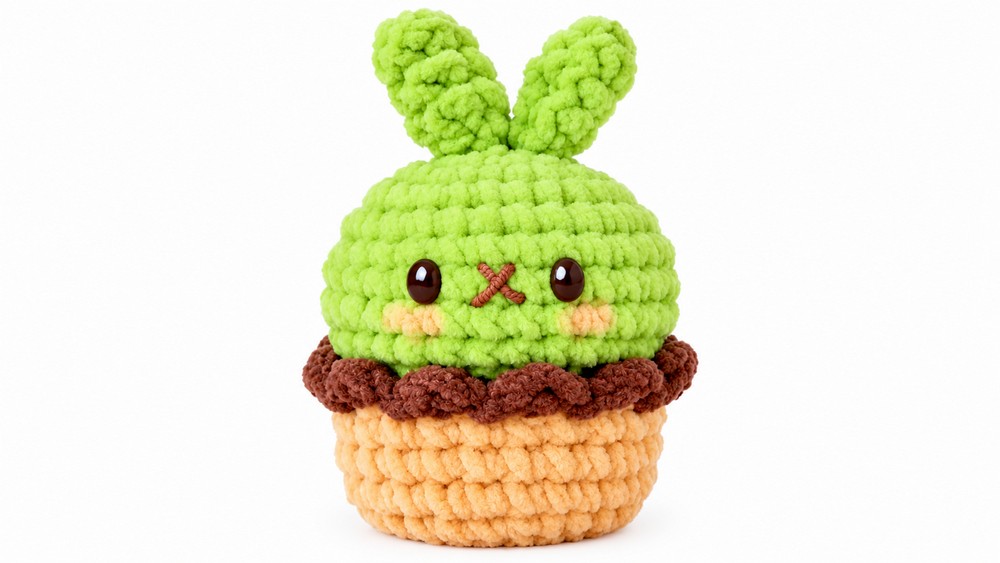
The Bunny Bonsai is a playful amigurumi piece that combines simple shapes and textured edging to resemble a cute bunny emerging from a miniature potted plant. Every part of the project is crocheted in the round, using the standing stitch technique to start each segment and a stitch marker to ensure accuracy with each round. The construction is modular, with firmly stuffed sections stitched or glued together for durability and neatness. Decorative edging on the pot simulates soil, adding an extra touch of realism and charm.
Pattern at a Glance
- Segments: The Bunny Bonsai comprises three main sections: the bunny head, two elongated bunny ears, and a cylindrical pot.
- Construction: All shapes are crocheted in the round, stuffed firmly, then assembled. Surface details, such as the “mud” edging, are added for finishing flair.
- Assembly: Parts can be sewn or glued, based on crafter preference.
- Embellishment: Simple embroidered or surface details for the bunny’s face and edge.
Important Notes
- A standing stitch is used at the beginning of each new round. This does not count as your first stitch; always place your first counted stitch immediately after the standing stitch.
- Utilizing a stitch marker for the first stitch of each round prevents counting errors, especially when working in continuous spirals.
- Maintain tight single crochet stitches to keep stuffing securely contained and shapes well defined.
- Polyfill is recommended for filling both head and pot for plush structure.
- All color joins and edging should be completed using neat, consistent tension for professional results.
Difficulty Level
Confident Beginner to Intermediate. The individual elements use basic shaping with single crochet, increase, and decrease stitches. The pattern includes minor decorative techniques, making it accessible to those familiar with amigurumi basics.
Supplies Needed
- Yarn: Worsted weight acrylic or cotton in white (bunny), a contrasting color for the pot, brown for the “mud” detail, and any accent shades as desired.
- Hook: 3.0–3.5 mm, or size appropriate for yarn selection
- Polyfill: For stuffing head and pot
- Yarn or embroidery needle: For joining and adding surface details
- Scissors
- Stitch marker
- Hot glue or tacky glue (optional): For non-sewn assembly
Size & Measurements
- Finished height: Approximately 8–11 cm (3–4.5 in), depending on yarn, hook, and stuffing.
- Pot diameter: ~4–5 cm (1.5–2 in)
- Bunny head diameter: ~4–5 cm (matches pot)
- Ear length: ~3 cm (1.25 in)
Gauge & Stitch Details
- Gauge: 7 rounds of single crochet in the round = 4 cm diameter
- Texture: Firm, seamless single crochet is essential for stuffing retention and shape
Crochet Abbreviations
- mr: magic ring
- sc: single crochet
- inc: increase (2 single crochet in 1 stitch)
- dec: decrease (single crochet two together)
- hdc: half double crochet
- sl st: slip stitch
- ch: chain
- st(s): stitch(es)
Special Stitch Guide
- Standing Stitch: Create the first stitch of a new round directly onto the work (without chaining), does not count as the first stitch; begin counting immediately after.
- Single Crochet Increase (inc): Work 2 single crochet in the same stitch.
- Single Crochet Decrease (dec): Single crochet two stitches together to decrease.
- Back Loop Only (BLO): Insert hook into the back loop of the stitch only.
- Magic Ring (mr): Create a tight center ring for the start of rounds, ensures a seamless bottom.
- Surface edging for ‘mud:’ Small sections of chain, single crochet, and half double crochet repeated around for textured appearance.
Complete Crochet Pattern
Bunny Head
1 Round :
- Create a magic ring (mr) and make 8 sc inside. Place stitch marker after first true stitch.
2 Round :
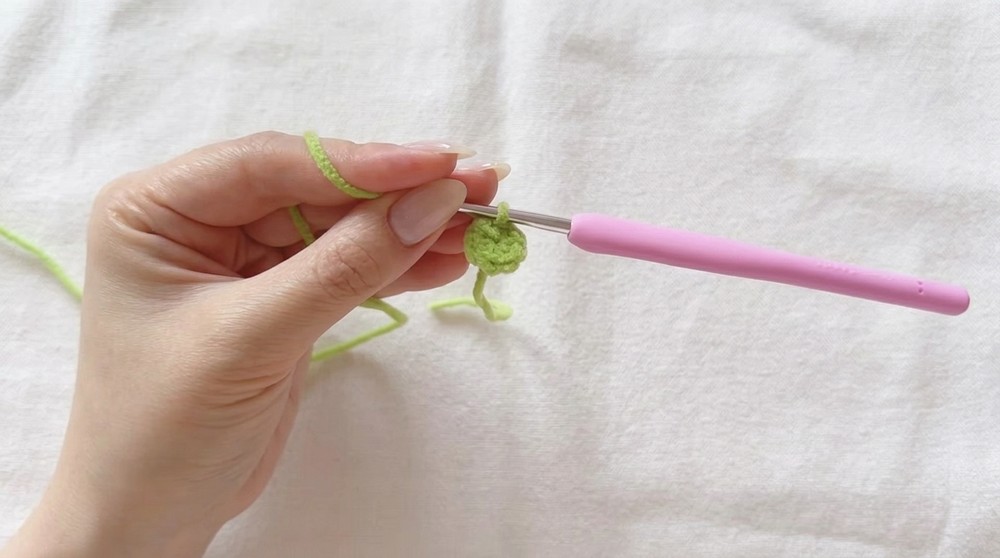
- 8 inc (2 sc in each stitch) — 16 sts.
3 Round :
- [1 sc, 1 inc] repeat 8 times — 24 sts.
4 Round :
- [2 sc, 1 inc] repeat 8 times — 32 sts.
5–9 Rounds :
- 32 sc (1 sc in each st) per round for 5 rounds.
10 Round :
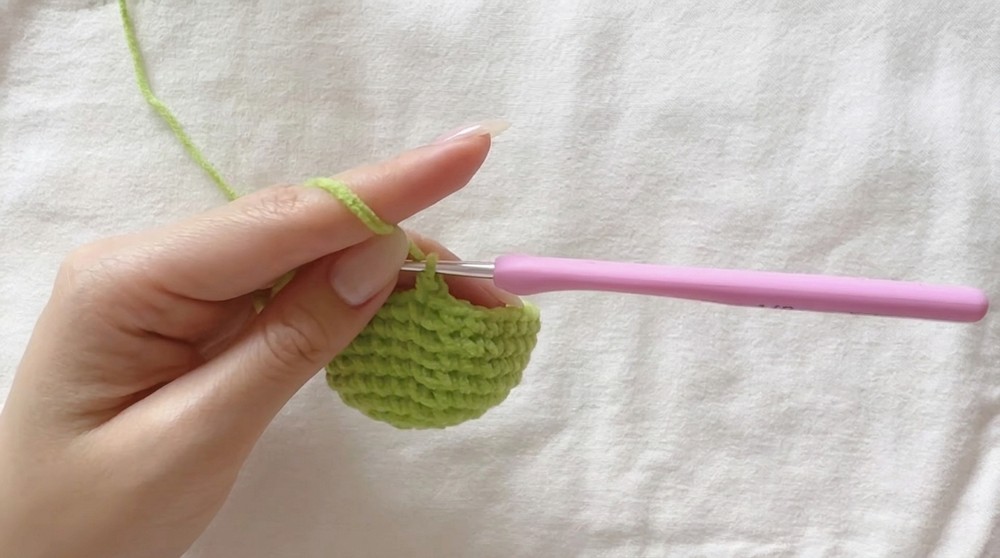
- [3 sc, 1 dec] repeat (6–8 times depending on count; ensure ending stitch count is 24).
11 Round :
- [1 sc, 1 dec] repeat until round ends.
12 Round :
- 8 dec to close. Before fully closing, fill head firmly with polyfill for a plump look.
Fasten off and weave in the tail.
Bunny Ears (Make 2)
1 Round :
- 6 sc in mr.
2–4 Rounds:
- 6 sc per round (no increases). Keep work tight and slightly elongate if desired.
Fasten off leaving a long tail for sewing.
Pot
1–3 Rounds :
- Work exactly as Bunny Head Rounds 1–3 to yield a flat circle (8, 16, then 24 sts).
4 Round :
- 24 sc BLO — inserting hook ONLY in back loops to create a standing pot wall.
5–7 Rounds :
- 24 sc per round, working through both loops as normal to build up the sides.
Fasten off.
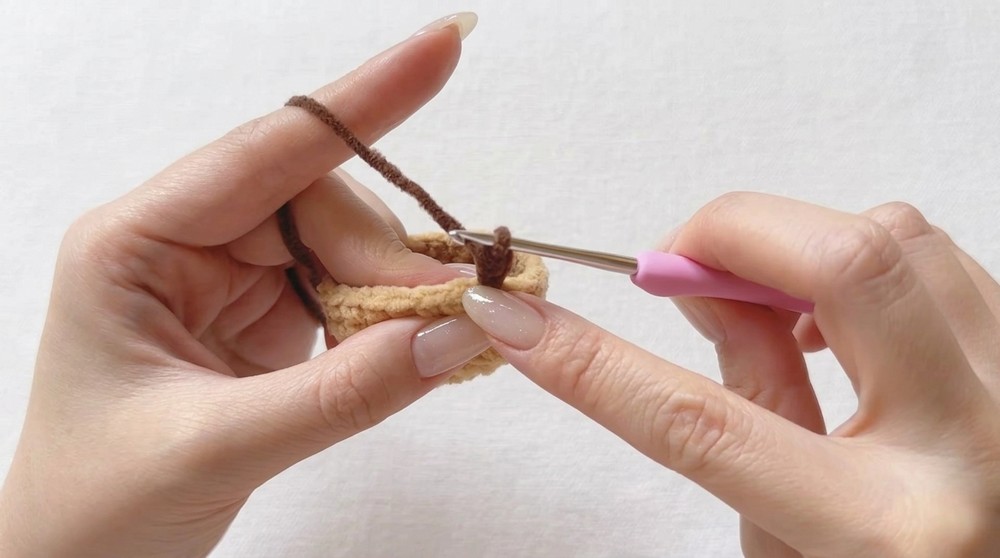
Mud Decoration
- Join brown or “mud” yarn to the top edge of the pot.
- [Ch 2, 1 hdc in 2nd ch from hook, skip 1 st, 1 sl st in next] repeat around the rim for textured finish.
- Fasten off and weave in any tails.
Assembly
- Stuff pot firmly with polyfill before closing off.
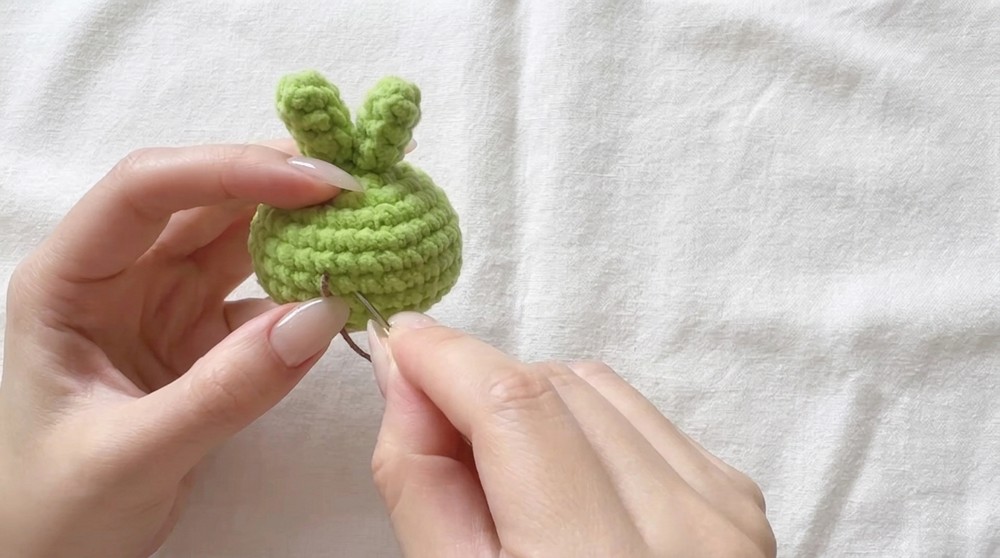
- Position head above the pot opening and secure using sewing or hot/tacky glue.
- Flatten and sew the ears onto the top of the head, positioning symmetrically. Add a small pinch at the base for ear shaping if desired.
- Add surface embroidery or details to personalize face (optional).
Assembly & Finished Size Conclusion
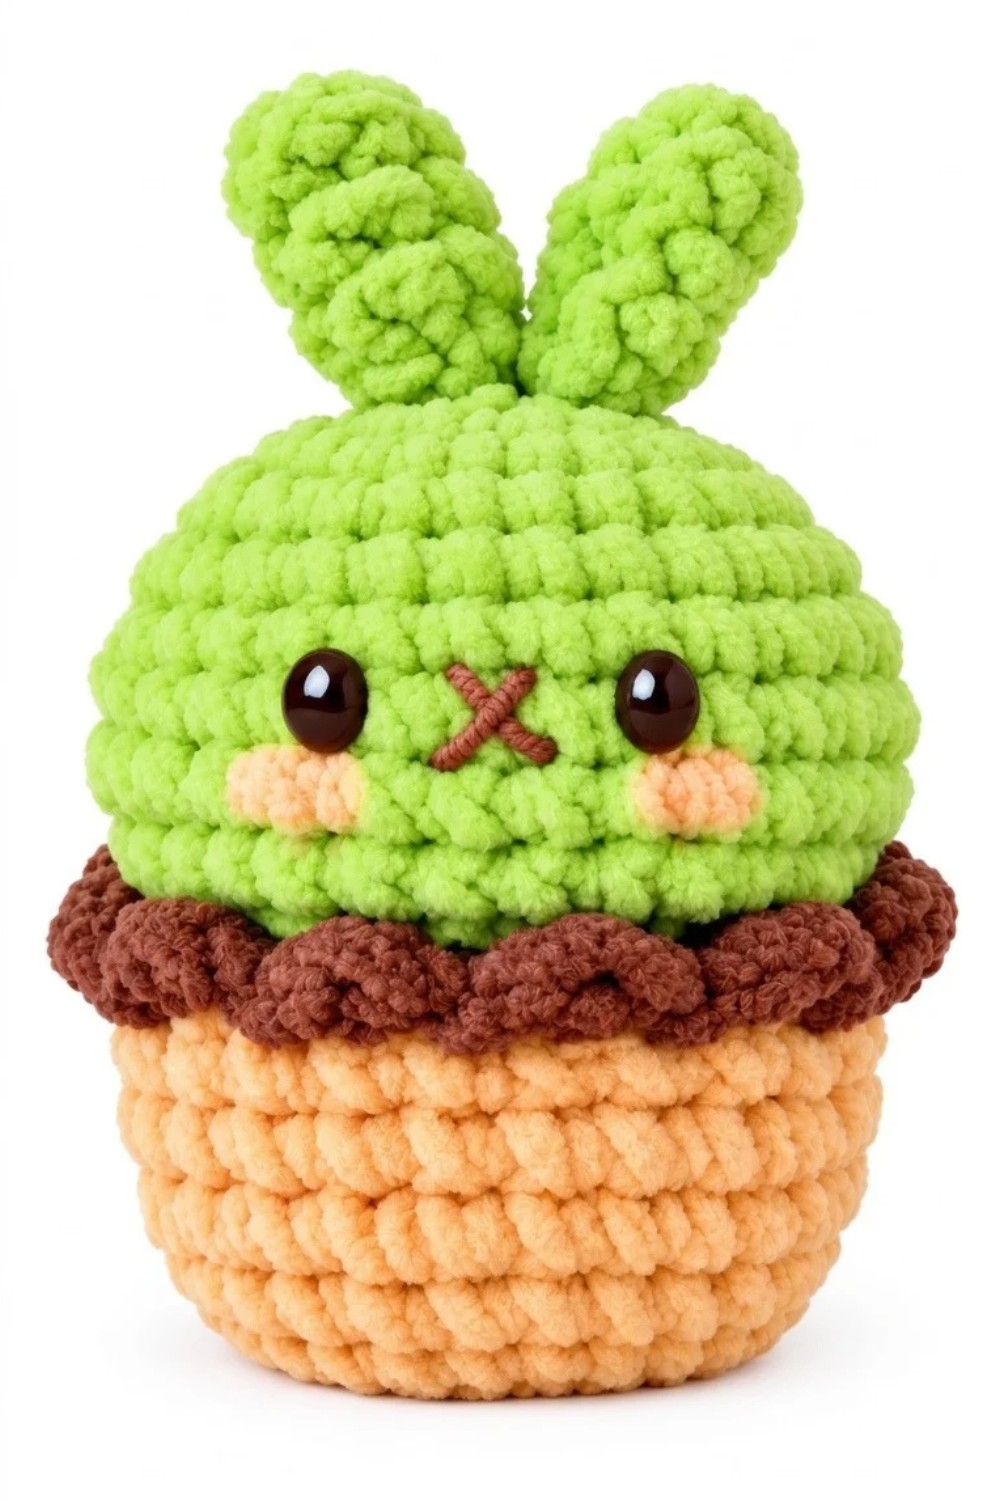
The Bunny Bonsai’s construction leverages continuous, seamless single crochet for its main shapes, ensuring a solid, rounded form well suited to amigurumi. Placement of a lightly ruffled “mud” rim on the pot provides a playful, textural border that enhances the overall effect. Assembling the stuffed sections using firm sewing or glue brings stability, while ample stuffing ensures each piece retains its intended silhouette. This small companion piece captures a blend of cuteness and botanical whimsy, making it a delightful addition to desks, gifts, or décor. The use of basic increases, decreases, and simple decorative border work renders the project approachable yet rewarding for amigurumi enthusiasts.